


Create an Easy Reclaimed Wood Shelf, With No Building Required!
My paint studio where I store all my painting supplies was a mess. But once it reached a certain stage, more than simply reorganizing was badly needed. This round, it would be a full gut and redo!
The key was to get everything off the worktable so there would be space to actually work. So I rummaged through my reclaimed wood stash to see what kind of shelving I could come up with.
Something uncomplicated... easy... maybe not even requiring 'building'... was that even possible?
A few fence planks and square posts later, this amazingness transpired...
This shelf is so easy to make, you don't need actual building skills! Here's what I did...
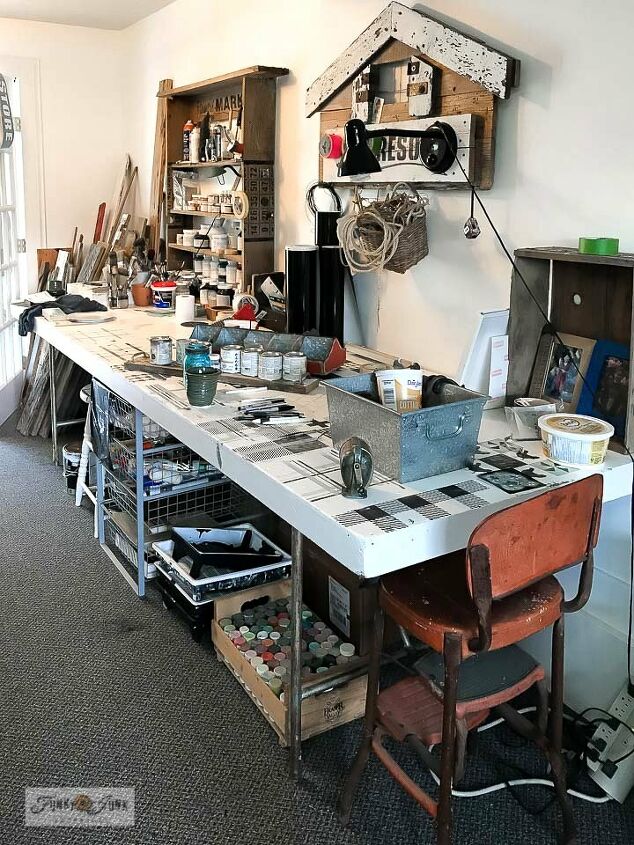
This little paint studio area gets a heavy duty workout every single day. But after it reached this stage, it was time for a full-out redo!
Let's just start over!
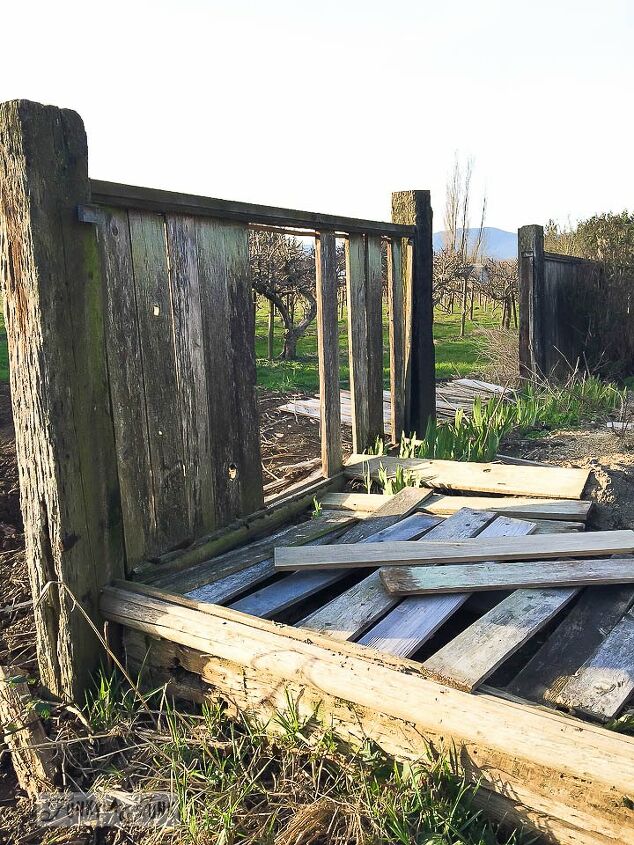
My go-to when I desire something new is into my workshop for salvaged fence planks. This is the way I originally found them. Not so lovely yet, but you just wait...
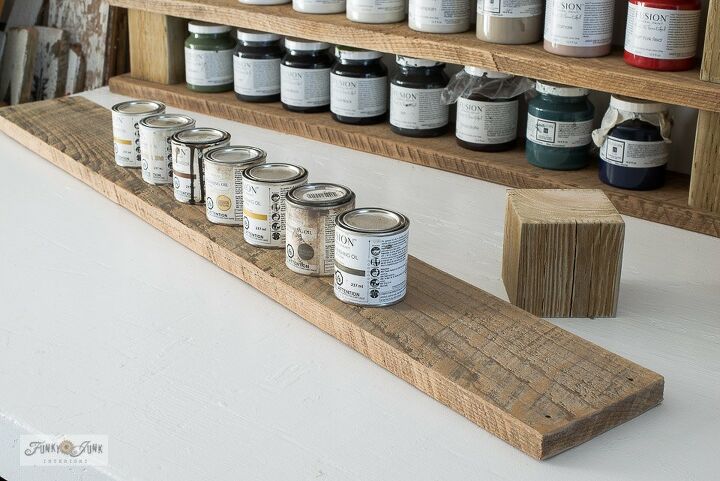
Fence planks were measured to the desired length, then cut and sanded.
Square posts were also cut to desired length then sanded.
I adjusted the length of each post depending which product would be stored on it.
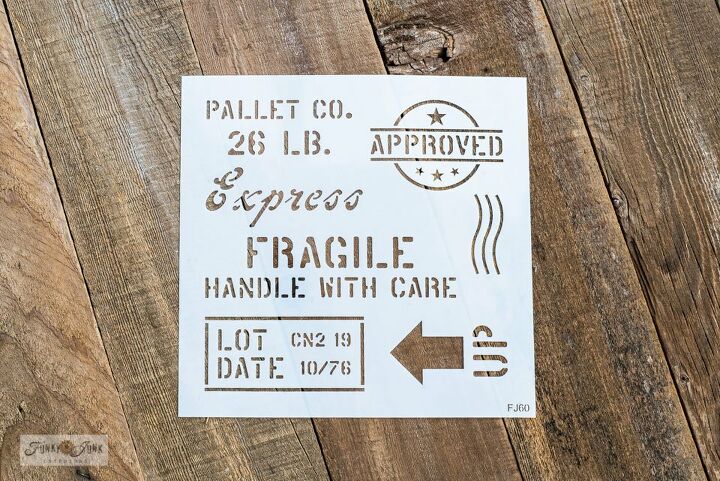
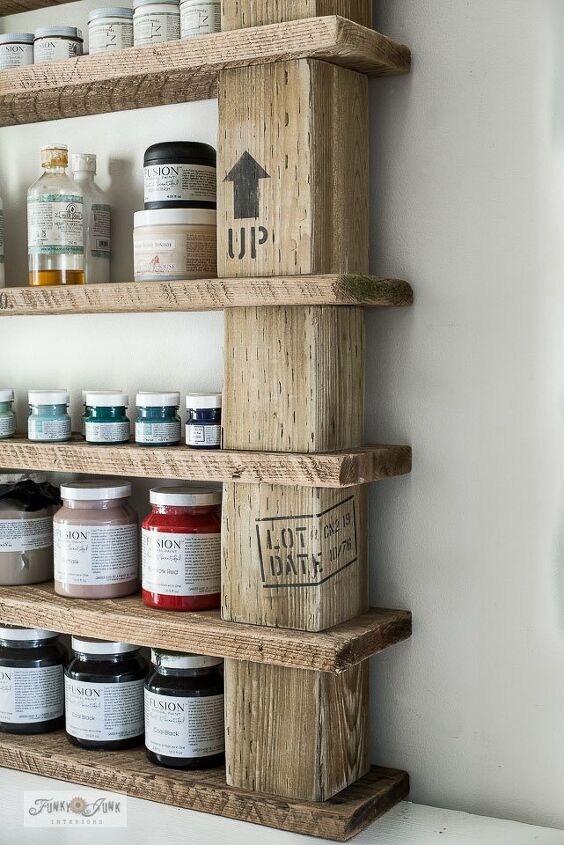
Next, I wanted to add a little more style to the plain wood, so I stenciled the posts with Shipping Crate Stamps from HERE to inject a pallet wood look!
How to stencil:
- Position stencil onto your surface.
- Load stencil brush with paint, then wipe most off onto a rag. A dry brush ensures your images turn out sharp.
- Tap or swirl brush over the stencil for the desired effect.
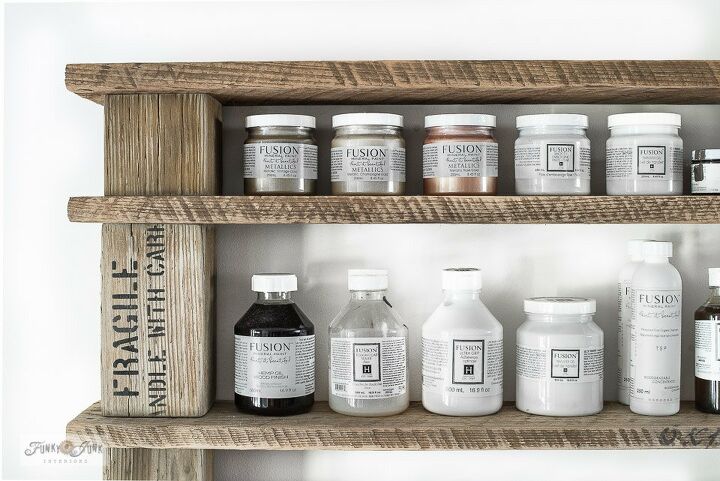
How to build:
Once the posts were stenciled, I simply built up the shelving as if they were building blocks:
- Lay a plank down.
- Add a block on each side.
- Stack another plank on top.
- Continue stacking until you achieve your desired height.
Check for stability:
The shelf as-is was sturdy, however if you desire to go higher or desire more structure, I'd suggest to screw the planks to the posts, then attach to the wall with some brackets for extra stability.
This is a very adaptable shelf after the fact too! As I add more product, more blocks and shelves can be cut and stacked.
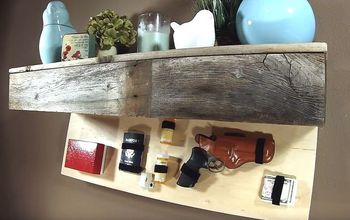
Don't those crate stamps finish this beauty off with just the right amount of rustic charm?!
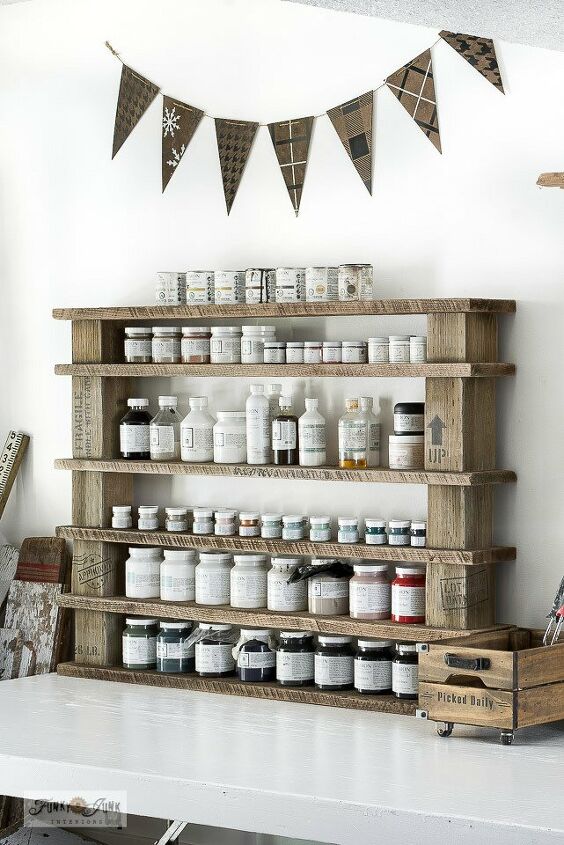
The end result was a very productive and easy to build shallow shelving unit that is perfect to store my paint supplies! Isn't it pretty?!
But we aren't done yet...
Click HERE to see MORE details on this shelf and how the table looks now! What a difference, huh?
Think you'll try making one too?
Love easy builds? Visit ALL my free, quirky shelving ideas HERE!
Resources for this project:
See all materials


Comments
Join the conversation
-
Love it! Pinned!
-
LOVE this! I’m working on creating my craft room and will definitely be making one of these shelves!


Frequently asked questions
Have a question about this project?
What color stain did you use to get that color for the wood. I just love it.
What size post did you use?