


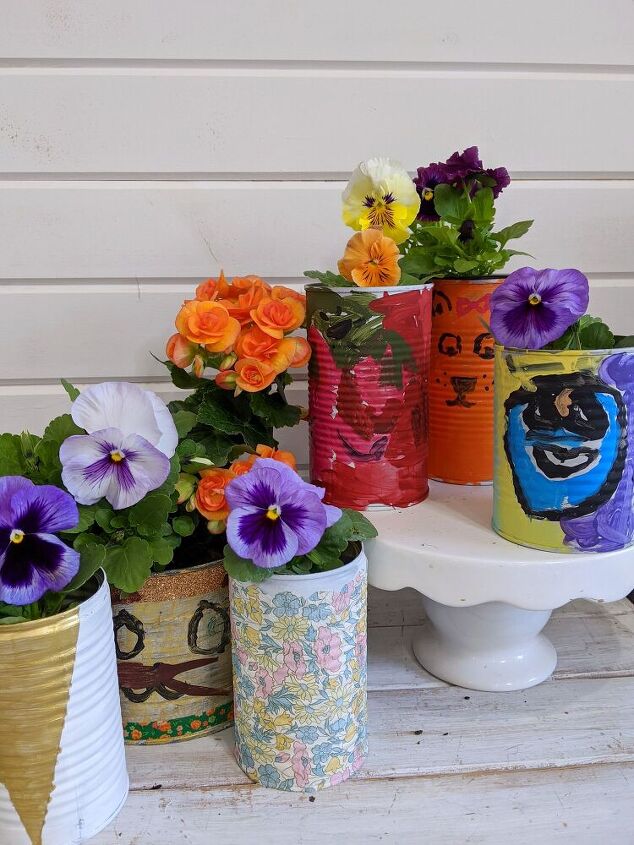
Kid's Craft - Tin Can Vases (3 Ways)!
Looking for a simple but adorable gift idea? Want to spruce up your home decor with your kid's art? Ready to start your indoor herb garden? Are the kiddos arguing over whose pencils belong to them?
Here is a very versatile project that you can work on this weekend!
For all styles you will need:
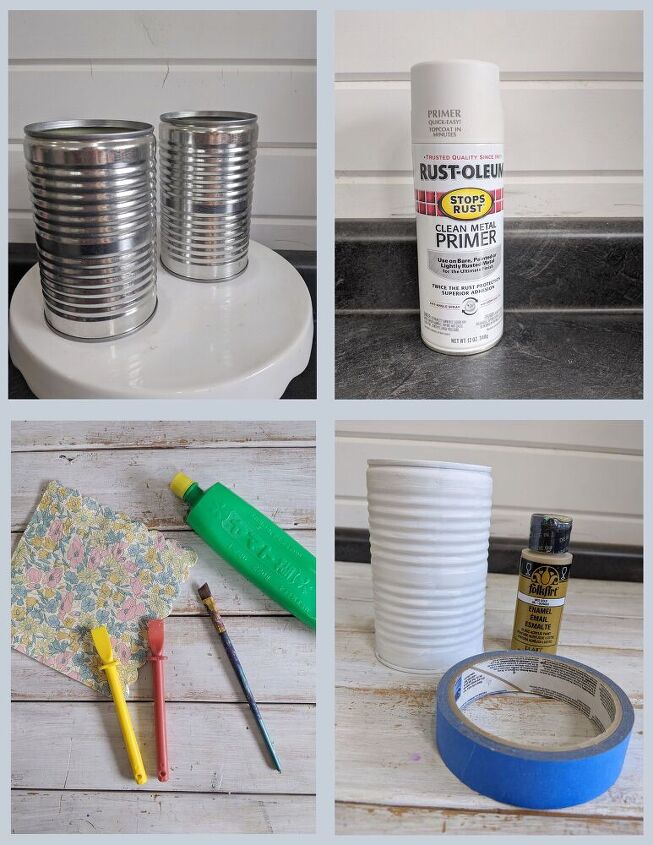
- Clean tin cans (with labels and sticky residue removed. Make sure there are no sharp edges!)
- Rust-Oleum clean metal primer
- Dirt/Soil
- Flower/Herb/Grass seeds
Kiddo Created Cans:
- Paint
- Paint brushes
- (Optional) - Stickers, pom poms, ribbon - anything they want to glue onto the can as an embellishment
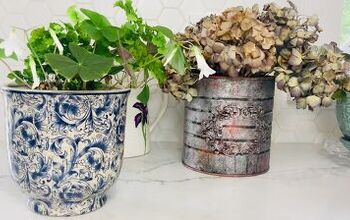
Decoupage:
- Napkin
- Rice glue
- Paint brush
Color block design:
- Contrasting paint
- Painter's tape
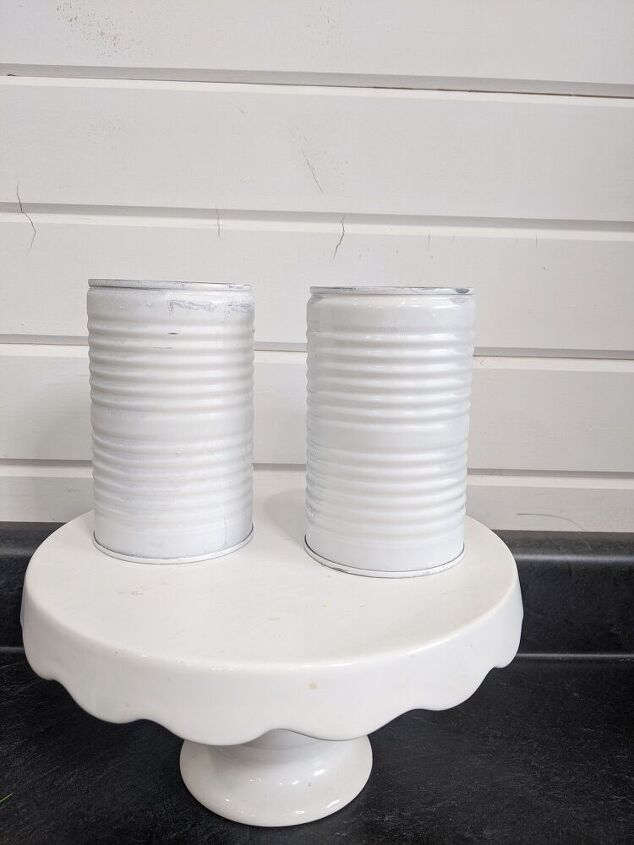
**You will need to do this step for all options 1-3: Use the Rust-Oleum clean metal primer and thoroughly spray the outside of the cans. Let fully cure - I usually let mine dry overnight. You can also use white latex paint to prime the cans. If you are using these as planters, you will also want to drill a hole in the bottoms of the cans for drainage.**
After the cans have fully dried, hand them off to your kids and watch their creativity run wild! If you're okay with a little clean-up after the project, let them loose with craft acrylic paint and paint brushes. They can add any design to the cans. If they aren't ready to work with paint, you can glue a sleeve of construction paper or scrapbook paper around the can and let them use washable markers!
Once they have the main design done, they can use stickers, pom poms or any other embellishments to take their can to the next level 
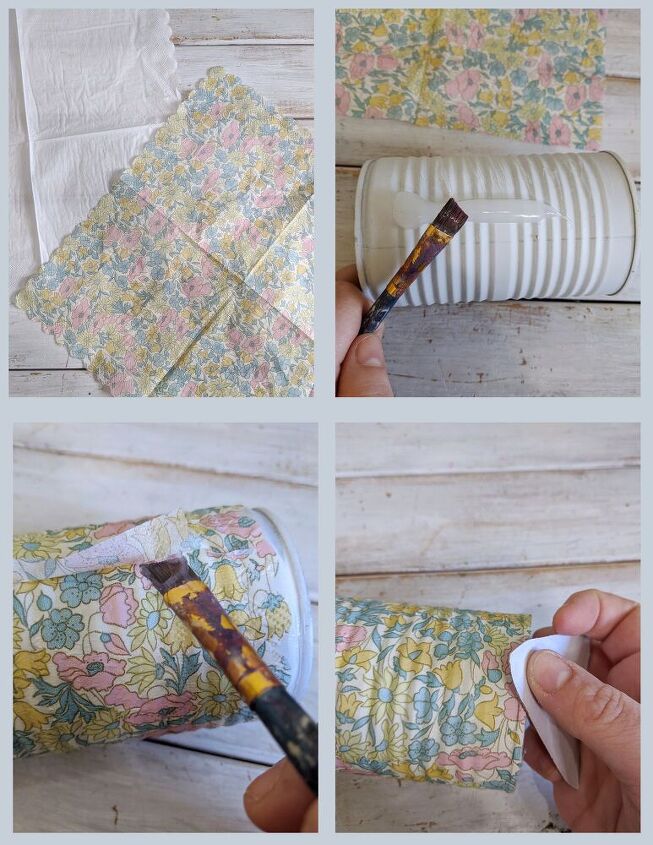
Step 1 (after priming the can, top left picture):
- Choose a napkin with the design you want on the can
- Separate the napkin into individual sheets (they are usually 2 or 3 ply)
Step 2 (top right picture):
- Apply a very thin layer of rice glue all the way around the can
- *Note* - rice glue is clear and a little goes a long way!
Step 3 (bottom left picture):
- Lay the decorative napkin sheet carefully on the can
- *Note* - try to avoid shifting the napkin once on the can as it can rip or bunch up
- Apply another thin layer of rice glue on the edge to secure the napkin down
- Rice glue takes, at most, 24 hours to fully cure. But! I have been known to be a little impatient and will move to the next step after 30 or so minutes. Just be very gentle with step 4 if you are wanting some instant gratification!
Step 4 (bottom right picture)
- Sand the can edges to remove excess napkin
- To ensure clean lines, sand only in one direction. I like to sand in an up to down direction each time.
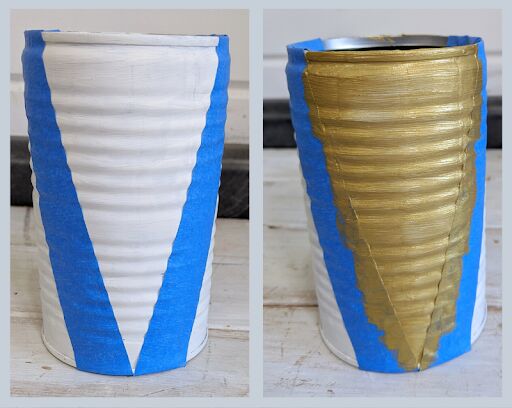
Step 1 (after the primer has dried, left picture):
- Add painter's tape to mark the section/design area you want to be painted
- Repeat around can as desired
Step 2 (right picture):
- Paint section in the color you choose!
- Let dry fully and paint a second coat for full color coverage
Step 3:
- Let dry completely (I tend to allow the paint to dry overnight)
- Remove tape
The final step for your cans is to spray them with a polycrylic protective finish (I like the spray version). This way, your cans will be sealed and protected!
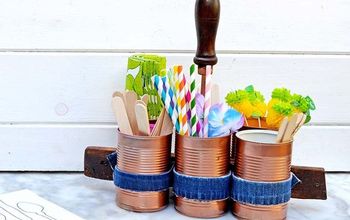
Once everything is dry, you can use the cans for many, many things! Pencil holder, make-up brush holder, happy little decor piece...the list goes on and on.
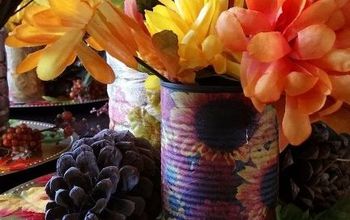
My favorite though is to plant herbs, small flowers or even grass (think Chia pet!). You'll want to make sure you have drilled a small hole in the bottom for drainage, add soil in (about 3/4 of a can) and add in a few seeds. When it comes to the seeds, check the package to see the recommended germination process. Some like to be covered by 1/2 inch of soil, some like to just lay on top of the soil, some like dry climates, some need lots of moisture...again do a double check so they can thrive!
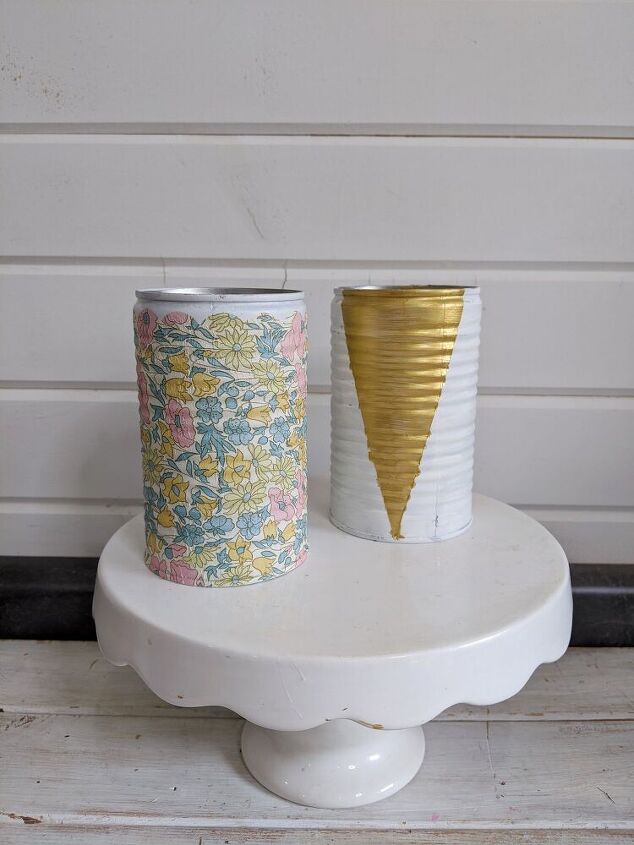
And there you go! 3 ways to turn a simple tin can into a fun, decorative and functional piece of art!
Resources for this project:
See all materials


Comments
Join the conversation
-
Good point. I was thinking outside usage only. My patio table is metal and I don't have any little ones with curious fingers/hands, so it would work for me. Would use the little tea light candles more than likely. I love the painted designs on the vases. Kids especially have such imaginations when it comes to decorative painting.
-
What a fun idea, especially during this period of lockdown.❤️


Frequently asked questions
Have a question about this project?
I love your ideas for the cans, but...may I ask...is the cake stand old? It is gorgeous. Just had to tell you.