


TV Console Makeover With Blue Ridge Tools
This post was sponsored by Blue Ridge Tools. All opinions are my own.
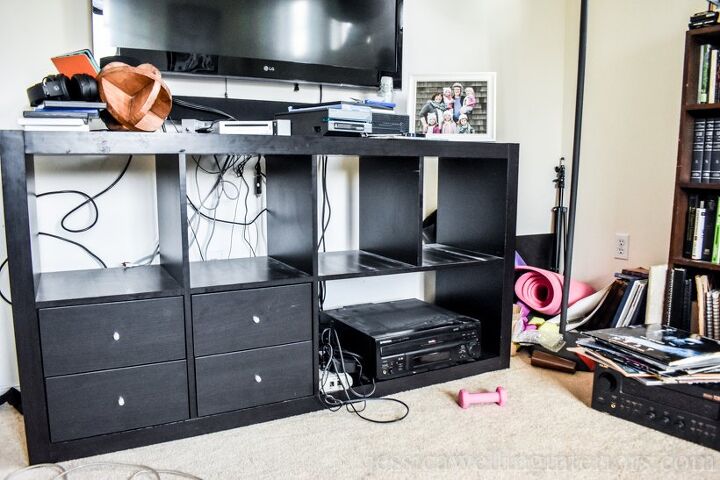
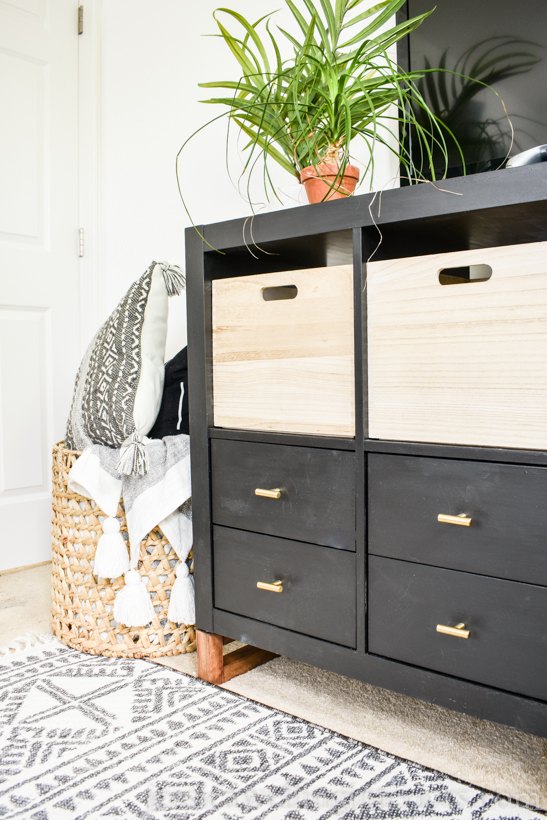
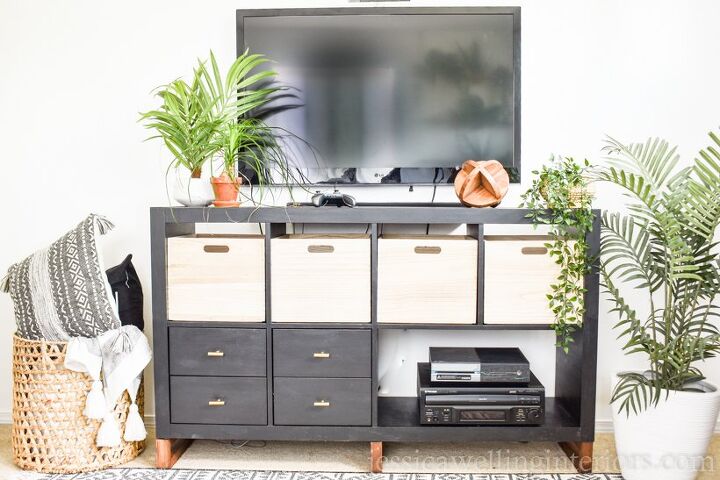
Hello! It’s Jess from Jessica Welling Interiors. Raise your hand if you have an old Ikea Expedit or Kallax bookshelf somewhere in your house! You know the ones with the cubes… I think it’s safe to say just about everyone has owned at least one… or maybe three. These units are great and very versatile, but the one in our TV room had seen better days. And it was giving off a bit of a dorm room/bachelor pad vibe. See what I mean? I’m sure the nest of cords wasn’t helping either.
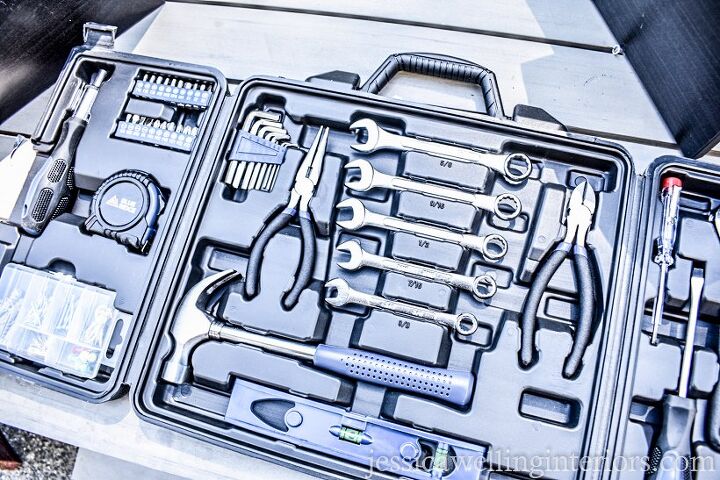
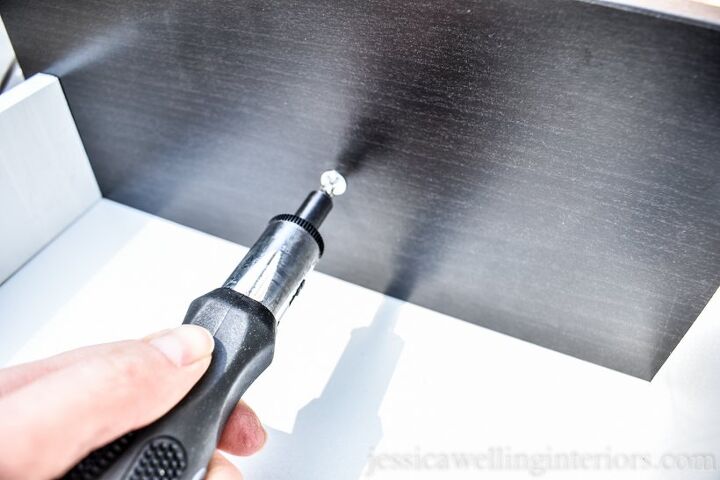
I’m loving this 145-Piece Deluxe Household Tool Set from Blue Ridge Tools (available at Target). I used these tools for everything, from opening paint cans, to measuring wood, to attaching new cabinet hardware. So handy! I used the ratcheting screwdriver to loosen and remove the drawer pulls.
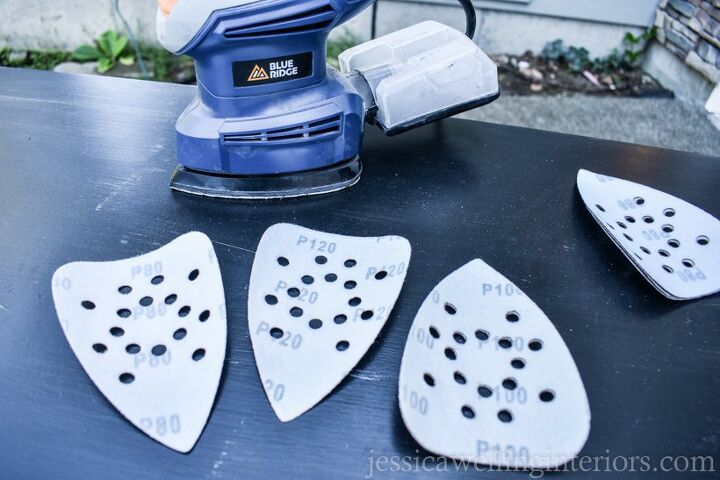
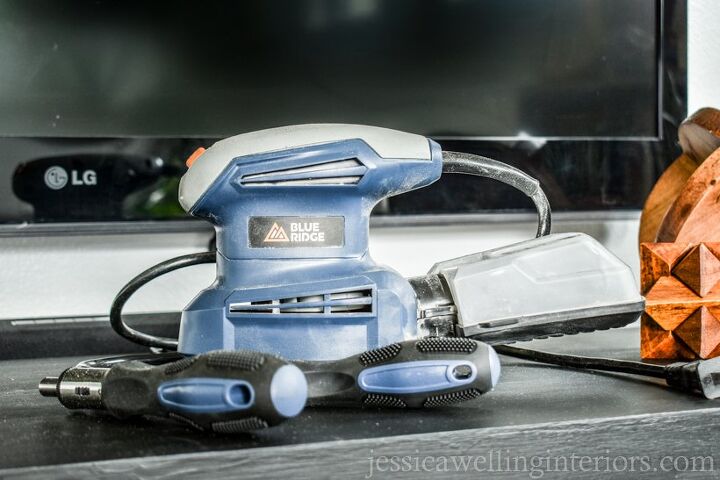
I used the Blue Ridge Tools detail sander and 80 grit sandpaper to lightly rough up the surface of the bookshelf before painting.
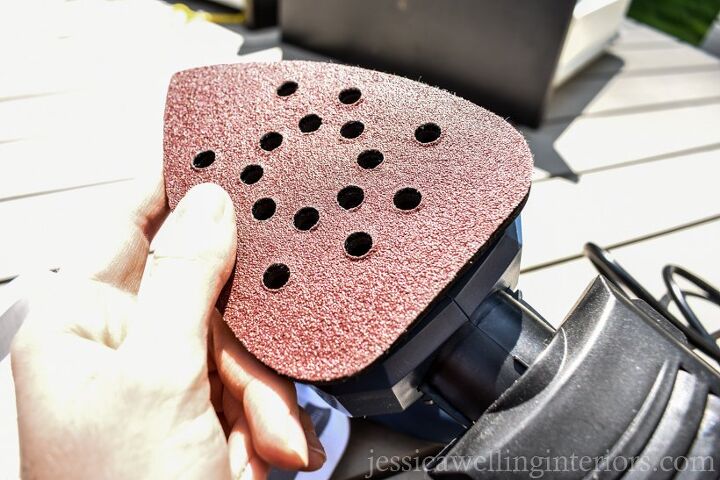
The detail sander is perfect for this because it’s shaped like an iron, and can get into nooks and corners where my big orbital sander can’t reach.
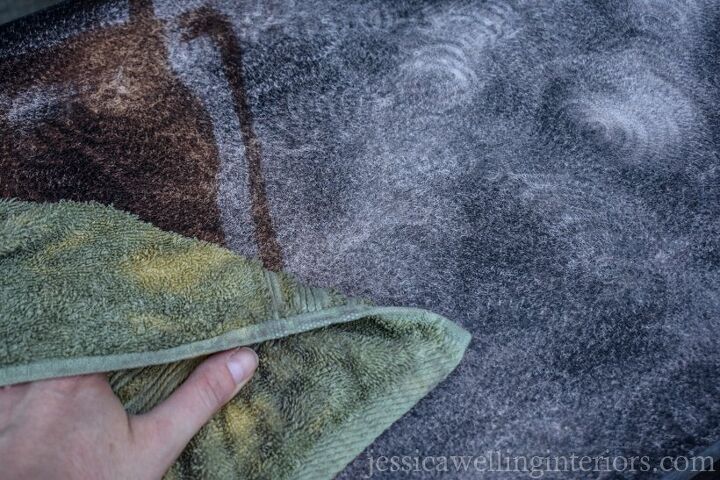
Next, I used a damp rag to wipe all the sawdust off the shelf.
I like to use a shellac-based primer like BIN for furniture-painting projects because it will stick to just about anything! I applied it with a disposable paintbrush, since it doesn’t clean up easily. You might consider wearing disposable gloves as well if you don’t want to have primer on your hands for a few days. I gave the primer at least 40 minutes to dry.
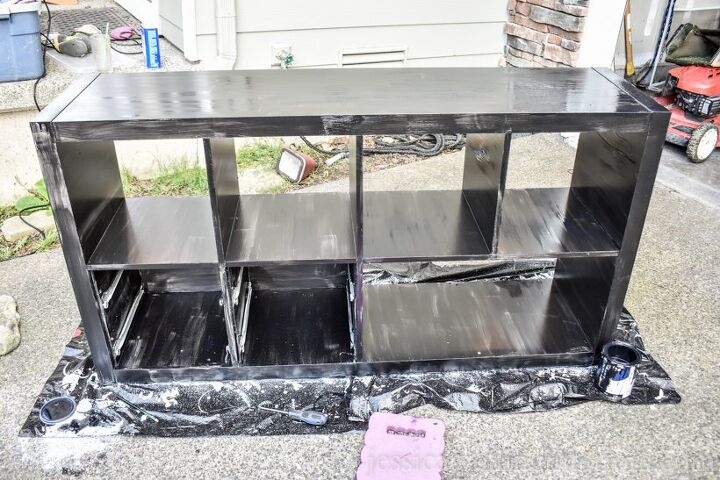
Once the primer was dry, I applied the first coat of black paint. It didn’t give full coverage with the first coat, and that was fine.
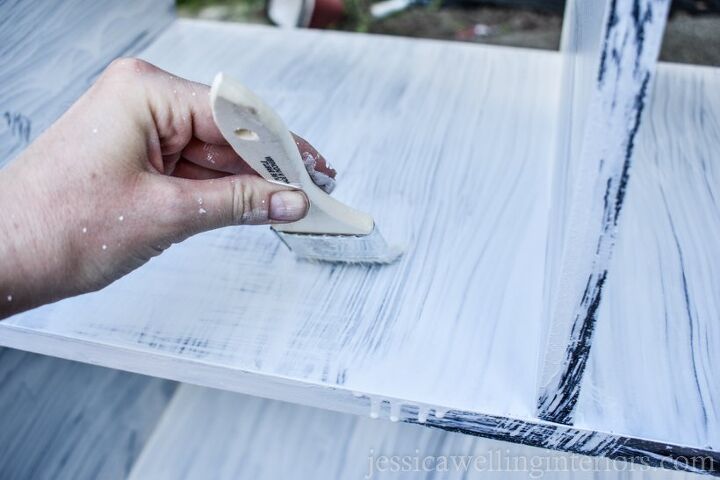
Let’s talk about paint for a minute. I’m an experienced painter, but I made the mistake of trying a matte finish latex paint for this project. Next time I paint furniture or cabinetry, I’ll use an Alkyd Enamel paint with a satin finish, because it has a harder finish and is self-leveling, which means the brush strokes won’t be as visible.
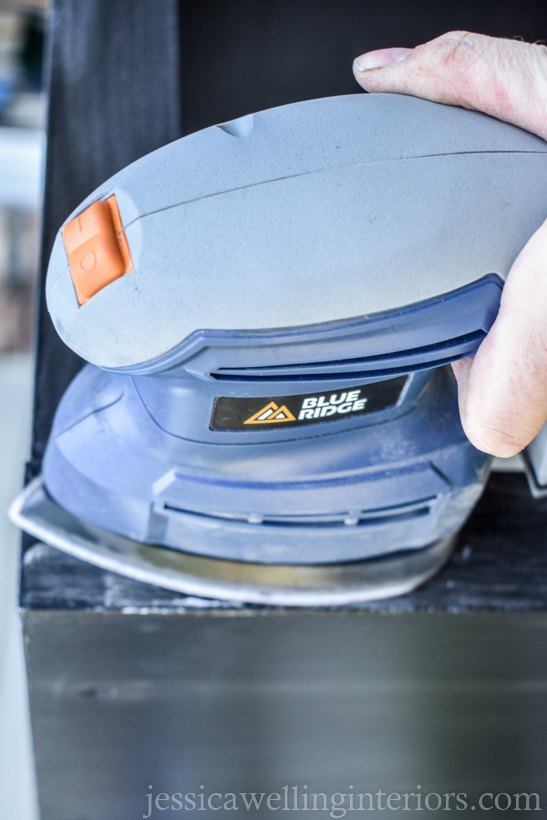
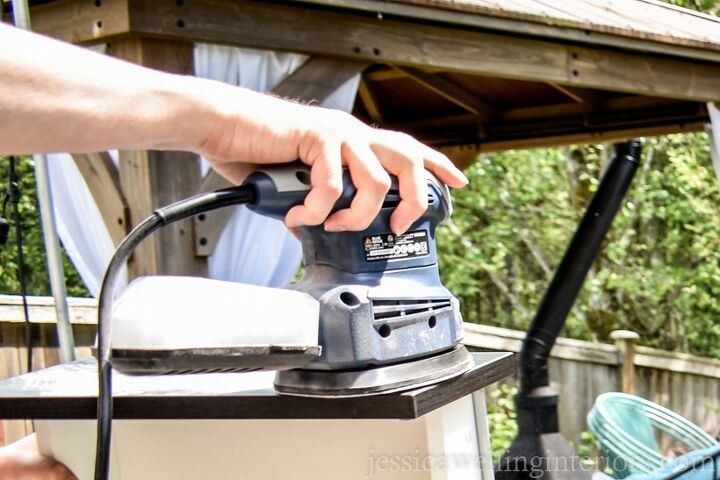
But I will say that I was VERY glad to have the Detail Sander to sand out the lumps and drips caused by the bad paint. This time I used the 120 grit sandpaper, which is finer, just on the rough spots and edges where extra paint had built up.
Next, I painted the second coat, making sure to do long brushstrokes all in the same direction.
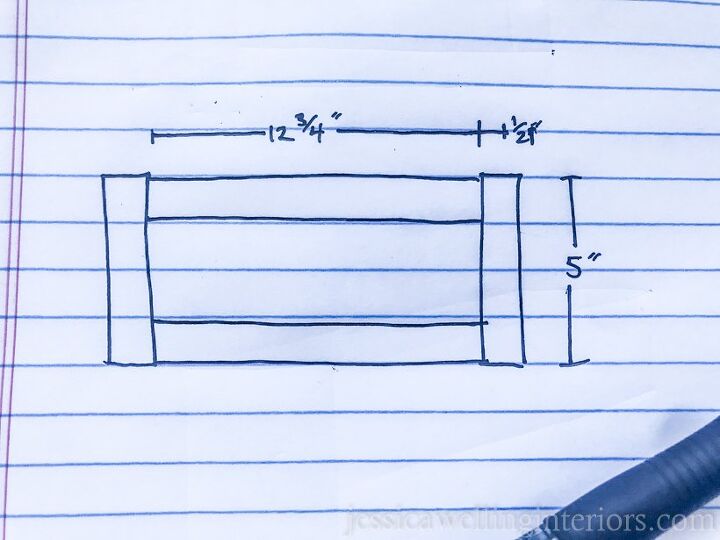
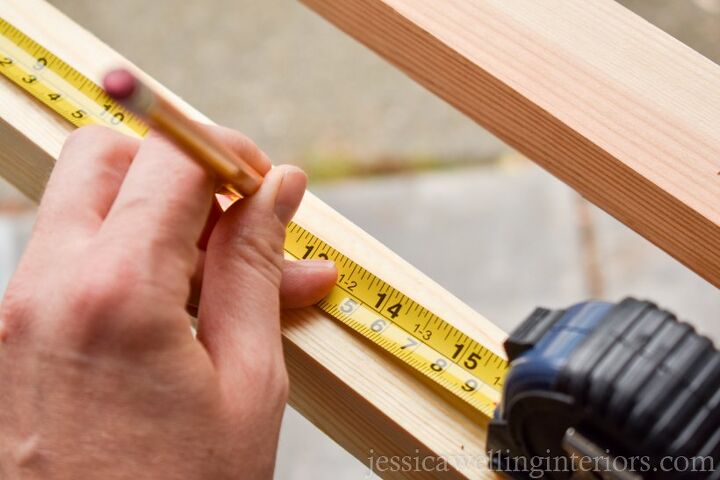
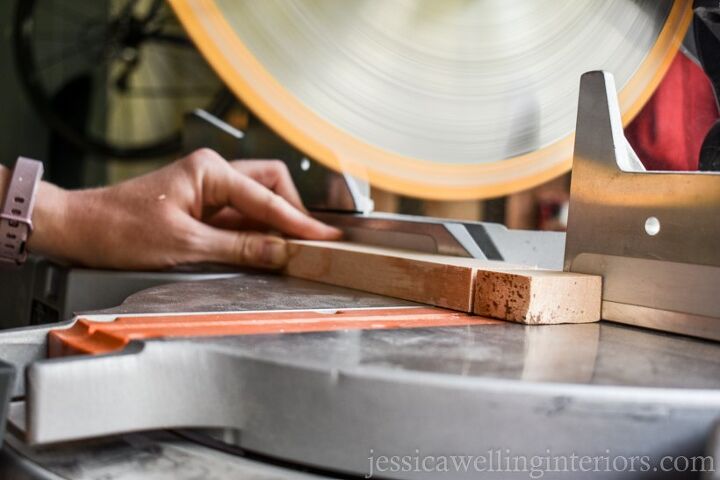
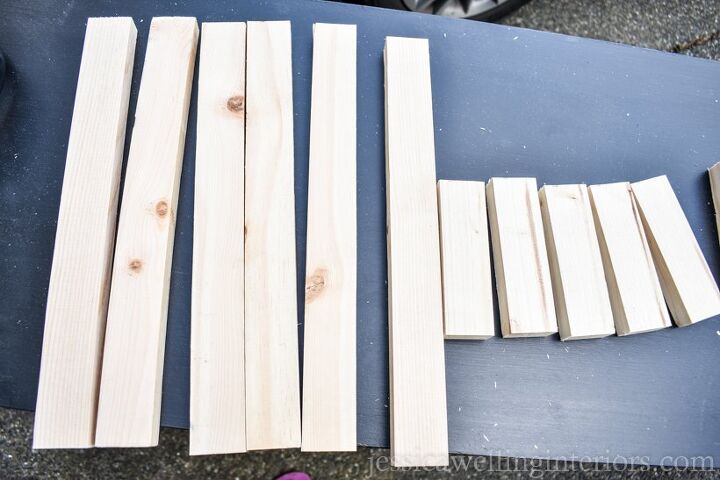
I measured and marked the 2x2’s, then cut them with a chop saw.
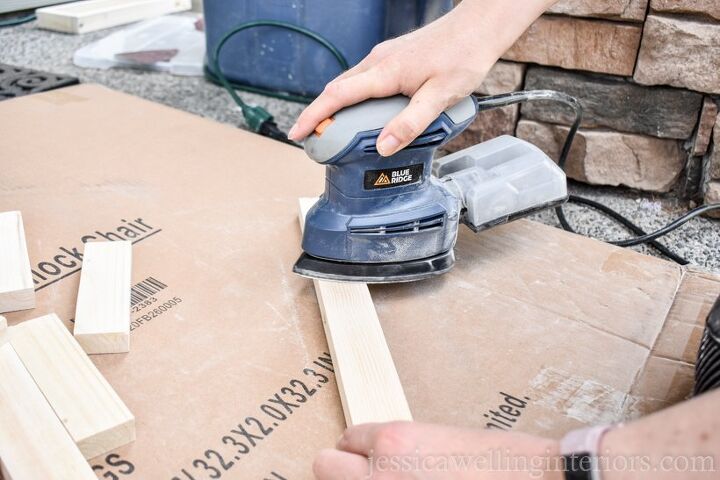
I used the detail sander with 120 grit sandpaper to smooth out the leg pieces before assembling them. Again, the sander’s small size was perfect for this!
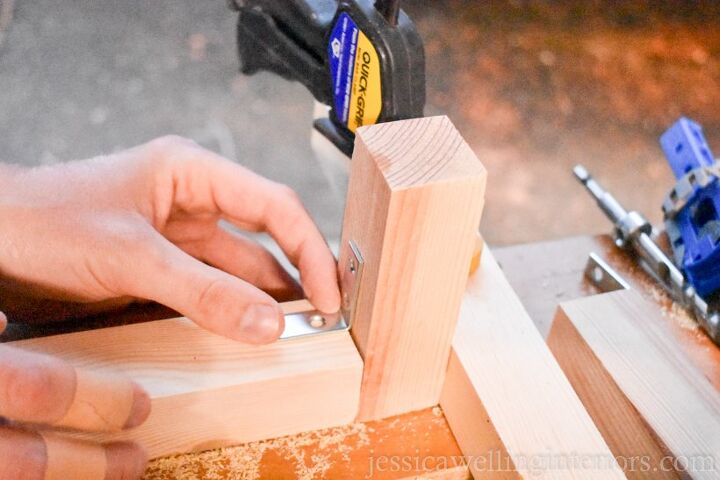
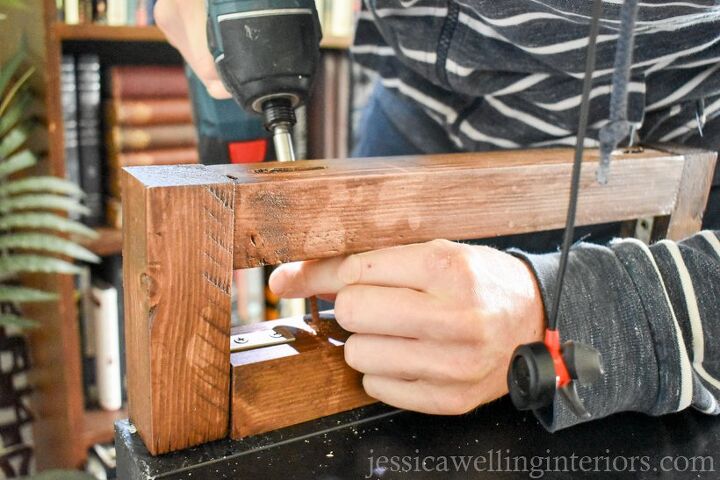
We used the brackets to attach the 2x2’s together, drilling pilot holes, and then driving the screws in.
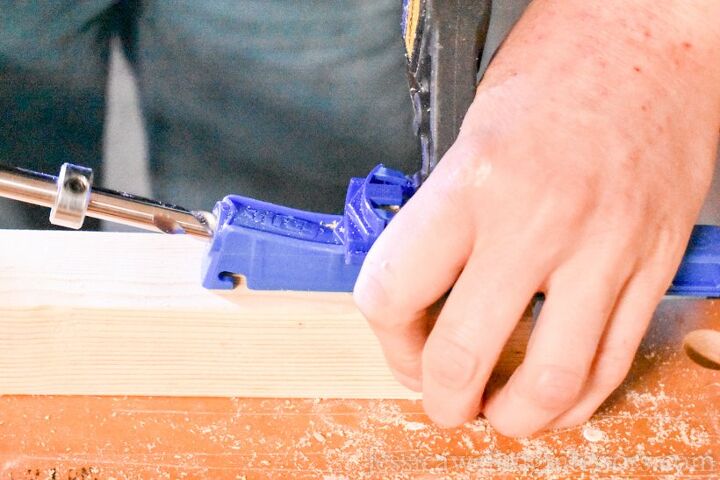
To attach the top, we used a pocket hole jig to drill a diagonal hole, and then a 2” pocket hole screw to attach it.
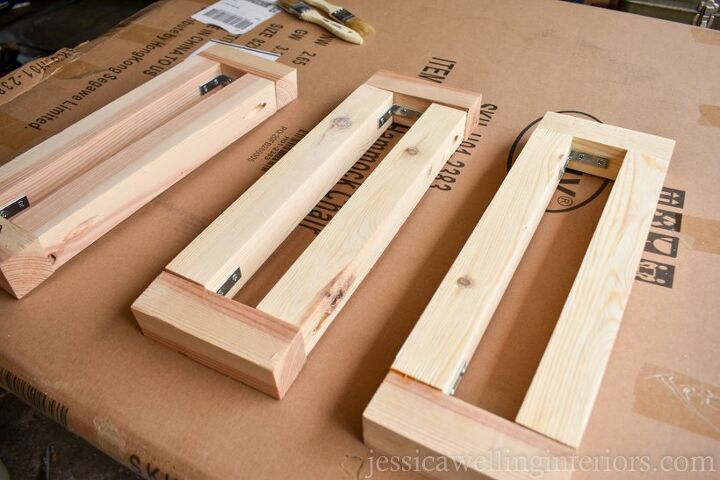
We repeated this process to make 3 leg supports.
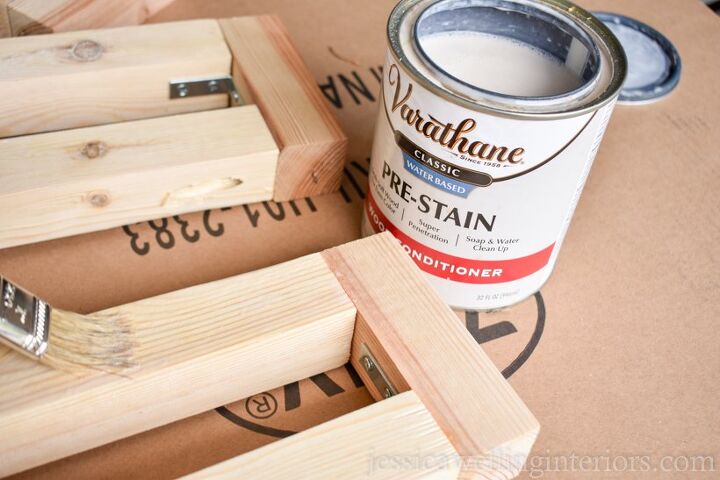
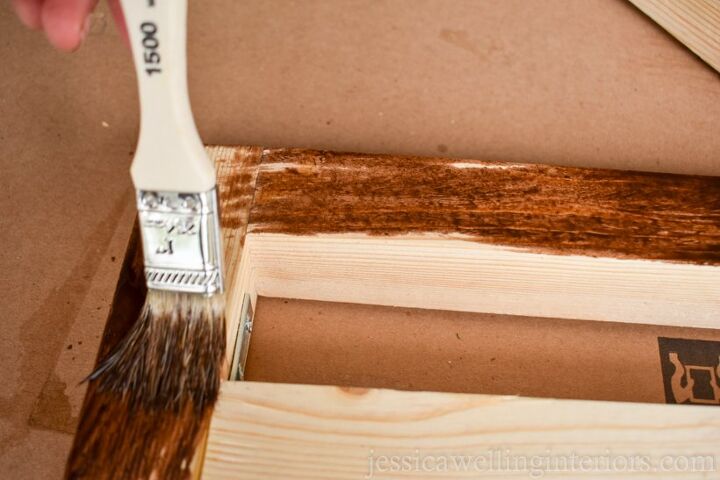
I used a disposable paintbrush to apply wood conditioner to the legs, then wiped them down with a dry paper towel after letting the conditioner soak in for ten minutes or so. This helps soft woods like pine (which I’m using here) take the stain more evenly.
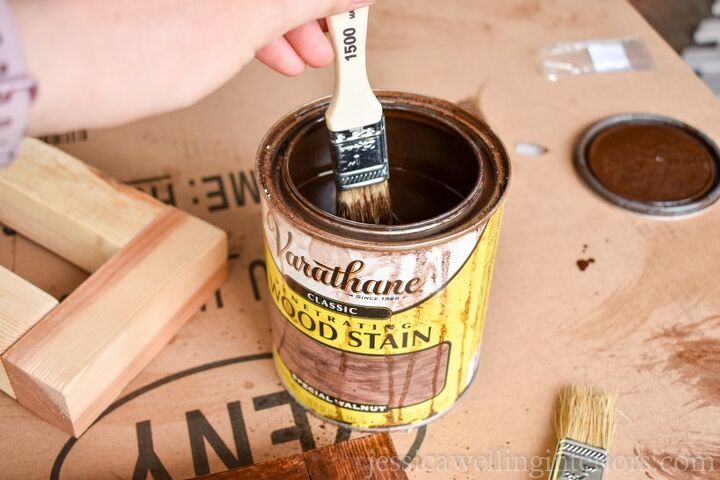
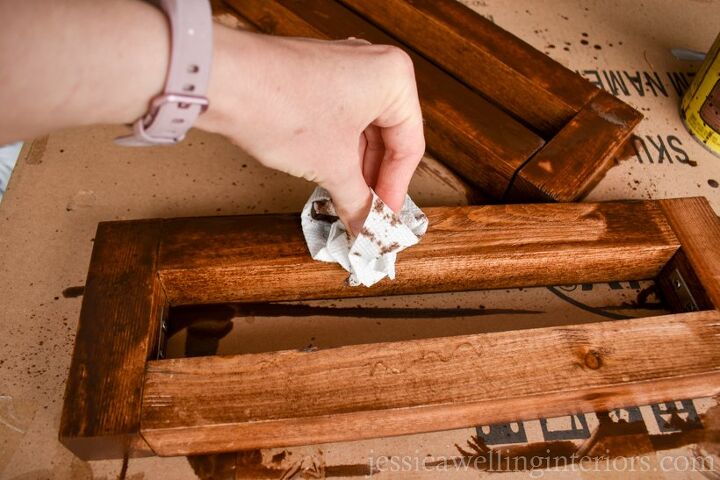
I used a fresh disposable brush to apply the stain. You could also use an old rag or even a paper towel. I do recommend wearing gloves for easier clean-up. Let the stain sit for 10 minutes, and then wipe the excess off with a paper towel.
I let that dry, then applied a second coat of stain. I usually find that the second coat of stain makes everything look more even.
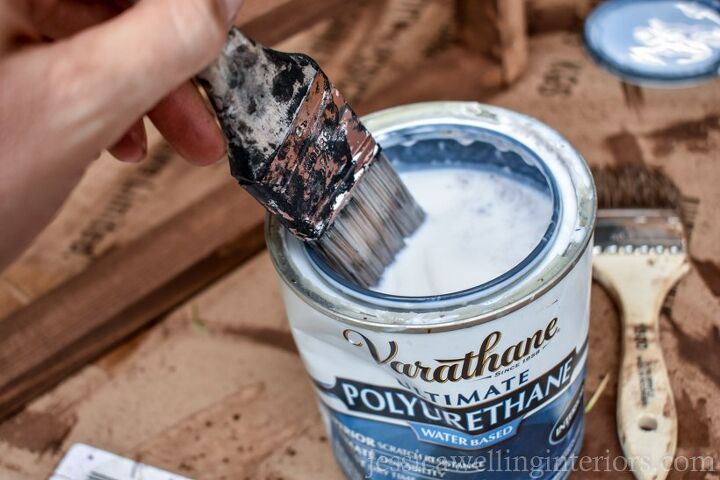
I used a regular paintbrush to apply a polyurethane top coat, since it’s water-based. It goes on white, but dries clear.
We used the impact driver to attach the legs to the bottom of the unit with 3” wood screws, two in each leg.

The new gold pulls were very easy to twist into place, and I think they add some class to this piece!
Our TV room/home office makeover is almost complete. You can see more of the room on my blog, including the new closet office and DIY hanging garden!
Resources for this project:
See all materials


Comments
Join the conversation
-
Nice job
-
Love this!!


Frequently asked questions
Have a question about this project?
Yes, I love the leg design too!
I'm sorry it's very nice but looks just the same as it did before only difference I can see is you added baskets and legs. So it was black already why sand and paint it black again. I'm missing something .
Where did the wooden drawers on the top come from? I didn’t see any instructions for them.