


DIY Halloween Sign
Every Halloween I like to add something new to my DIY Halloween decorations. Last year I added pillows, the before that I added the fabric pumpkins and the bats. This year I am adding a handmade sign with a DIY frame and a DIY serving tray.
This is my new Halloween party decor for this year.

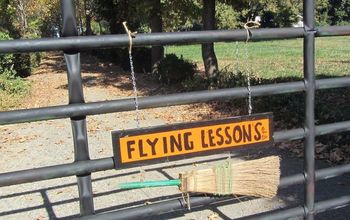
This year’s Halloween decorations need to be extra fun since this year has been a disappointing mess so far. So we are kicking it up! This adorable sign was inspired by Ray Bradbury’s book titled Something Wicked This Way Comes. It is the perfect read for this time of year.
The peanut butter and chocolate cupcake recipe is also on the blog.
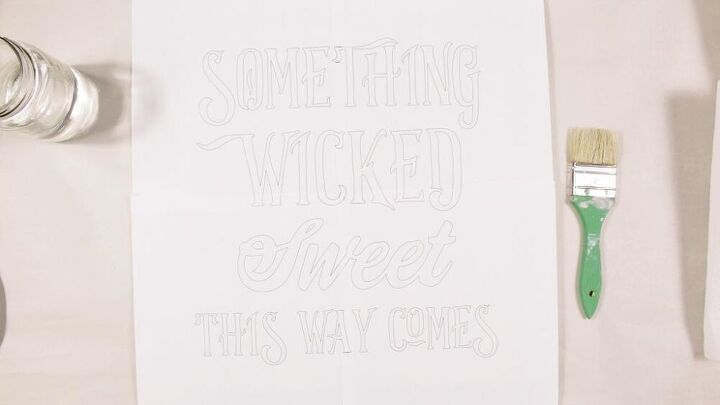
Print out the design (find design on the blog) and cut your board.
Supplies and Tools
- Graphite Paper
- Paint Pen
- Chalk Paint
- Brushes
- Design Print Out
- Heat Gun
To transfer the sign design I cut the print out down to the size of the sign.
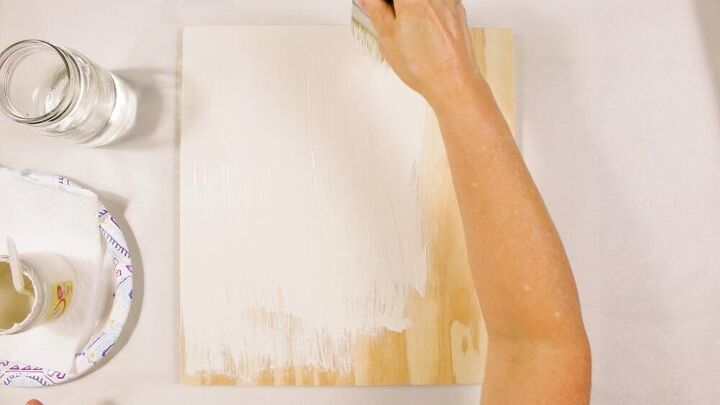
After I cut a rectangle out of plywood I sanded the front side. I wanted to use the same colors I used in my other Halloween signs so they all coordinated.
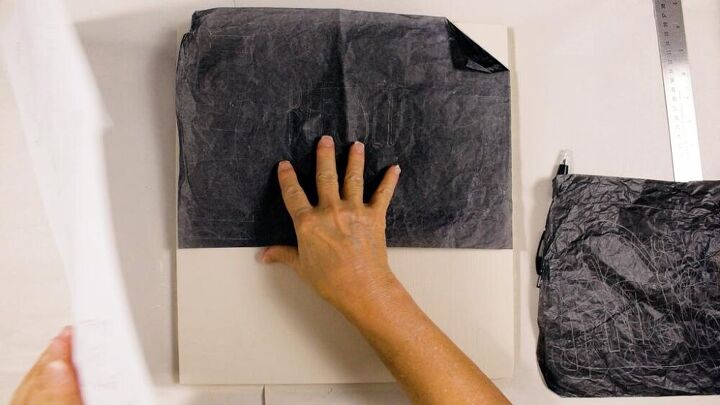
Place the graphite paper with the transferring side against the paint.
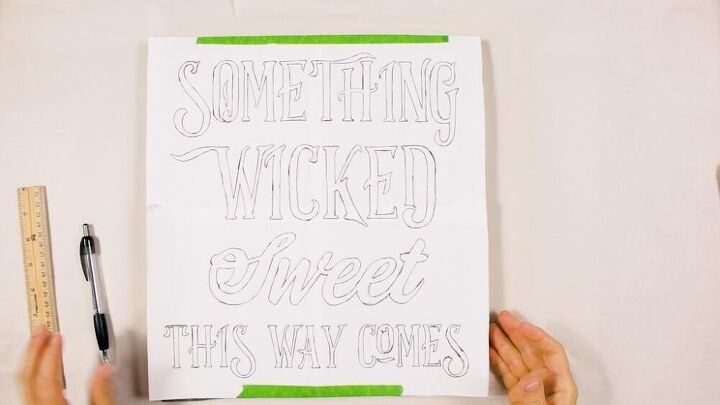
Place the design over the graphite paper. Using a ballpoint pen trace the outline of the words. I added some painters tape to hold my design in place while tracing.
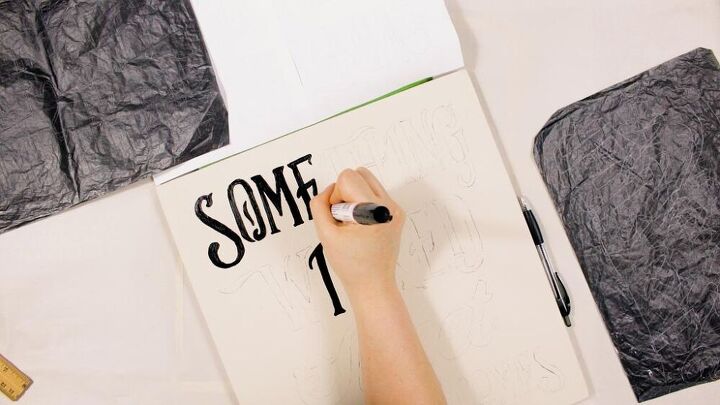
Paint on the words with a black paint marker.
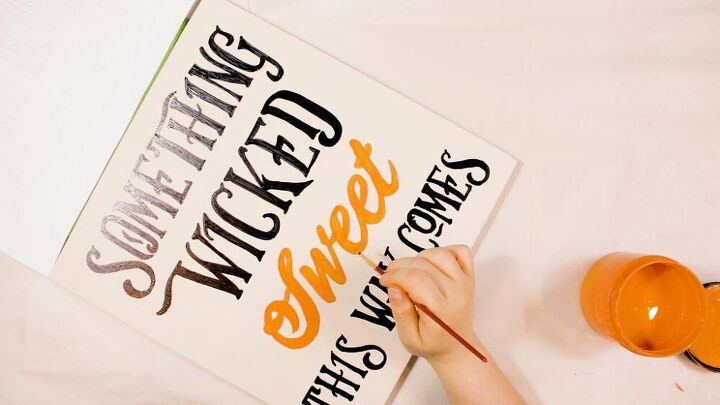
For the orange SWEET, I used the same orange paint I used in the other two Halloween signs.
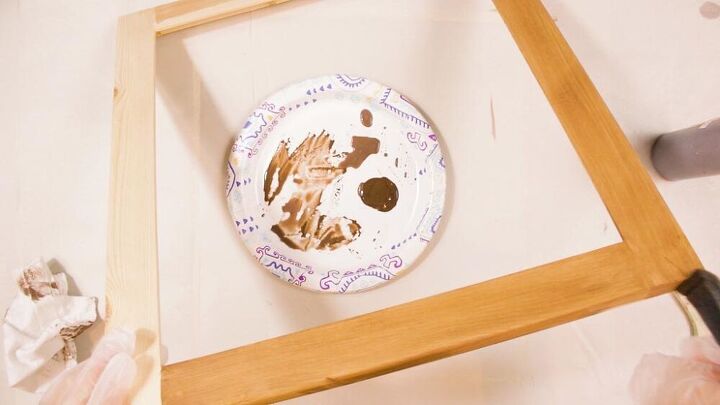
To learn how to make the DIY Wood Frame check out the full post on the blog.


Frequently asked questions
Have a question about this project?