


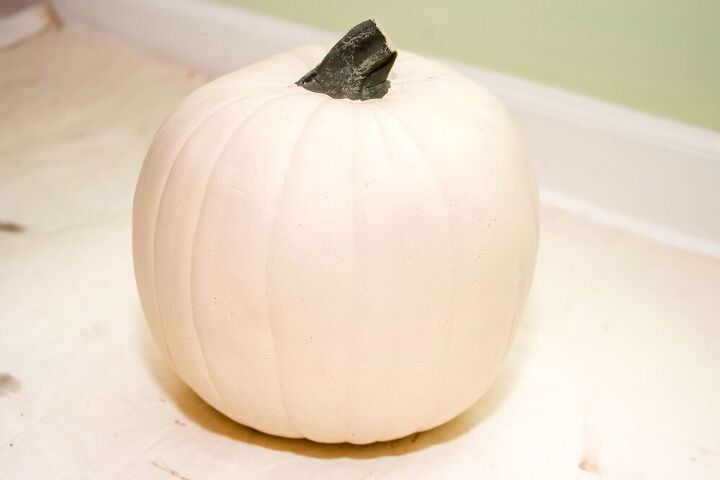
DIY Melted Crayon Pumpkin
6 Materials
$25
30 Minutes
Easy
Halloween is just around the corner! Can you believe it?! I love decorating for Halloween, and I have been busy getting my craft on in preparation for the spooky season. Crayon art is big right now, and I think it is so fun. I have been wanting to try it for quite awhile now, but since I don’t have any canvases at home, I needed something else to work with. Enter the craft pumpkin! Hop over to my blog to read about the problems that I encountered, and how I solved them, so you can avoid the same issues yourself! Here's the basic step-by-step, though.
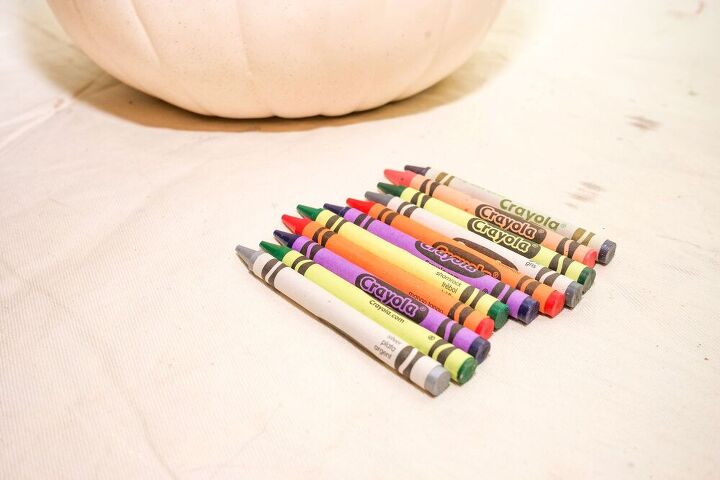
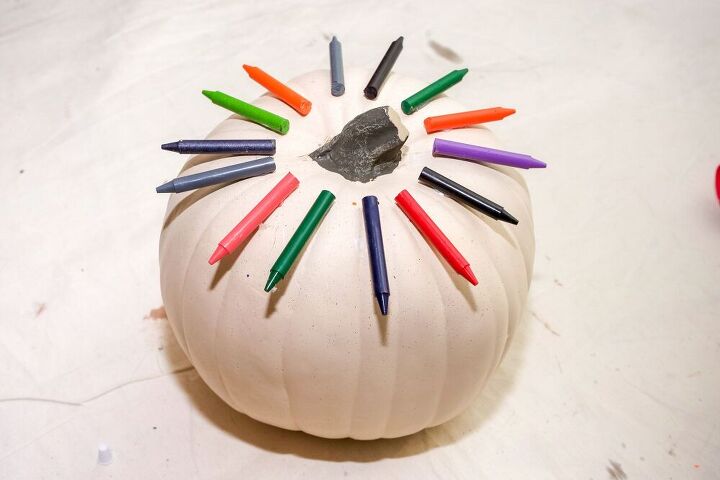
Prepare Crayons
Unwrap all of the crayons and cut about 1/3 – 1/2 of the ends off.
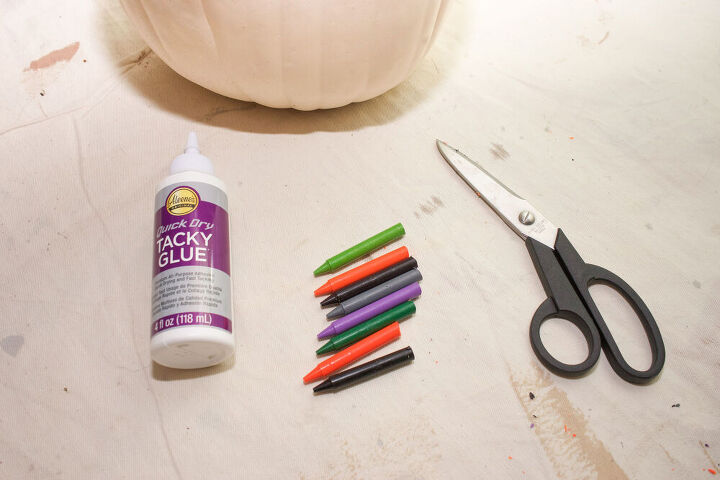
Glue
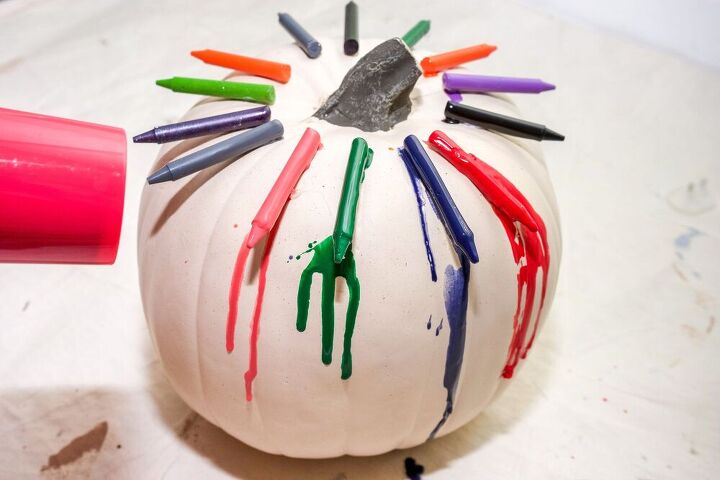
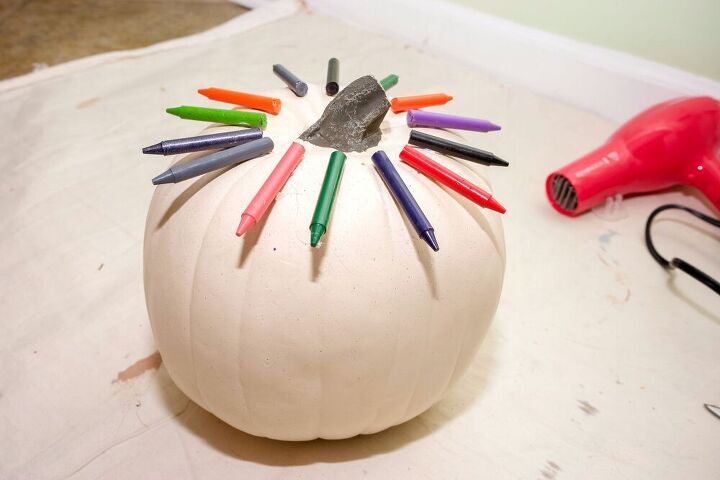
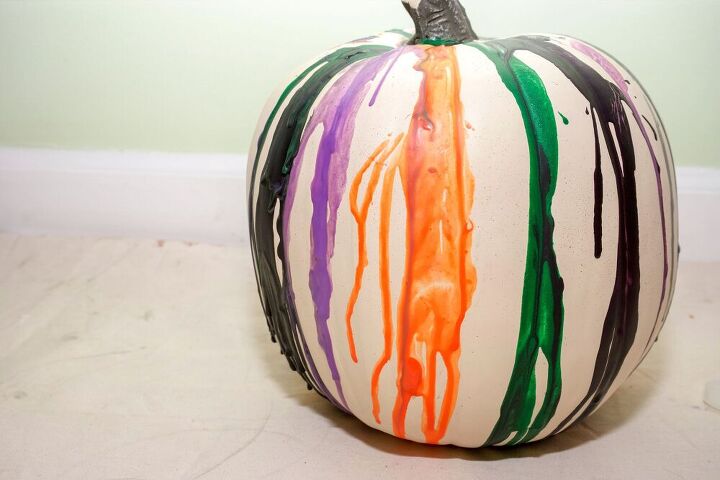
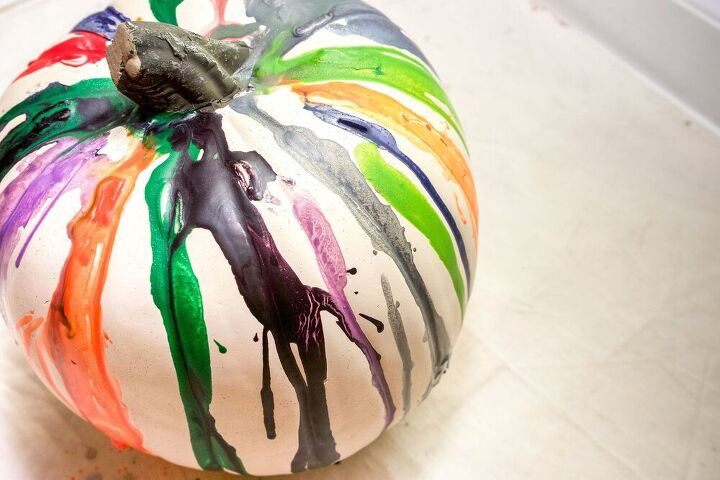
Melt the Crayons
Be sure you have a drop cloth underneath the pumpkin, as the wax will drip and splatter quite a bit.If some of the crayons fall off as they are melting, just pick them up and place them back on the pumpkin.
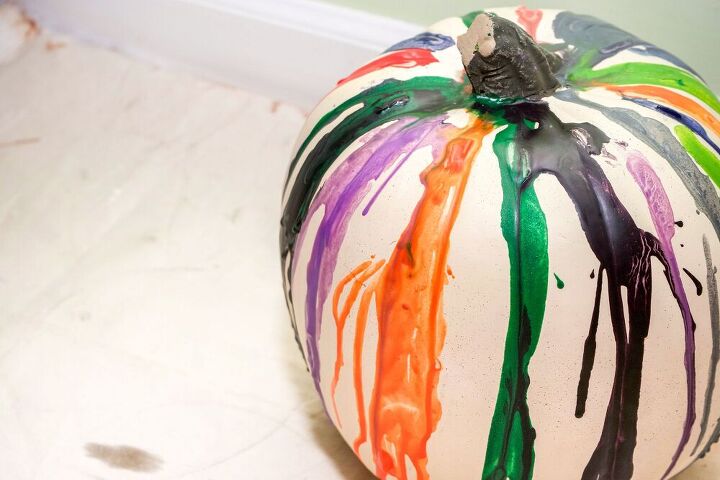
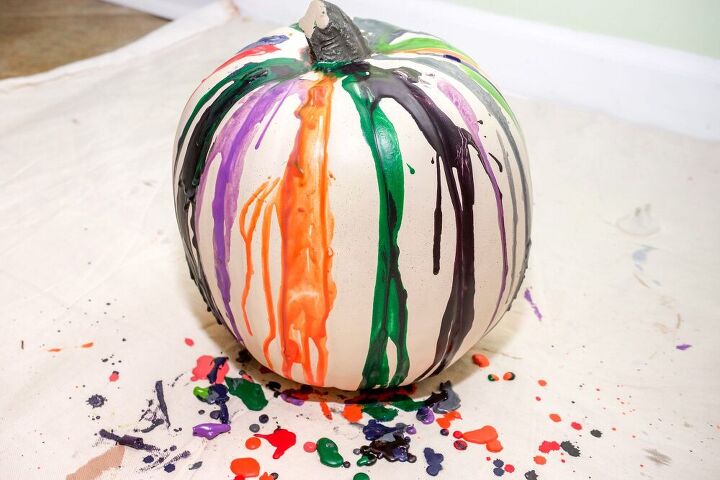
Let Dry
What do you think? Have you ever tried making a melted crayon pumpkin? Or any other type of crayon art?
Resources for this project:
See all materials


Any price and availability information displayed on [relevant Amazon Site(s), as applicable] at the time of purchase will apply to the purchase of this product.
Hometalk may collect a small share of sales from the links on this page.More info

Want more details about this and other DIY projects? Check out my blog post!
Comments
Join the conversation
2 of 14 comments
-
I haven't tried the crayon pumpkin but I did do a sheet of white paper. I sharpened the crayons with a pencil sharpener then folded the paper in half then went over it with a hot iron. It's beautiful art work


Frequently asked questions
Have a question about this project?
Just wondering...as long as there’s no metal in anything, could you microwave in short bursts instead of using a hair dryer?
Could you use a real pumpkin? Maybe the crayon wouldn't stick as well?