


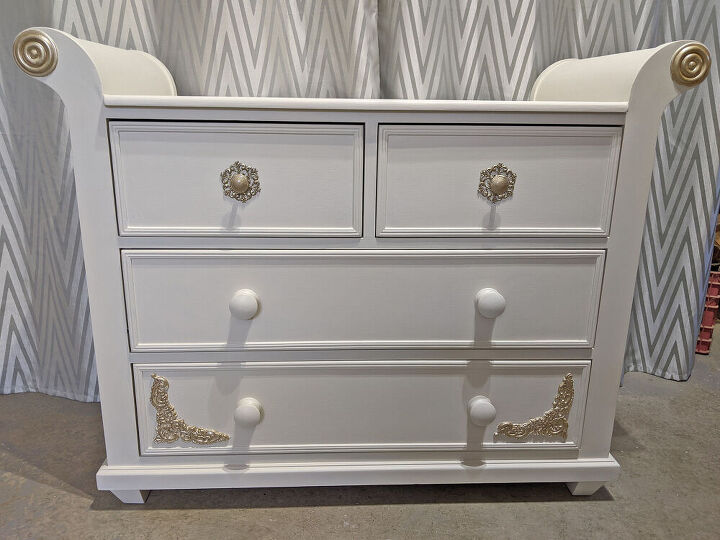
Change Table Gets a Vintage Inspired Revamp

I scored a free change table on marketplace. It was pretty rough looking, but it was solid wood and I liked the shape, so I picked it up and gave it a makeover.

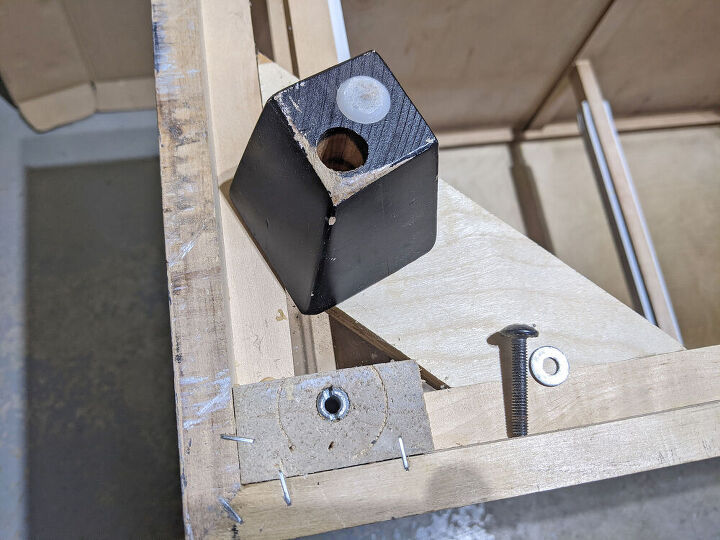
FEET
I thought it would look better if it had feet. I had removed feet from an old ottoman project the day before and wondered if I could re-use those. I flipped the table upside down to see where I might be able to attach them and saw that it had the little threaded inserts, where there had been feet before. I wondered if I’d be lucky enough for the original screws (that were with the feet) to fit the inserts. I was stunned when the screws fit perfectly! So I went around and attached the feet, using a hex key, thinking what a stroke of luck this was!
But when I got to the fourth foot I understood why it didn’t have feet; the threaded insert was missing. Womp womp. But I wasn’t giving up on re-using the feet. I filled the hole with PL premium adhesive and also buttered the bottom of the foot with it. Then I used the longest screw I had (I think it was about five inches) and screwed the foot on using a drill and waited for the adhesive to dry. Thankfully it worked great! I think that one is the strongest foot now.
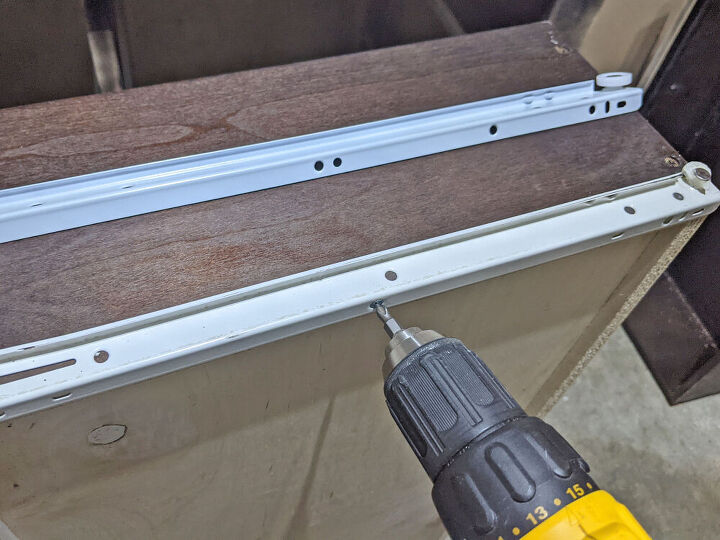
DRAWER SLIDES
The two bottom drawers did not roll smoothly, as a couple of the wheels were cracked. I replaced the drawer slides, as well as the rails inside the cabinet, using the exact same type.
I removed the back panel on the top. It was attached with a few brackets and screws and was very easy to remove.
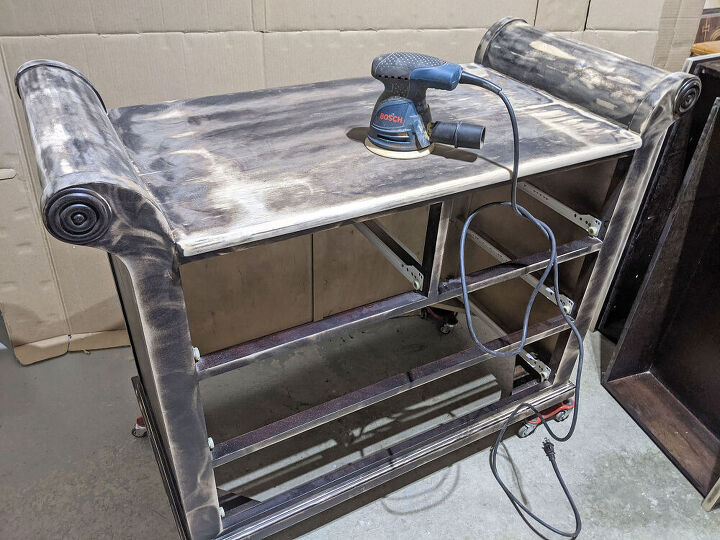
SAND
Then I sanded the cabinet and drawer fronts with my orbital sander, using 80 grit and then 120. I used a sanding block to sand the wooden knobs and to get into any corners missed by the sander.
CLEAN AND PAINT
I cleaned everything with TSP, dissolved in water. Then I painted everything, including the wooden knobs, with antique white, three coats.
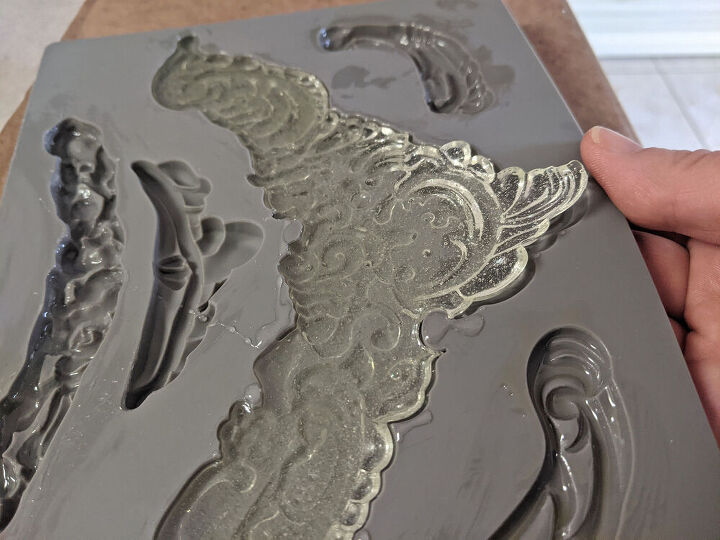
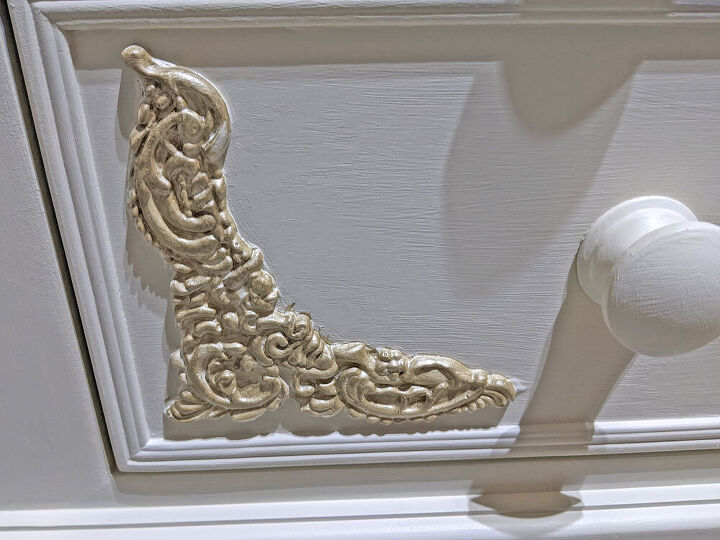
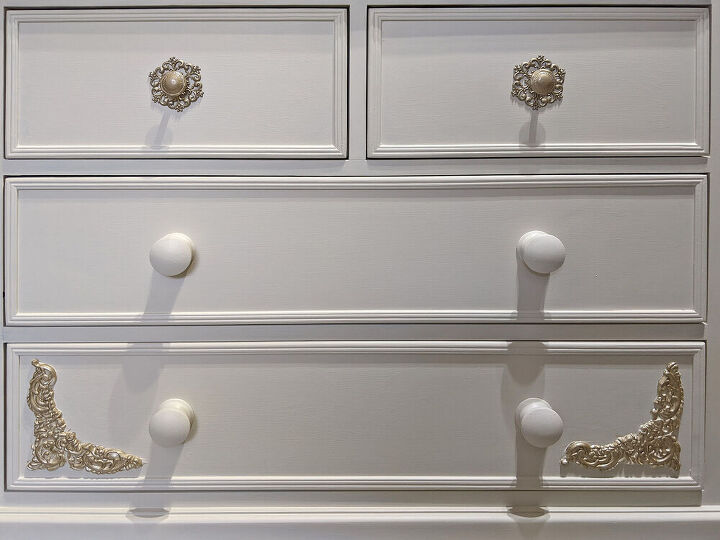
DIY APPLIQUES
Once it was painted I felt like it needed a little something extra. After some though I decided to try making appliques using a silicone mould I had been gifted. I tried a couple mediums that didn’t work (air dry clay & hot glue) and then remembered I had a 5 minute epoxy adhesive. I gave that a try and it worked great!!! I made two of them and glued them to the bottom drawer front, using the PL Premium adhesive. Then I painted them the same colour as everything else.
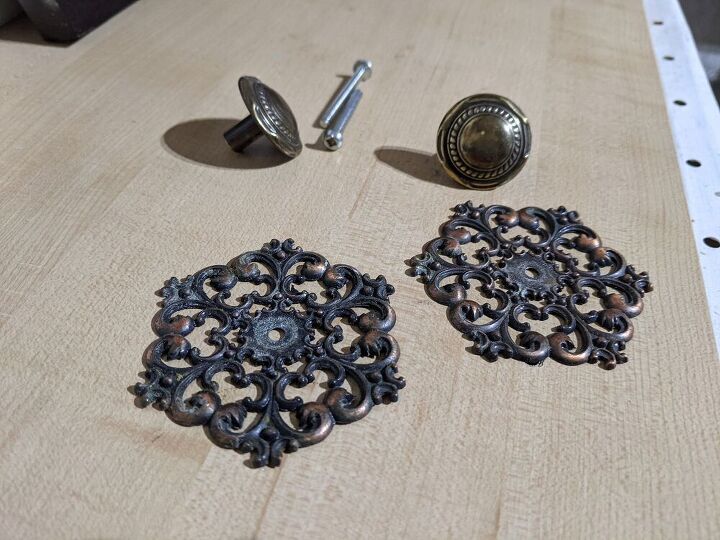
NEW HARDWARE
I needed to replace the two football knobs on the top drawers. I found a couple in my garage, as well as really cool medallions to use as a backdrop. I spray pained them in Champagne mist.
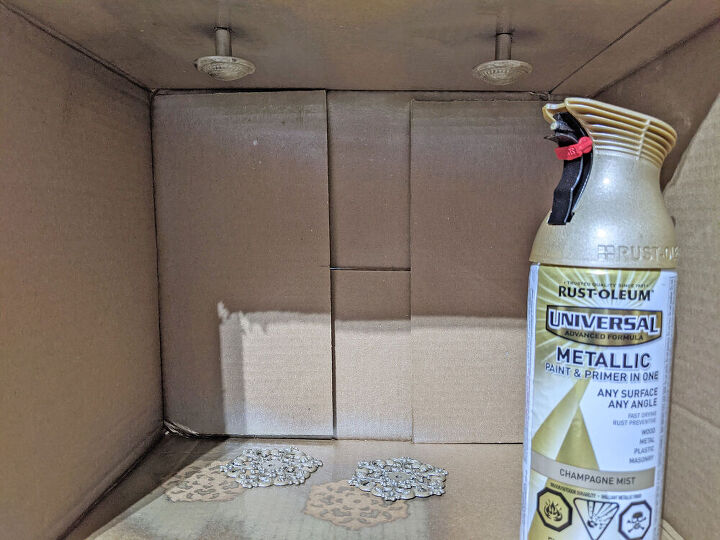
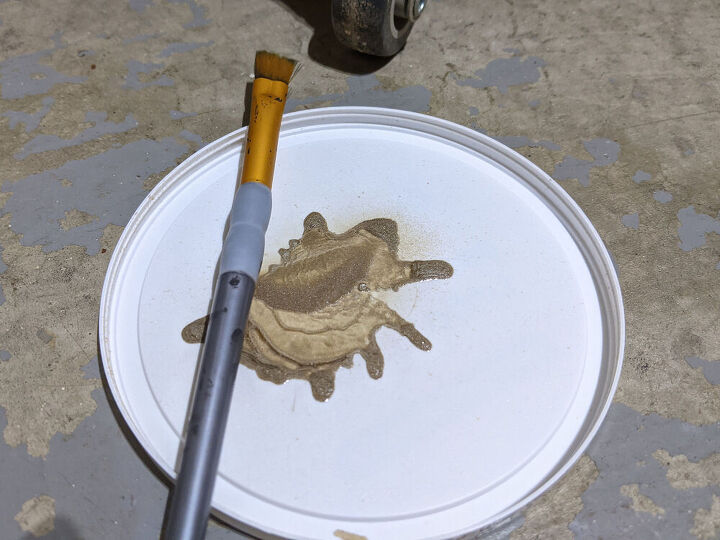
I love how the painted hardware turned out and wanted to paint the appliques and the little circles on the top of the cabinet the same colour. So I sprayed the paint onto a plastic yogurt lid and applied it using a little artist brush.
SEAL
Once everything was dry, I sealed it with wipe on poly, applied with a damp rag.
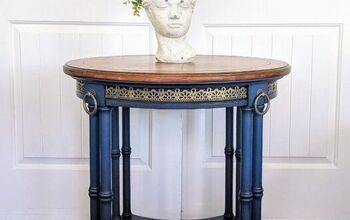
I'm pleased with the way this makeover turned out. From beat up change table to a vintage inspired beauty. :)


Frequently asked questions
Have a question about this project?