


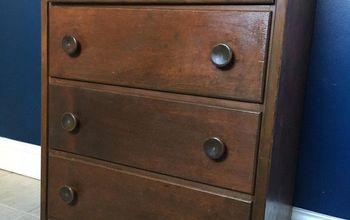
Easy DIY Nursery Furniture
This piece had “nursery” written all over it when I saw it. I thought it would make a sweet changing table for a tiny infant and was a piece that would grow with the child as he/she grows.
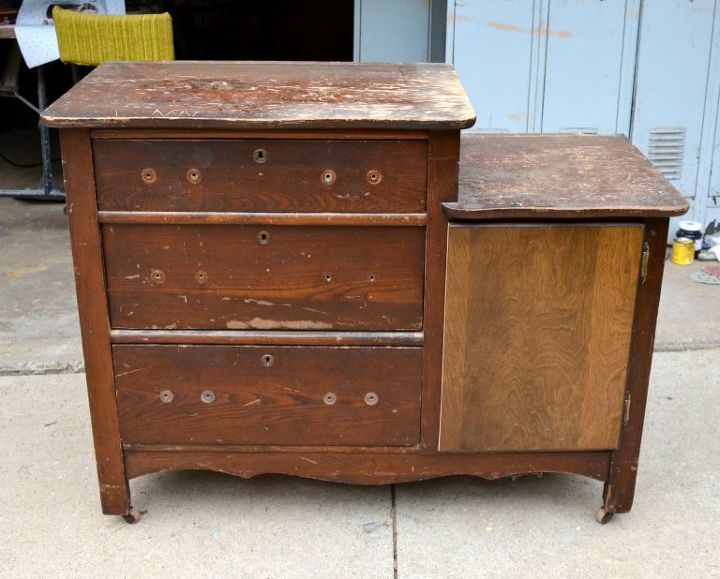
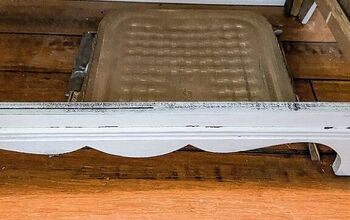
The first thing we did to this piece was make the cabinet door. I was fine leaving it open and setting a basket inside the cabinet, but my husband has been wanting to use his palm router more to get better at it. We measured the opening and we were able to find a cabinet door at Restore that would work. The door that was the same height, but he had to use the router to make it fit inside the opening. He also had to cut the width of the door using a table saw. Then, he routed the sides of the door as well to make it fit perfectly. Look at his work! He made a new door perfectly to fit! I see more "router" work in our future.
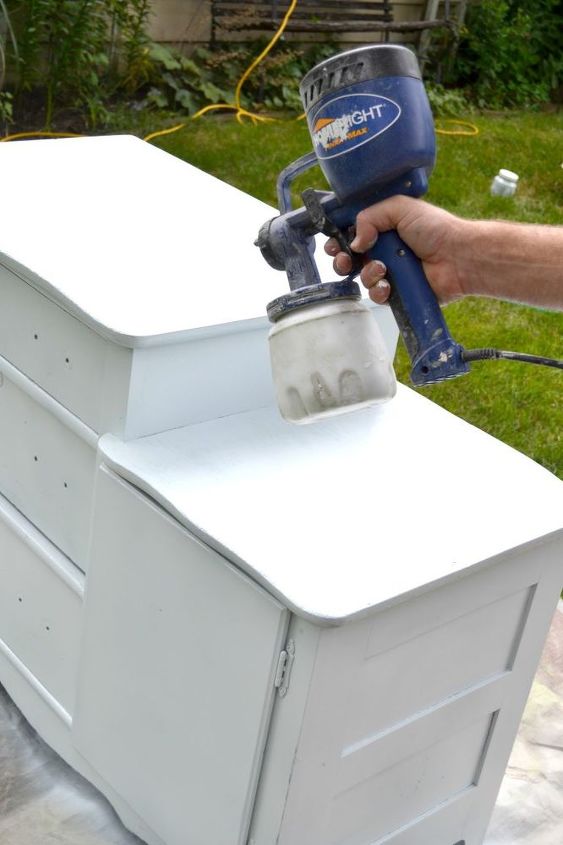
After the door was on, we used the HomeRight Finish Sprayer to paint the piece. You can see (aff link) the exact paint I used by clicking here .
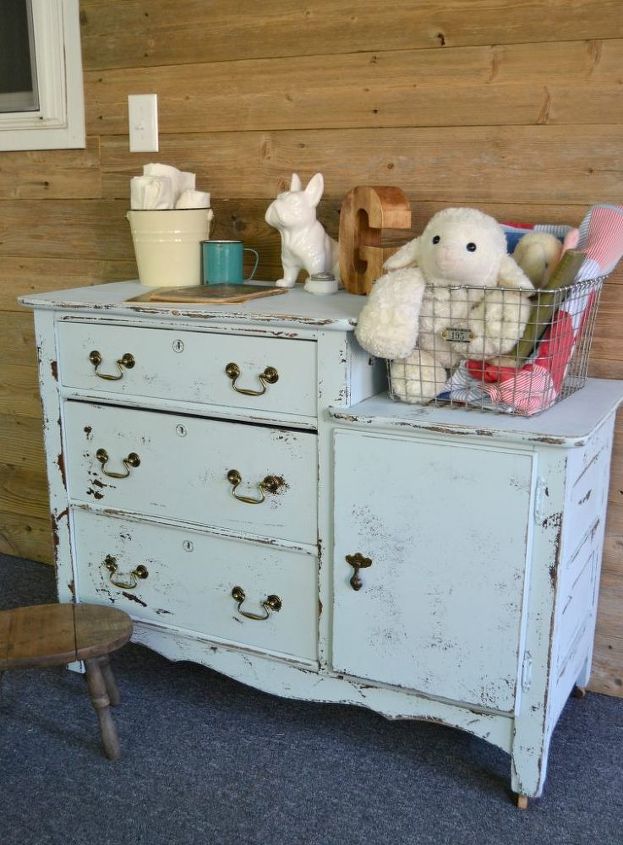
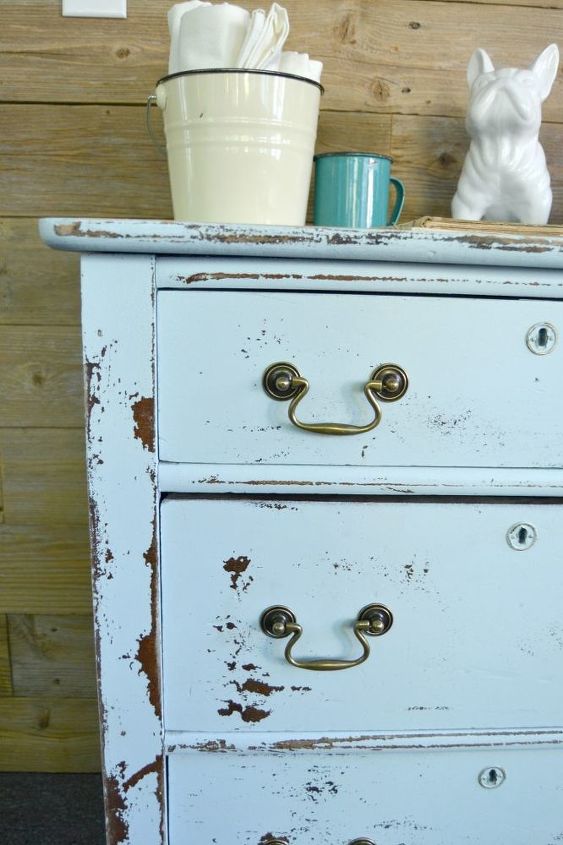
After the paint dried, I sanded the piece to distress it. If you don't own an orbital sander yet, I highly recommend it. It is one of my favorite DIY tools. You can see the (aff link) sander I use by clicking here .
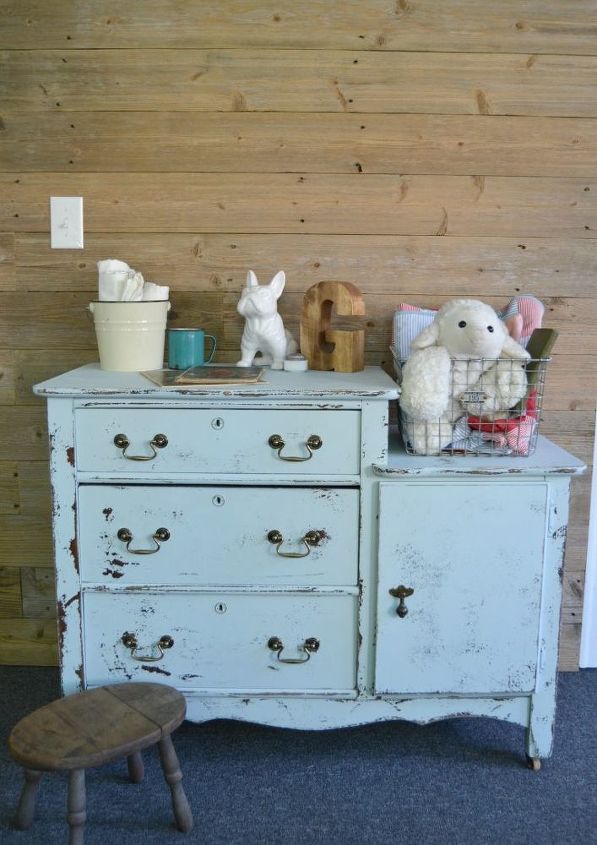
Putting your own stamp on your baby’s nursery by DIYing pieces makes it more personal and saves you a ton of money. This dresser was a nursery piece from the first time I saw it, but it can be used in so many places. Where would you use it?

Want more details about this and other DIY projects? Check out my blog post!
Comments
Join the conversation
3 of 6 comments
-
beautiful job!
-
I just commented but my comment disappeared.


Frequently asked questions
Have a question about this project?