


Giving a Chest Patina With Paint

by
Kathy R
I am planning a whole room transformation to our dining room. Having decided on the wall color, I also decided to paint some of the furniture in the room - as well as replace some. This little chest serves quite well to store linens and china - so it's staying. I decided to give it an aged look - to give it patina. As I was contemplating the colors and steps - a story began to formulate - in this story, the first layer was the original blue with gilding on the edges - it was a gift to a bride from her bridegroom. Time and circumstances added additional patina to the chest - I ended up taking six steps in transforming this piece not only giving it a new look, but also a history as well.
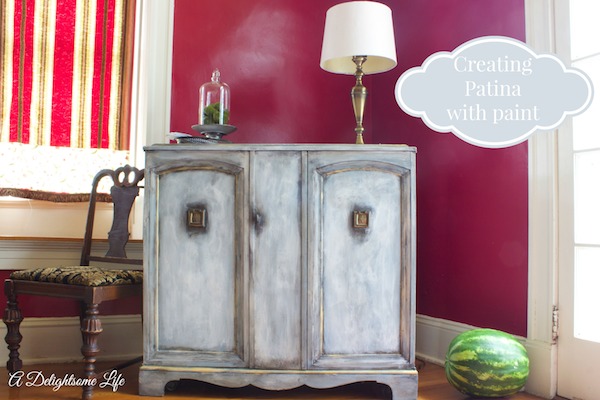
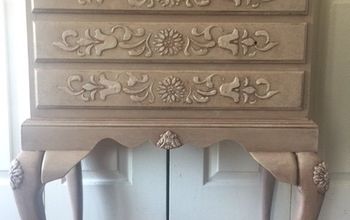
The chest today - the patina includes the first layer of blue with gilding - additional grey paint randomly dry brushed over - then aging with raw umber - then a 'white wash' with a final step of two waxes; antique wax for the raised portions of the front and clear wax for the top, sides and door inset.
The chest before - it its 'real' first life it was a tv cabinet and was transformed into a chest with three large drawers to the right and five smaller drawers to the left.
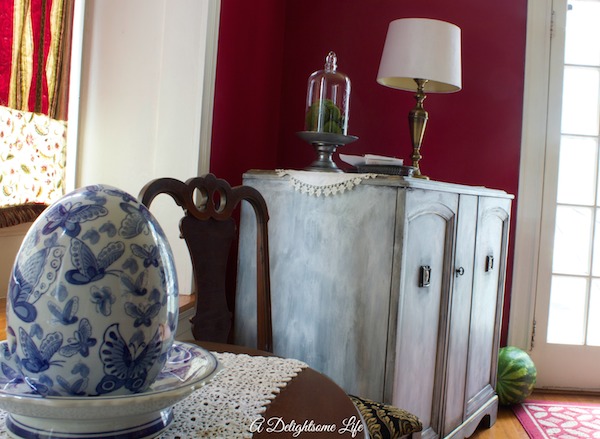
The chest after - the beginning to the whole room transfer began with this chest - it will compliment the blue color I'm planning to paint the walls.
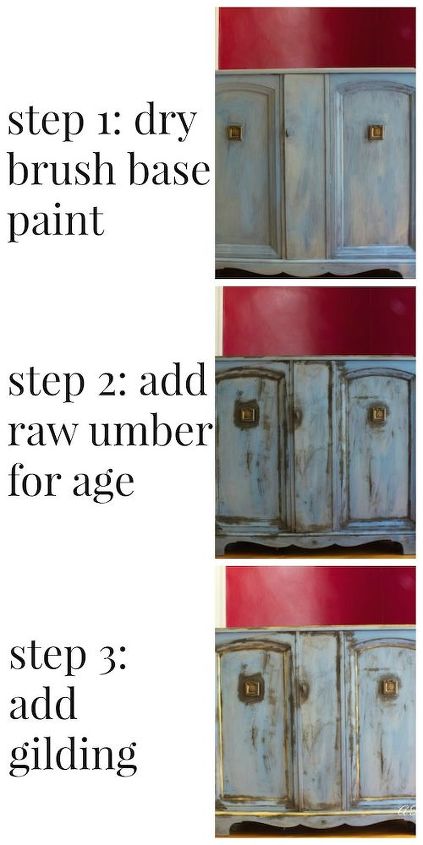
Steps 1 - 3: paint the chest with blue and grey; step 2 - I decided to use Raw Umber acryllic paint to give the chest age - to replicate the years of some times neglect and not so careful cleaning - patina. Step 3 add the gilding to the raised edges on door, top and bottom of chest.

Step 4: additional aging with gray dry brushed over the entire chest; step 5 white washed by randomly brushing on a little bit of antique white paint and blurring it in with a dampened paper towel; step six - apply 2 waxes, one antiquing and the other clear. The antiquing wax was placed where I wanted the chest to show more age.
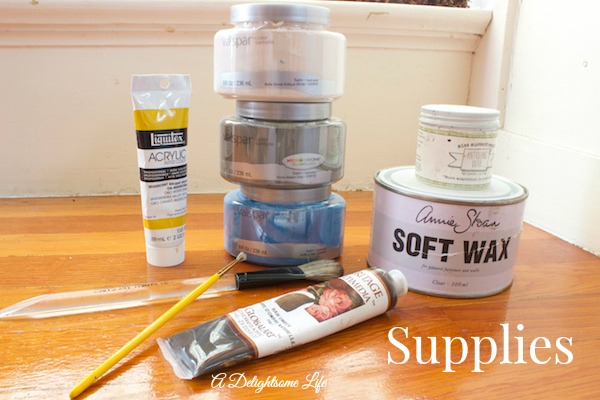
The supplies used to transform the chest
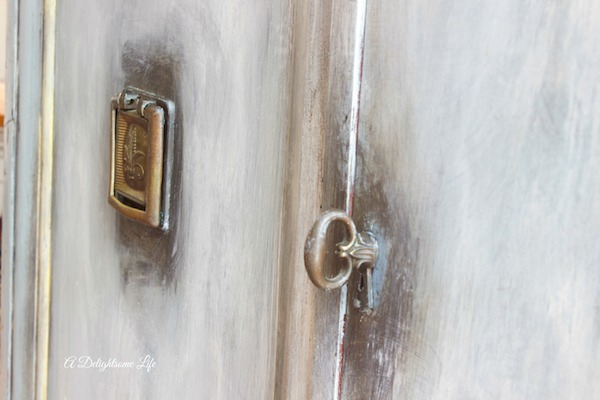
A closeup of the front doors - patina is given to the places where there would be more use - touch over time.
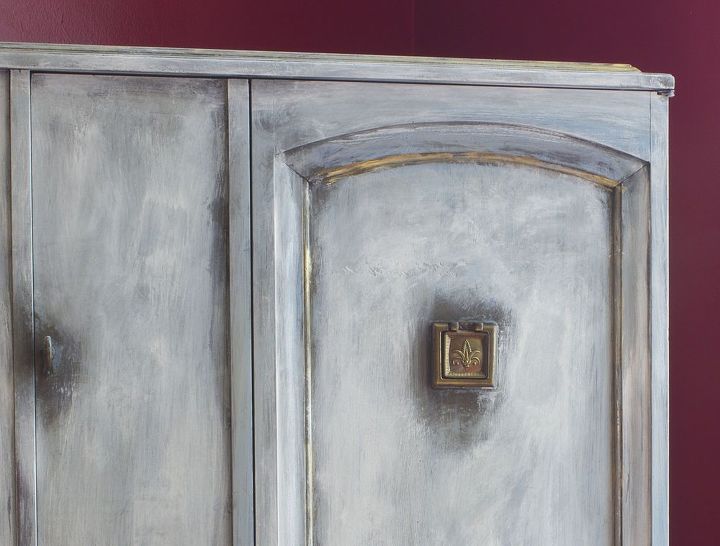
A closeup of the chest before the antiquing wax was applied
Want more details about this and other DIY projects? Check out my blog post!


Frequently asked questions
Have a question about this project?