


DIY Hair Tie and Headband Holder
4 Materials
Easy
My daughter’s headbands and hair ties have been stored in a dresser drawer without any sort of organization or structure. If you have read my previous posts, you’ll know that this kind of disorganization drives me a bit crazy! (Well more crazy than I usually am anyways! :-P)
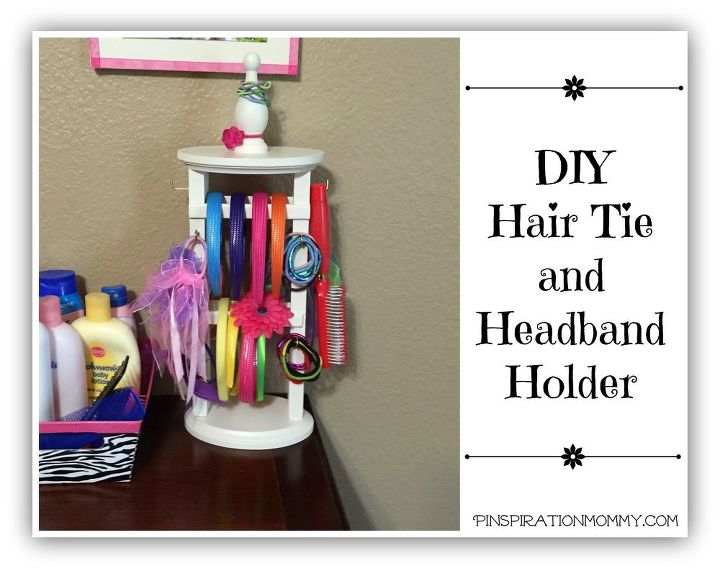
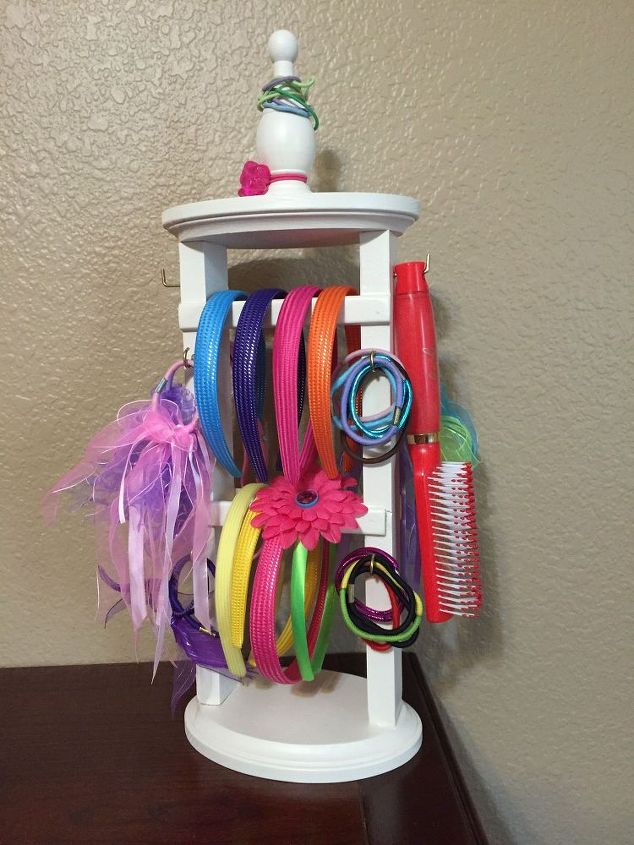
So this weekend I decided to do something about it. I had some spare wood parts and boards that I have been waiting to use on something, and this past weekend I finally determined what that something should be! Here is what I created:
For full detailed instructions and more pictures, please see my blog at the link at the bottom of the post.
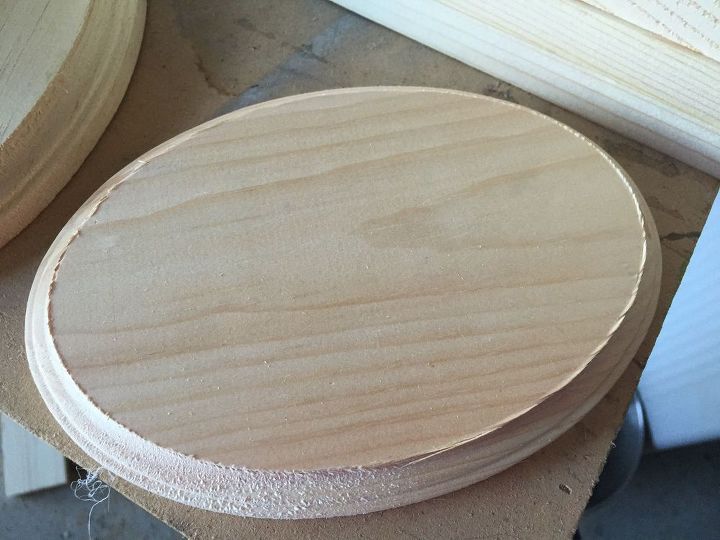
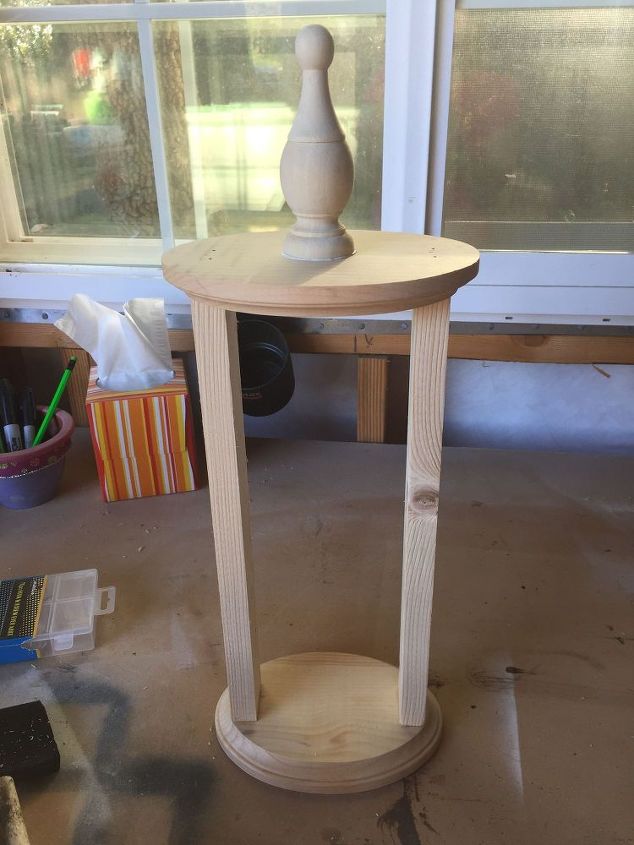
Next, I cut two 1×2 boards to length. Using wood glue and finish nails, I attached the two 1×2 boards on top of each end of one of the oval 5×7 wood boards.
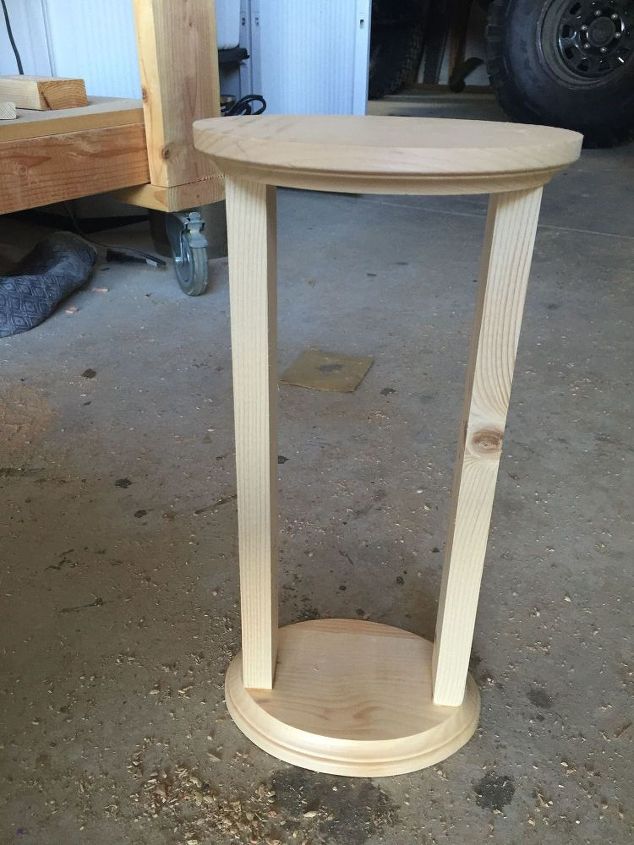
I then glued a small wood finial to the center of the top oval 5×7 board.
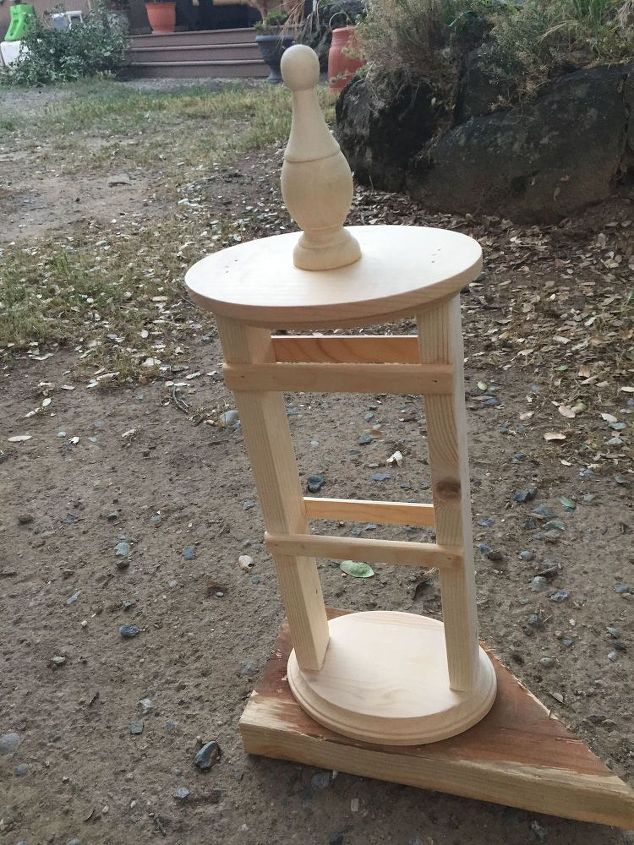
I added two trim pieces to the front and back of the hair tie holder (directly across from one another) and attached those to the 1x3 boards.
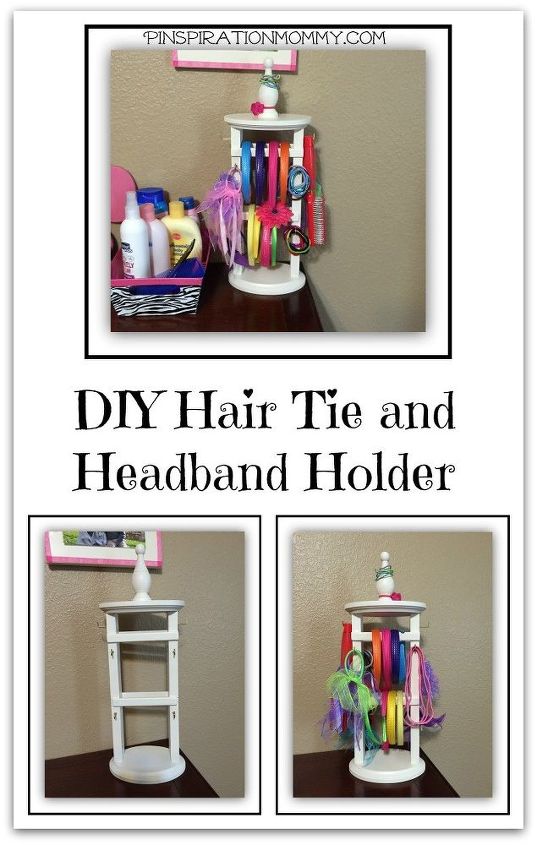
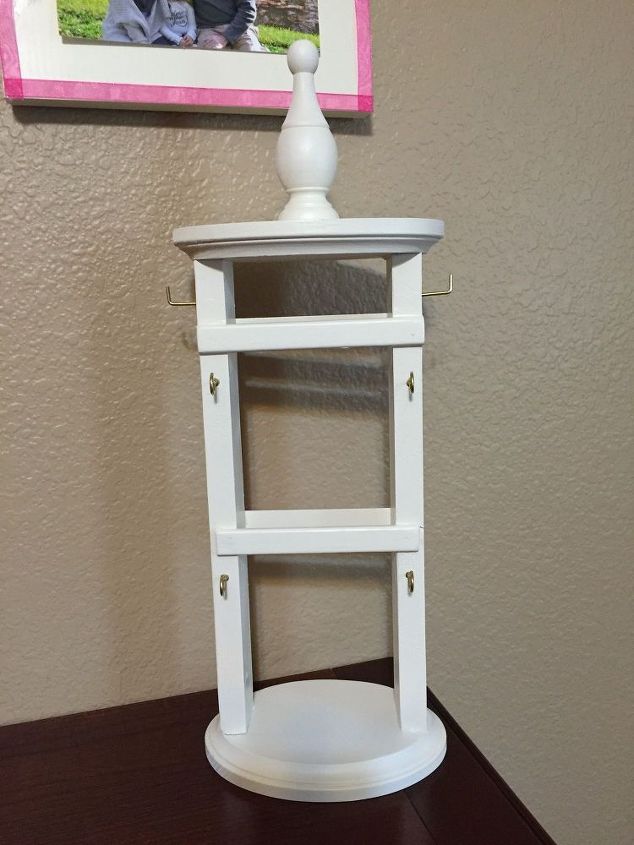
I then sanded and painted the holder and added the small screw-in hooks to the front, back, and sides of the hair tie holder. Here is the finished project:

Want more details about this and other DIY projects? Check out my blog post!
Comments
Join the conversation
2 of 4 comments
-
Great idea!
-
Awesome idea!


Frequently asked questions
Have a question about this project?