


Woven Entryway Bench

I saw this beautiful woven bench on an instagram account over a year ago, and since then have wanted to duplicate it for my own home. It wasn’t until my next door neighbor moved away and left me all the scrap wood from her husbands shop that I decide to tackle it! My total cost for this bench is $15 since I was able to use the leftover wood they gave me! Score!! I also have a well stocked craft room, but I think even if you had to buy everything I used you could easily make this for under $100!
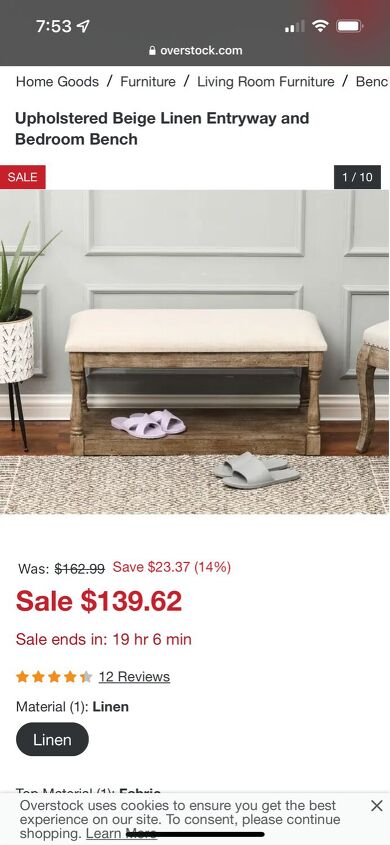
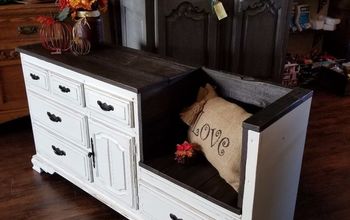
This was the inspiration for the body of my bench, but I wanted it to be a bit taller to accommodate some larger storage baskets (tutorial coming soon) and also a little longer, 4 feet , this wall is over 8 feet long, I almost wish I would have made it 5 feet… I also thought we could also use the area under the seat to house the kiddos tablet and Nintendo, masks for school and all the other little grab and go items that come in handy and would be kept in a mud room if one existed… one day I’ll have a mud room!
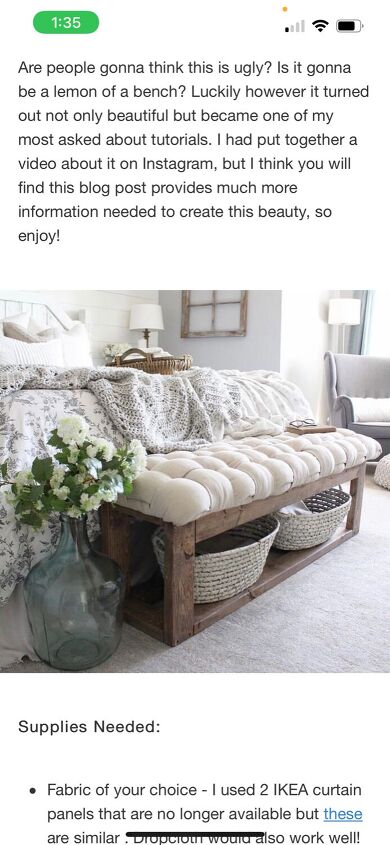
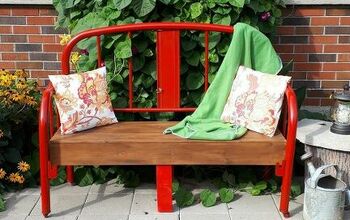
And THIS, is the post I saw about the woven bench top! She duped a high end designer bench and it’s stunning! I wanted my weave to be a bit tighter though. Buckle up cause this is a long one!
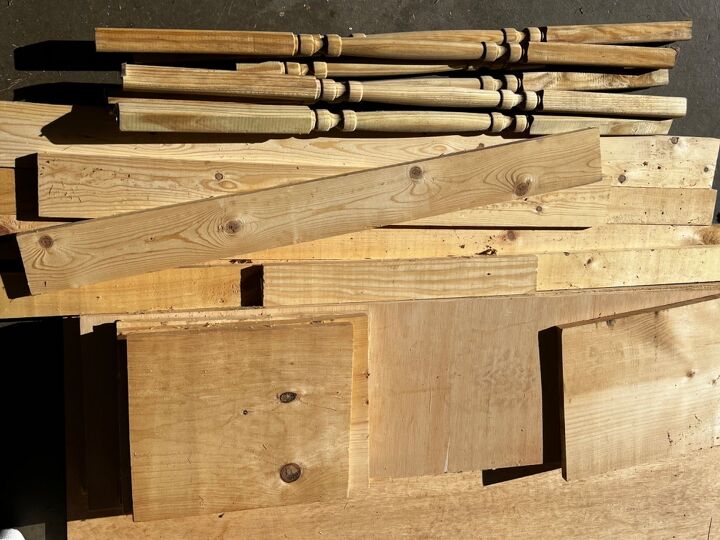
Collect supplies! The only thing I purchased for this was the spindles, I got them at Home Depot for about $2.50 each! If you were to have to purchase all materials for this project here is what you will need :
- 1/2 inch plywood a 2x2 sheet would be enough for this size.
- 1x3 boards, 2 at 8 feet would be more than enough
- 5mm underlayment board
- kreg jig
- 1-1/4” pocket hole screws
- wood stain in color of choice I prefer Varathayne, I used 2 colors for this look, flagstone and antique white
- something to stain with, I use flour sack towels
- 1 canvas drop cloth
- polyfil 2 bags could probably be enough
- sewing machine and thread
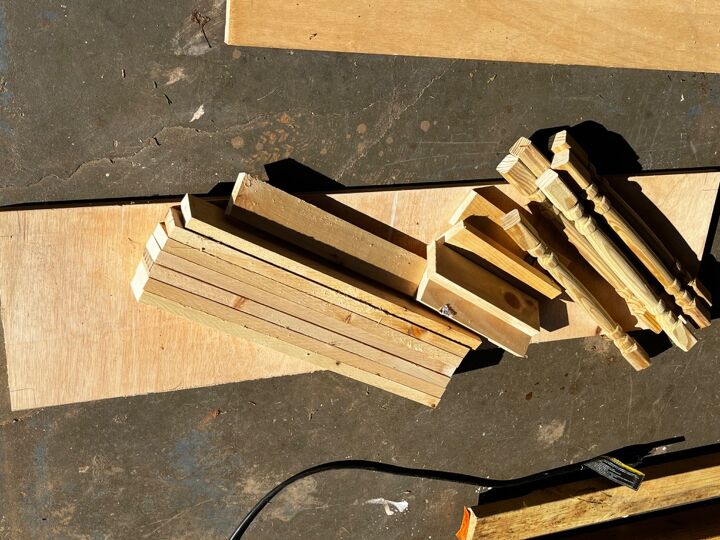
Make all your cuts. My plywood was already cut 4x1 foot, the 5mm underlayment was also already cut, which was great, of all the tools I have my least favorite is the table saw! I didn’t note the length I cut the 1x3 or spindles, but this is how I figured out my cuts, I used a 1x3 and put it against the spindles (leg) just about where the detailing starts and marked it on the top and bottom sides, then cut. This gave me about 18.5 inch legs. Which is much taller than the standard 16” bench but we’re tall in my house, so it works! And will also give us ample storage space for baskets under. Then I subtracted the width of the leg x 3 from 48 then divided that number half for the skirting on the front and 12- leg x2 for the sides.
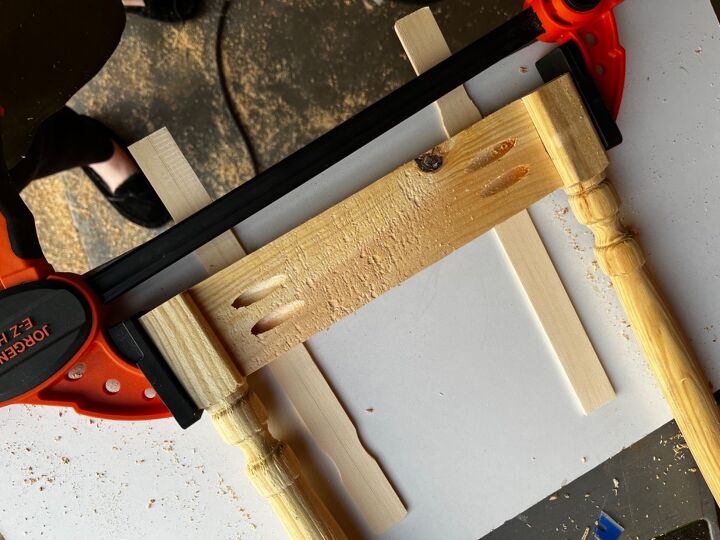
Once everything is cut, add pocket holes. I didn't get any pictures of this part, if you are new to a kreg jig definitely check out YouTube, there are lots of great tutorials! I clamped the side legs with the side skirt using paint sticks as spacers so the skirt would sit back a little bit from the front of the legs. Repeat for all sides! When it came time to attach the sides to the front and back, I really wished I had a right angle clamp, but I make it work by balancing it on my table saw, lol!
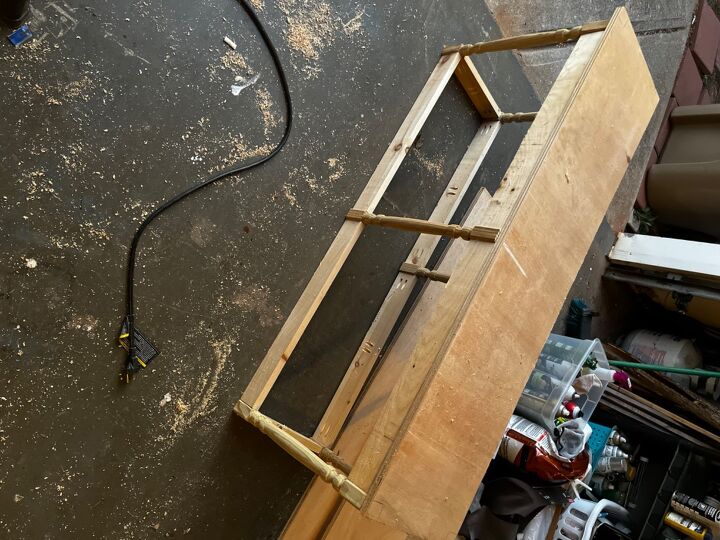
And we have a frame!! And a top! You could leave it with a stained wood top also!
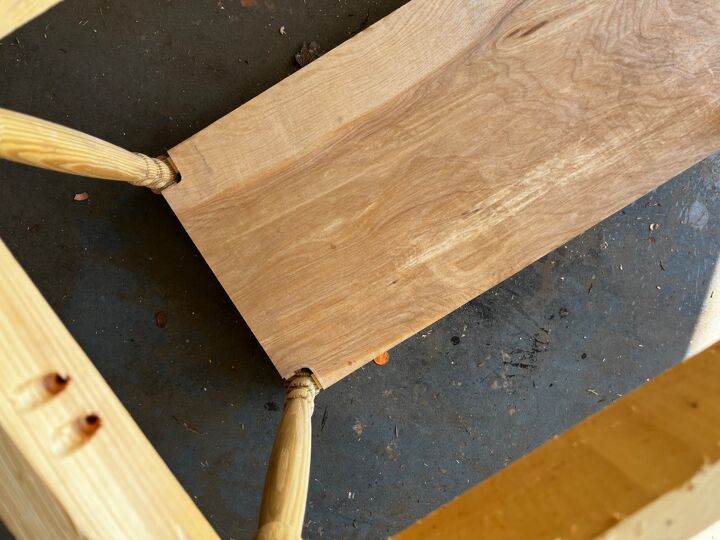
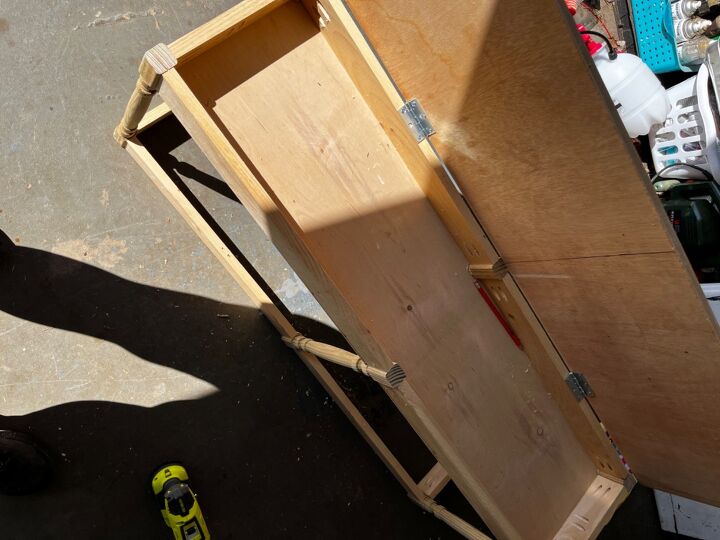
For the bottom of the seat, to add storage, I cut notches using my jigsaw to accommodate the legs, I wasn’t concerned about perfection here, it will be under the seat!
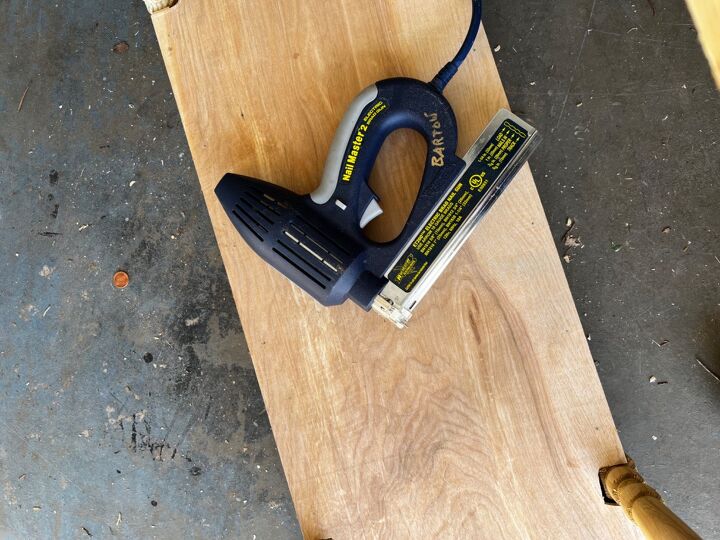
Flip the bench over and attach bottom with brad nails!
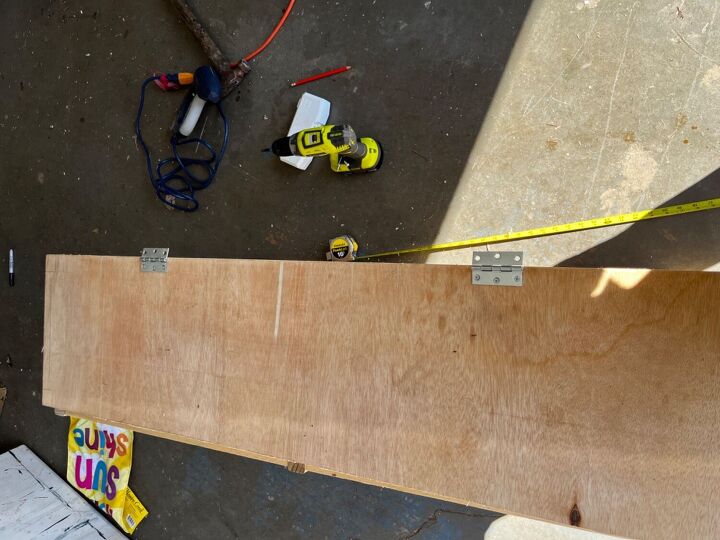
Find the center of your top, I measure out from center 1 foot on each side and attached my henges. These are what I had on hand but there are other types of he goes that would lay more flat that may work better if upholstery isn’t in your plan!
Test functionality of hinges and do happy dance at this sweet little hidden storage spot! No more masks hanging on the front door knob for the kiddo to grab on her way to the bus! WIN!!
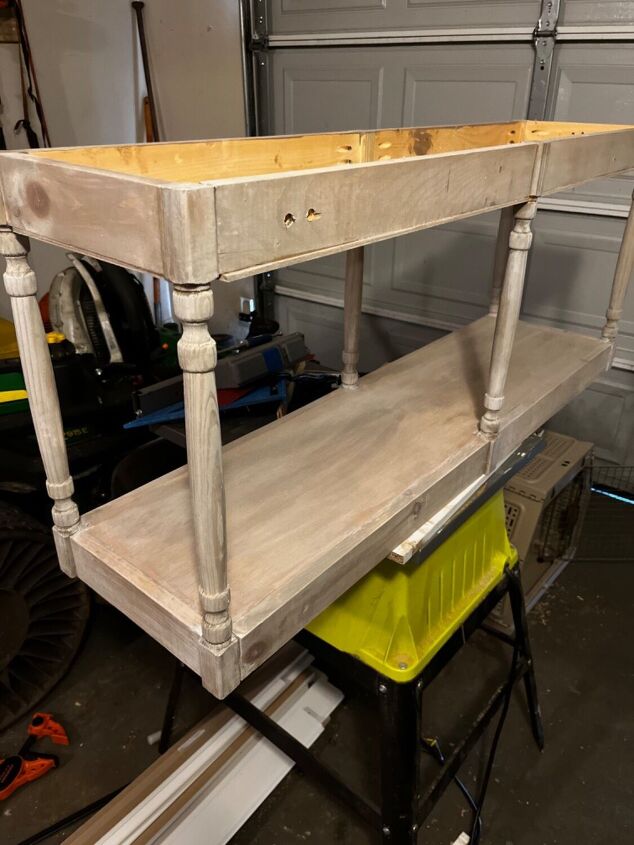
I got really frustrated with the base of this, so I didn’t get any pictures of that part. I notched the corners just like the seat base it was the middle legs that got me flustered! I had to just a hammer and chisel cause the notch was smaller than I was comfortable cutting with my jig saw… got it done but it was frustrating, I attached it with pocket holes within the skirting. I wood filled the imperfections, sanded and stained the body of the bench!! Now time to work on the top!
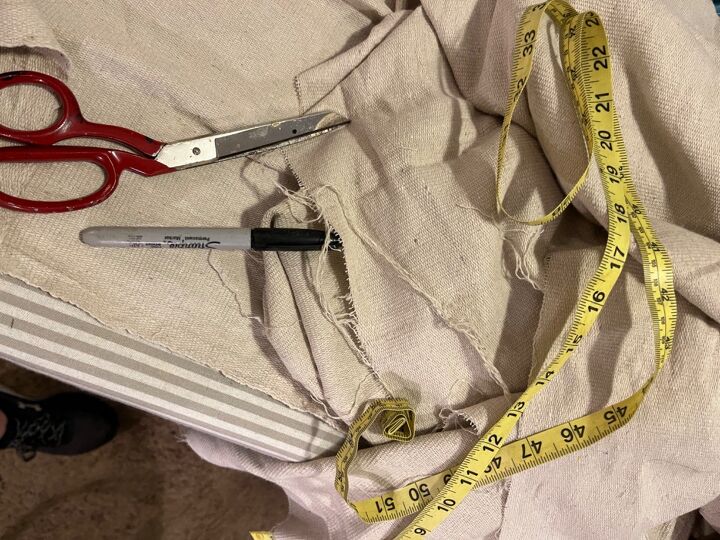
So for the top, I knew I wanted a neutral color, both my inspiration benches were neutral! I had some drop cloth in my drawer and I’ve used it for all sorts of projects in the past, curtains, pillows, so why not a bench?! Give it a good wash and press before you start, they soften really well!
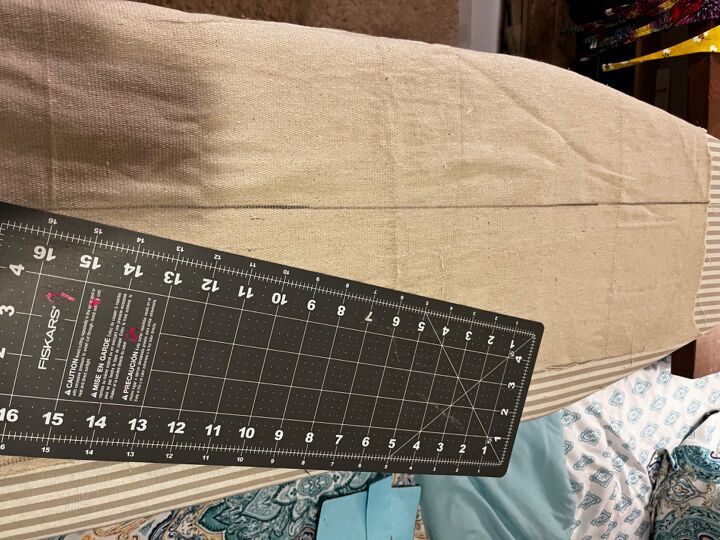
I wanted my basket weave a little thinner than the inspiration, I think she cut at 8, I THINK, so I went with 6, that will give me 3” finished tubes! Cut your strips! Divide you bench length by 2.5 , I got 19.2… I cut 20 short pieces, and then 5 long once’s. I cut the long ones at 60” and the short by 15”…. Give yourself more on the ends than I did… I BARELY had enough fabric to staple on once everything was stuffed!
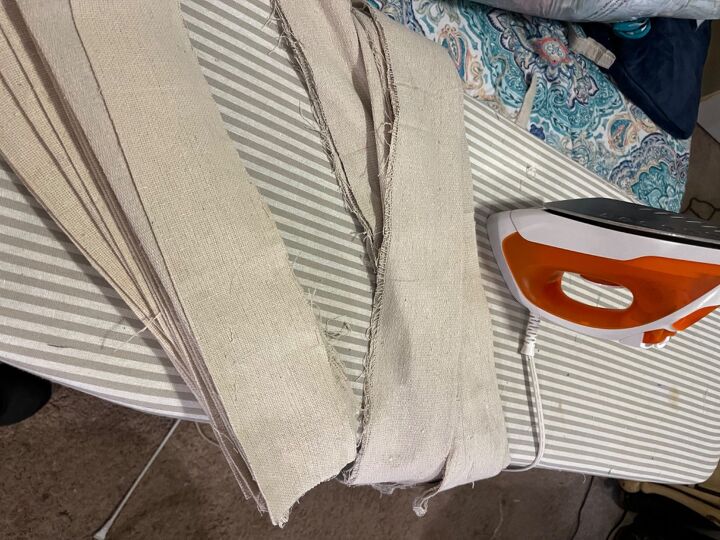
I folded in half and pressed my strips, I hate pinning if I can avoid it!
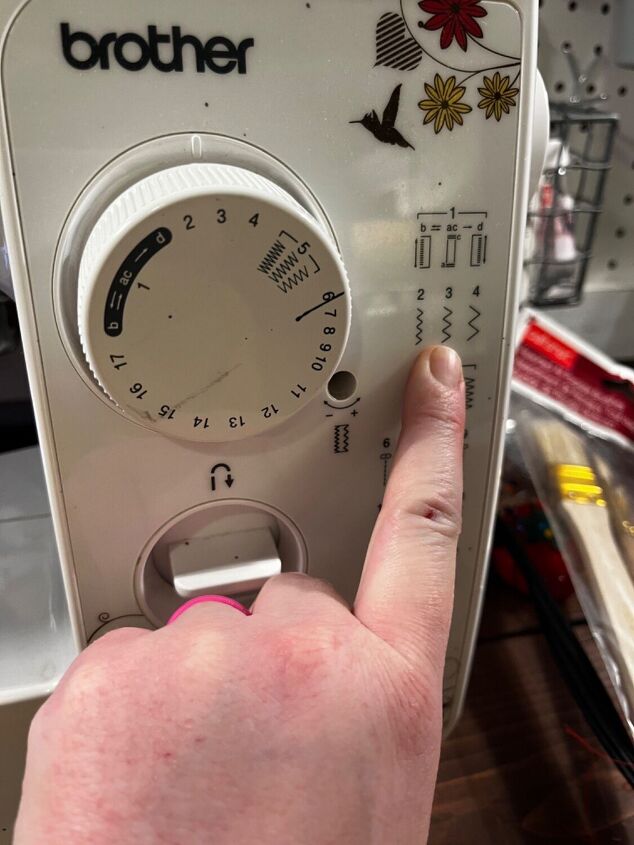
I used a zig zag stitch here, drop cloth tends to Frey and the zig zag will help hold it all together! Sew the entire length of the tubes first, flip the right side out, I used a wooden dowel to help with this part.
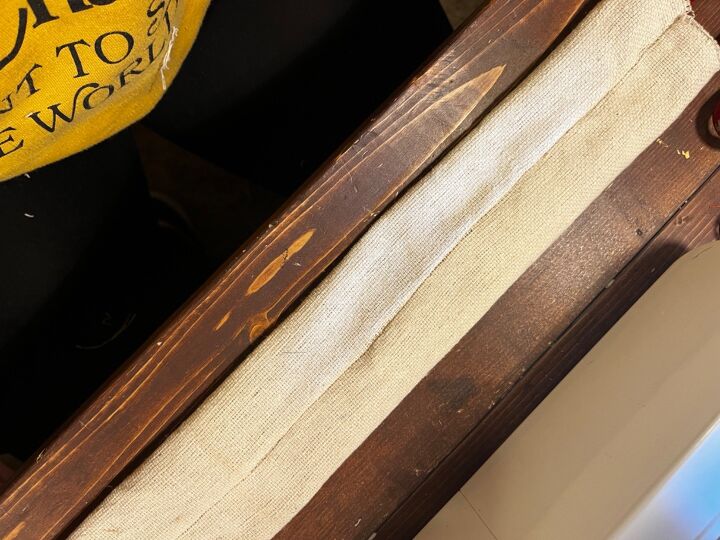
Flatten the tube with the seam in the middle.
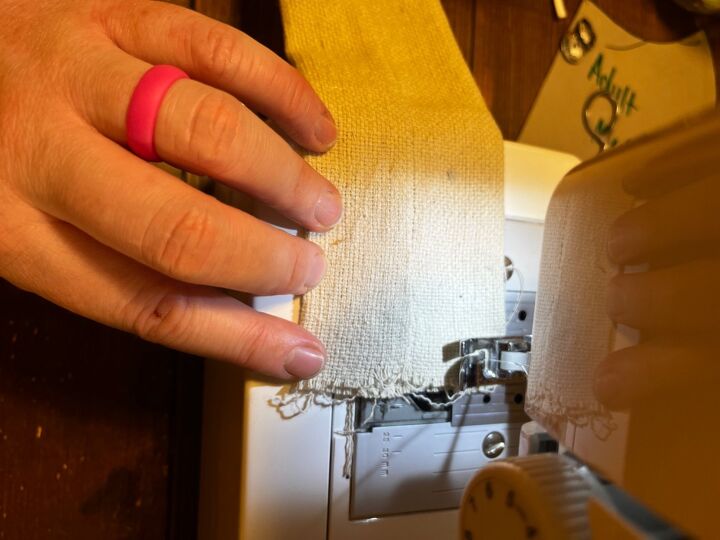
Stitch the end closed, use the zig zag here too
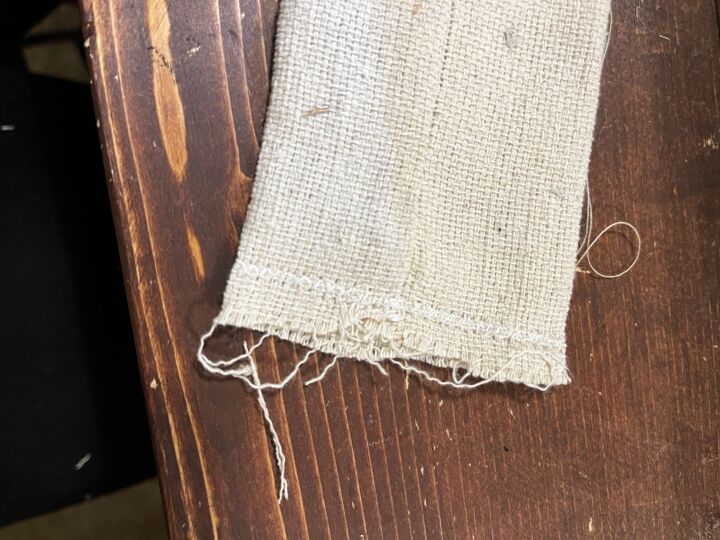
This will give you a nice secure end to staple and should also help keep the staple from pulling through. Stuff the tubes with batting and then stitch the other end shut the same way! I used my wooden dowel to stuff them as well!
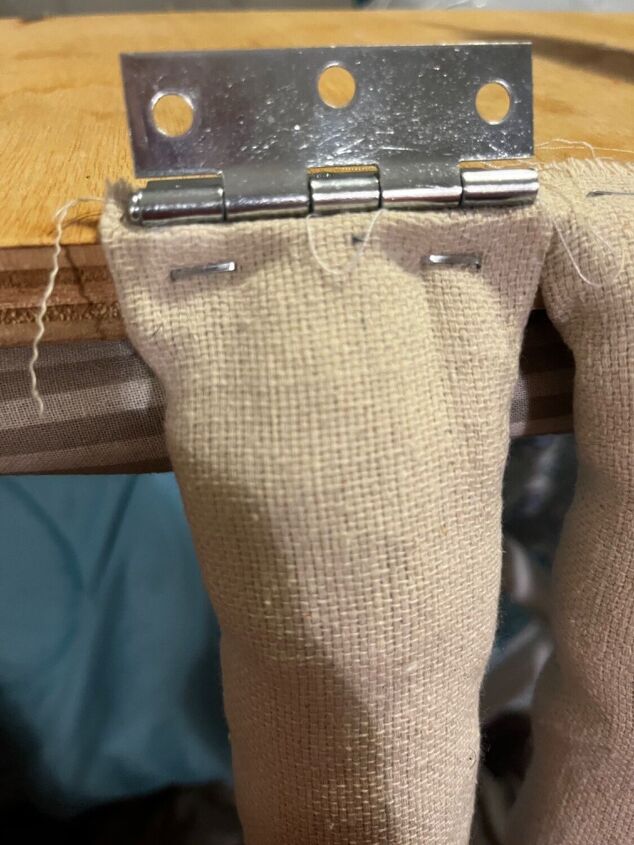
Start attaching the short tubes! I used 3 staples per tube, might have been over kill but I don’t want to pull any off when I start weaving. But the edge of each tube right to the next, you can over lap the edges slightly to avoid any gapping as well.

When I got to the hinges I looses the screws to allow the fabric to tuck underneath, then tighten the screws back down.

once I got all the short tubes on I attached the first long tube, slightly overlapping on the corner.
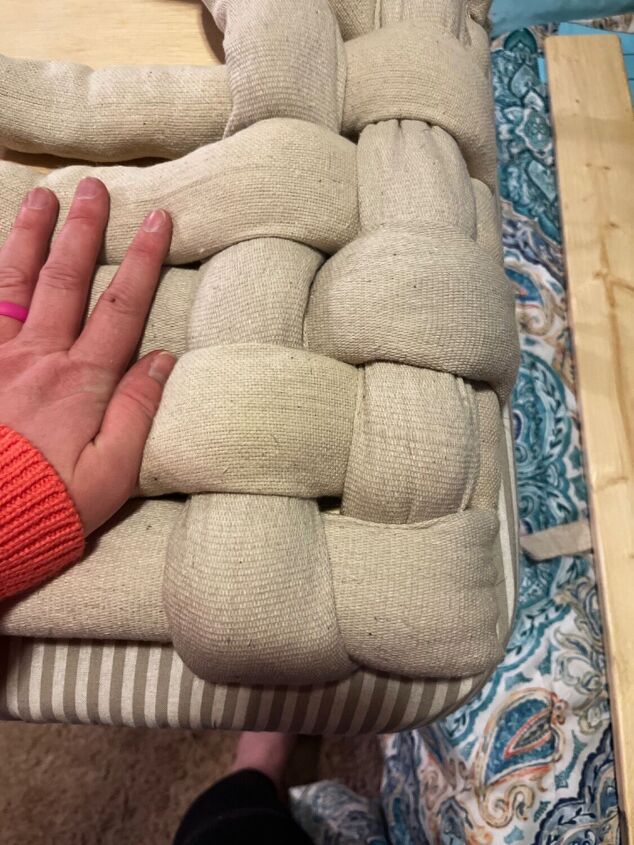
Start weaving, under then over on the first row, then over under the next row, Kelsey over on instagram @a.dabbled.dwelling Has a whole reel on how to do this part, a video makes it a lot easier! I did end up attaching both ends of my
short tubes then finishing the weaving made it easier for me though!
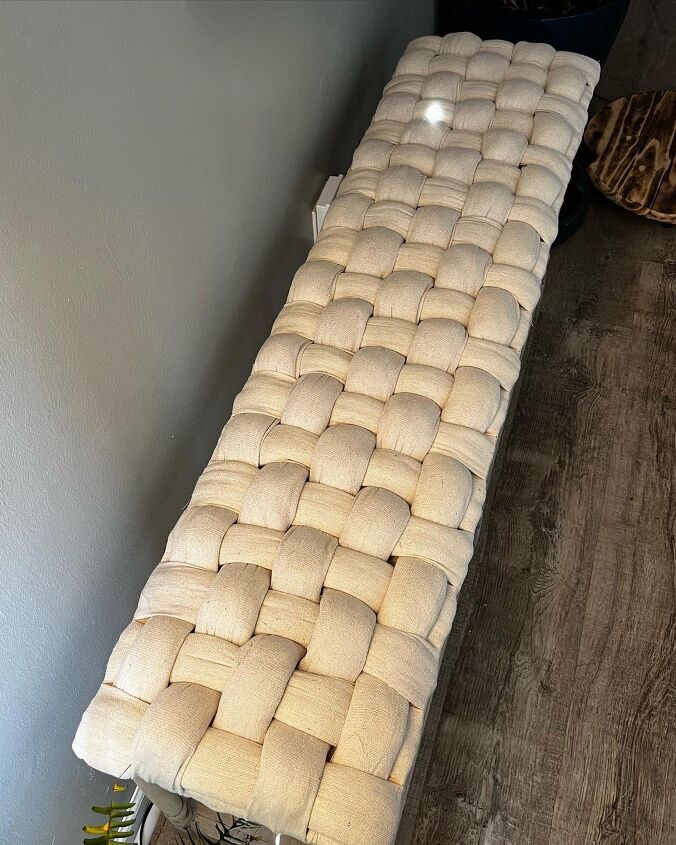
After many hours of sewing, stuffing and weaving, we have a bench seat!
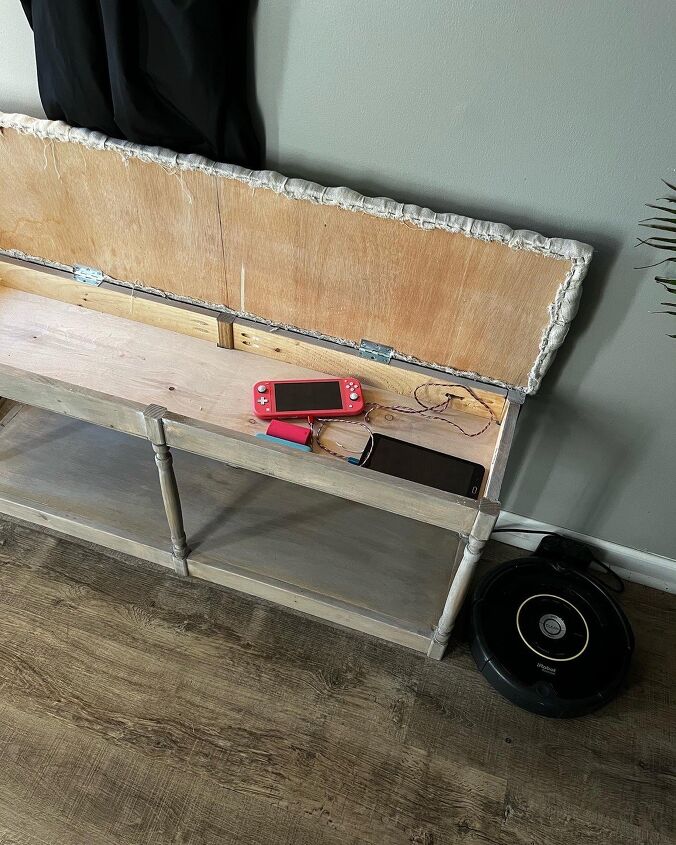
Reattach the hinges! I also drilled a hole (well technically 3 holes) to make a space for her device charges to fit through the back of the bench so we can store AND charge her electronics here! We don’t like them to be in her bedroom at night, and I hate cords, so this is perfect!
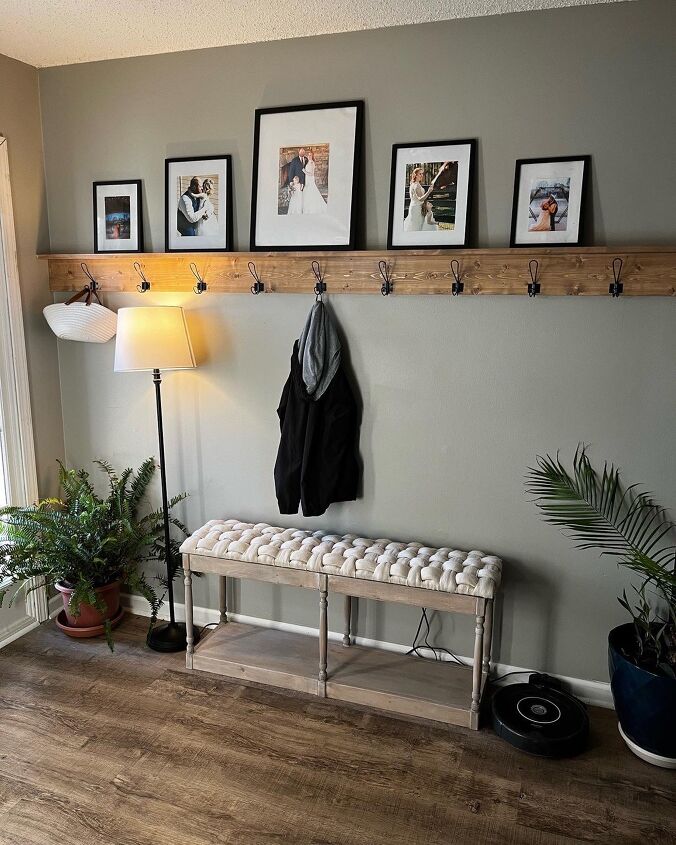
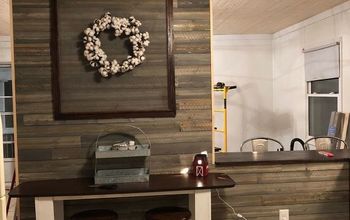
And the final look! I need to get some cord management products to run down the wall, painted the wall color and you wouldn’t ever know if was there! I’m so excited to have a little landing zone for some added functionality at the front door! Let me know in the comments what you think, and if you think you’ll try it! Tag me in your DIYS on instragram, @redsrusticworkshop
Happy Crafting!
Resources for this project:
See all materials


Comments
Join the conversation
-
Neatest bench I've ever seen too..thanks for the idea!
-
Love how your bench turned out!!!!


Frequently asked questions
Have a question about this project?
What was the finished width of the tubes of fabric cut 6inches wide?
The instructions say they will give a 3 inch finished width, but what is the allocation for the seam allowance? Did you sew them with a standard 5/8" seam allowance or narrower 1/2" ?
Just wondering how this bench top has held up. Has it been hard to clean with any spill, dirt, key or smaller toy etc falling between the lines abd settling under the loose weave?