Transform Your Terra Cotta Pots With These AWESOME Paint Effects

by
Sharon E. Hines
(IC: blogger)
7 Materials
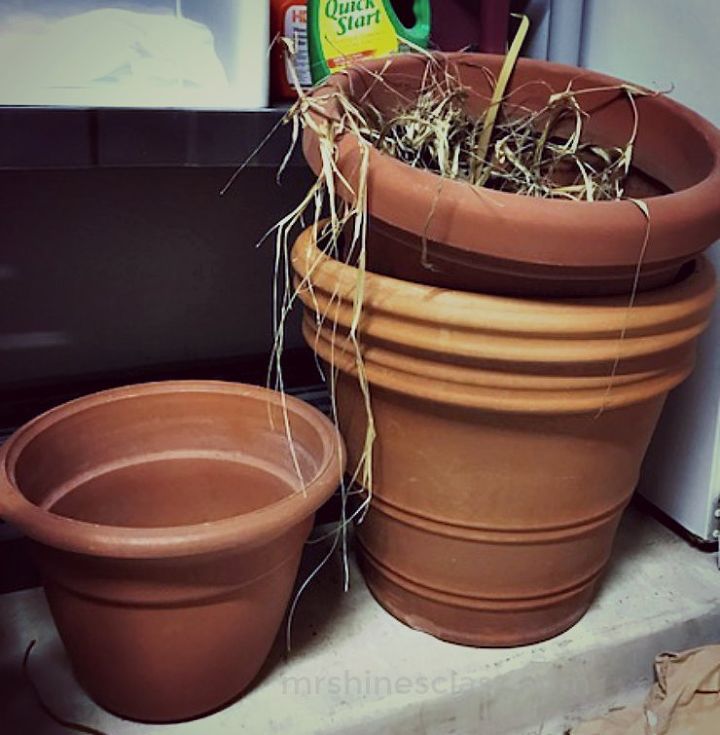
If you're anything like me, you have a stack of terra cotta pots taking up space in the garage. With the warmer weather, it's time to get them out of the garage and give them a makeover with one of these easy paint effects.
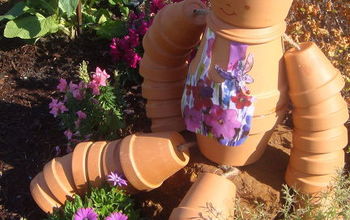
These pots have been collecting dust in my garage for YEARS.
Tip: Wipe your pots clean before painting.
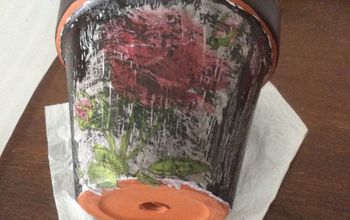
The first painting effect creates a very charming, chippy, colored pot.
- Choose your favorite colors of acrylic or chalk paint.
- Use a two to three inch chip brush to cover the pot with a coat of paint.
The clay is very porous, so the paint dries almost as quickly as it's applied.
- Once it is dry, distress the pot with course sand paper or a palm sander.
Tip: sand in places where the pot would naturally wear like the botton, rim and maybe a few spots on the body of the pot.
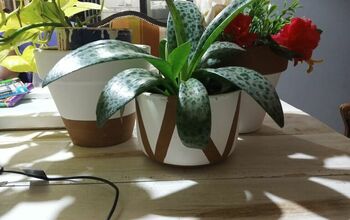
Create French farmhouse look with this layered paint effect.
- Gather 3 different shades of white acrylic or chalk paint. I used bright white, a creamy vanilla color and a taupe.
- Starting with one shade of white and with a light hand and somewhat dry brush, ( wipe most of the paint off the brush before painting) randomly paint the pot in criss cross strokes.
- Repeat the process with the next shade of white, layering over the first shade.
- Repeat the process one more time with the next shade of white, laying over the first two shades.
Once the paint dries, use course sand paper or a palm sander to distress the paint in places where it would naturally wear.
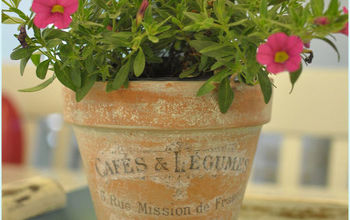
I call this last paint effect Old World or English Garden. The goal is recreate the look of an aged, moss covered pot. To do this:
- Create a white wash with water and a little bit of white acrylic or chalk paint.
- Brush the color wash over the pot, making sure to brush in one direction.
To create a moss effect, use an olive/Spanish green acrylic or chalk paint. Add dimension with burnt umber and white paints.
Use a 1" chip brush to tap the green color on where moss would naturally grow....around the bottom, a little on the rim...
Using the same brush, use burnt umber ( or any brown shade) to create "dirt"
Then, add a very light layer of white.
Tip: To create a more realistic effect, you can either spray the pot with stone texture spray (where moss would naturally grow) after you white wash the paint. Let it dry overnight. Then apply the moss paint colors over the the stone texture.
In the video, I splattered my paint to achieve a similar texture.
Tip: To create a more realistic effect, you can either spray the pot with stone texture spray (where moss would naturally grow) after you white wash the paint. Let it dry overnight. Then apply the moss paint colors over the the stone texture.
In the video, I splattered my paint to achieve a similar texture. I think you could experiment with spackle as well.
These beautiful pots deserve to be shown off!
- Use the French pot in your kitchen to hold vintage utensils, oven mitts or herbs.
- The chippy, colored pots make charming gift wrap... add gardening tools, seed and a gardening book for Mom.
- The Old World Aged pots are just begging for a spot in the garden!
If you enjoyed this post, you may also like:
200+ Ways to Paint Almost Anything
{
"id": "3841172",
"alt": "",
"title": "",
"video_link": "https://www.youtube.com/embed/xnSoxITStM0",
"youtube_video_id": "xnSoxITStM0"
}
{
"width": 634,
"height": 357,
"showRelated": true
}
Enjoyed the project?
Resources for this project:

Plastic lid or other surface as a paint palette

Plastic containers to mix white wash
Any price and availability information displayed on [relevant Amazon Site(s), as applicable] at the time of purchase will apply to the purchase of this product.
Hometalk may collect a small share of sales from the links on this page.More info

Want more details about this and other DIY projects? Check out my blog post!
Published May 4th, 2017 9:28 PM












Frequently asked questions
Have a question about this project?