


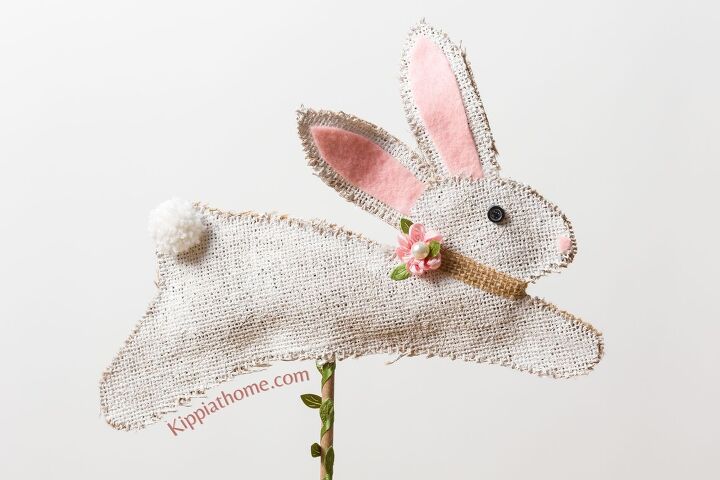
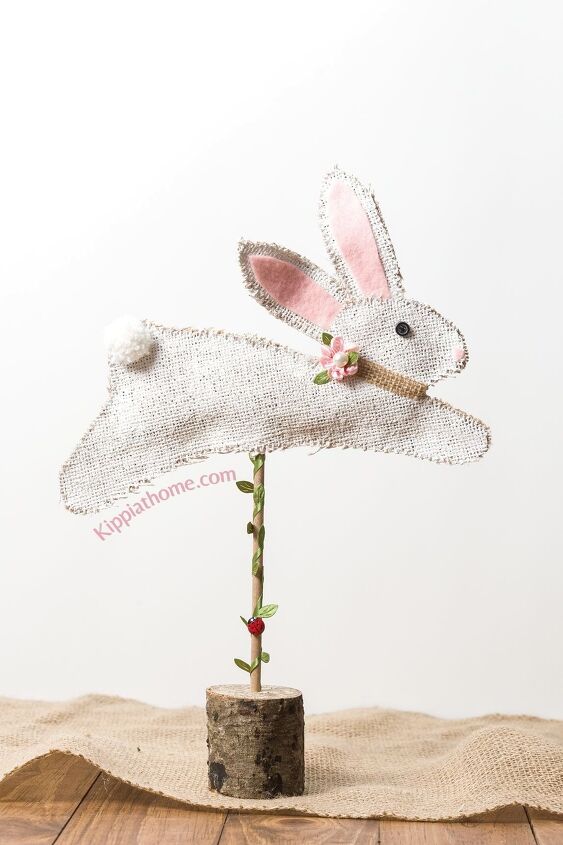
DIY Burlap Bunny
Spring is almost here, so I decided to create a DIY burlap bunny to decorate for spring and Easter.
Nothing says hello spring better than a cute burlap Easter bunny.
 I recommend you watch the how-to video HERE first!!!
Burlap bunny
This post contains affiliate links. That means that if you purchase from one of these links, I will make a small commission.
How to Make a Burlap Bunny
I had the supplies for making a burlap bunny on hand, so it is both fun and budget-friendly craft.
Bunny Supplies
 * I recommend that you watch the how-to video before you begin
- Burlap
- Pattern ( printable download)
- Dowel
- White paint
- Wooden base
- Hot glue gun and glue sticks
- Silicone mat
- Scissors
- Leaf vine
- Ladybug button
- Wire
- Wire cutters
- Sewing pins
- Parchment paper
- Wood stain
- Sponge brush
- Yarn
- Pom pom maker
- Skewers
- Pink felt
- Buttons
- Drill
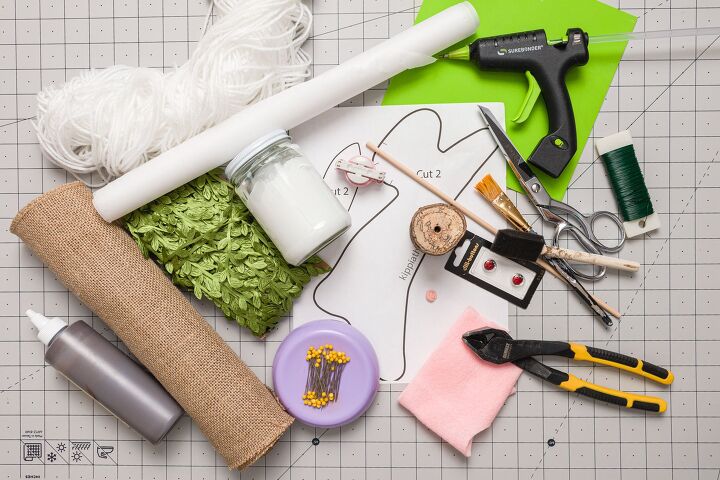
Supplies
Cutting out the Bunny
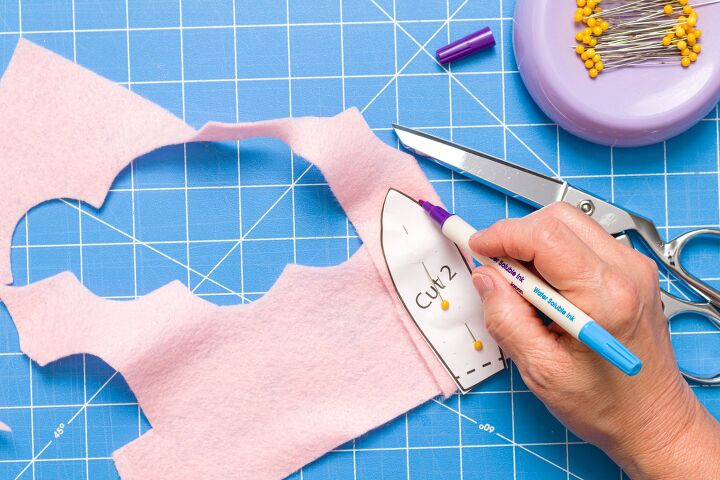
After I printed out the pattern, I cut it out using paper scissors.
Then I folded over the burlap fabric and pinned the pattern pieces onto the burlap.

Bunny pattern
Next, I cut out my pattern pieces.
Note: I cut four ears so I could sandwich wire between them.
Painting the Bunny Pieces
Then I placed all my burlap pieces on a piece of parchment paper.
I painted all the bunny pieces with chalky white paint; however, you can use any paint color. They would be cute painted in pastel colors too.
Once they were all painted, I allowed them to dry overnight.
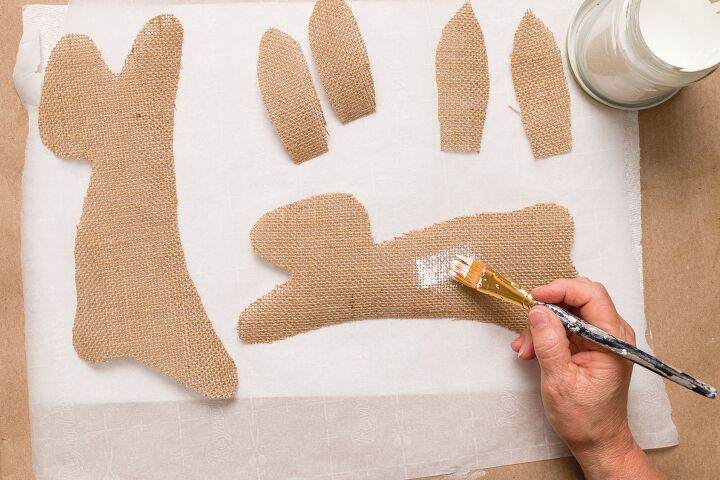
Paint fabric pieces
I placed heavy books over all the painted burlap bunny pieces to flatten them.
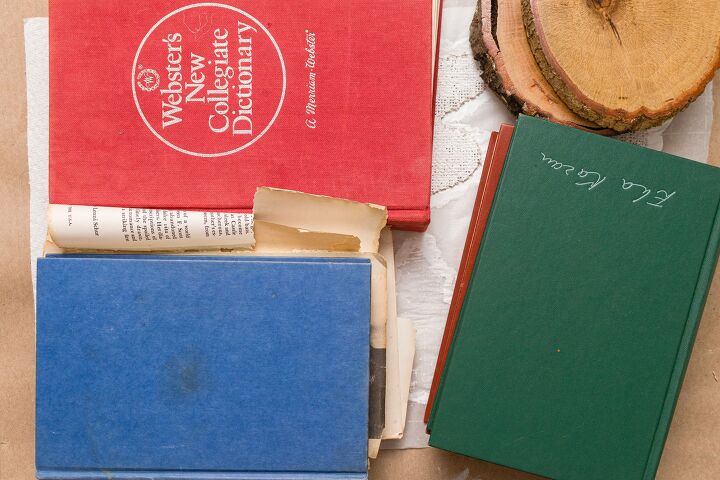
Blocking with Books
After a few hours, I removed the books and trimmed all the paint from the edges of the burlap pieces.

Trim dry paint
Burlap Bunny’s Ears
Inner Ear
To form an inner ear, I traced the ear pattern on pink felt, then I cut it out and trimmed the pink felt ear on all the curved sides.
Trace inner ear
I attached the inner ears to the outside of two painted ears with hot glue aligning the straight edges.
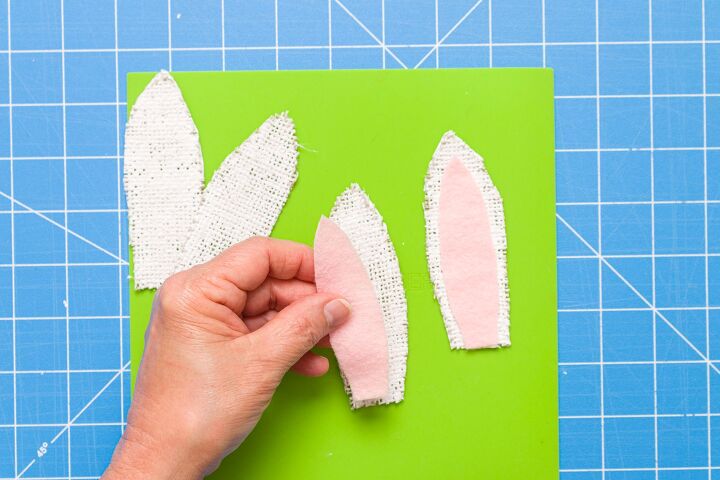
Attach inner ears
Ear Wire
I decided to add wire to the ears to make them bendable. To achieve the shape, I used the inner ear as my guide and bent the wire with my hands, then hot glued it in place to the inside of the back earpieces.
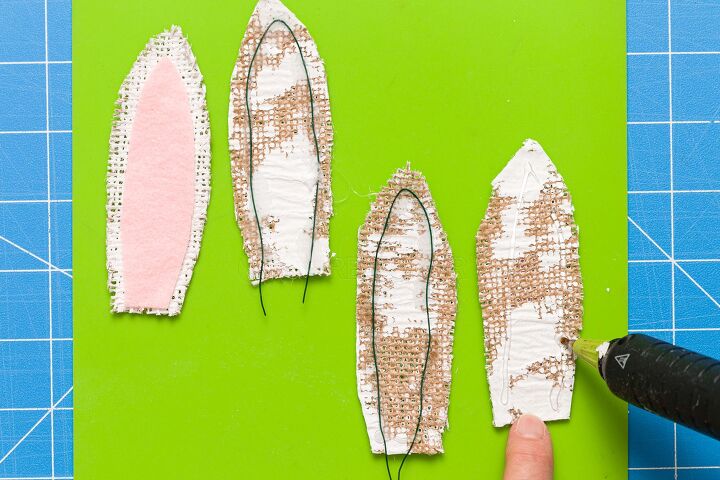
Glue on wire
Marking Placement
Next, using an air soluble marker, I marked the placement for the ears on the inside of the back piece of the bunny.
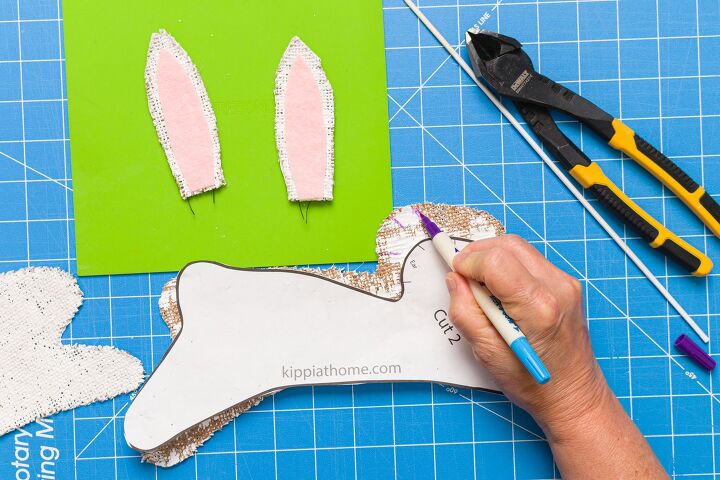
Mark ear placement
Bunny Stand and Supports
Then I added a dowel with hot glue through the center of the bunny’s body.
Note: I stained the dowel with wood stain before this step.
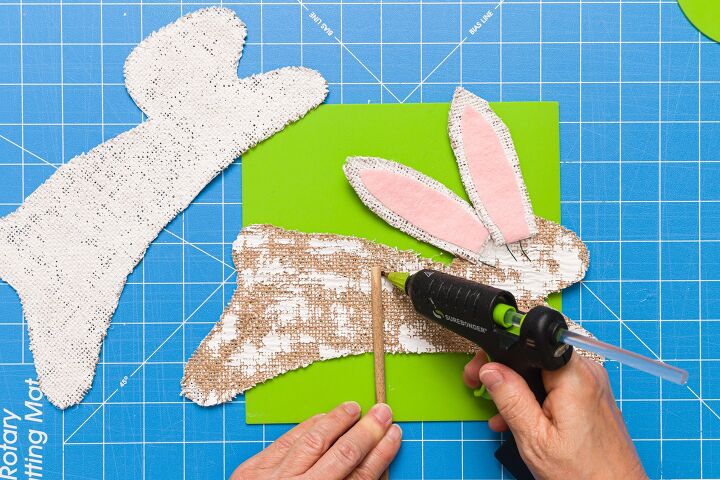
Attach dowel
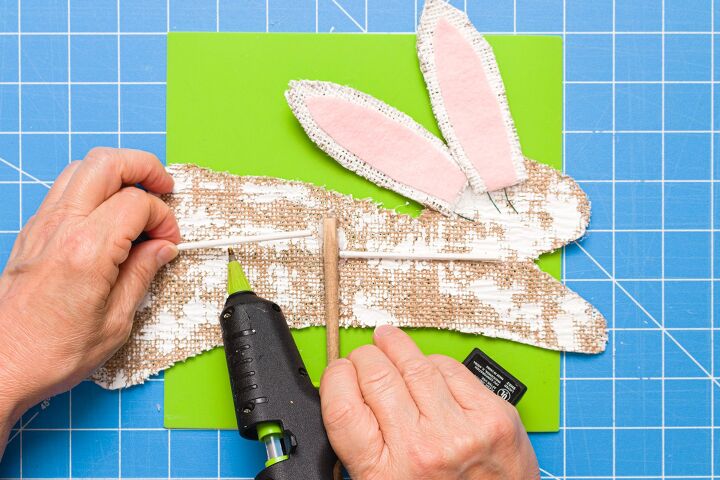
Glue on support pieces
Next, I added skewers that I painted white to add extra support, forming a cross with the supports and center dowel. Finally, I used wire cutters to trim them to fit.
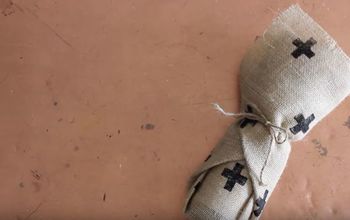
Stuffing the Burlap Bunny
Your bunny stuffing can be a white paper bag, a grocery bag, fiberfill, cotton balls, etc.
I used the white paper bag to hold its shape without adding weight to the bunny.
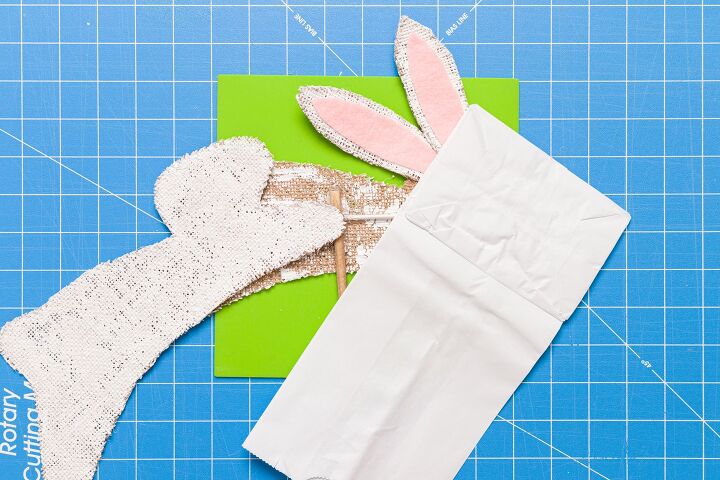
Bunny stuffing supplies
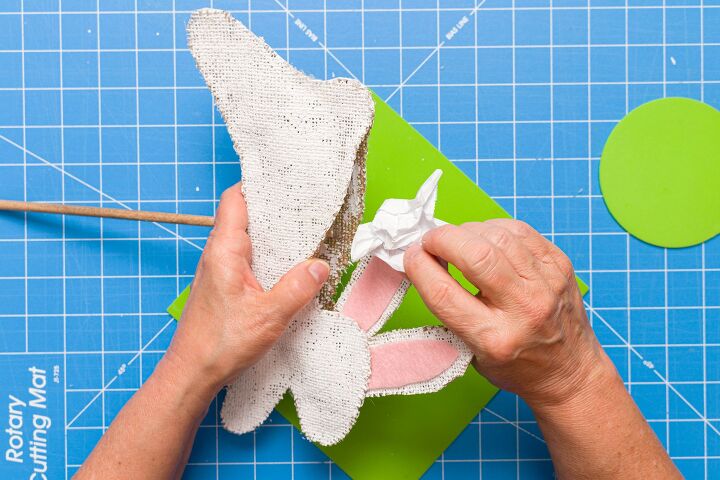
To begin stuffing the bunny, I ripped a piece of the paper bag and crimped it to fit the bunny’s head and front leg.
I added some hot glue along the front leg and bunny face and placed the front piece over the hot glue.
Then I repeated this process for the hind leg and tail.
Note: leave open the bunny’s back.
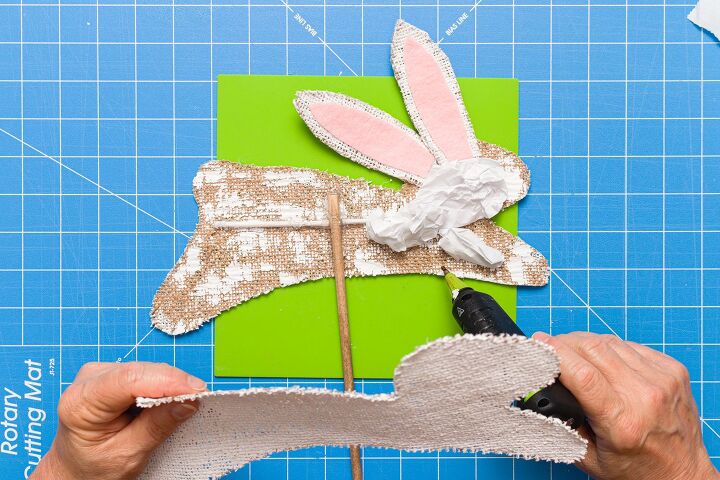
Stuffing bunny
Next, stuff the bunny’s body through the opening on its back, then glue the opening shut.
Stuff the body
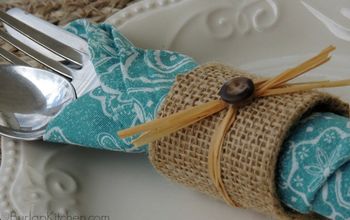
Decorating the Bunny
I used a button for the eye and burlap, and a collar.
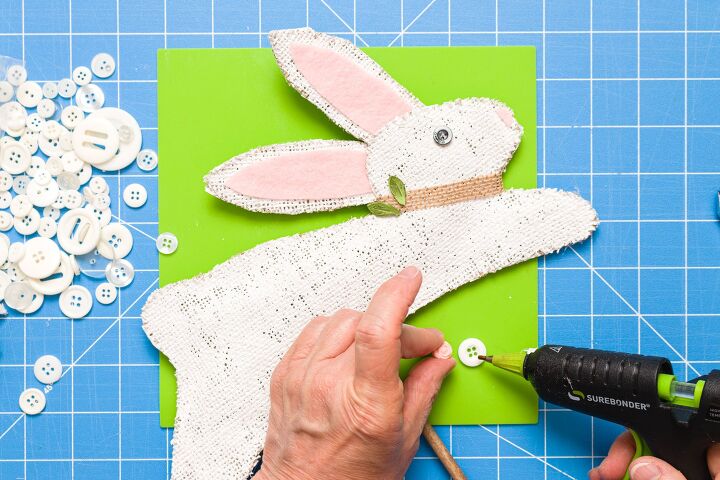
Decorating the bunny
Bunny Stand Base
The base for my standing burlap bunny was a slice of a fallen tree that I drilled a little indent into the center. Then, I added some hot glue and inserted the dowel.
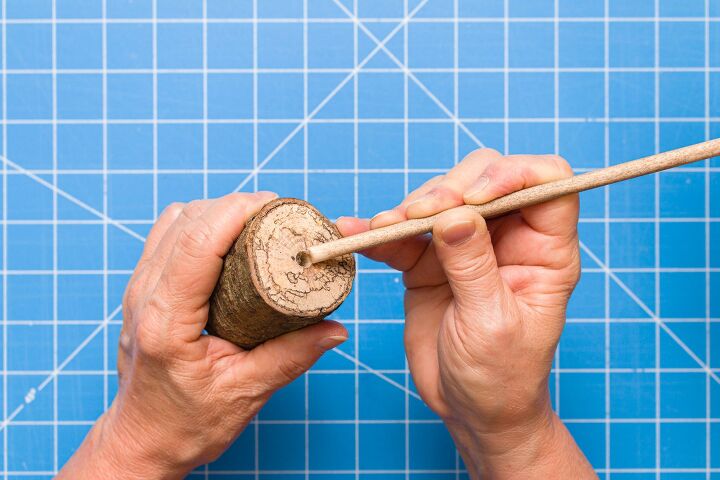
Attach bottom
Next, I glued some leaves on a vine spiral up the dowel and added a ladybug.
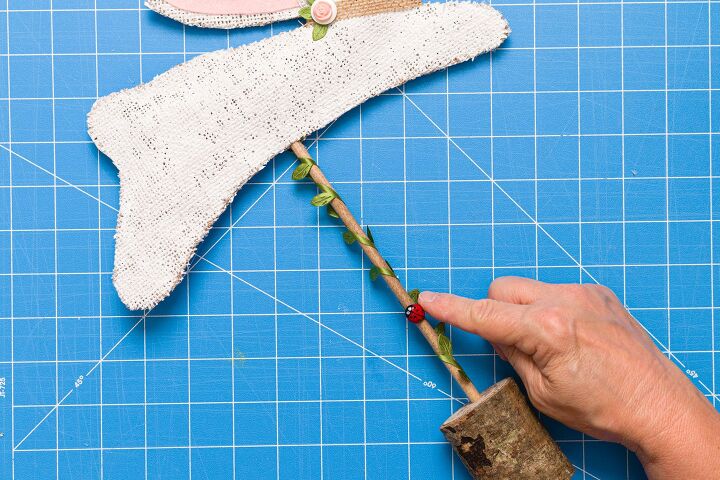
Attach ladybug
Burlap Bunny Tail
I made a small pom-pom and glued it in place.
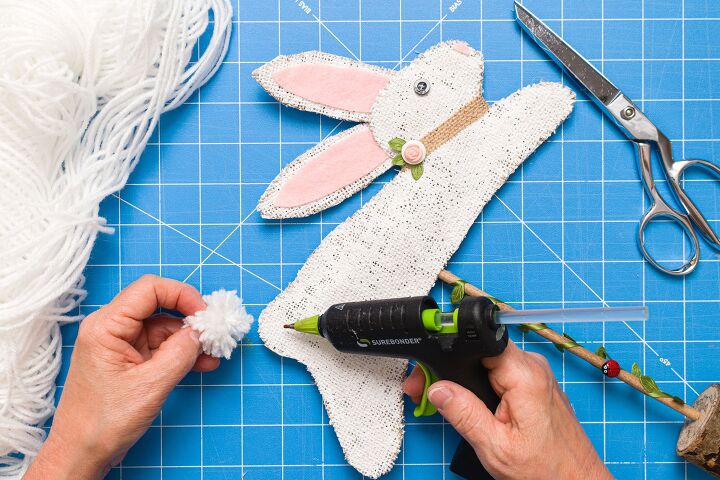
Bunny tail
Hoppy Spring,
Kippi


Comments
Join the conversation
-
You might want to try a white wash cloth or hand towel. Then no painting.
-
That is darling!


Frequently asked questions
Have a question about this project?
Where is the printable, i would like to try this