


Hootshack - Drop Cloth Bunny Garland DIY - Hootshack
Drop cloth bunny garland that you sew by hand or using a sewing machine. A quick fabric craft. Be sure to check out my blog at Hootshack.com
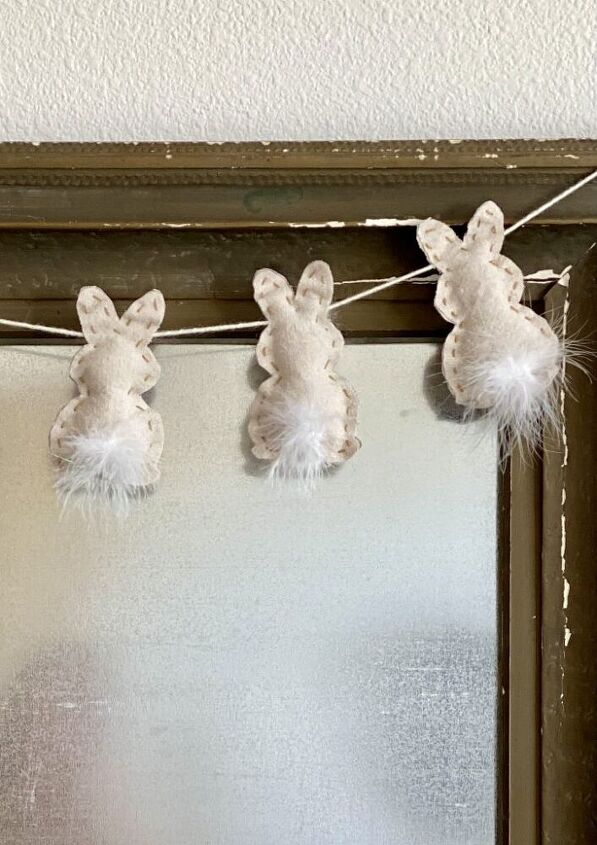
This Drop Cloth Bunny Garland DIY is so easy to make. I made my entire thing in less than one hour from start to finish! The neutral color makes it great to use in your decor all Spring or even year-round!
If you’ve been following me for a while, you already know that I have a love for making garlands. They are a quick and easy way to add seasonal decor on a budget. We have a mantel in our home and also one in the she shed that I love to decorate just for fun. To add even more character to your decor, try layering two or three styles of garlands together. Now let’s get to making this garland!
Supplies for the Drop Cloth Bunny Garland DIY
- Drop cloth or other fabric
- Embroidery needle and embroidery floss
- Poly-fil or other stuffing
- String or yarn for hanging
- Fine feather boa
- A bunny shape – you can find tons of free printables online
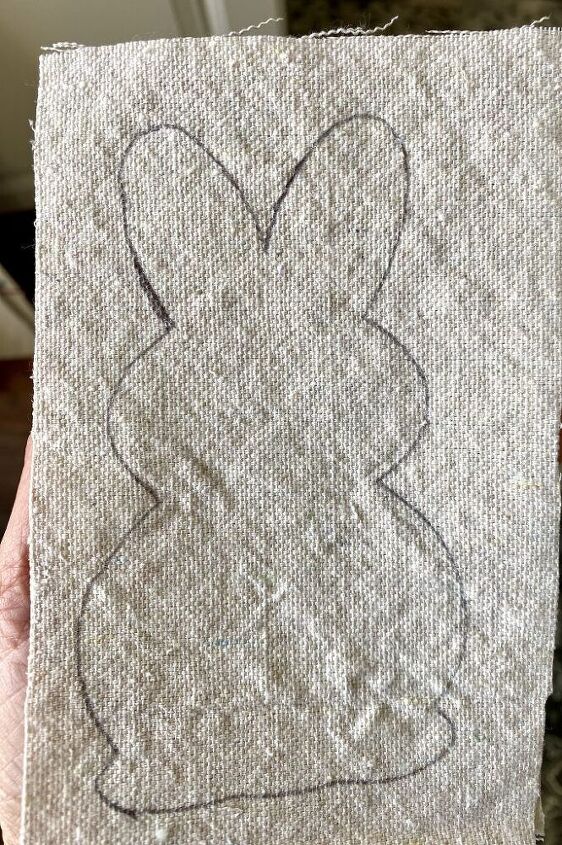
Decide how many bunnies you want on your garland and cut twice the amount of bunnies out of your drop cloth. I just traced my bunny shape directly onto the fabric. I had sharp enough scissors so I was able to layer the drop cloth and cut two pieces at one time. My bunnies are about 5 1/2 ” tall.
I used embroidery floss in a gold color because I liked the contrast it created but you can use a matching color if you’d like or even sew them with a sewing machine. I started at one foot and sewed up the body, around the ears and then back down to the other foot. I left the entire bottom open so I could stuff the Poly-fil inside and then finished sewing the bottom shut.
Once all of the bunnies are sewn, glue them to your yarn or twine. Or… if you used wide enough stitches when sewing, you can use my method which was to fish a crochet hook through and pull the yarn between the layers down towards the top of the head. I used the crochet hook to hook the yarn so I could easily pull it through. I like this because I may use these bunnies in another project later.
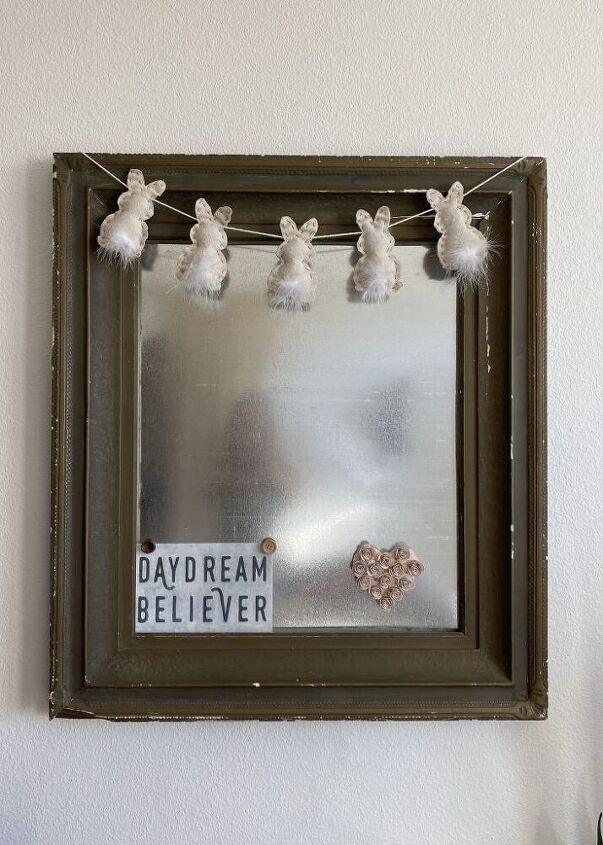
My bunny garland hanging on my Magnetic Memo Board that I made.
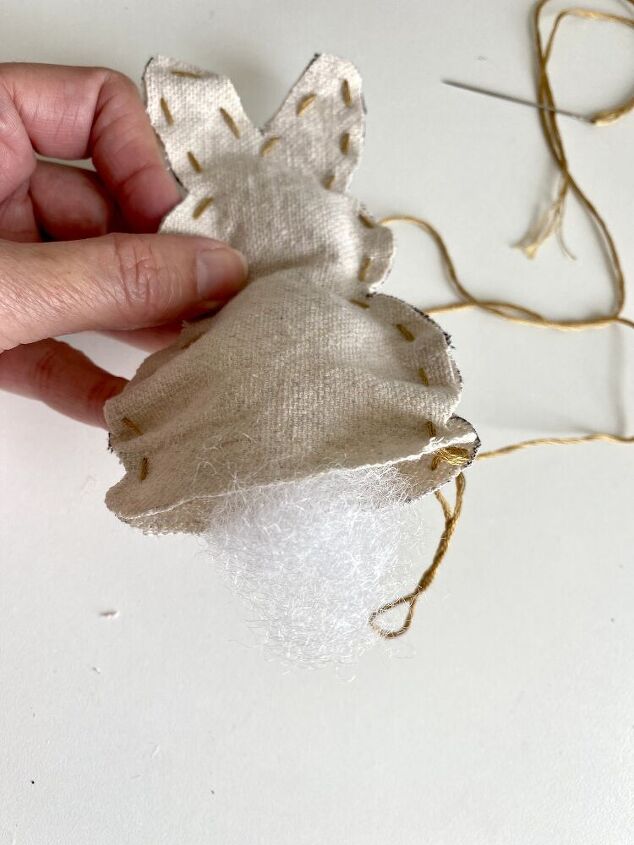
Leave the bottom open until the bunny is stuffed. If you don't have Poly-fil, use the scraps of fabric leftover after cutting the bunny shapes.
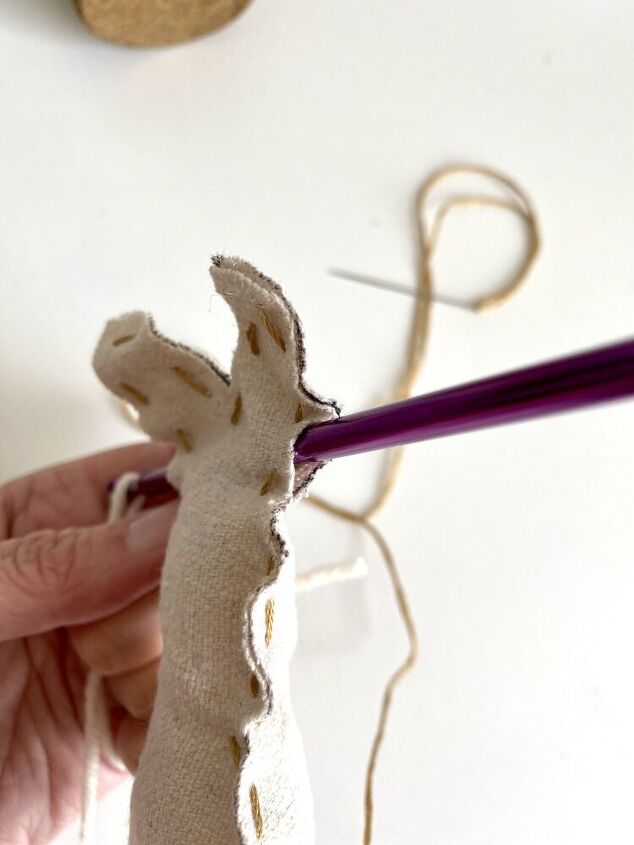
Just showing how I slid the string between the layers with the crochet hook.
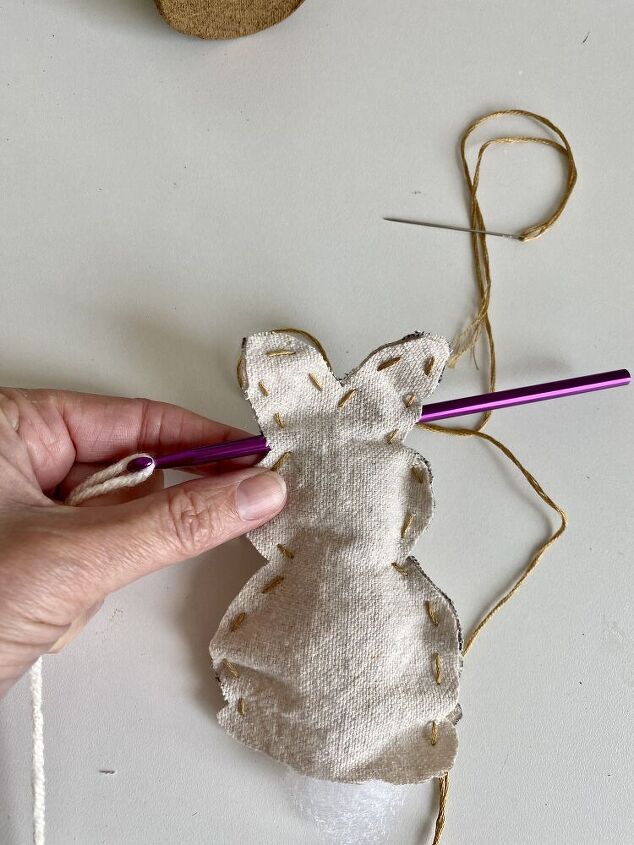
Here's one more image of that.
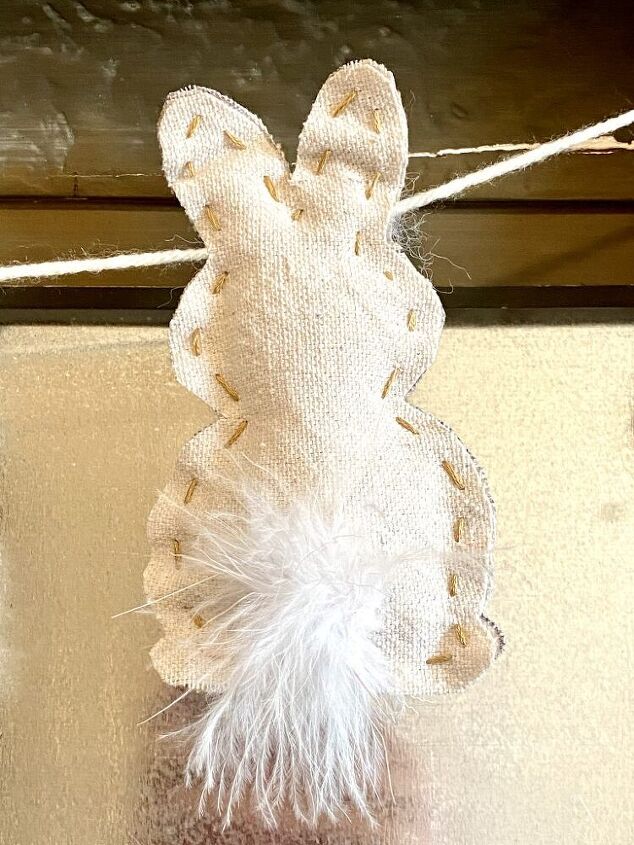
The final touch was to glue pieces of feather boa to make a bunny tail. You could use so many different things to make your tail. Wood buttons, cotton balls or speckled eggs to name a few.
This Drop Cloth Bunny Garland DIY looks great layered with my Felt Leaf Garland! Be sure to check that one out too!
I had everything I needed for this project. I would imagine if you had to buy everything, it would cost about $20 for a small drop cloth, poly-fil, boa and embroidery floss.


Frequently asked questions
Have a question about this project?