


Upcycled Cereal Box Notebook

by
Maura White
5 Materials
$5
20 Minutes
Easy
Today I'm going to show you how to upcycle a cereal box into a cute little notebook! I'm always looking for creative ways to upcycle items I have around the house - especially something that might just end up in the garbage or recycling bin - and this fun project does just that!
This is a fun and easy project you can get the kids involved with. Then they can also turn these into the trendy bullet journals I see so many making and using to help keep life organized.
Materials needed to make your upcycled cereal box notebook:
- cereal box
- 8x11 computer printer paper
- needle and thread
- decorative craft tape or duct tape
decorative button
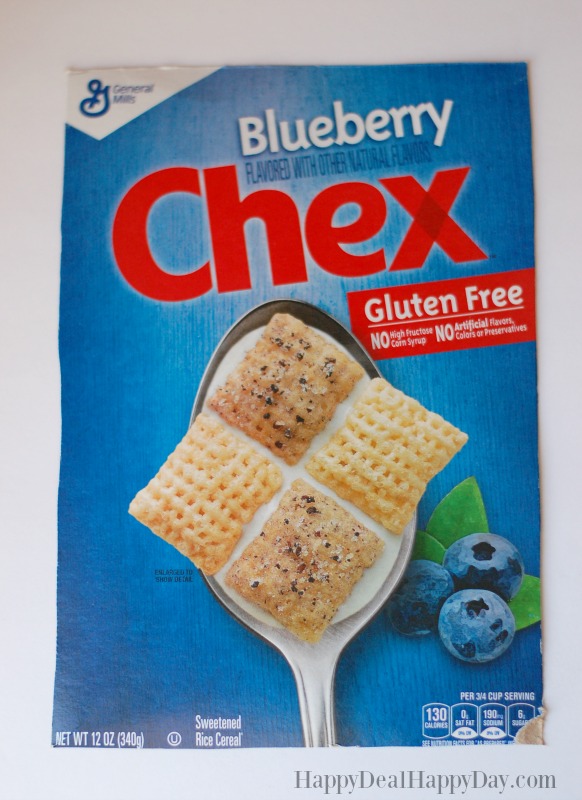
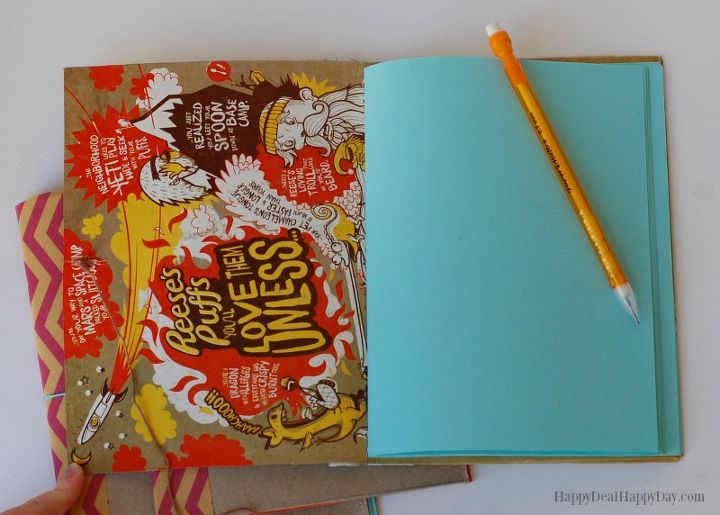
First you need to find an empty cereal box and cut out the flat side. (there are 2 flat sides, so you can make 2 notebooks from one box!)
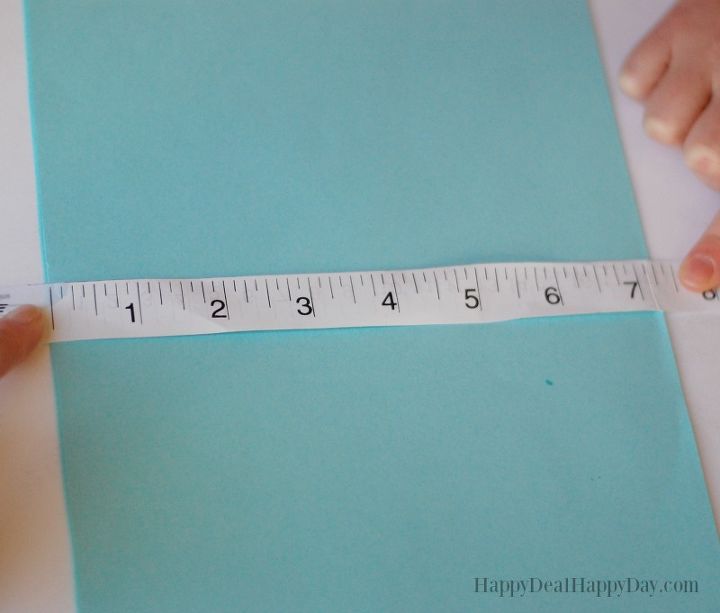
I used 8x11" printer paper (I had some blank light blue that I wanted to use. But use any color you want!) Then you will want the paper to fit the width of the cereal box, so cut it to be 7 1/4" wide x 11" long. Use about 10 sheets - so this will be a 20 page notebook. I wouldn't use much more than that amount of paper or the stack becomes too thick to fit in the simple cereal box cardboard cover.
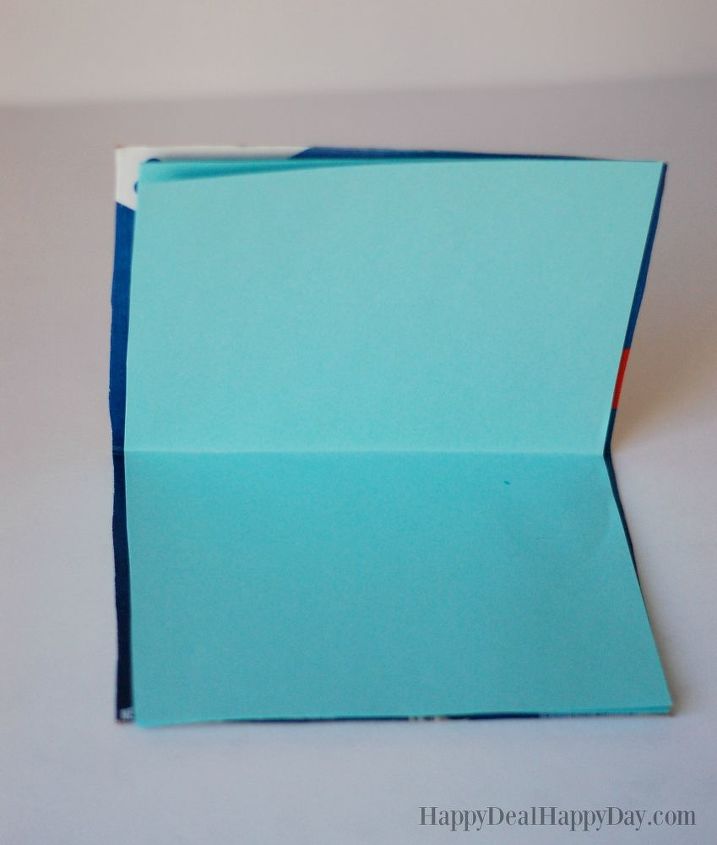
Fold both the cardboard and paper in half and slide the paper inside the cardboard cover.
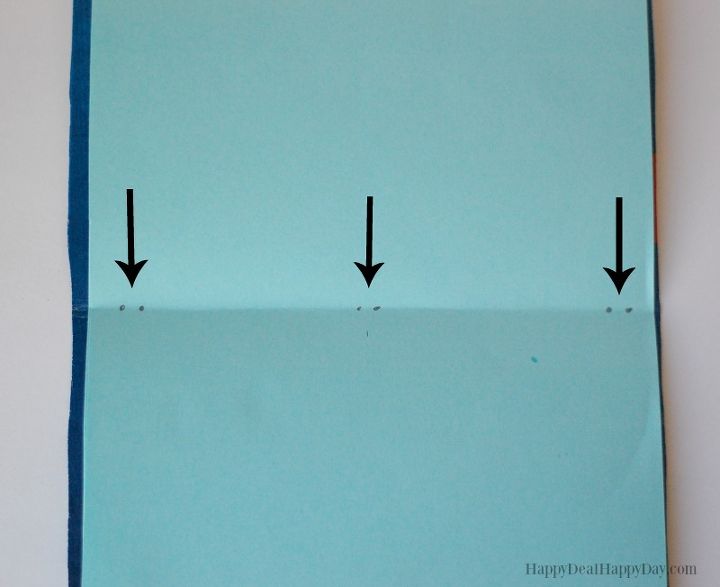
This notebook will be held together with a very simple binding. You will sew the paper into the cardboard cover in three places. Mark those three places - the center, top and bottom and make two dots as stitch markers.
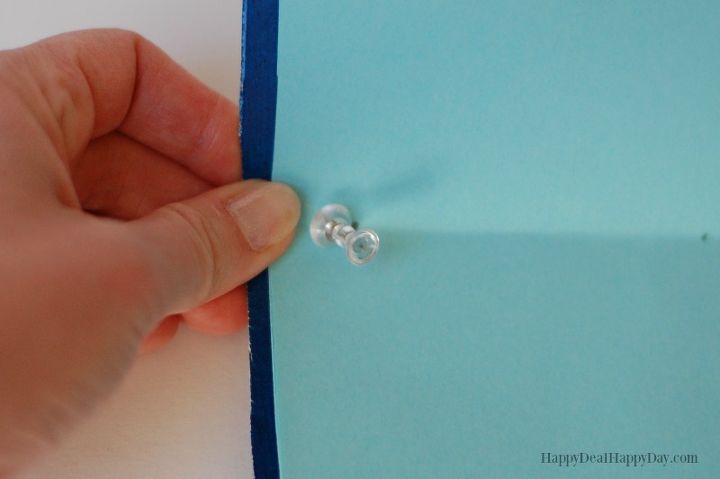
Pushing a needle through 10 pieces of paper and a layer of cardboard can be a huge pain (literally on your finger trying to push it through!) So to make the sewing easier, use a push pin first to make holes in the paper and cardboard so you don't have to push the needle through that stack.
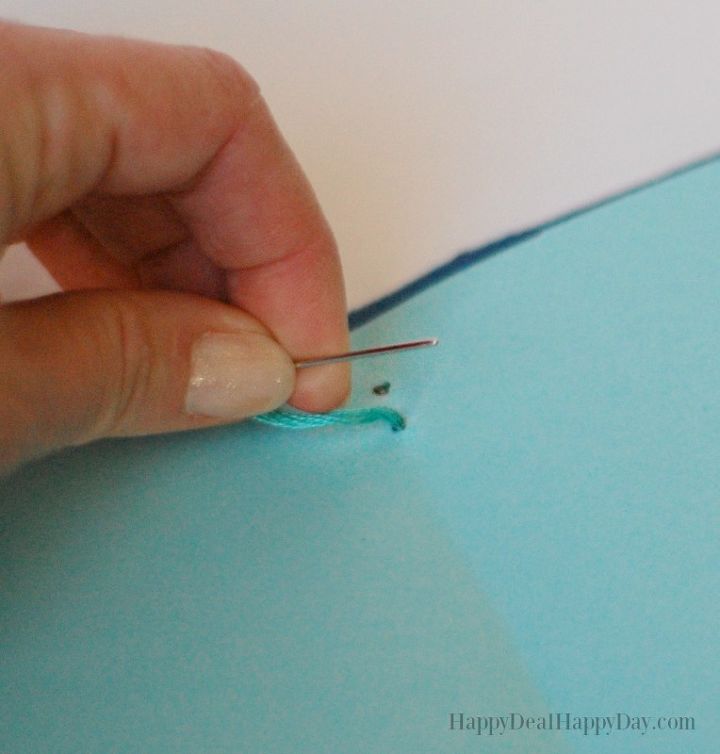
Use some embroidery floss (thicker than thread for more durability, but not as thick as yarn) and thread your needle. Then go ahead and stitch the top first, and then the middle and bottom, then tie off.
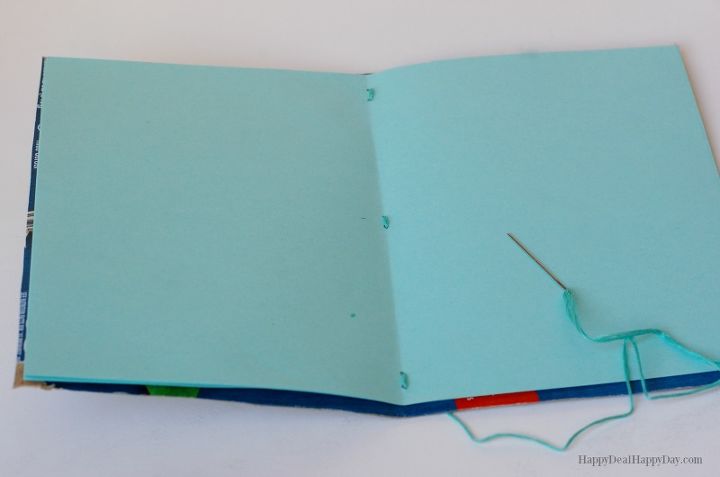
I used the same long piece of embroidery floss for the stitching. You could tie off and cut each stitch if you want, but for a speedier sewing, I kept them all in one piece.
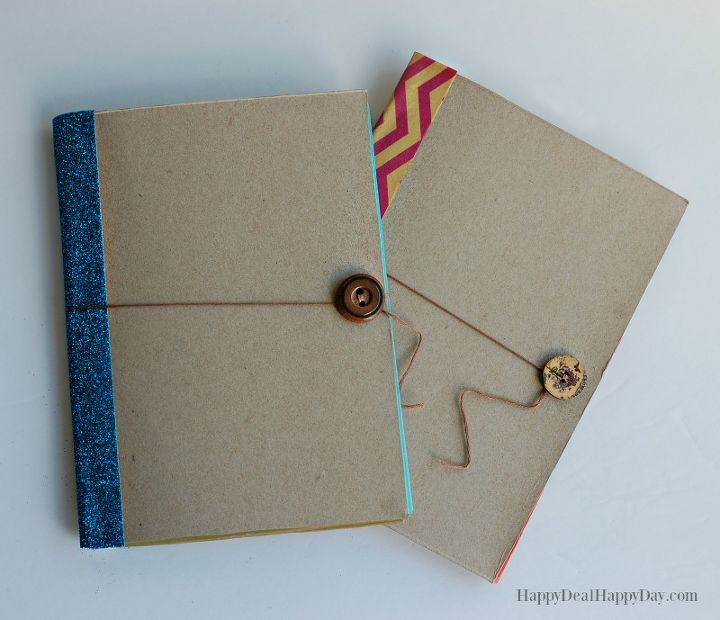
This binding will be covered with craft tape or decorative duct tape, so you don't have to worry what the stitch knots look like.
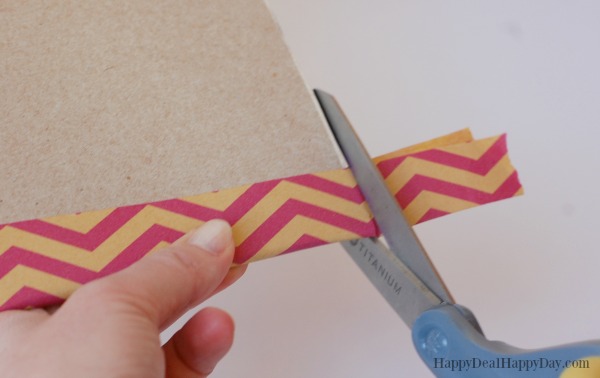
Now you need to get a strip of duct tape or wide craft tape. I found this pink chevron craft tape at Walmart, but any decorative duct tape would also work wonderfully. After you smooth and press the tape on both sides, you'll want to trim the ends so it is even with the edge of the notebook.
Then you need to get a cute button to use as a button closure for your notebook. You may want to pre-punch holes again using a thumb tack, for easier sewing.
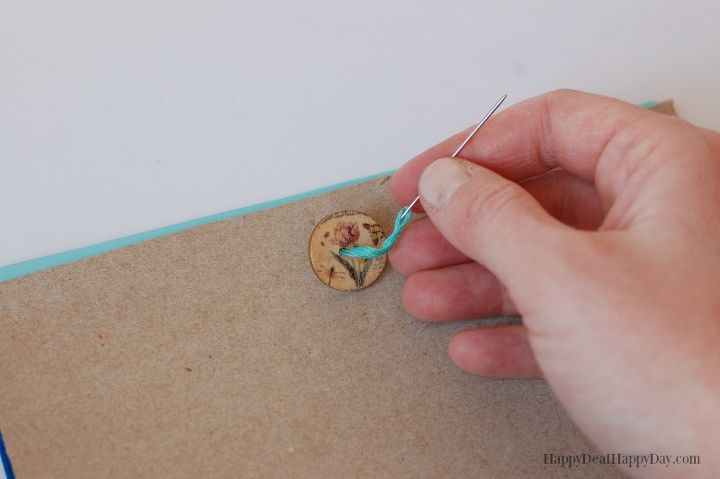
Sew through the holes a couple of times. You can tie off the stitch into a knot, but don't cut the string.
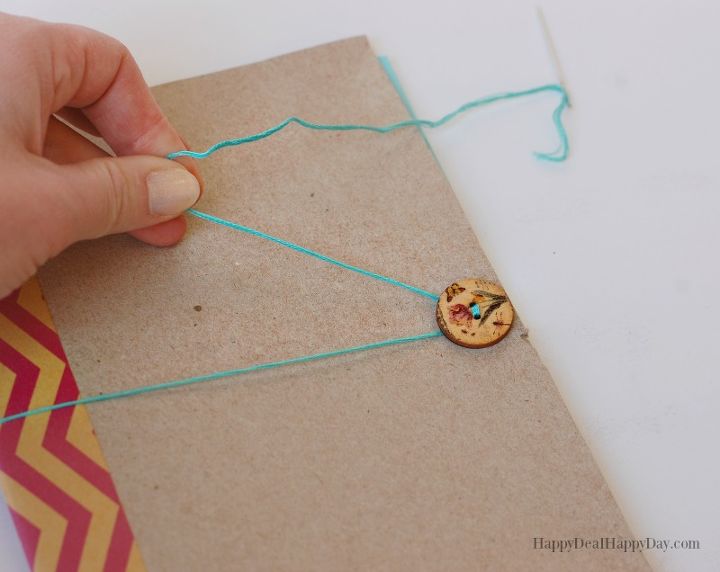
You will want to use the rest of the embroidery floss to wrap the notebook and twist the floss around the button a few times. Then cut the floss and your notebook is done!
As a bonus tip to keep the end of the floss from unraveling too much, put a bit of clear nailpolish on the end to hold it together.
You can color or decorate it, or leave it in it's simplistic, chic design. Then fill your notebook with pictures, dreams, lists, funny kids quotes, ideas, doodles - whatever you want!
Looking for more upcycling project ideas? Check these out:
{
"id": "4630074",
"alt": "",
"title": "",
"video_library_id": "7129",
"thumbnail": "https://cdn-fastly.hometalk.com/media/2018/01/30/4630074/upcycled-cereal-box-notebook.jpg"
}
{
"width": 634,
"height": 357,
"showRelated": true,
"noautoplay": ""
}
Want more details about this and other DIY projects? Check out my blog post!
Comments
Join the conversation
2 comments
-
Very clever! I think my granddaughter and I will have to give this a try!
-
Wonderful! Hope you and her have a great time upcycling and creating!


Frequently asked questions
Have a question about this project?