


How to Make DIY Clear Christmas Ornaments Filled With Festive Items
In this tutorial, we'll explore a simple and creative way to fill and create DIY clear Christmas ornaments. This design has a festive bell inside. No need for special skills or tools—just follow these easy steps.
The result is a beautiful Christmas ornament with a tinkling surprise inside—a charming addition to your holiday decor that you can personalize in various ways. Let's get crafting some DIY Christmas ornaments.
This post was transcribed by a member of the Hometalk editorial team from the original HometalkTV episode.
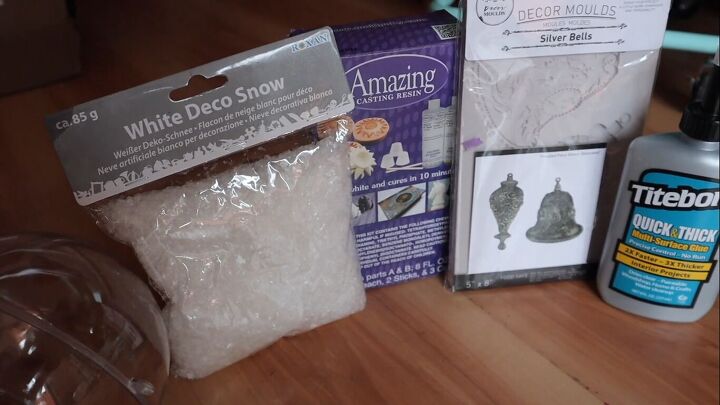
Tools and materials
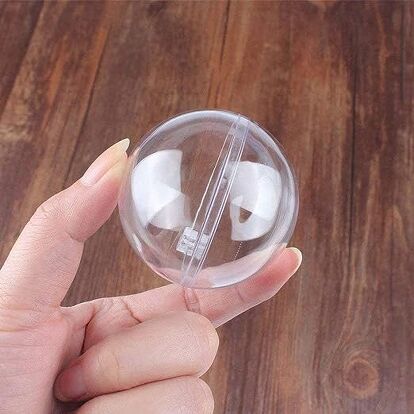
- Clear plastic ornament in two halves
- Faux snow
- Crafting resin
- Bell mold
- Glue
- String
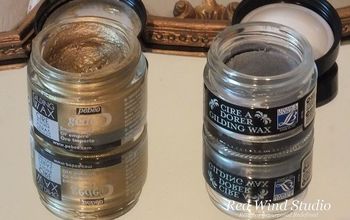
- Silver paint
- Paintbrush
Clear Plastic Acrylic Fillable Ball Ornament Set (60mm 24pcs)
Hometalk may receive a small affiliate commission from purchases made via Amazon links in this article but at no cost to you.
Steps
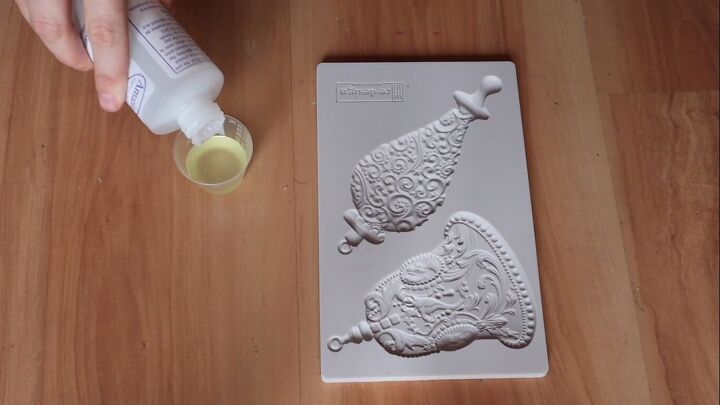
1. Mix the resin
What I'm doing here is mixing equal parts of the solution, so there's a part A and then there's a part B. You're gonna wanna mix an equal part of each and then I'm going to stir them really well.
2. Pour the resin
Then you will go ahead and just pour them into your mold. I'm using a Christmas bell mold.
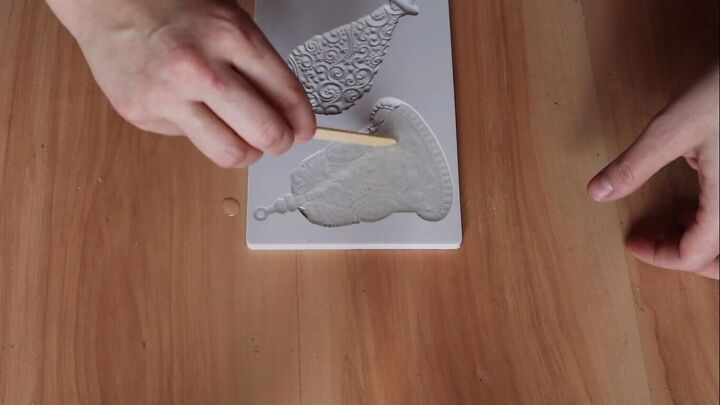
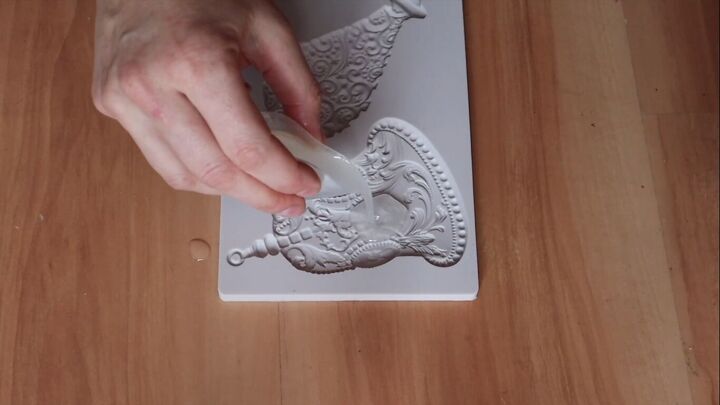
Spread out the resin to ensure it's even.
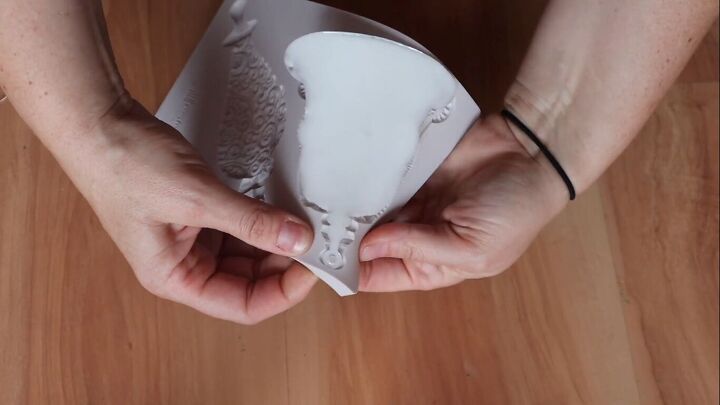
Give it proper time to set, about 10 to 15 minutes and then you'll pull it out.
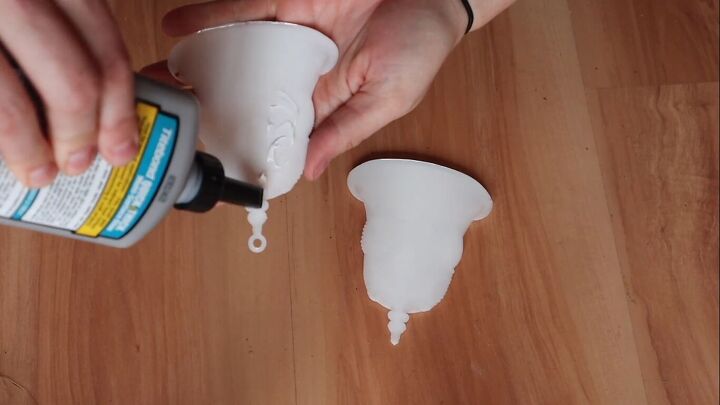
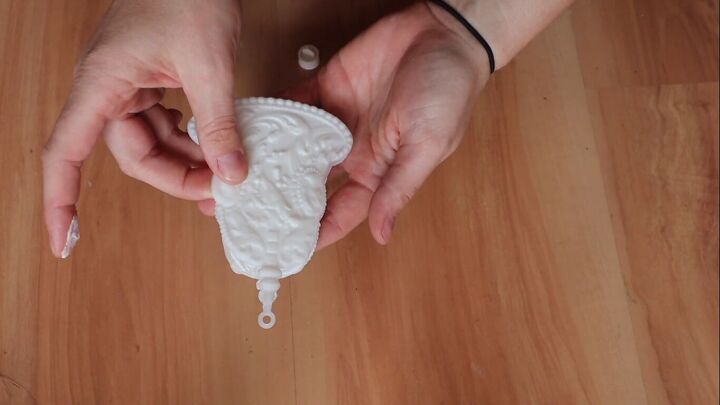
3. Gluing the two sides together
Now that I have made both of my molds, I am just taking the glue and I'm going to glue them together, trying to get them as even as possible.
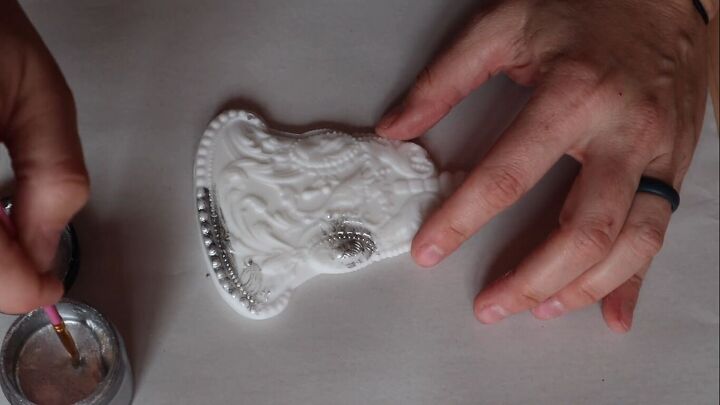
4. Paint the bell silver
You can use whatever metallic paint you want. I'm just using a silver mousse to paint over this. I went with silver just because I wanted something a little bit different but you can pick whatever color you want when you are creating your ornaments.
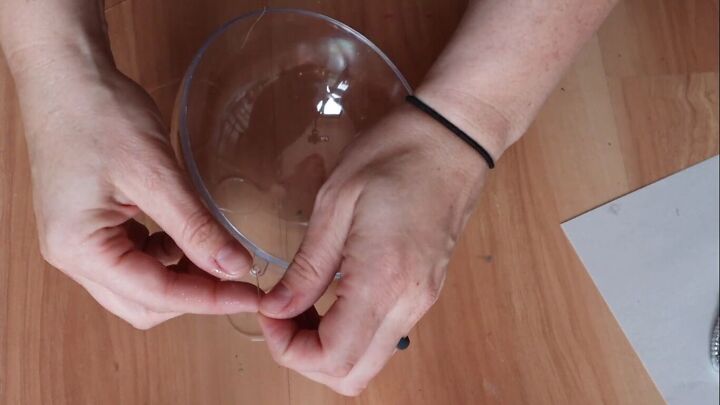

5. Tie the clear thread
Once your ornament has dried, take the clear thread. You're gonna thread it through the hole of the actual plastic ornament, then the hole of the ornament that you made, and then you're going to let it dangle just a little bit while you secure it in place with knots.
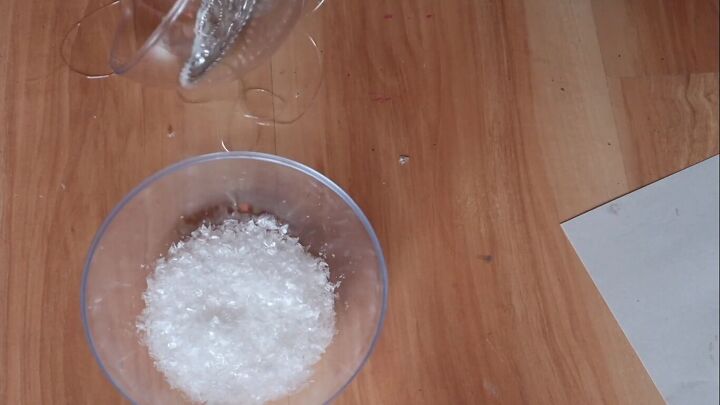
6. Add faux snow
Add the fake snow to the other side of the ornament.
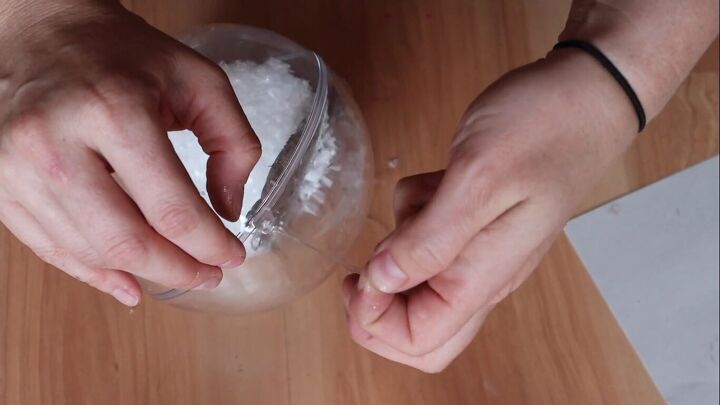
7. Close the ornament
Close the clear plastic ornament and tie the final knots on the thread.
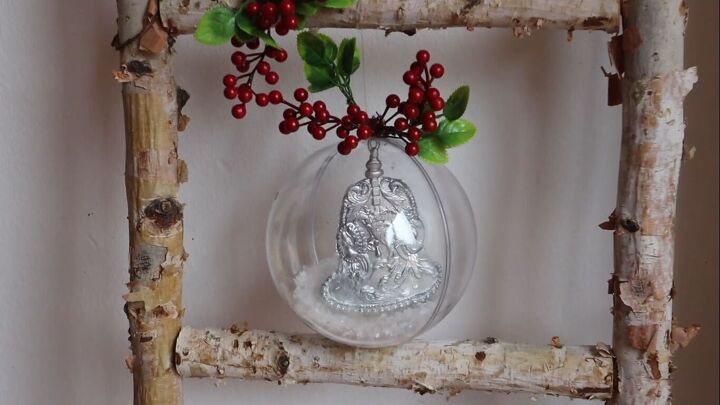
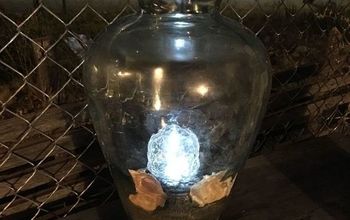
DIY clear Christmas ornament with a bell
Here's the final ornament. You can really creative with these clear Christmas ornaments; fill them with whatever you like! Let me know what you think of this DIY project in the comments below.


Frequently asked questions
Have a question about this project?