


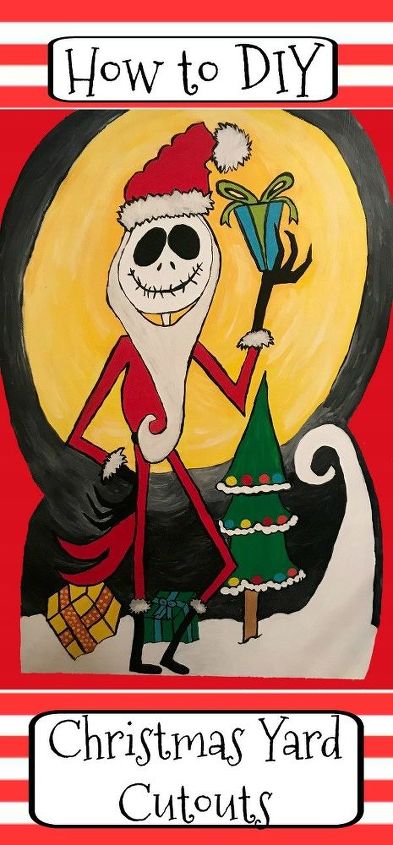
How to DIY Christmas Yard Cutouts
11 Materials
$60
5 Hours
Medium
Christmas is such a fun time to create a festive atmosphere around your home! My goodness though it can be expensive to be so jolly! However, if you put in a little imagination and some time you can save money by making your own decorations! Allow me to show you how to DIY Christmas yard cutouts!
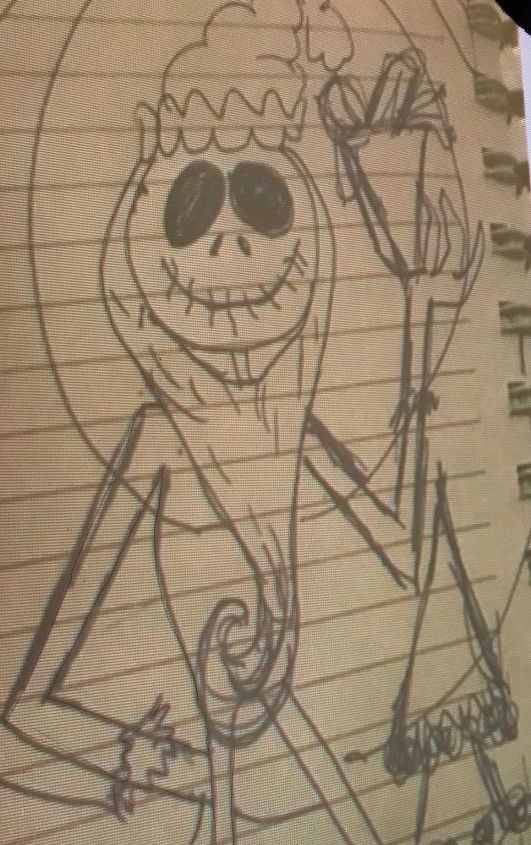
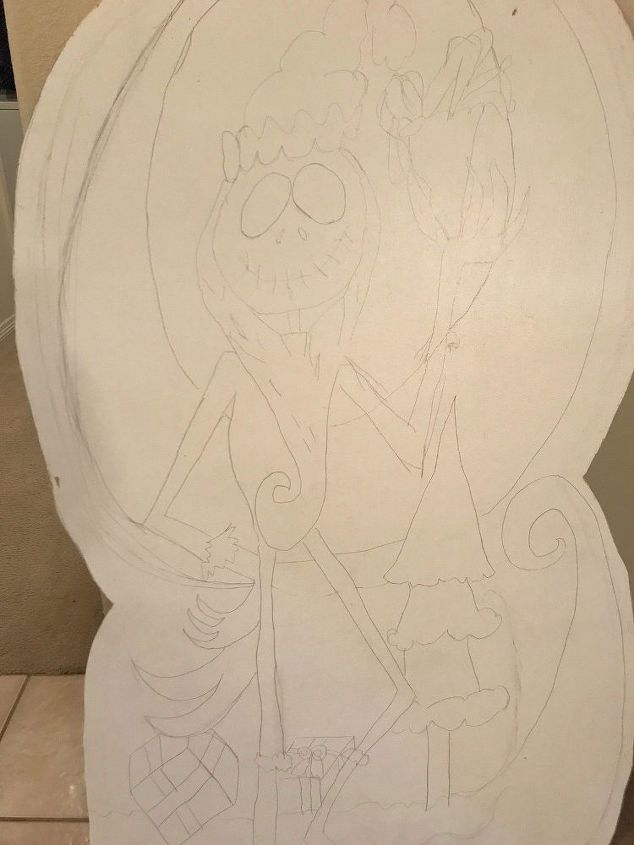
First step is to decide the design for the cutout. This can work two ways. One is to find a photo online or two is to draw it out. For this design, I couldn't find exactly what I wanted online so I sketched out a rough draft.

If your design requires multiple colors this Apple Barrel paint by Plaid is a great bargain. Walmart has a large selection and they are very inexpensive. Just make sure that the label says indoor/outdoor use as not all of them are for both.
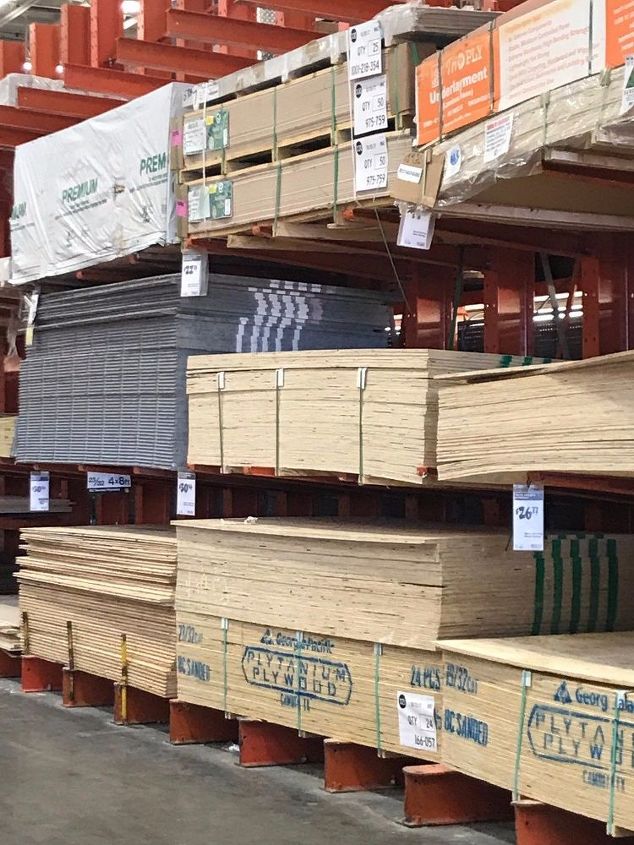
When going to purchase your 3/4 inch plywood if you have a large truck and wish to do multiple cutouts it is cheaper in the long run to buy a larger sheet of wood. If you are limited on space though, like I was, the precut sheets work fine as well. Also look for wood that has as few imperfections as possible.
After all supplies have been purchased the first step is to paint your wood sheet with primer, front and back. We used the Zinsser Bulls Eye 1-2-3 primer from WalMart like the one here. There is no need to paint the edges at this point as they will be painted at the end after the design is cut out. It is best to paint the primer outside and allow it to dry completely before continuing.
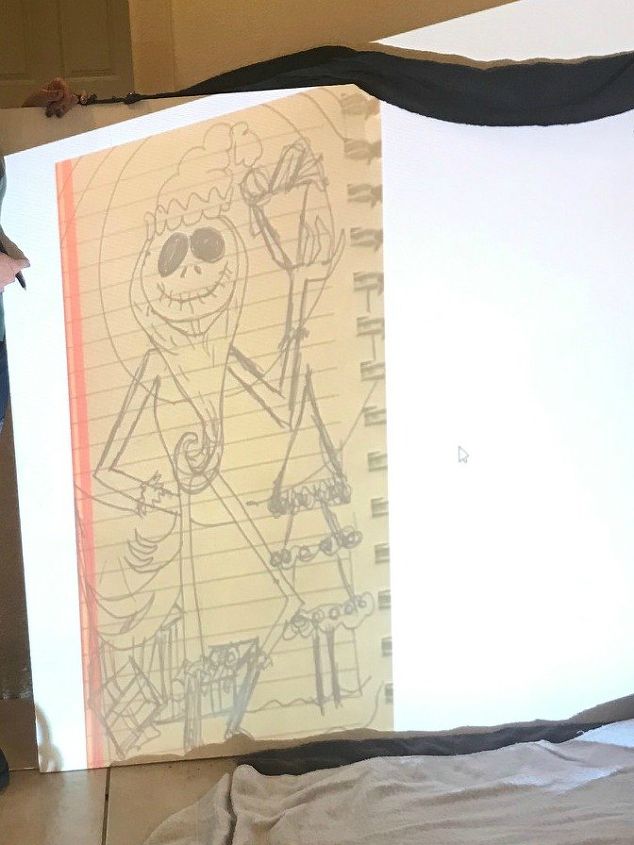
Next, draw the design onto the sheet of wood. If using a projector this is quite easy as it is simply tracing. Projectors can be quite pricey. We borrowed one from a friend for this project. Some libraries also have them to be checked out if you do not wish to invest in one.
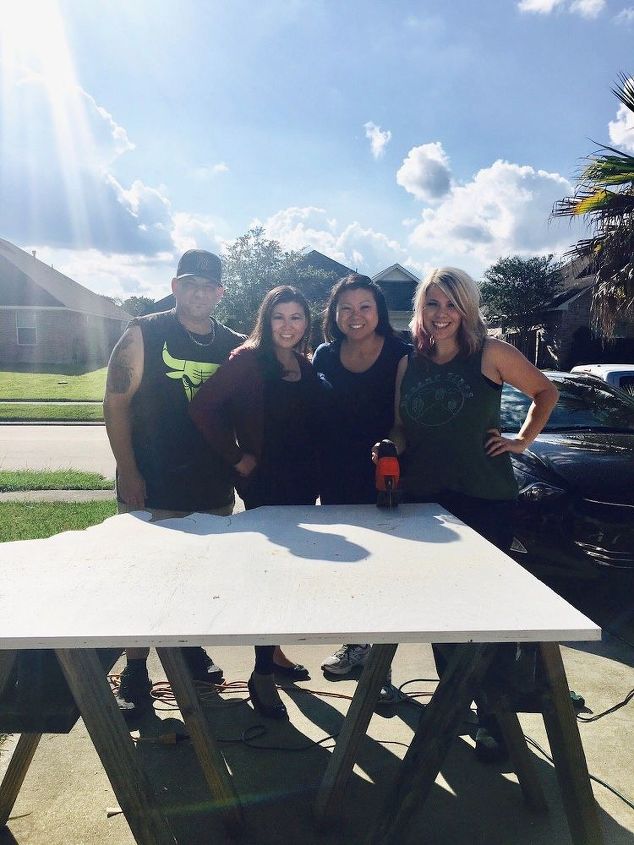
Once the design is on the plywood it is time to cut it out with a jigsaw. And there is nothing better than crafting than crafting with your besties so make a day of it!
For this design, I did not do a very intricate cut though the jigsaw will cut very tight spaces easily.
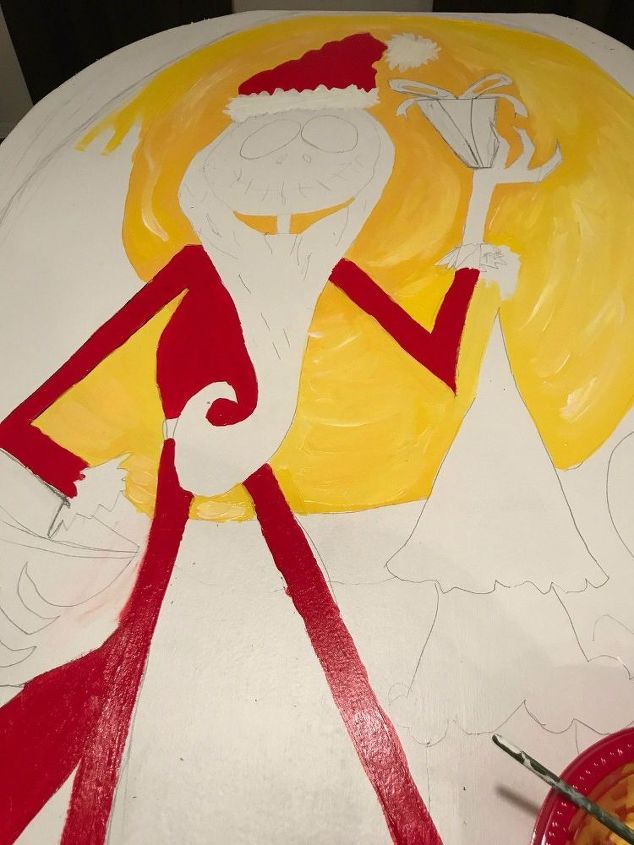
Let the painting begin! The paint used here was not that with a strong odor so I painted indoors. Just make sure to protect your furniture (I did so with inexpensive tablecloths).
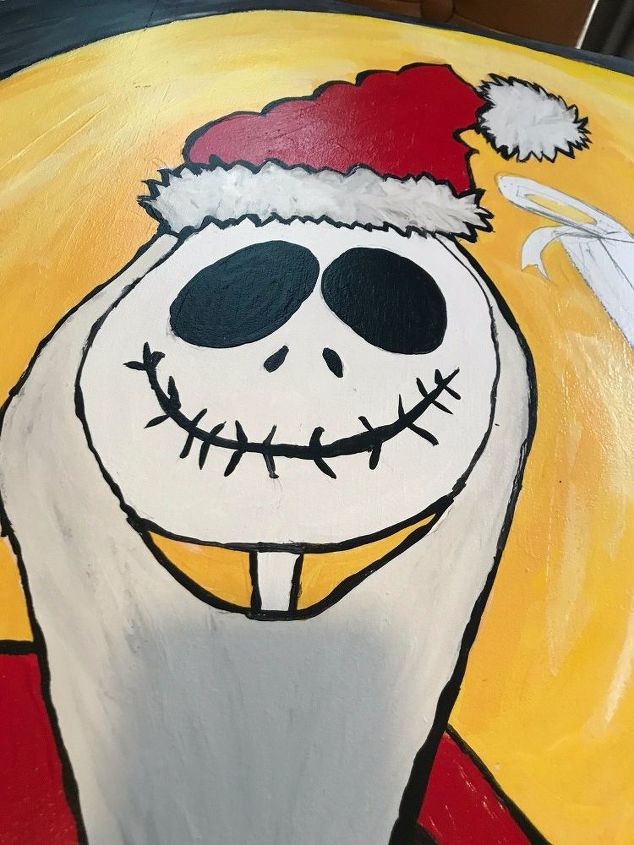
Using a small paintbrush outline your painting with black paint. This will help your artwork to be seen from the street by passersby.
Once the entire front service has been painted use a foam brush to paint the edges with primer.
After the front and edges are dry take the cutout outside and spray the front, back and sides with a clear sealant to protect it from the weather. Allow to dry fully.
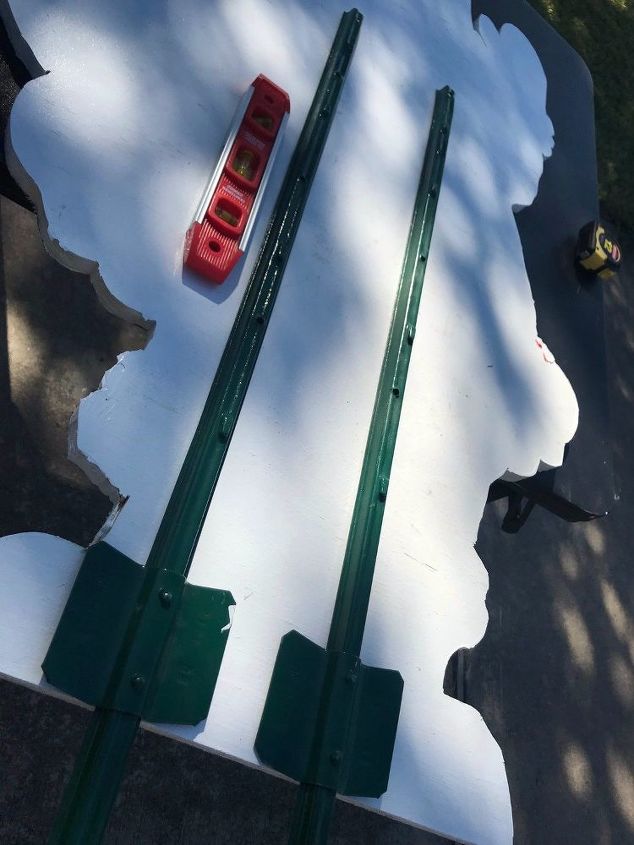
Attach the metal stakes onto the back of the cutout using screws. These stakes can be found at your local hardware store.

Voila, it is complete! I wanted a little something less traditional for this one, but the same process can be used for any design and any holiday! I already have plans for every single other holiday there is! As you can see it becomes addicting to create these cutouts!
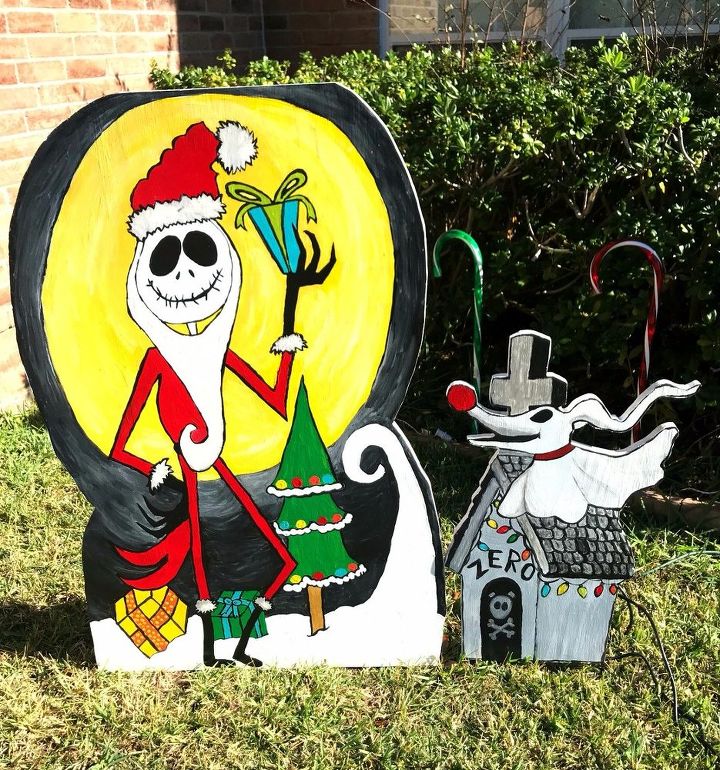
Speaking of addicting my collection has already grown to two this month. I decided to add Zero to the mix as well! The great thing about doing these is that year after year you can add new ones!
Happy Creating!
Resources for this project:
See all materials


Any price and availability information displayed on [relevant Amazon Site(s), as applicable] at the time of purchase will apply to the purchase of this product.
Hometalk may collect a small share of sales from the links on this page.More info

Want more details about this and other DIY projects? Check out my blog post!


Frequently asked questions
Have a question about this project?