


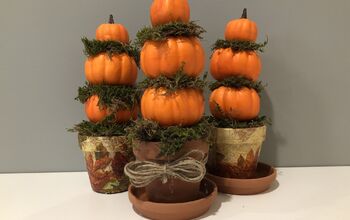
Decorative Stacked Pumpkins
5 Materials
$2
2 Hours
Easy
I love those fall and Halloween stacked pumpkins but they are expensive. I was looking through several magazines and they can be as high as $200+. Yikes! No way I am paying that so I thought of a way to make one for myself.
This cost me less than $2. Want to make one for yourself? I will show you how to do it.
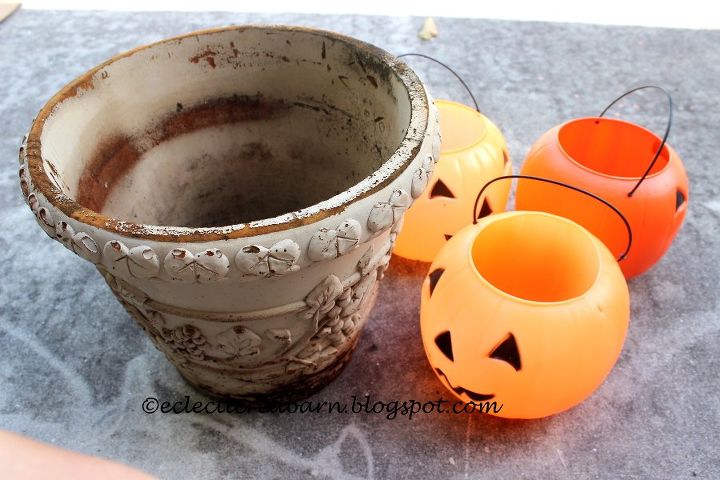
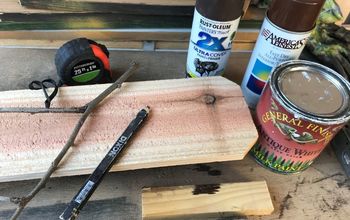
Step 1: I needed to gather some supplies for my stacked pumpkins. You need a flower pot that will hold the pumpkins. I found this planter that someone threw out and I purchased the plastic pumpkins at the end of the season last year at Walgreen's for 15 cents a piece.
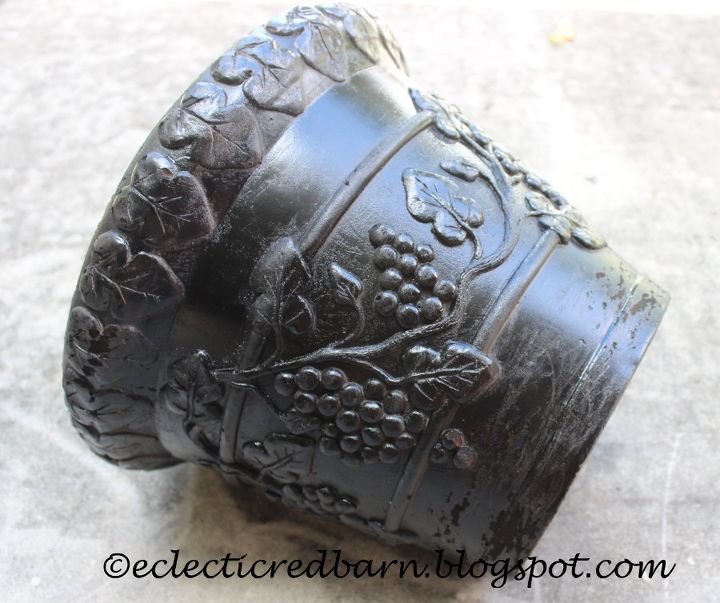
Step 2: I spray painted the flower pot black and let it dry. I sprayed inside the top a little even though you would not see.
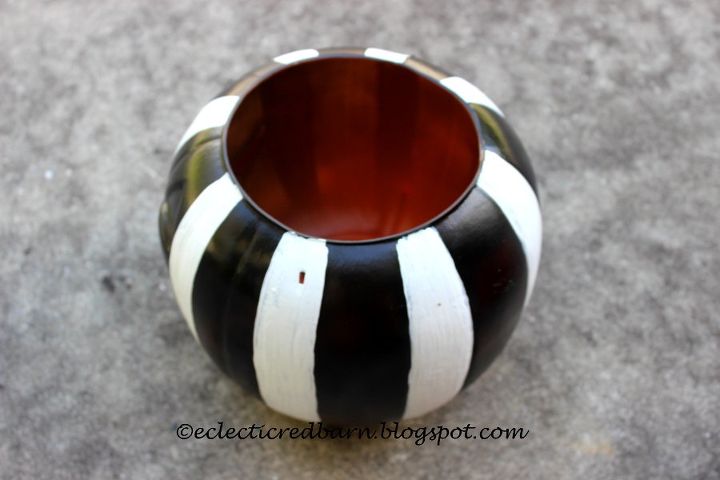
Step 3: Now to paint the pumpkins. The pumpkins have faces but if I turned them around, I could not see them and they looked good from the front. I painted one of them white and then painted black stripes down the sides. I just free-handed the stripes.
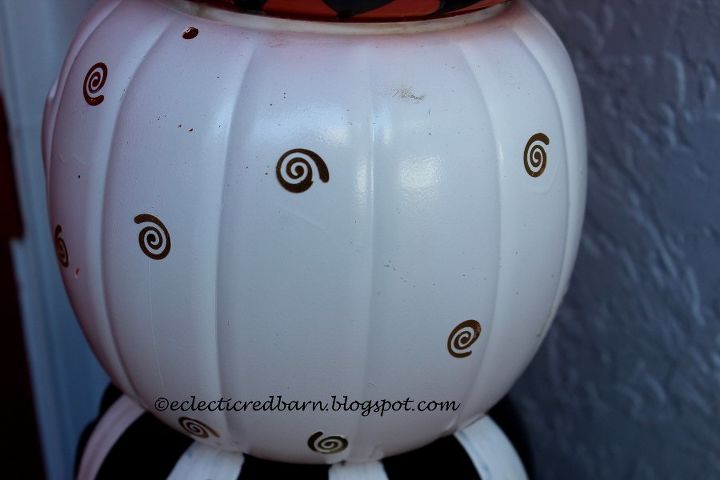
Step 4: For the second pumpkin, I spray painted it white and then added some gold circles. I glued them on. You could hand paint circles instead.
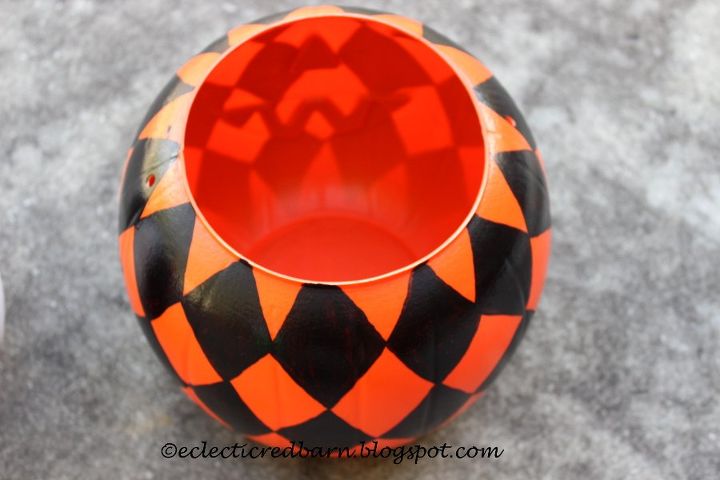
Step 5: For the last pumpkin, I added some triangles all around. I just free handed them.
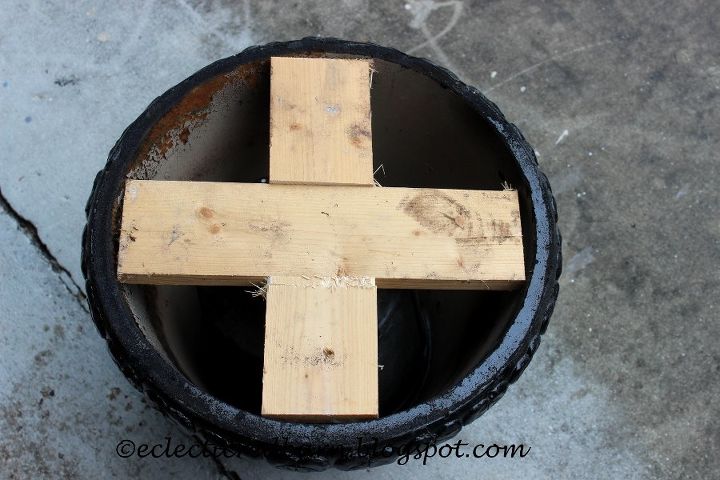
Step 6; Now it is time to put it together. I added a couple of boards to the top of the planter so the pumpkins could rest on it. I wedged a long piece in and then added two pieces on each side. Since the plastic gives and there is a lip, it was easy to wedge them in.
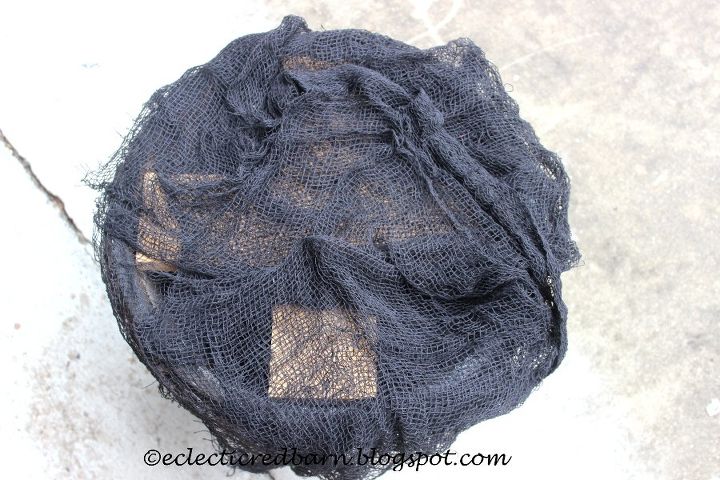
Step 7: Next I added some black gauze that I bought at the Dollar Tree. This would hide my wood. You could use some black fabric instead.
I just stacked each pumpkin on top of one another. You could glue yours but i wanted to be able to take them apart for storage.
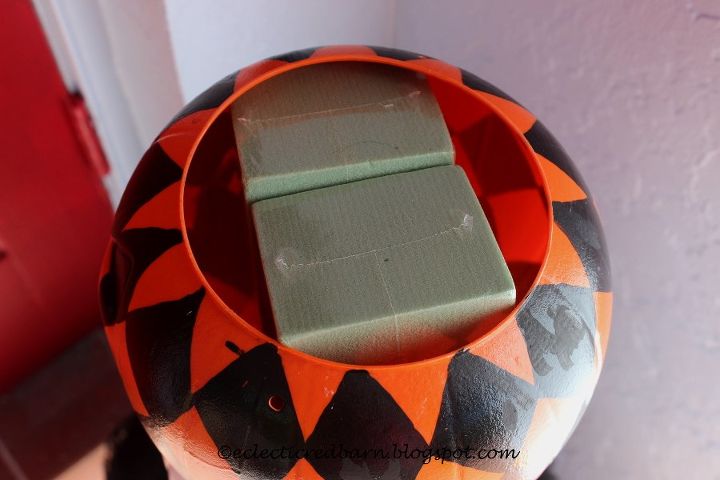
Step 8; For the top one, I added some flower foam into the top.
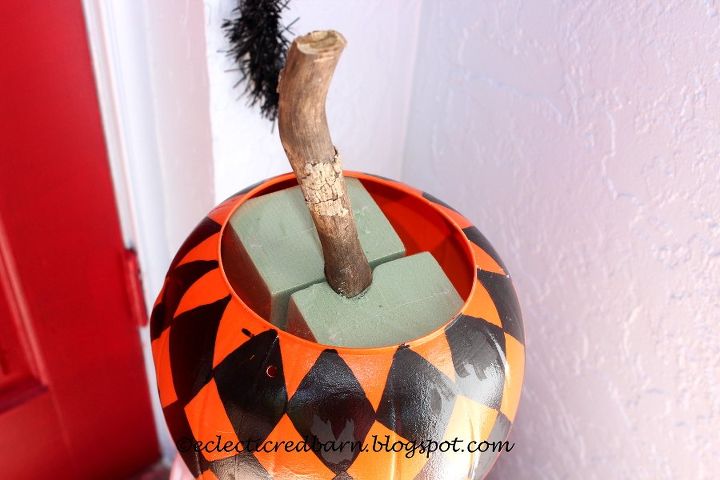
Step 9: I wedged a stick between the two of them for the topper.
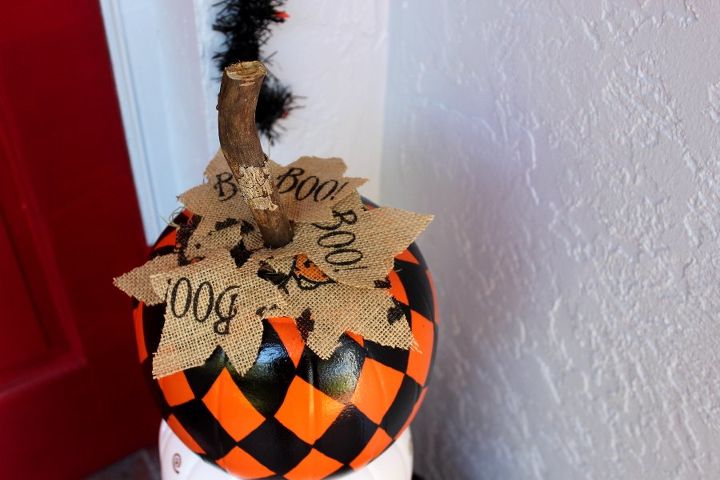
Step 10: I cut out the words "Boo" from Halloween burlap that I used to make a Hello Kitty Halloween bag. I cut them into leaf shapes.
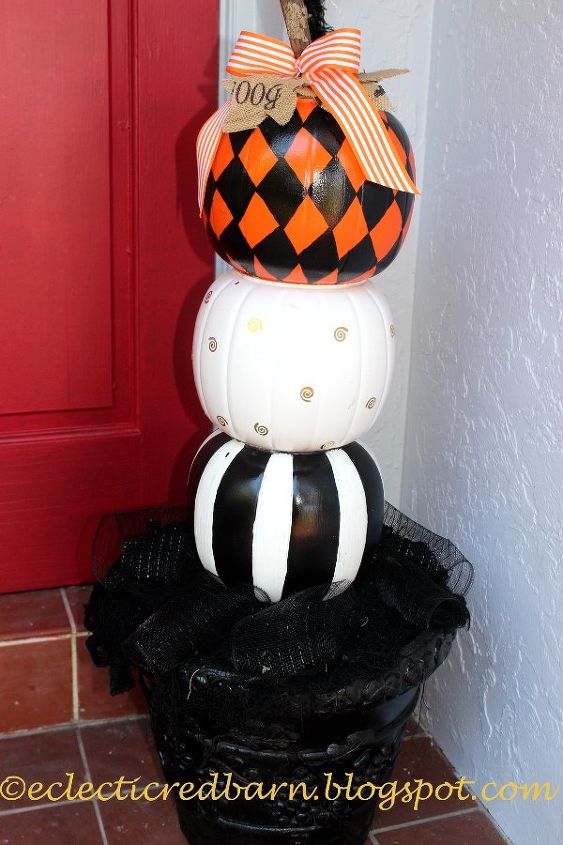
Step 11: Finally, I added a bow to the top pumpkin and my stacked pumpkins were finished.
More information can be found on my blog.

Want more details about this and other DIY projects? Check out my blog post!
Comments
Join the conversation
1 comment
-
Excellent!!! I've looked at these too and they are so expensive!! Great job!!! I'm definitely doing this!!! Thanks for sharing!!


Frequently asked questions
Have a question about this project?
What type spray paint did you use and the type of regular paint?
If you didn't glue them together and ankor them. How do you keep them together if the wind is blowing. Doesn't it blow them apart.