


How To Make Paper Pumpkins For Your Fall Decor

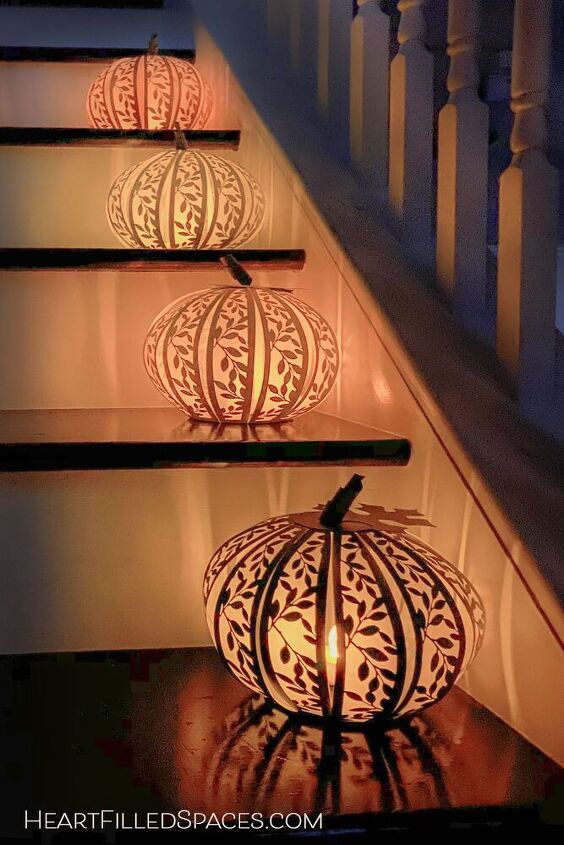
Follow along and learn how to make these gorgeous paper pumpkins for your fall decor. These pumpkins also have a special place on the underside for LED candles to add a warm glow to your home in the evenings.
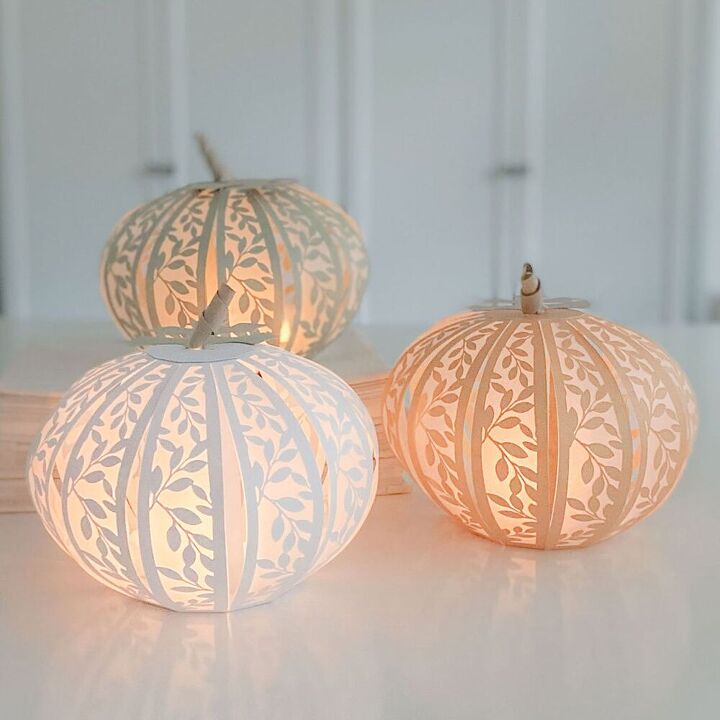
Every now and then, I finish a craft and my heart skips a beat. I had an image in my minds eye of how I wanted these to look, but they turned out way prettier. I imagined a delicate pattern to let the light shine through, so when I designed them I added this pretty leaf motif.

They are so charming, both during the day and in the evening.
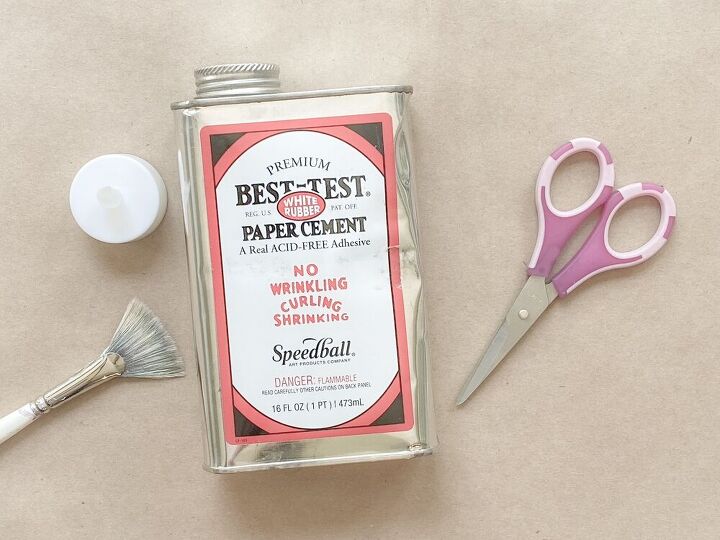
- Paper Cement
- Inexpensive Paint Brush
- Precision Scissors (optional)
- Paper
- Vellum
- Silhouette Cameo or Cricut Maker
- LED Lights

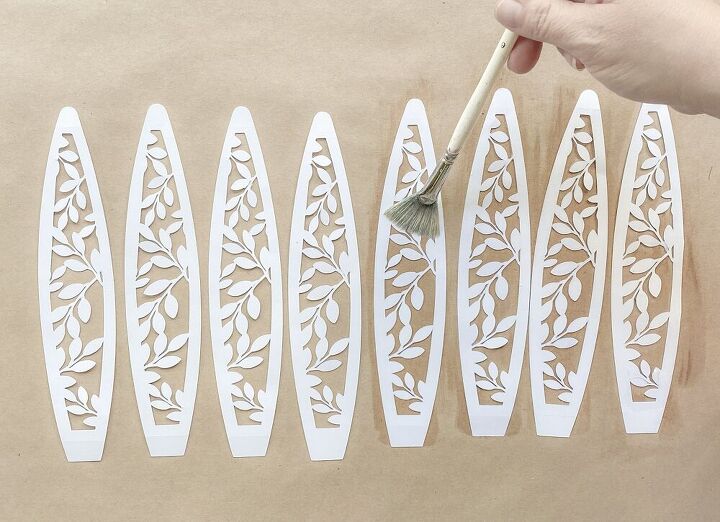
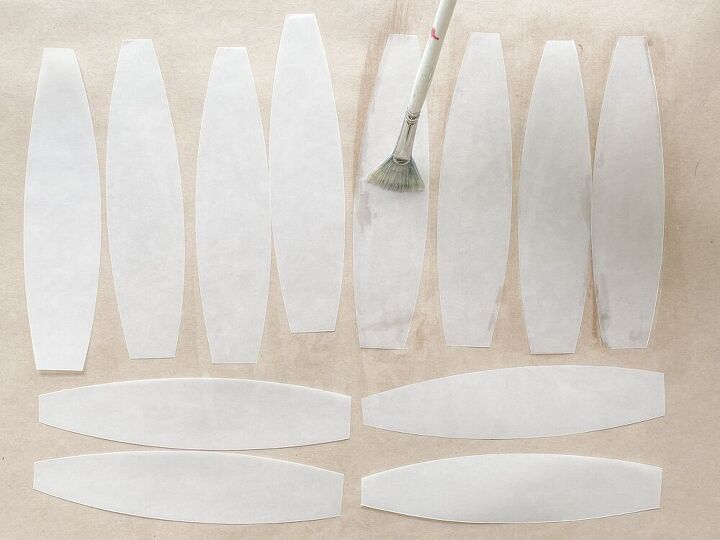
I designed these paper pumpkins to be cut on an electronic cutting machine (i.e. Silhouette Cameo or Cricut). I did also make a PDF available for anyone who likes to hand cut paper. If you would like to receive a free download of these files, visit my blog for instructions. Before you begin this craft, you’ll need to cut out the various pieces to be assembled later. Here is a picture of the paper and vellum pieces once they are cut.
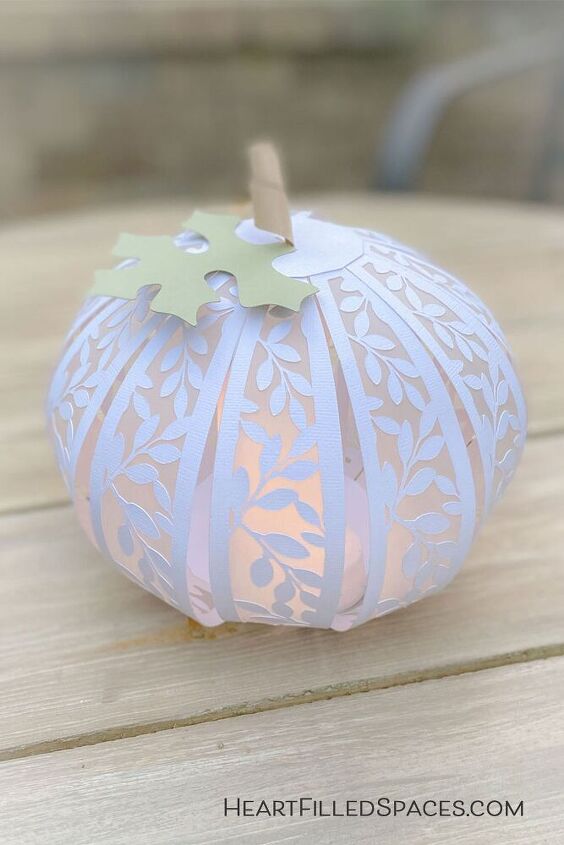
These pumpkins measure 7.5″ tall and 8″ wide and there are 12 sections to the sides. All of the paper is cut from 12″ x 12″ stock and the vellum is 8.5″ X 11″. I recommend 65 lb. card-stock to save on cut time.
For special instructions for both the Silhouette Cameo and Cricut Cutting machines, you'll want to visit this post on my blog.
Before we begin, it’s important to cover your table surface with a protective paper, preferably something that can be thrown away for easy clean-up. If you are sensitive to smells, work in a well ventilated area as there is a slight odor to the paper cement. You may also want to wear some protective gloves.
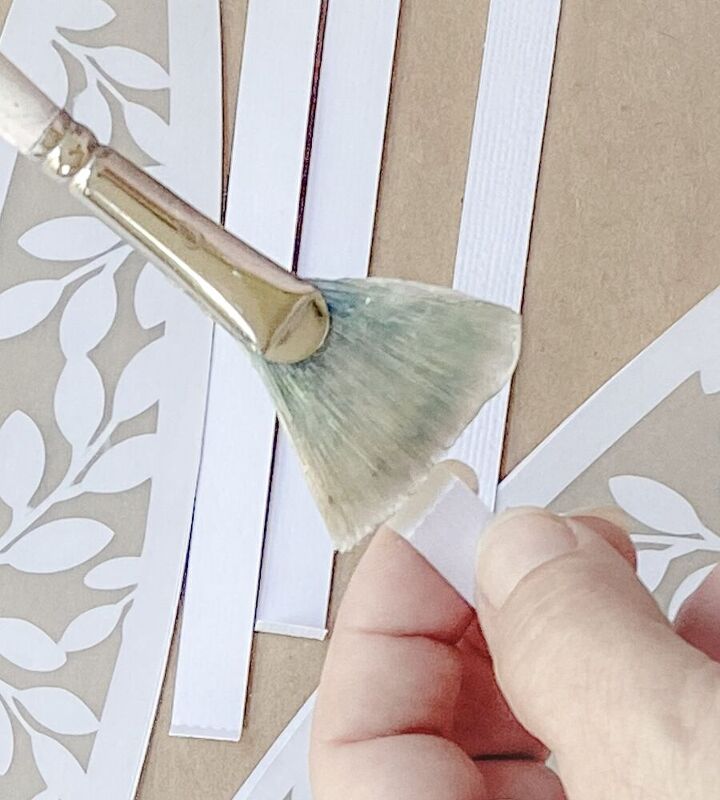
To make this project go quickly, pour some of your paper cement into a disposable cup and replace the lid on the can. Line up your pumpkin sides in a row, close together. Make sure they are all facing the same direction. Using a disposable or cheap brush, dip the bristles into the paper cement and coat the backside of the panels.
Repeat this process on the vellum panels.
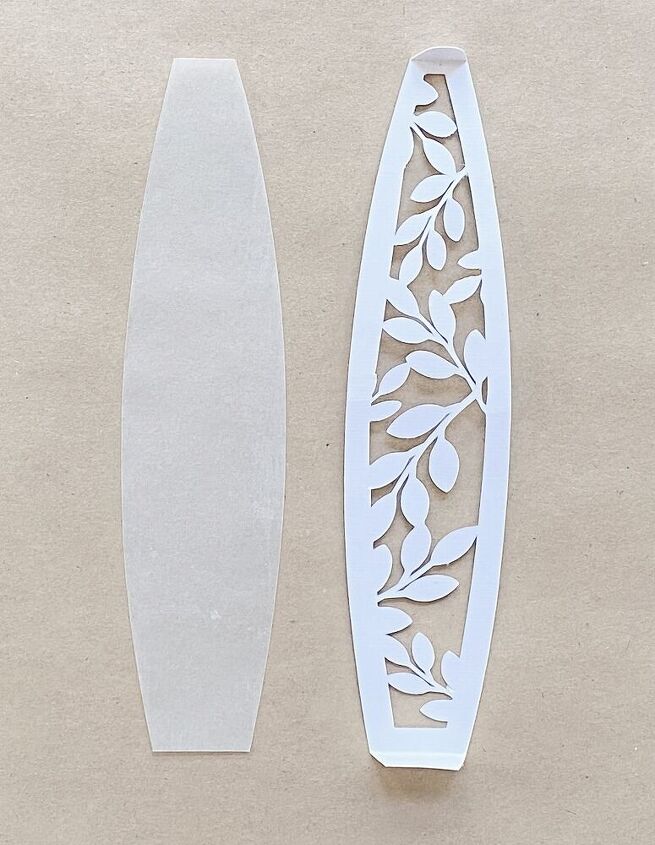
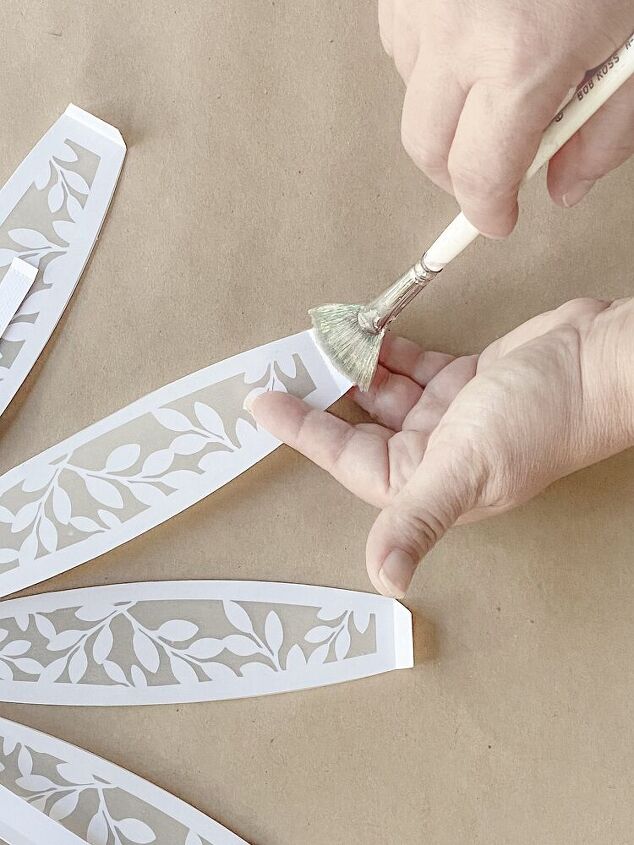
Once dry, set the vellum next to the paper with the sticky sides facing up. Fold the top and bottom of the leaf panel along the score lines as pictured below.
When working with paper cement, you want the two glue sides to face each other for the strongest bond. Take your vellum panel and line it up along the bottom fold line of the leaf panel. Then slowly lower it on to the leaf panel working from bottom to top. Take care to line up the edges. Then slide your fingers along it to permanently press it into place. If your vellum is slightly off, don’t try to lift it. Just cut the extra vellum away with scissors.
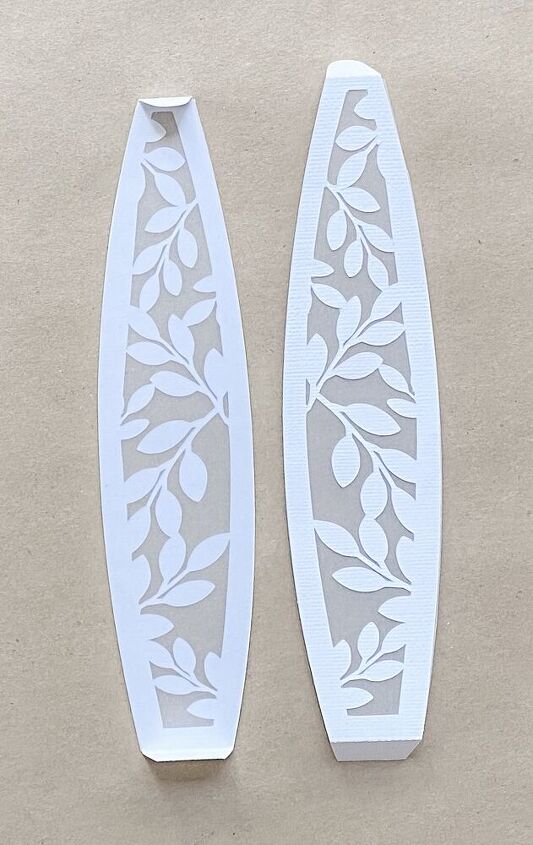
This is what a completed panel looks like, both front and back side.
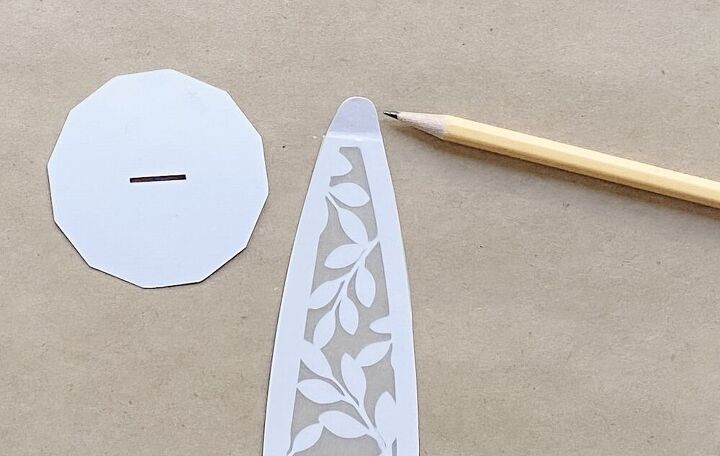
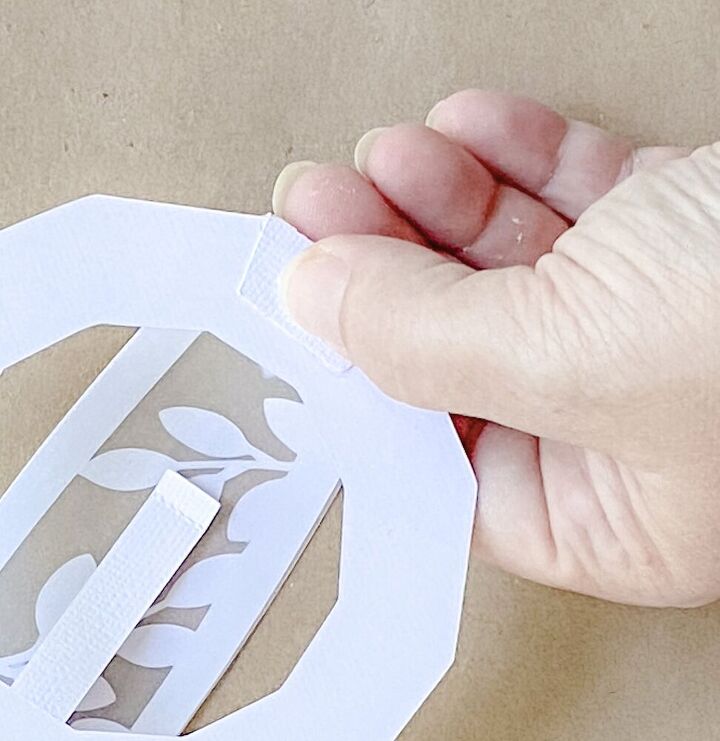
Add a little more paper cement to the inside top of the rounded portion on the panel. See where the pencil is pointing in the image below for reference.
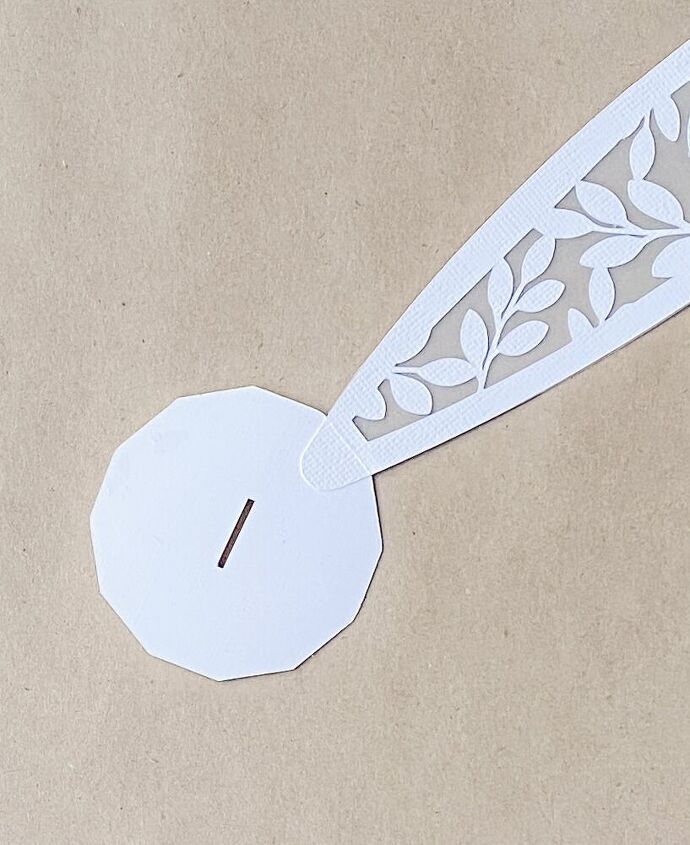
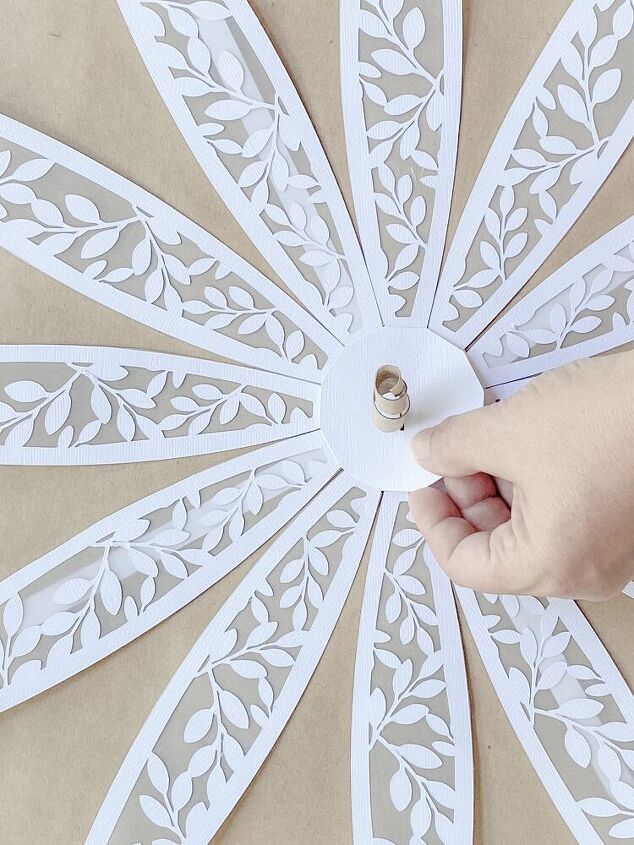
Cover the top panel (polygon with slit in it) with paper cement. Then press the sticky side of the rounded portion of the leaf panel on to the polygon. Use the sides on the polygon as your guide, one panel per side of the polygon. Place the fold on the edge of the polygon.
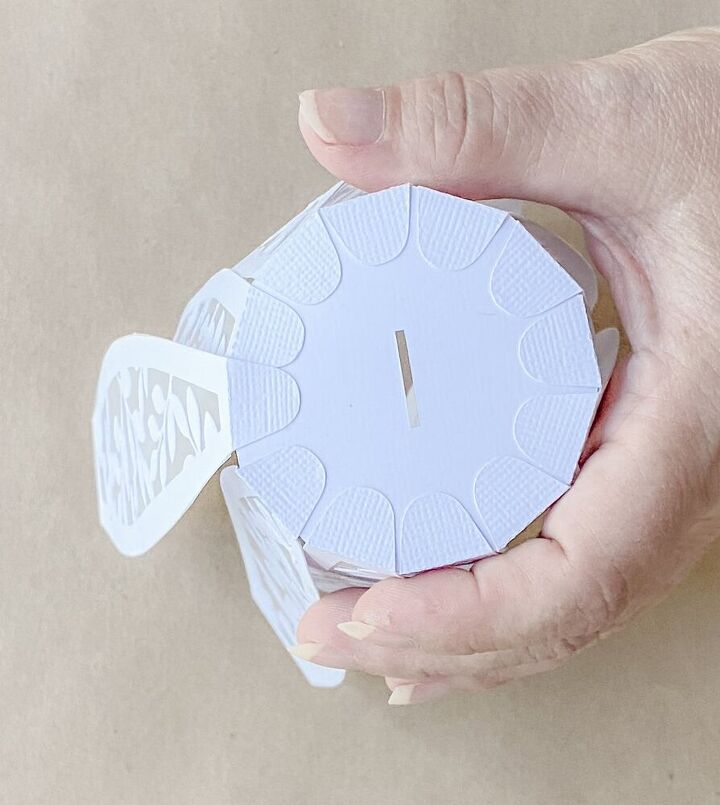
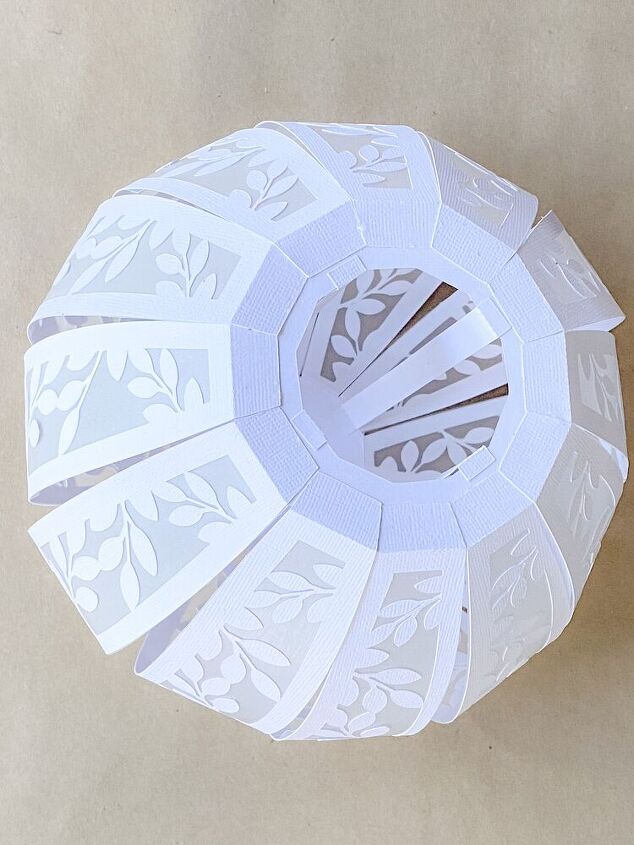
Repeat this process until all twelve panels are attached as seen in the image.
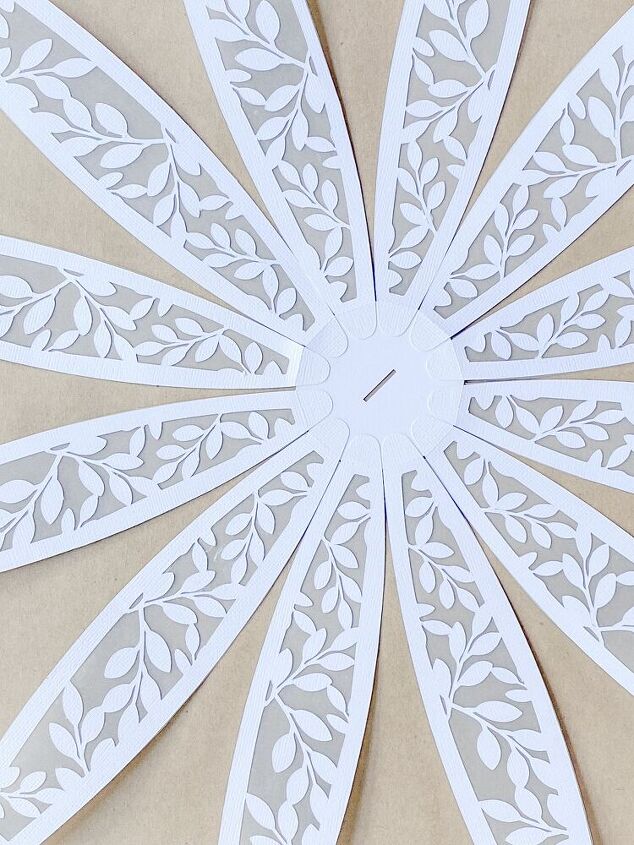
Then lay the pumpkin so the panels are spread out, like in the image above. Set this part aside for later.
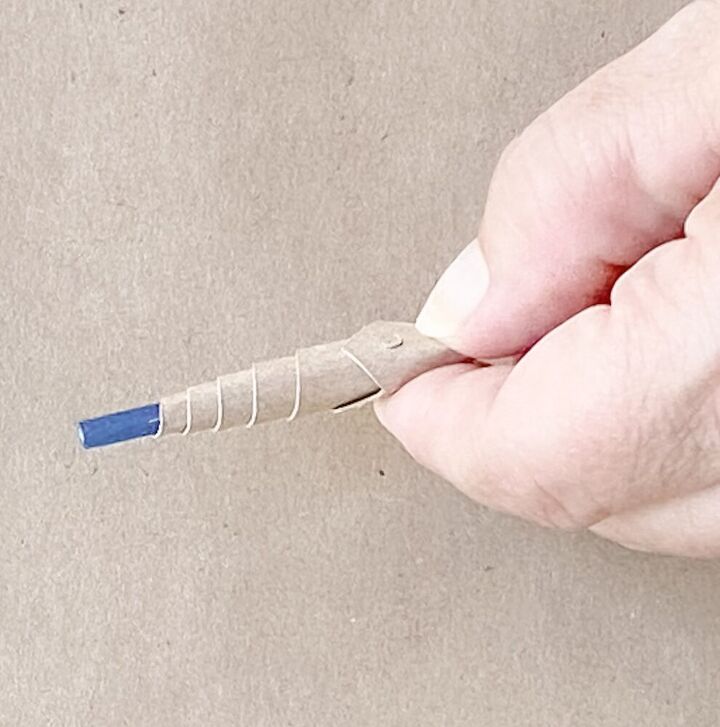
Wrap your stem around the paint brush handle to curl it. Slip the handle out of the stem and continue to shape the stem with your fingers until it is the way you want.
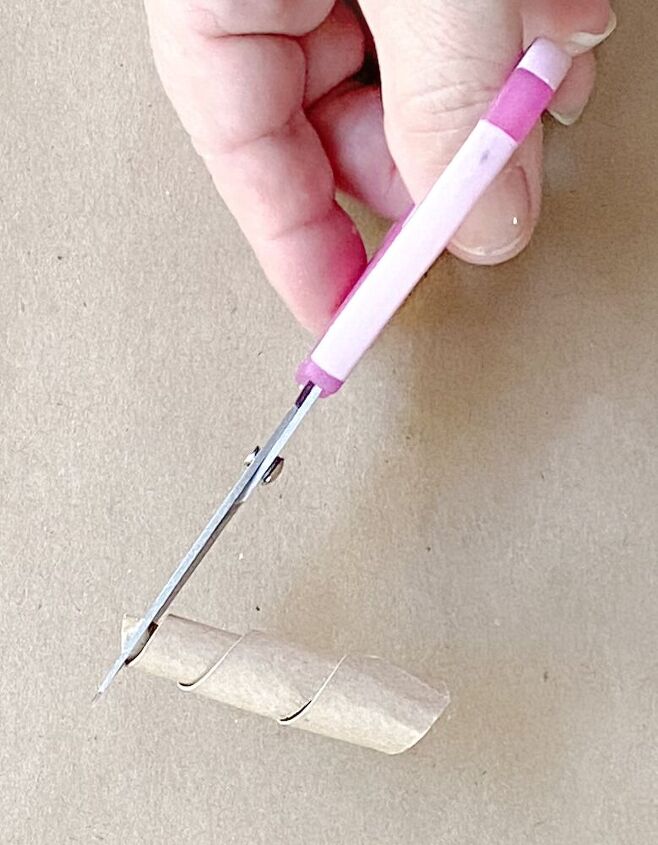
I snipped off the pointed tip.
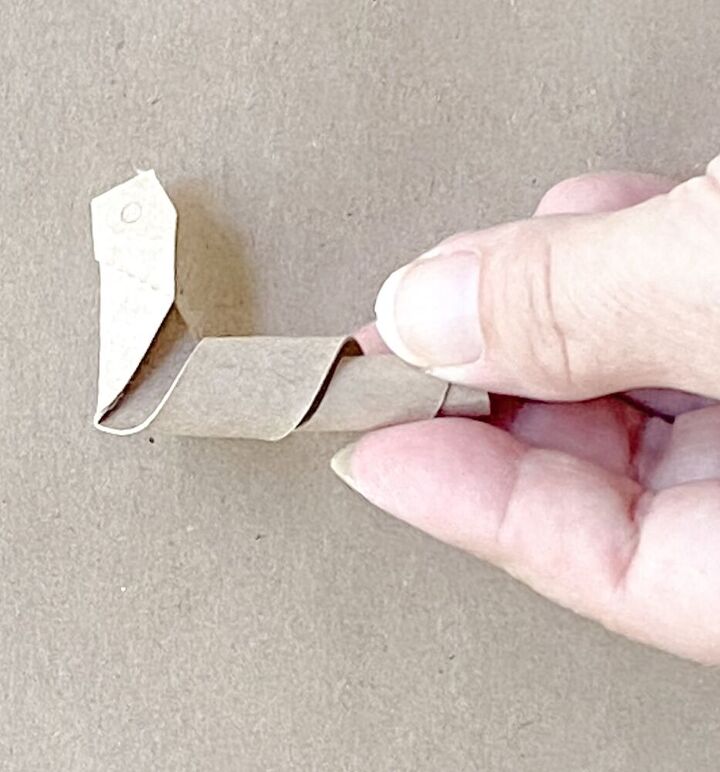
Fold the bottom portion of the stem over to make it flat.
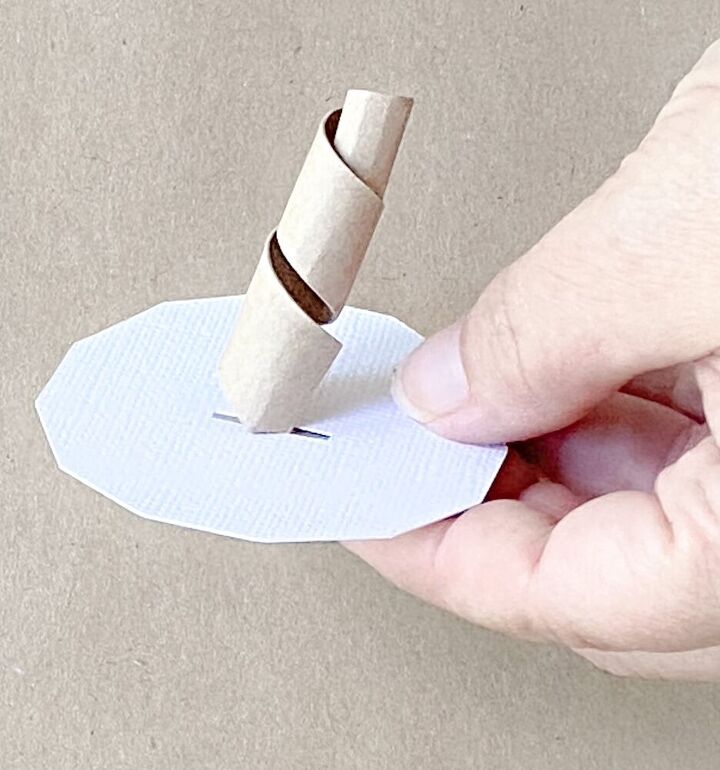
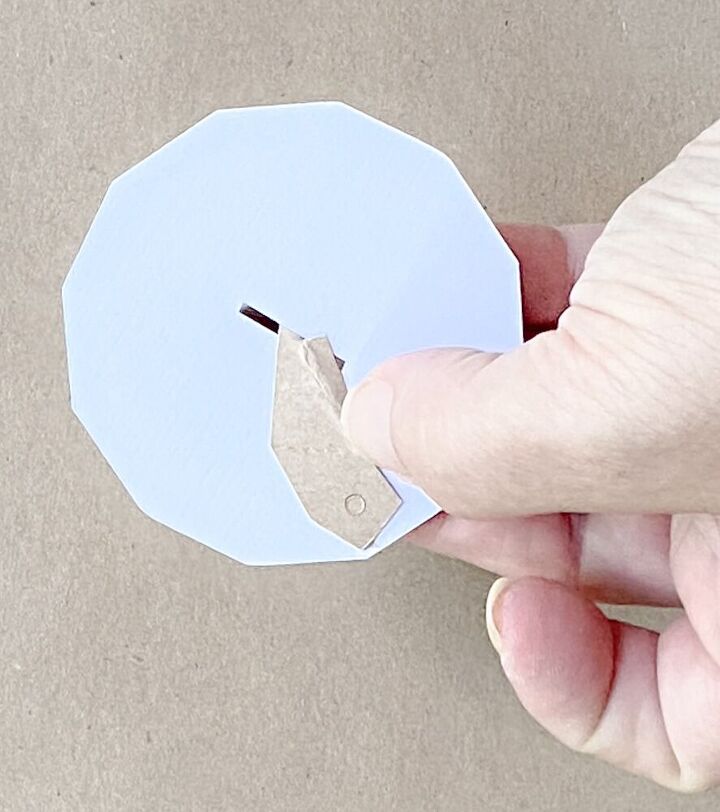
Then put it through the slit in the second polygon.
Apply paper cement on both the stem and polygon and press them together. Then set this piece aside for later.
Take the four thin rectangles and fold the ends of them along the score lines. Fold one end in and one end out like a Z. Add paper cement to the top (inside facing end).

Take the assembled part of the pumpkin and flip it over so the inside is facing up. Now add the paper cement all around the perimeter of the polygon. Then attach the end of the support to the polygon, like in the image above. Repeat this step for all four supports, spacing them out evenly. Press them tightly down and flip the pumpkin over,
Now with the outside of the pumpkin facing up, add some paper cement to the top panel. Also, add paper cement to the bottom of the stem panel. Then press the two panels together, as in the picture.
Place the pumpkin so the inside is facing up. Then add the adhesive to the inside of the bottom flap.
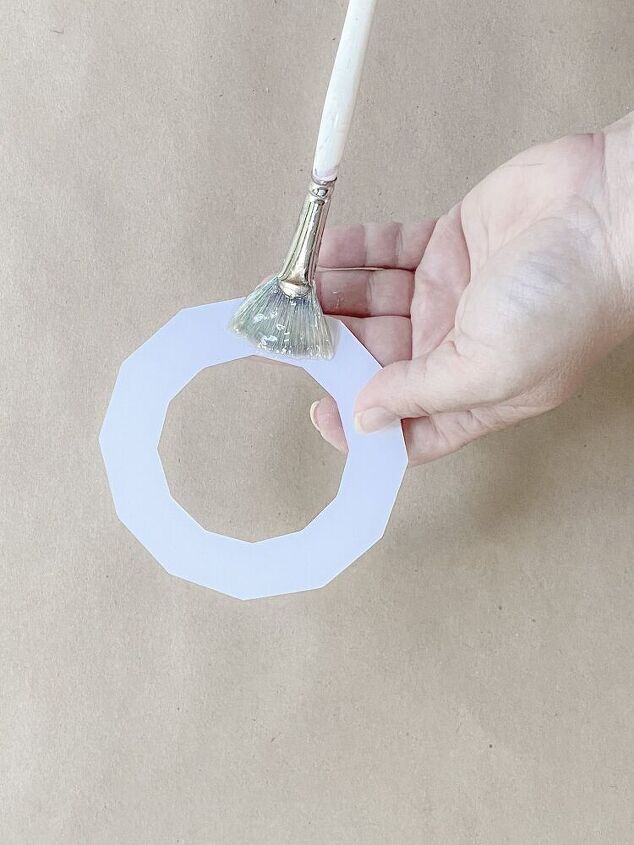
Then add adhesive to one side of a large Polygon
Now attach the panel to the polygon. Make sure the glue on the support and the glue on the polygon are facing each other for a strong bond.
Repeat this step, working in order around the polygon.
Then add adhesive to the inside flap of the four rectangular supports. Press them in place on the inside of the polygon.
Now take the second large polygon panel and add adhesive to one side. Then, add a little more adhesive to the bottom of the pumpkin. Press the polygon in place on the bottom of the pumpkin for a clean finish.
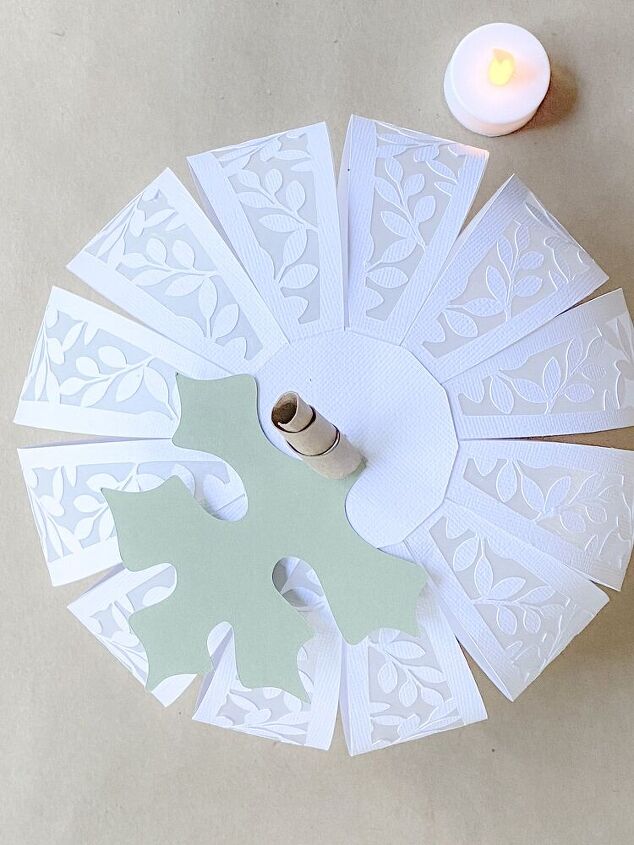
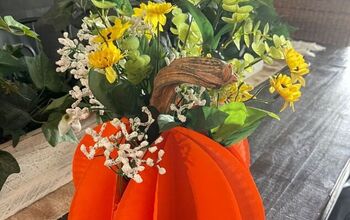
Then flip the pumpkin upright and add adhesive to the leaf and spot you want to place your leaf. Press the leaf in place.
Now add your LED tea light to the underside of the pumpkin for a soft glow. I recommend using the remote control tea lights. Then you can easily turn them on and off with the click of a button. They cost a little more, but they’re simple to use.
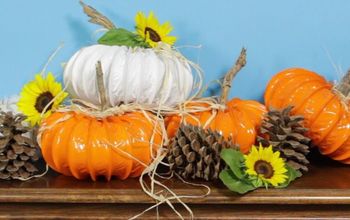
I hope you enjoy these paper pumpkins as much as I do. For more fall inspiration, check out these ideas. Have a wonderful fall season and happy crafting!


Comments
Join the conversation
-
O my!! These are exquisite!!
So so feminine!! tfs!
-
Love the velium pumpkin!! About how long does it take to make? (I have a Cricut)
Also, do you HAVE to use paper cement? Or is there something else that would work as well? Thanks!


Frequently asked questions
Have a question about this project?
Hello I'm new to your site and I have subscribed and trying to download the pumpkin but can't seem to find were I do this please can you help ? X
I just love love love this protect. Thanks for sharing💓
I’ve requested a link with the password twice and never received it. I made sure to check my spam and junk files just to make sure it didn’t go there. Now I can’t even find the link to request a password. Help!