


How to Cover Tin Cans With Twigs
Today I’m sharing How To Cover Tin Cans with Twigs for a Free Recycle Craft. They can be used for a beautiful centerpiece or alone with stems. This easy tutorial will be a fall favorite.
The twig covered cans are beautiful to add to your fall decor as well as for all seasons.
How to Cover Tin Cans with Twigs
This is such a simple and almost free project, plus it’s great for recycling tin cans.
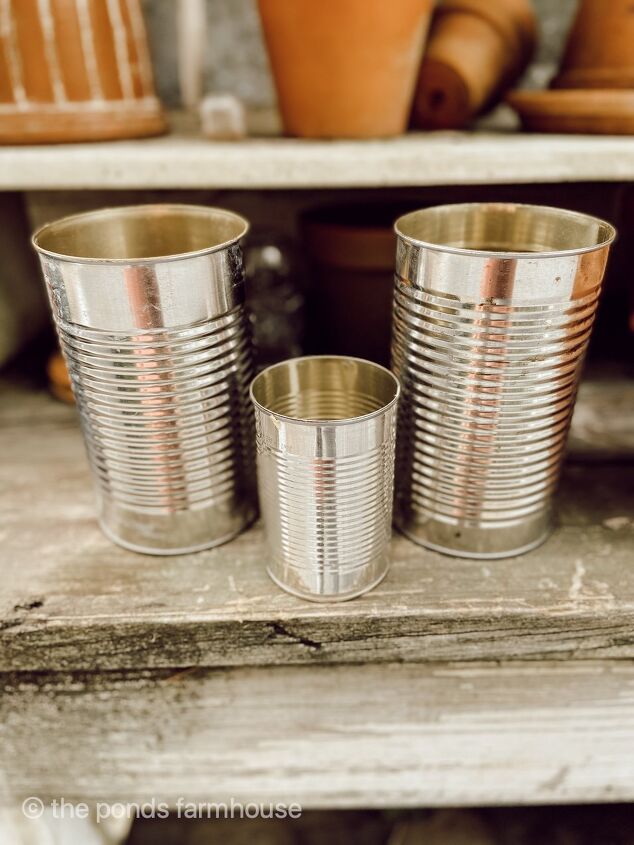
First, you need to save cans. I always have a collection ready and waiting for a project. I use them the hold my paint brushes, pens, scissors and other craft supplies between projects.
- Clean Cans
- Hot Glue Gun
- Foraged Twigs
- Dark Spray Paint such as Rust-oleum
Begin with clean tin cans in a variety of sizes of your choice.
You can easily paint various cans for a free projects. I also decoupaged several tin cans with napkins for a Spring Table here.
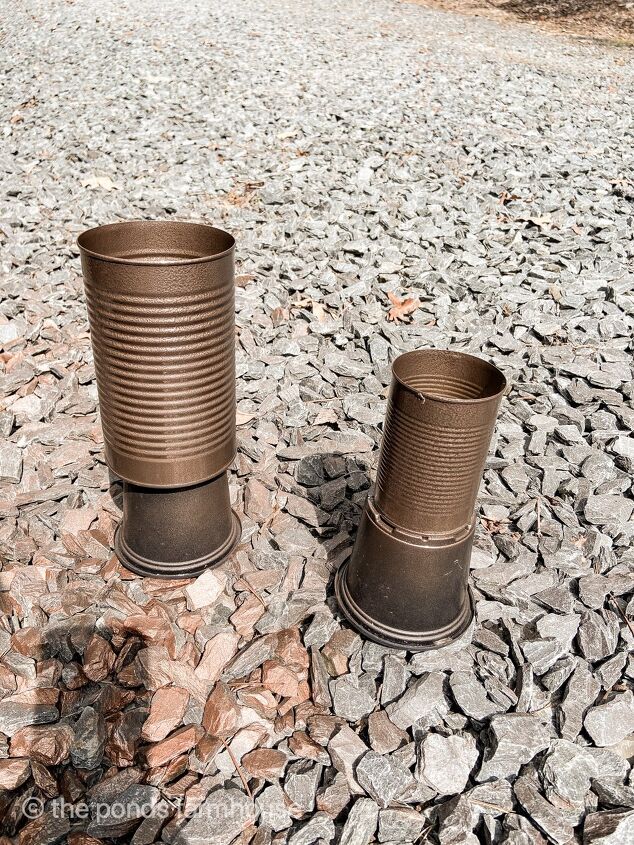
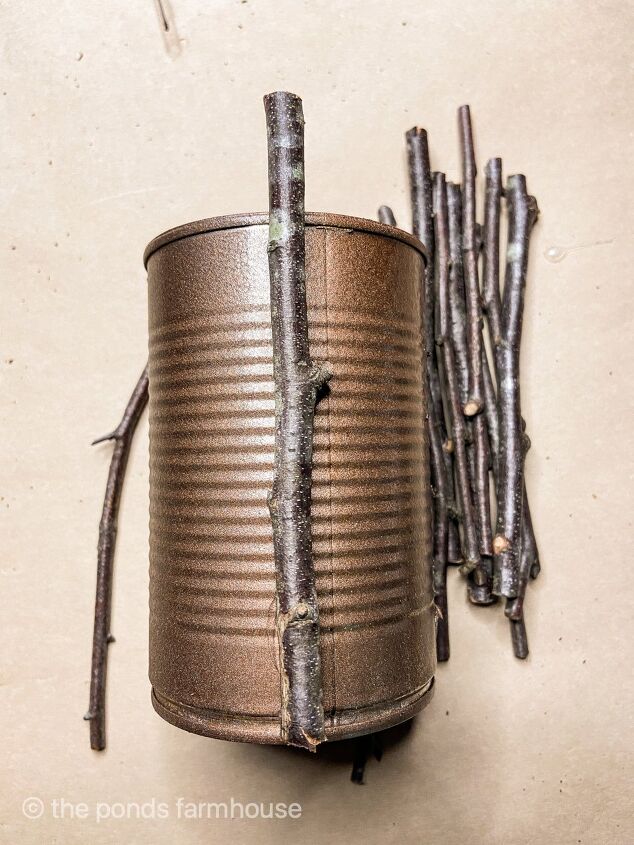
Next, you will want to paint your cans a dark color so the shiny metal will not be exposed.
Hunt and gather twigs for your project. You want to select small to medium size twigs that are relatively straight.
Then measure the height of your cans and cut the twigs to those lengths. I added approx. 1/4 of an inch to the twigs, which allows the twigs to extend above the top of the tin can.

I used Hammered Copper by Rust-oleum, but brown or black works fine.
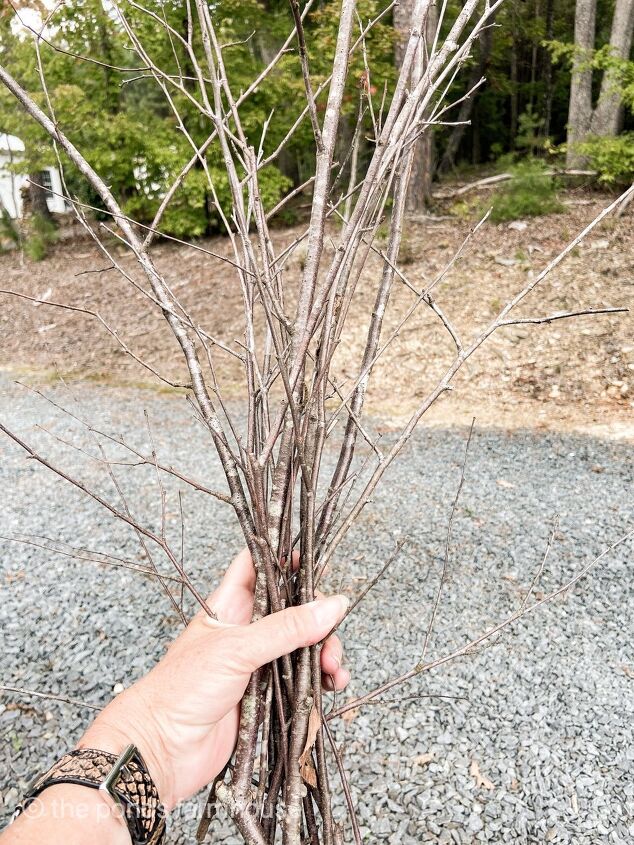
Hunt and gather twigs for your project. You want to select small to medium size twigs that are relatively straight.
Then measure the height of your cans and cut the twigs to those lengths. I added approx. 1/4 of an inch to the twigs, which allows the twigs to extend above the top of the tin can.
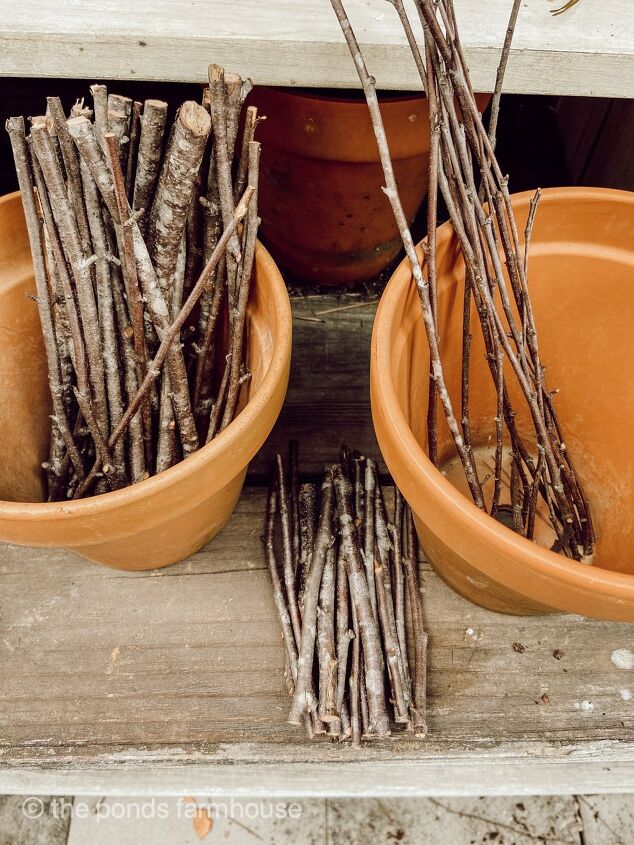
Once you have a good selection cut, you are ready to begin adding the twigs to the cans.
Begin by adding a bead of hot glue to the flat side of your twig.
The most difficult part is finding a flat side and many will not have one.
Don’t worry if it doesn’t lay flat because it will all work out in the end.
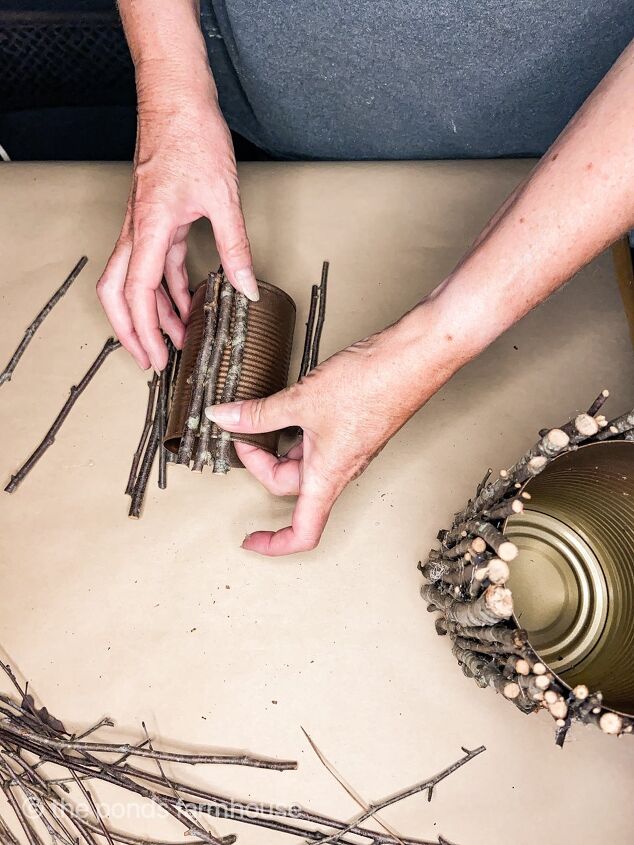
Continue around the can until the twigs meet.
You will see gaps between the twigs so it will be necessary to fill in with smaller twigs.
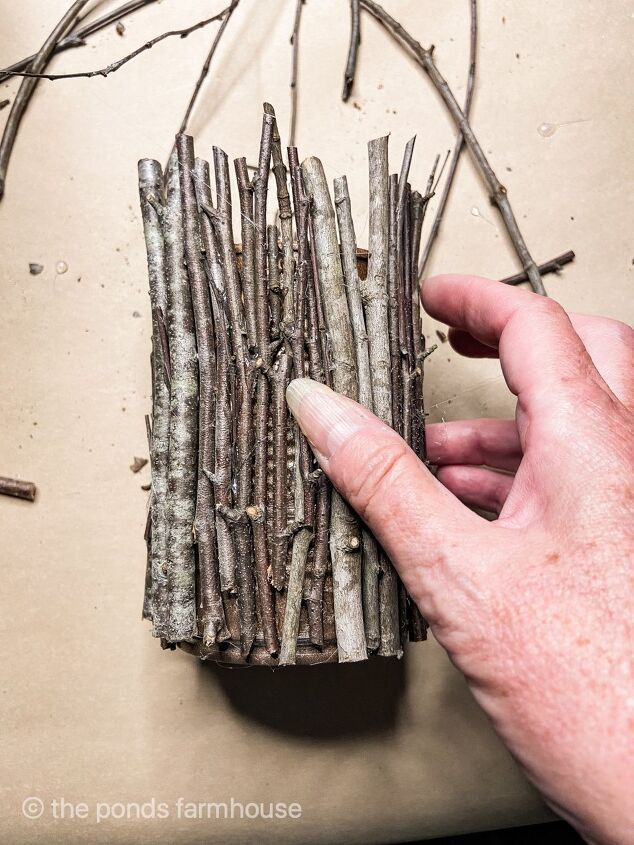
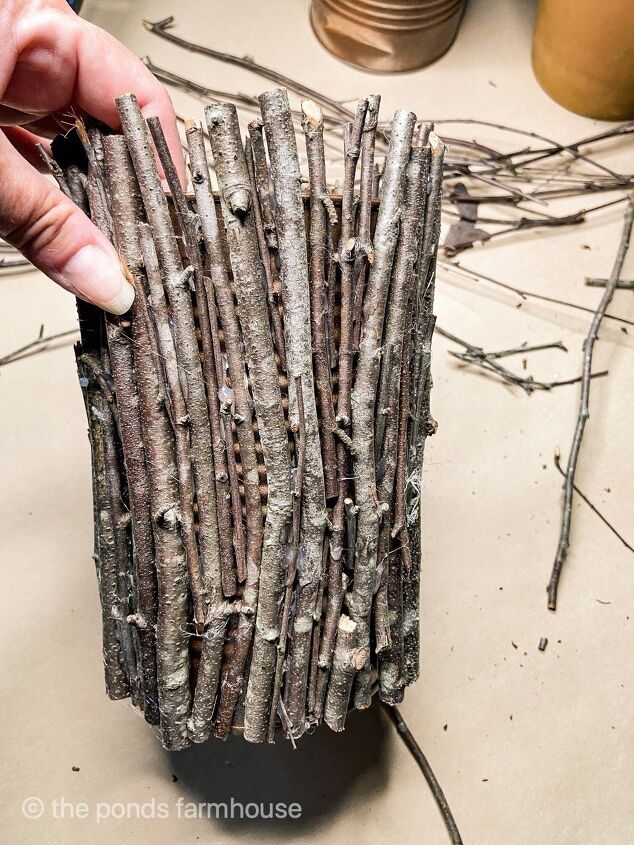
Keep adding until there is minimal gaps between the twigs as shown below.
You will also notice some areas where the twigs curve and you can fill in with shorter lengths in those areas.
Finish Twig Cans
To finish the cans, I tied a length of raffia around each one and tied a simple bow.
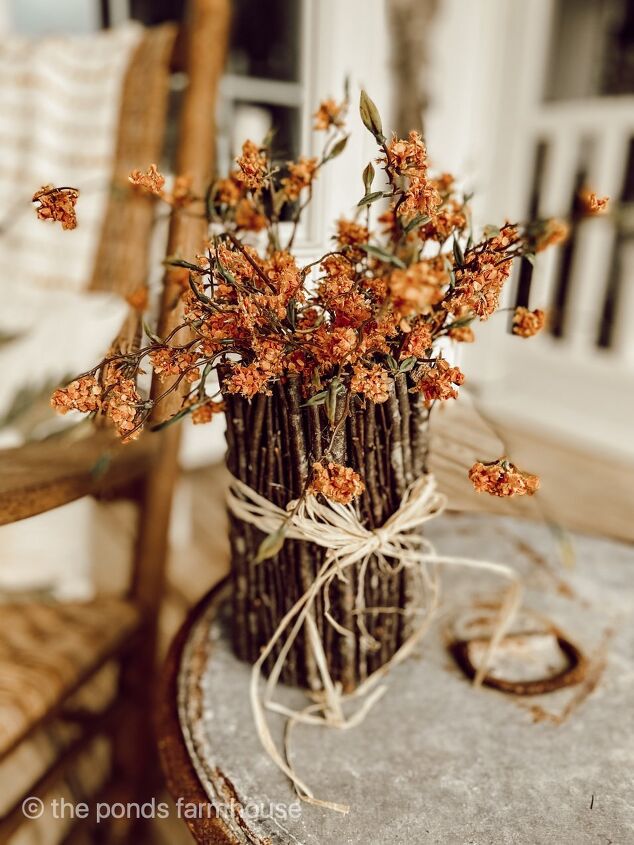
Although I have a plan to use these tin cans on a Fall Table Centerpiece, they look good alone with simple faux stems.
As I look at this photo, I’m already envisioning them with a wash of white paint for the holidays. So many fun options.

If you missed How Rust Metal or my DIY Fall Wreath made with Rusty Tin Cans, be sure to click the highlighted links.
Stay tuned for, Ideas for Friendsgiving Table Centerpiece, using this project.
Thanks so much for stopping by today! I look forward to sharing my next adventure with you!


Comments
Join the conversation
-
These are great looking. They could have many uses. Also, nice gift for someone.
-
I used bark for my sons rehearsal dinner that was held outside. The flowers were wildflowers so it looked great


Frequently asked questions
Have a question about this project?