


Simple Tray for Organizing the Bathroom or Other Rooms

by
Amanda
3 Materials
1 Hour
Easy
My sister’s main bathroom doesn’t have any storage space, so she asked if I could make her a small tray for on top of the toilet.
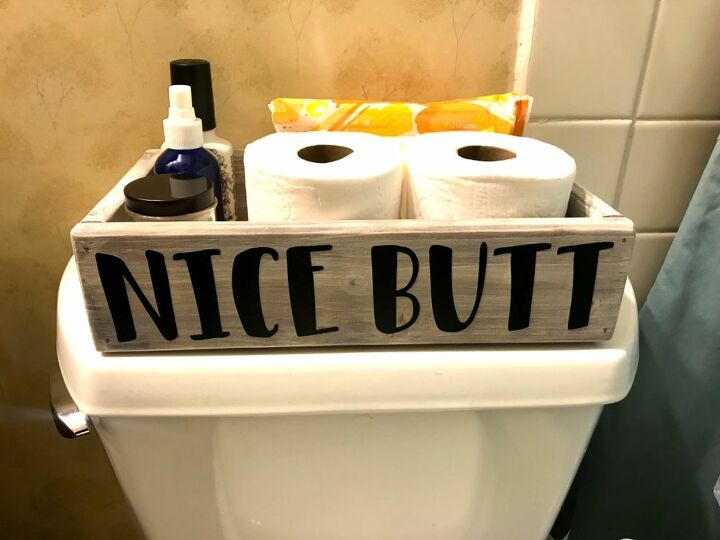
This is the perfect project to use scrap boards and can easily be modified to fit your space and style. I used 1x4 furring strip boards for the sides and a thin plywood piece for the bottom.
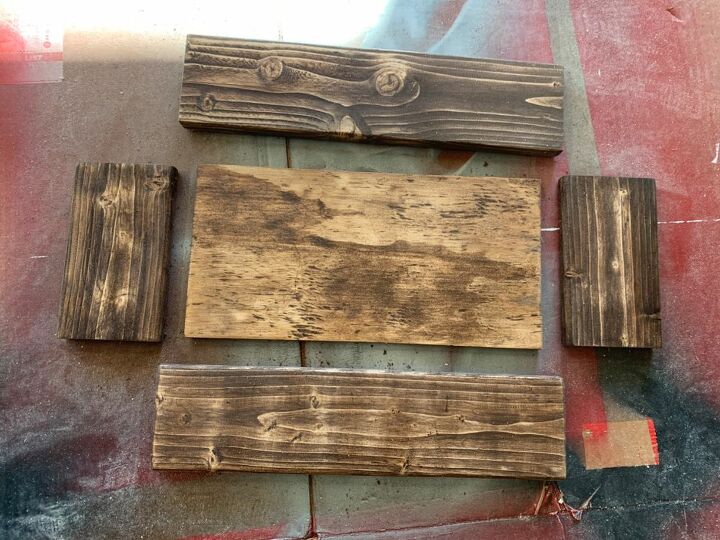
Cut your boards to size. Toilet tanks do not come in a standard size, so make sure you measure your intended area. My cuts were 13 1/2” for the long sides, and 5 1/2” for the short sides. The 1x4s were about 5/8” thick, so the plywood was cut to 12 1/4” x 5 1/2”.
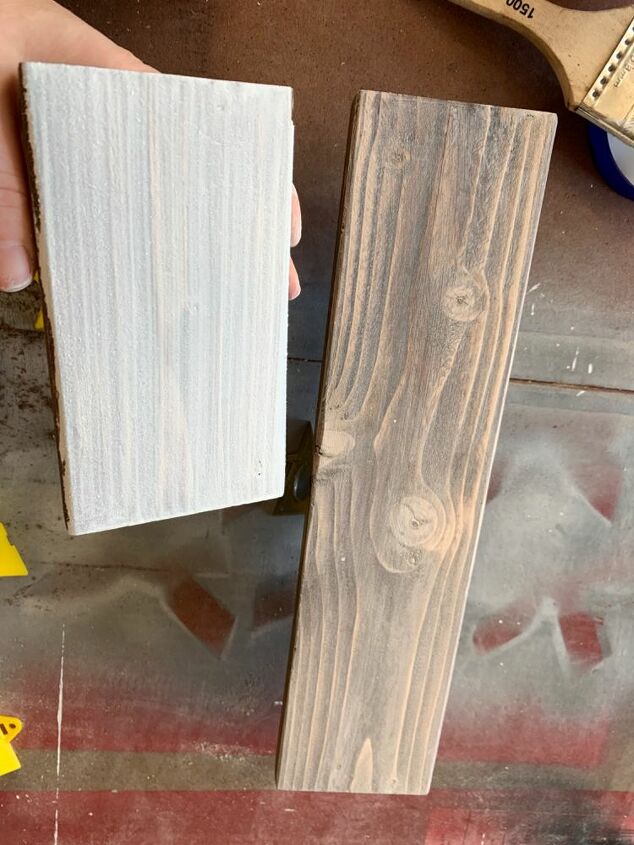
I wanted this tray to have a farmhouse look, so I did a quick coat of stain followed by a whitewash (1 part flat white paint, 3 parts water). Left side is before wiping the whitewash off, right is after wiping.
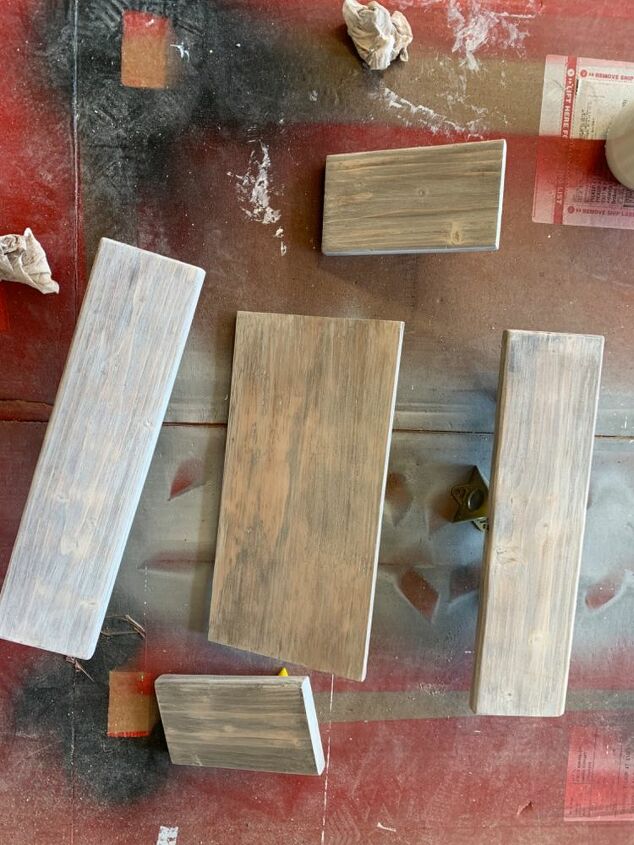
It wasn’t quite light enough, so I did a second whitewash. Once dry, I glued and nailed the pieces together using trim nails.
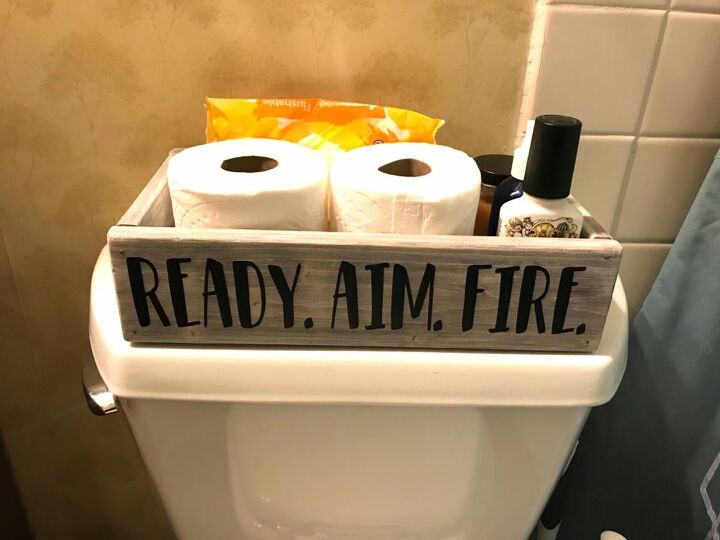
I also put some fun sayings on both sides, so the tray can easily be flipped around to change things up.


Any price and availability information displayed on [relevant Amazon Site(s), as applicable] at the time of purchase will apply to the purchase of this product.
Hometalk may collect a small share of sales from the links on this page.More info
Comments
Join the conversation
2 of 3 comments
-
cute!
-
This is hilarious! I wish I'd thought of this when all of our boys were home!🤣


Frequently asked questions
Have a question about this project?