


Harvesting Hollyhock Seeds

As I've mentioned once or twice before, I love free plants. What better way to get them reliably than harvesting your own seeds and growing your own?! This time it's all about hollyhock.
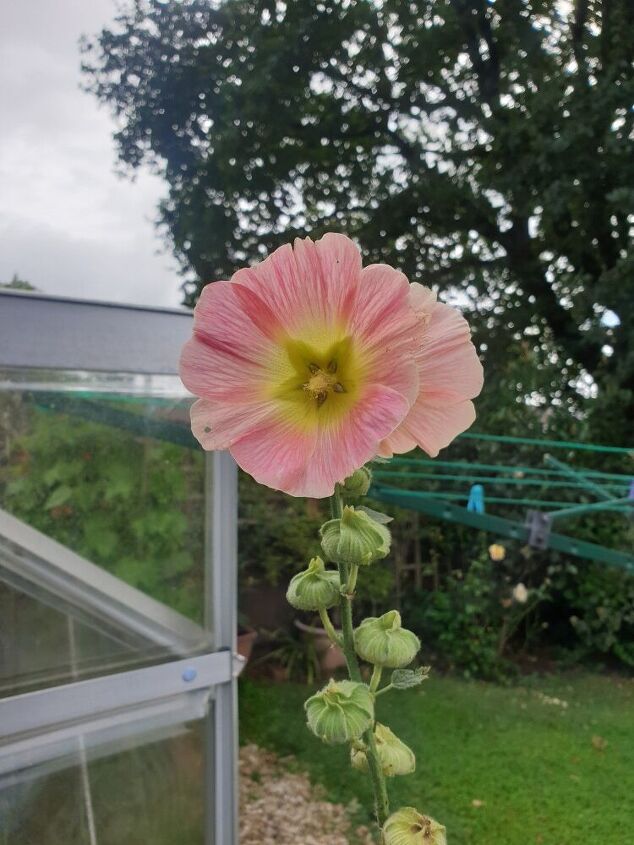
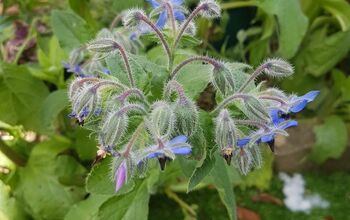
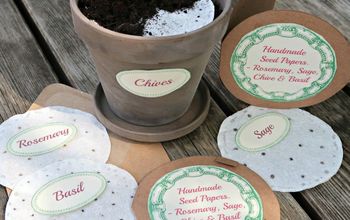
This is what a hollyhock flower looks like. A hollyhock plant and an envelope is all you'll need for this project! Easy peasy!
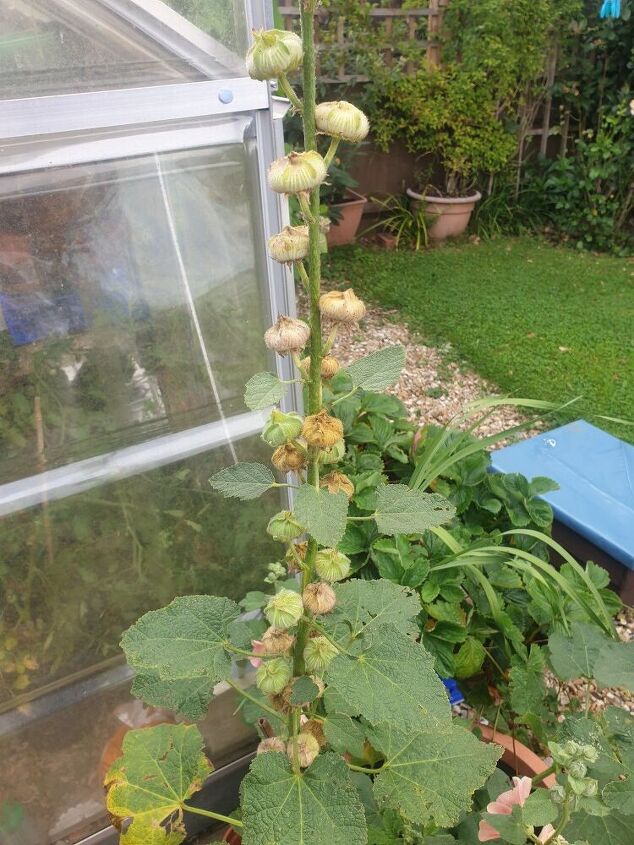
This is what the plant needs to look like before it's ready for you to harvest seeds from it. The driest, brownest ones are the best and the seeds within these pods will already be dry and ready to store until next spring.
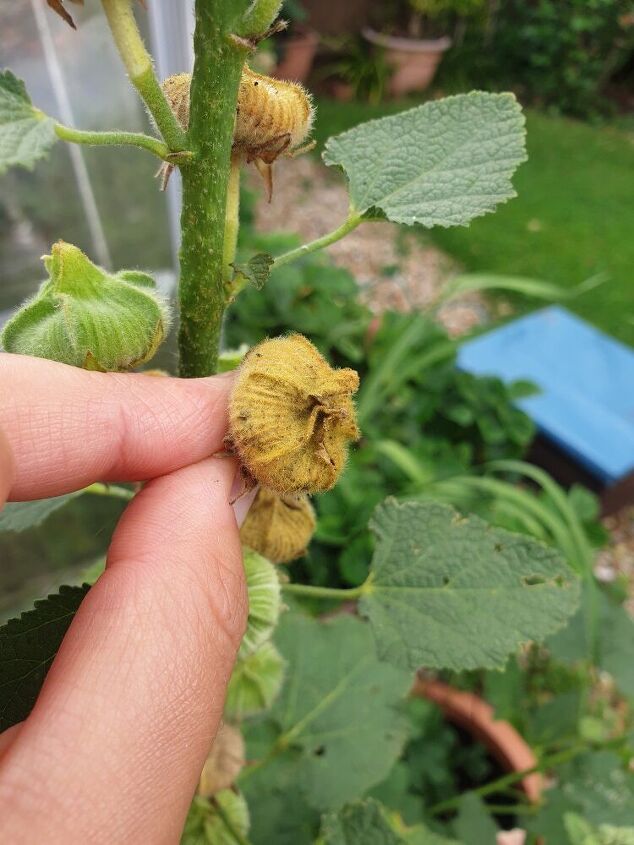
This one here is not quite ready. It is usually reasonably easy to tell if they are ready as they are almost crispy. This one felt kind of damp to the touch which told me it wasn't ready.

This one is perfect! Dry to the touch and full of seeeeeeds!
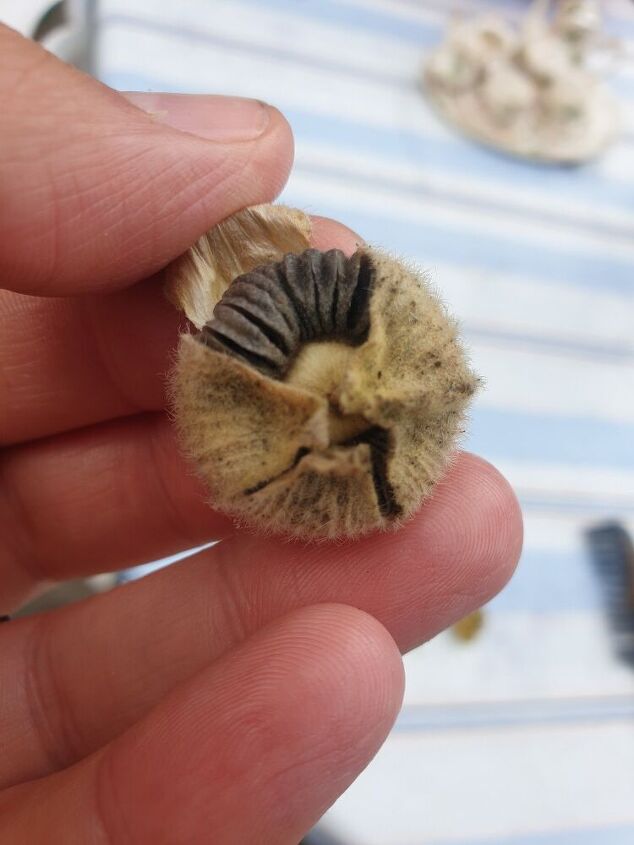
Fold back one of the "petals" to double check if the seeds are black. Aslong as they are, you're good to go!
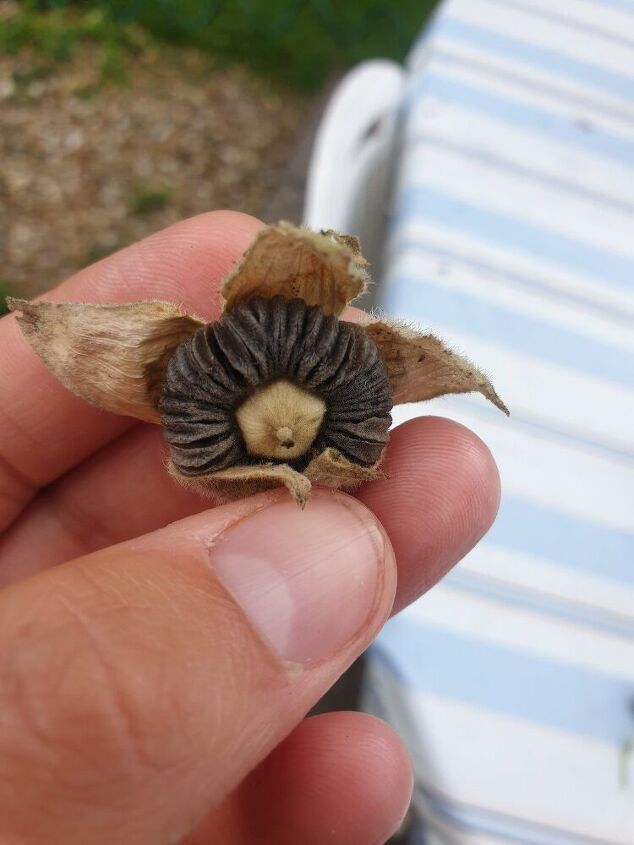
You can peel back the other sections to reveal all the seeds. I find this so satisfying! Nature is super clever!
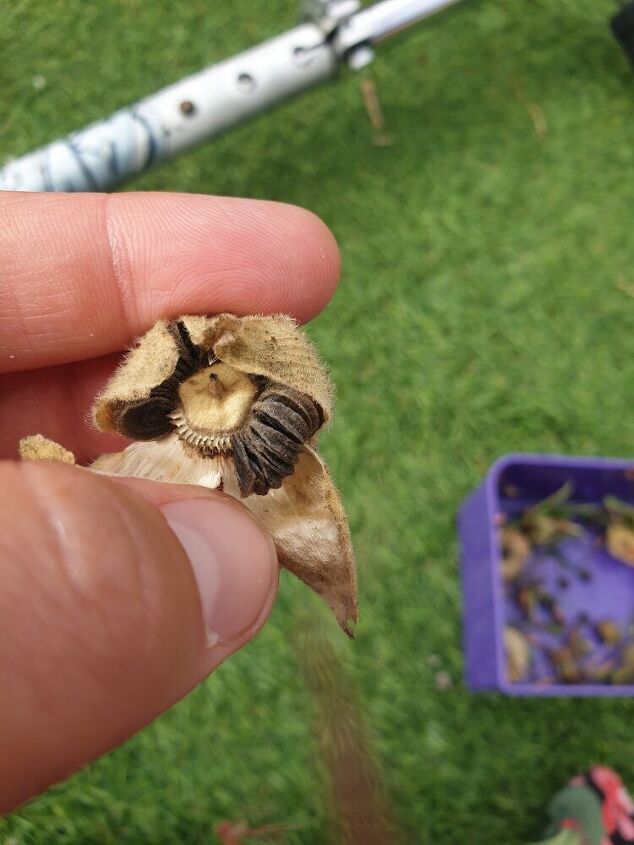
Push the seeds away from the centre part of the pod. They should come away really easily and leave the centre part of the pod looking like this.

This is what the seeds look like once they are off the pod. Repeat above steps until you've gathered the desired number of seeds. Now all you need to do is pop them into an envelope ad label it.
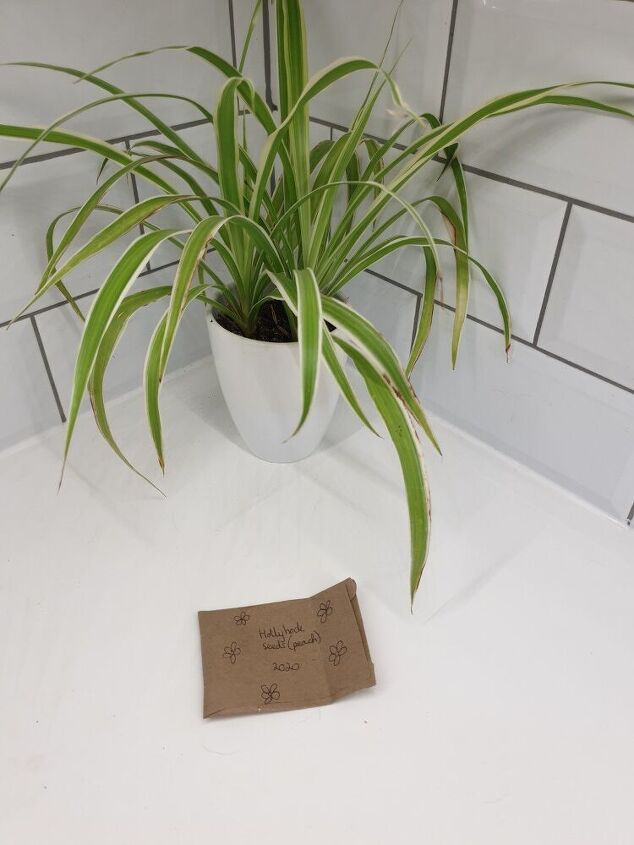
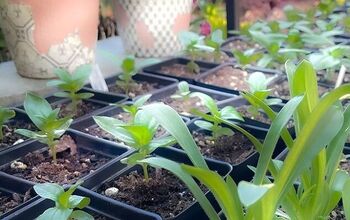
There you have it. Seeds ready for planting next year!


Comments
Join the conversation
-
When would be a good time to plant?
-
Spring once the ground is thawed.


Frequently asked questions
Have a question about this project?
I also want to know when and how you plant these? Should or could they be started indoors ? If so when is the best time. I live in Hendersonville, North Carolina. Thanks