


How to Make Wildflower Seed Bombs
Wildflower Seed Bombs are a fun and easy project for the whole family. They’re a great way to get started in gardening even without a green thumb.Looking for a fun and easy project to do? Why not try making wildflower seed bombs! These little bundles of flowery goodness are a great way to get started in gardening, and they make for a fun afternoon project.
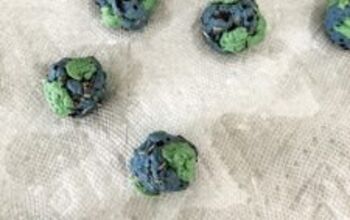
These little pockets of beauty are packed with flower seeds and can be thrown anywhere to help grow new flowers.
Hometalk Recommends!
DIY flower seed bombs are an excellent way to add a splash of color to your garden! Homemade Seed Bombs are a form of Guerilla Gardening with the goal of revegetating barren urban landscapes through wildflower seed projectiles. Guerilla gardeners often choose hardy wildflowers that can survive harsh conditions, and that also happen to be beautiful additions to the landscape.
Seed bombs are a fun way to spread the joy of gardening. They’re the great gifts for Earth Day, Mother’s Day, Valentine’s day, Teacher Appreciation or party favors!
DIY Wildflower Seed Bombs
Makes 12 seed bombs
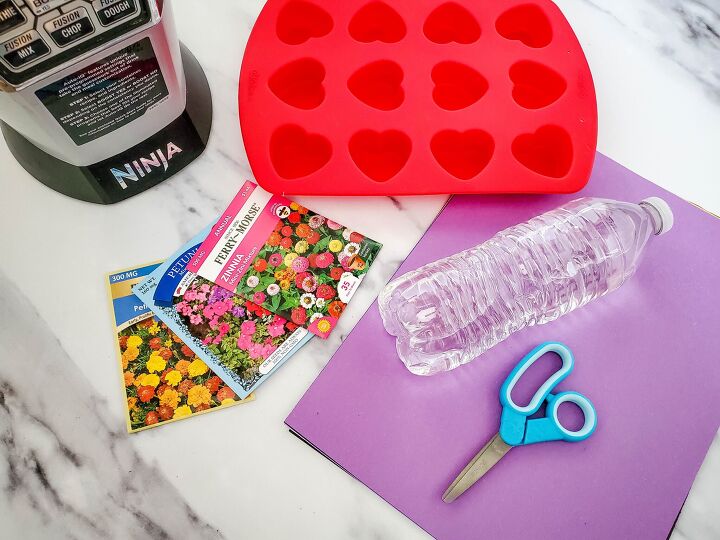
Supplies:
- 6 pieces of construction paper
- Scissors
- 3 packs of native wildflowers seed mix
- Water
- 12 cavity heart mold
- Food processor
Seed Bomb Recipe
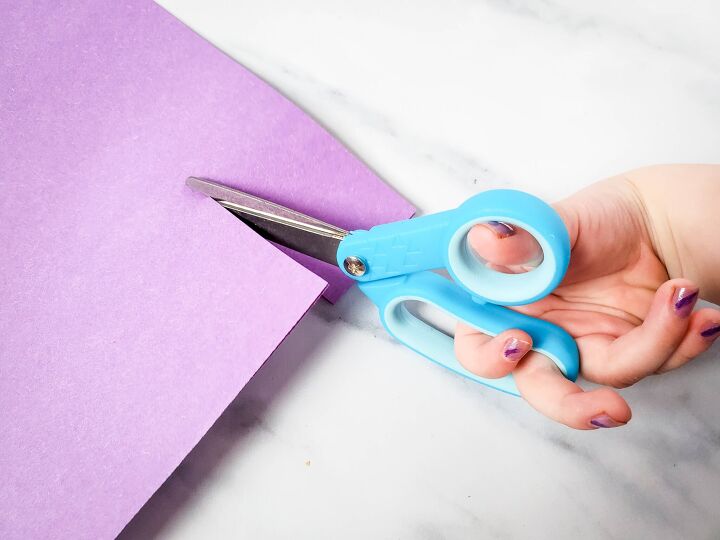
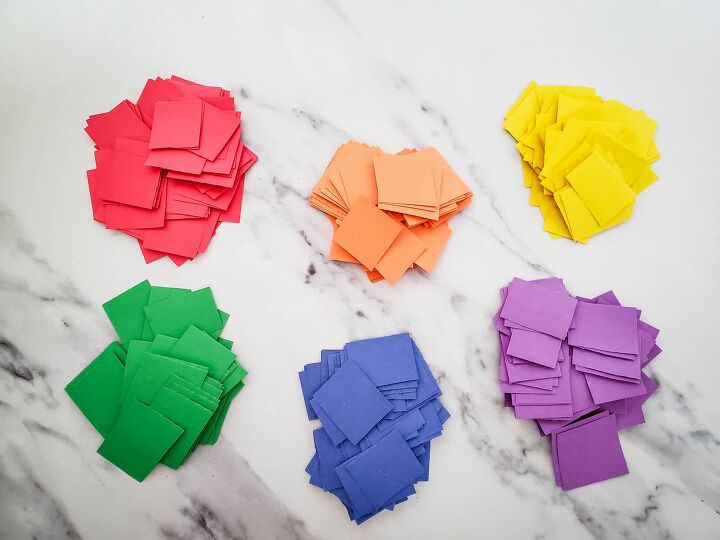
Cut the construction paper into 1-2 inch squares, and sort them by color.
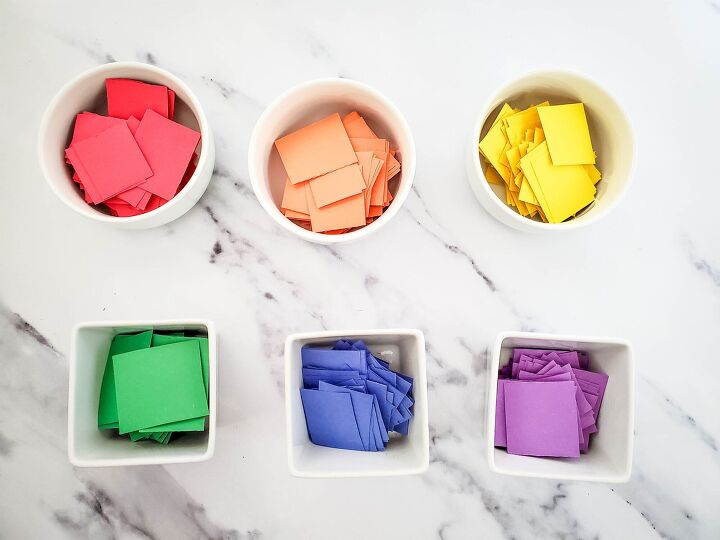
Add each color of cut up construction paper to a small bowl and add water until it covers the paper.
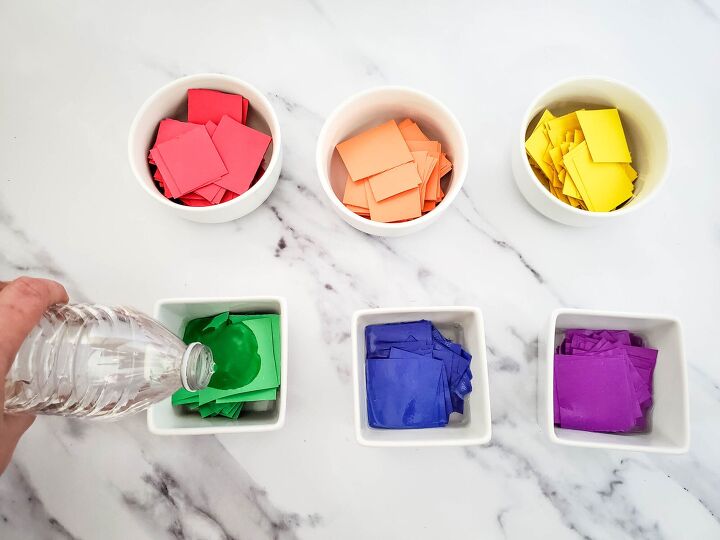
Allow paper to soak for 30 minutes.
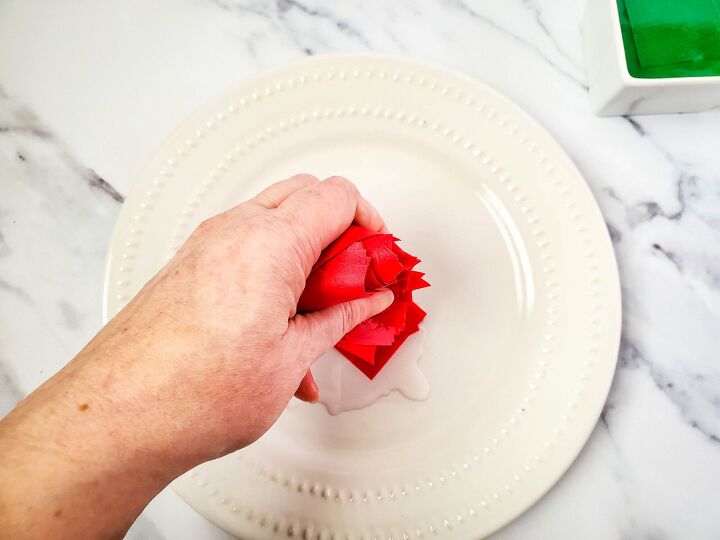
Remove the paper from the water, and wring it out slightly. Dump water from bowls.
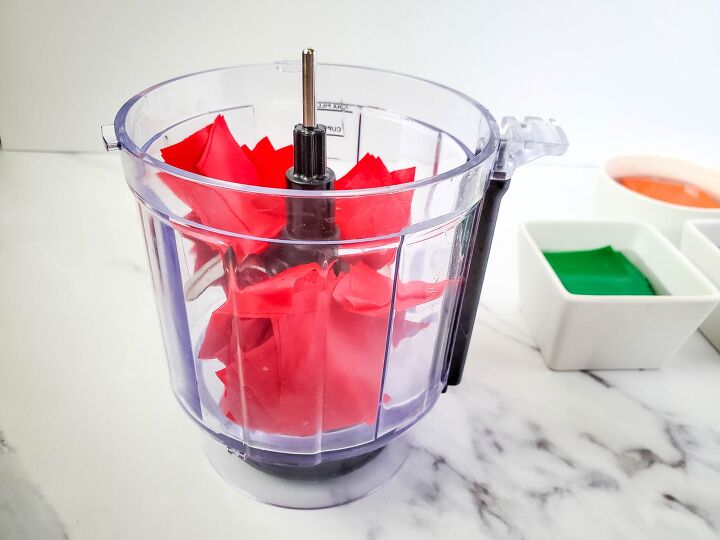
Add one color at a time to the food processor, and pulse until it’s finely shredded.
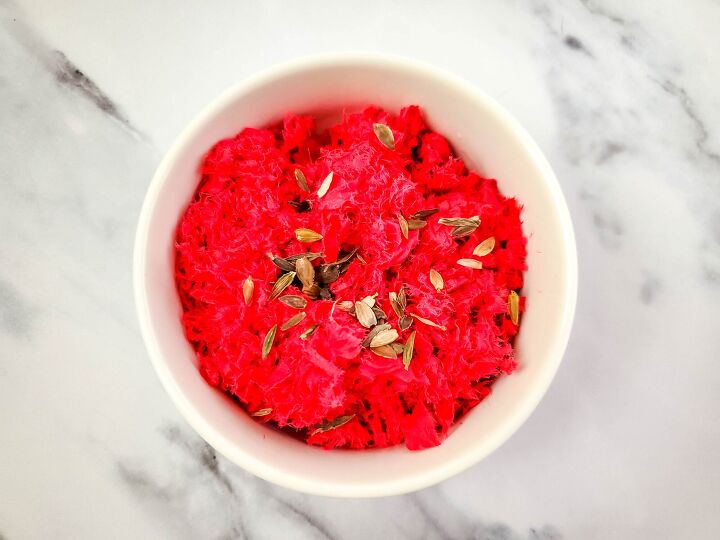
Add each color paper into its bowl, and add a half package of flower seeds. Mix it all together.

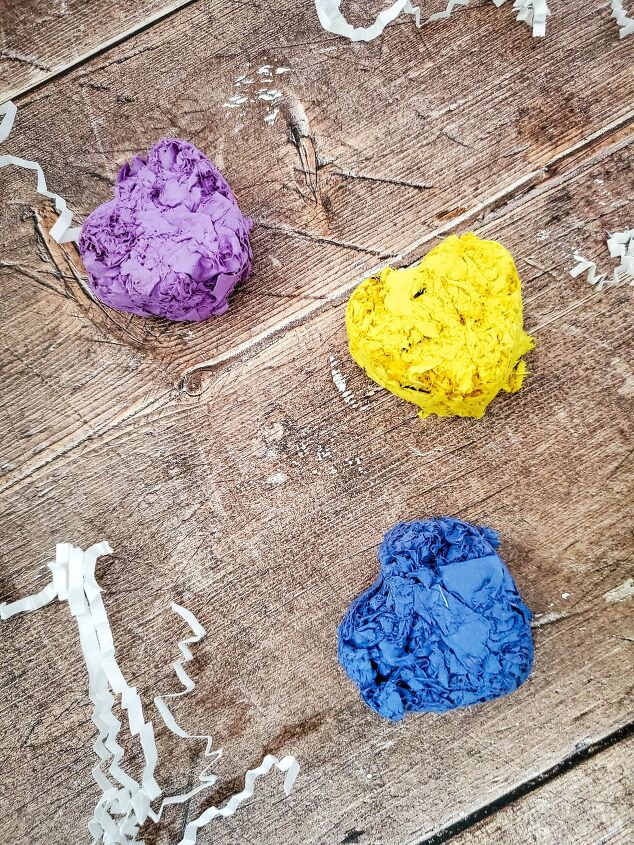
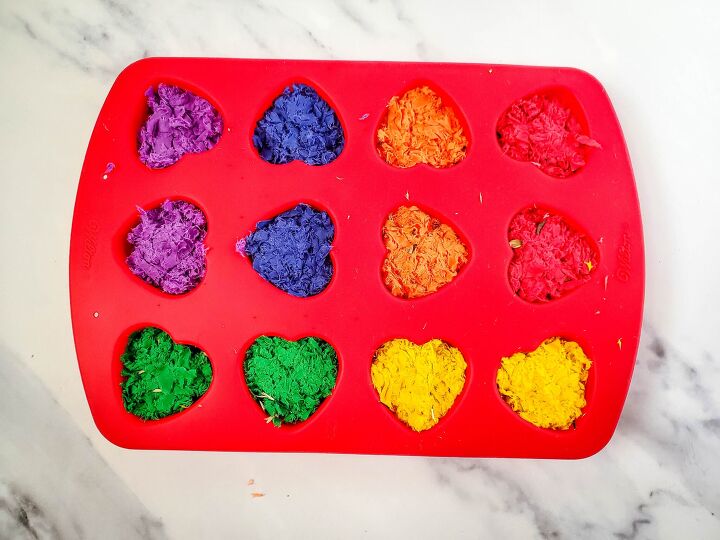
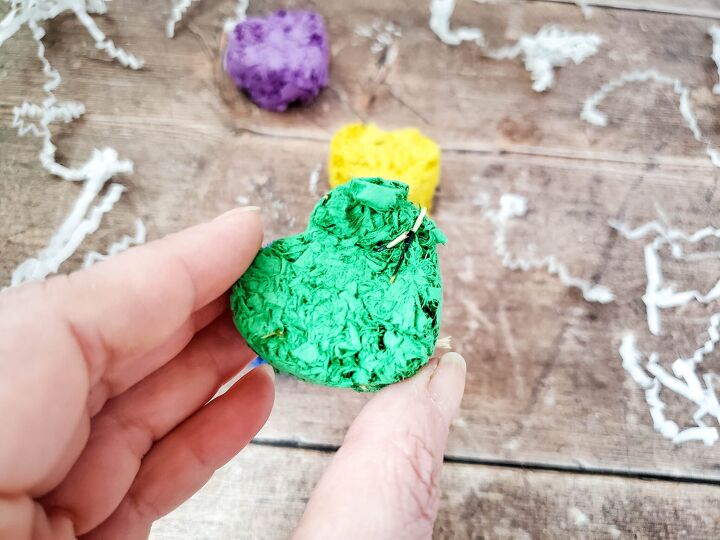
Gather half of each color mixture and add to one of the heart mold cavities, pressing down to fill the mold.
Allow to set for about 48 hours.
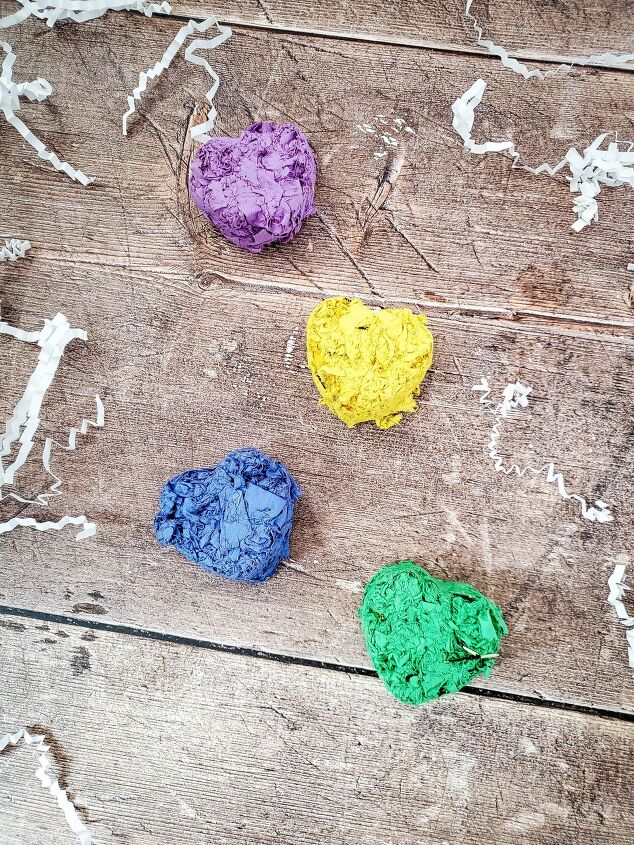
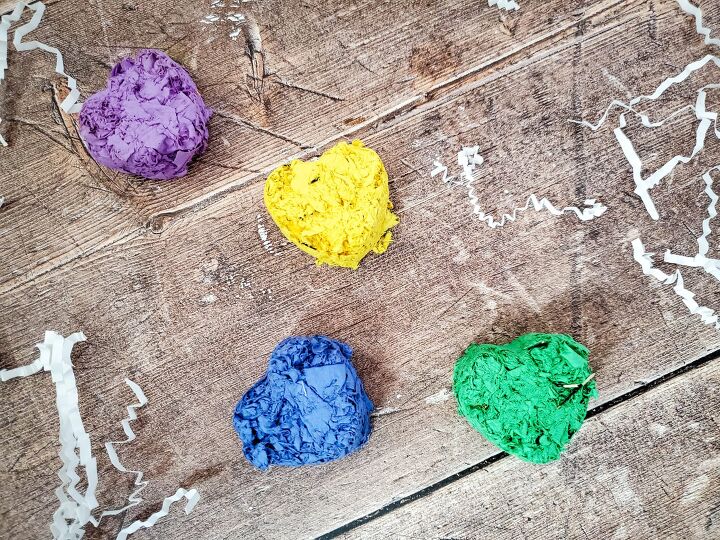
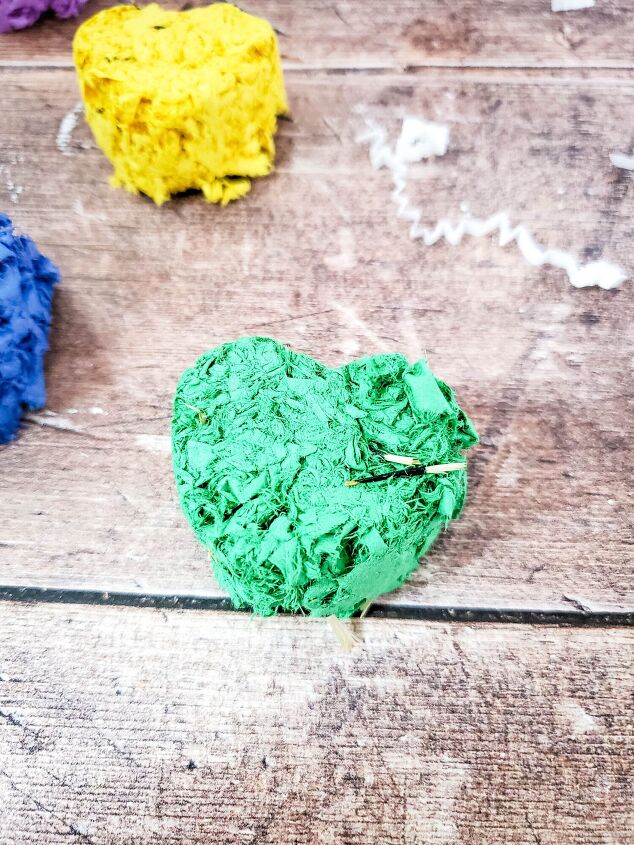
Gently remove from mold. If not completely dry, air dry for an additional 24 hours.
Store your seed bombs in a dry, dark place like an air-tight container.
Plant the wildflower bombs into flower pots, or into the ground.
How to Plant Seed Bombs?
Place the seed balls in a sunny spot in bare spots where you’d like to see more wildflowers growing. Planting seeds right after rain is the best time, as it will help all those little seeds germinate faster! Water the area regularly, and in a few weeks, you should start seeing sprouts of beautiful flowers!
What are the benefits of growing wildflowers?
Growing wildflowers is a great way to add some beauty and color to your yard or garden. Wildflower mixes are also pollinator friendly, so the different flowers can help support local bee and butterfly populations. Additionally, wildflowers are relatively easy to care for since they don’t need much watering or fertilizing. One of the best ways to grow wildflowers is by using seed bombs.
What kind of seeds can you use in DIY seed bombs?
You can use a variety of different types of seed in your own seed bombs, including native wildflower seeds, native grasses, native plants, vegetable seeds and other edible plants, sunflower seeds, and even trees! The possibilities are really endless – it really just depends on what kind of plants you want to grow.
Additionally, you can also add things like handfuls of compost or fertilizer to your seed bombs to help give your plants a little extra boost.


Comments
Join the conversation
-
what are heart molds where to i get them
-
I love this! It would be such a fun thing to do with children. Thanks for sharing.


Frequently asked questions
Have a question about this project?
Is this environmentally friendly? What happens to the paper when the seeds are planted?
Can you use any kind of ice tray