


Craft Room Redo - Part 4

9 Materials
$106
4 Days
Medium
I previously posted Parts 1-3 of the craft room furniture that were fixed up. The first two involved Hometalk challenges regarding stencils and tension rods, and got the ball rolling. The one previous to this (Part 3) told the story of a tall bookcase that was incorporated into the craft area. It wasn't until I started this episode, Part 4, that I decided to do this in chapters or "Parts". I went back and renamed the other titles.
This post is regarding another piece of furniture that I came across after all the previous work was done. Don't you know . . . there's always a newer, better, faster, bigger, brighter something down the road? It's at our discretion to change up or not change. I decided to change up.
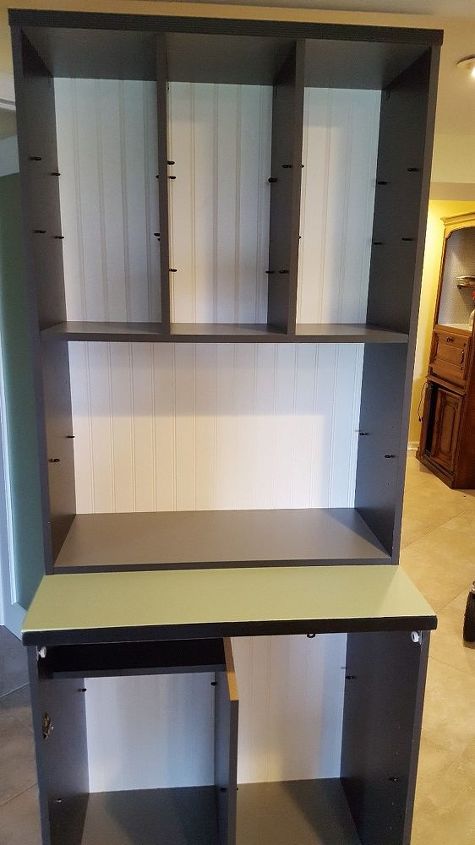
I came across this large garage storage cabinet. This is a heavy duty, dream about what can I do with all the space, beaut. For $35. I debated about it for a bit, as well as debating about the other matching pieces, and ended up taking only this one (which is a hutch/base combo unit). It had been used in the garage but was very clean and in great condition.
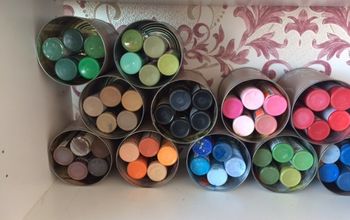
I don't have a before photo, but the two pieces are two shades of gray with black. I knew I wasn't putting it in the garage since hubby had put all those shelves up for me a year ago. I contemplated putting it in the back basement for my tools, but decided to use it in my craft area for buttons and such.
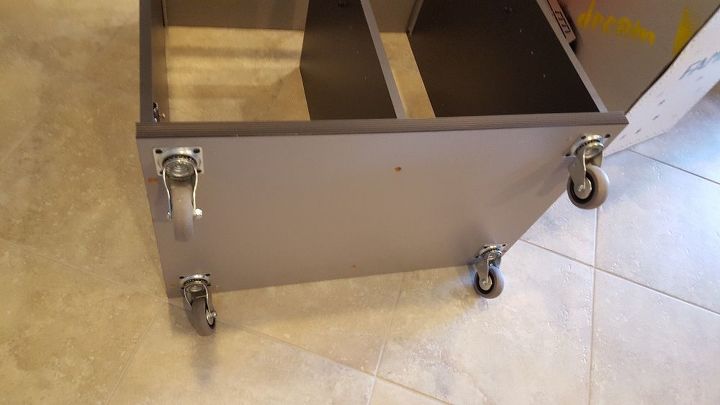
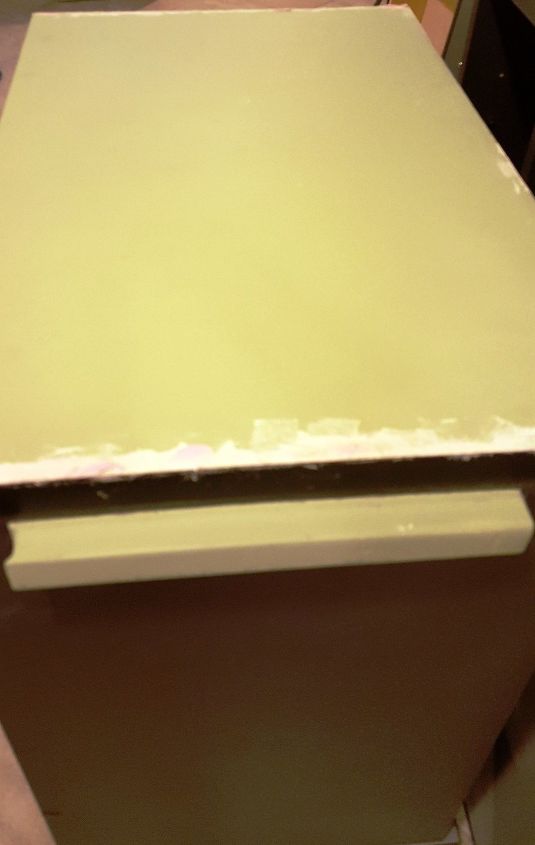
There were a lot of paint splatters on the top, so after putting on wheels (see photo above), the next step was to sand and refinish the top. Although the rest of the unit was in pretty good shape with just a few scratches, I was thinking about redoing the whole thing.
HOWever, this turned out to be a bugger of a job. I don't know what kind of factory finish was on this unit but it would not sand. The finish was like gooey, fabric threads of paint and it gunked up the sander but would not come off. I was going to refinish the whole thing but after the debacle with the top, decided to finish a piece of plywood and attach it to the top of the base (see below) and be done .
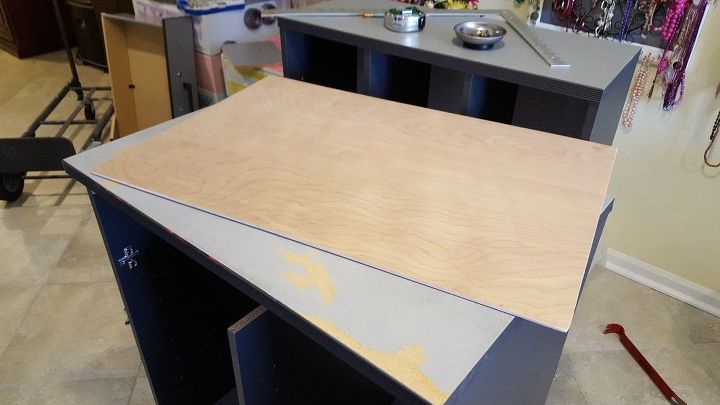
Cabinet Base in Foreground; Hutch in Rear
You can see on the photo above the blotchy spots where I tried to sand.
I primed with Zinsser 123 and painted it a flat, light green oops paint I already had and sealed it with two coats of poly.
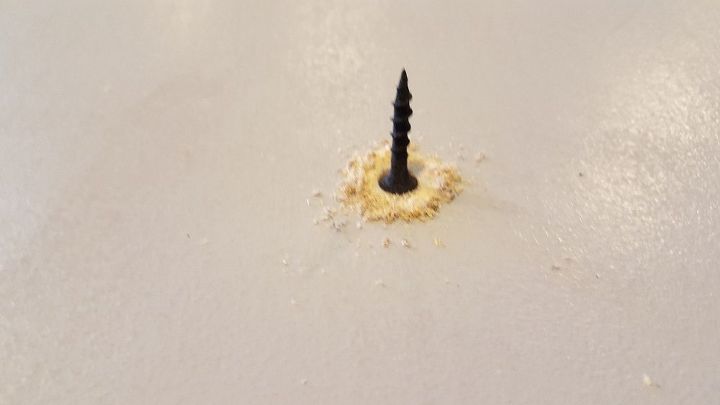
The plywood top was then attached to the cabinet bottom by countersinking drywall screws. This was my first time using countersink anything and it is easy! You buy the special bit and drill a kind of pilot hole with it until the head of the screw fits inside that hole. Then screw in the screws and that's it! You can see the remnant of the holes below.
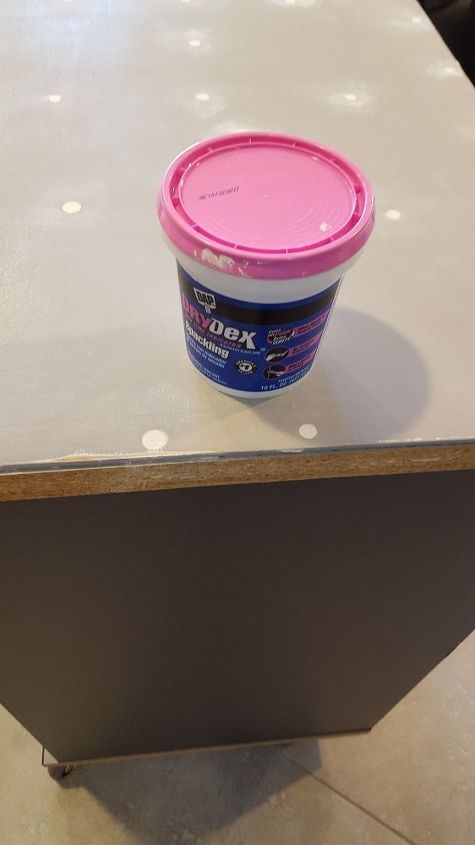
After drilling I used my fav spackling by DryDex. A container like this lasts and lasts and lasts. In the photo above the screw holes were filled in by applying two or three coats as needed and allowing to dry completely in between. The photo below shows the spackling that was applied to the edge to fill in the gaps between the old top and the new one.
Because the top of the cabinet was now thicker with the extra piece of plywood on it, the edge banding wasn't wide enough to cover the gap.
I had no idea what edge banding was until I did this project. It's the decorative edging around the sides/ends to make them look nice. It comes in rolls and mostly consists of very, very thin wood strips, which you can match to whatever kind of wood you're using and height of the area to be banded. Most of them come pre-glued so you don't need to mess with adhesive. Sweet!
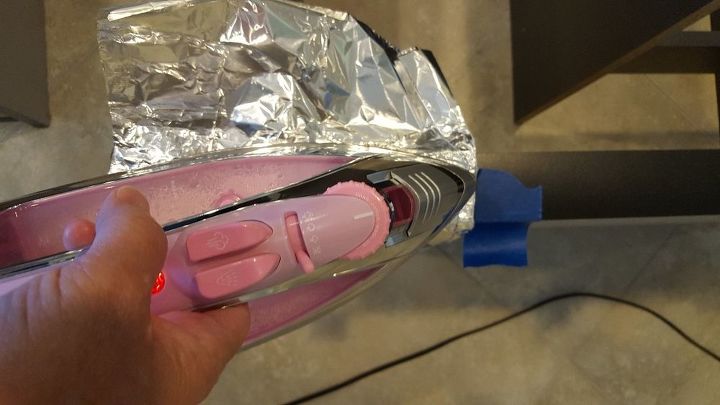
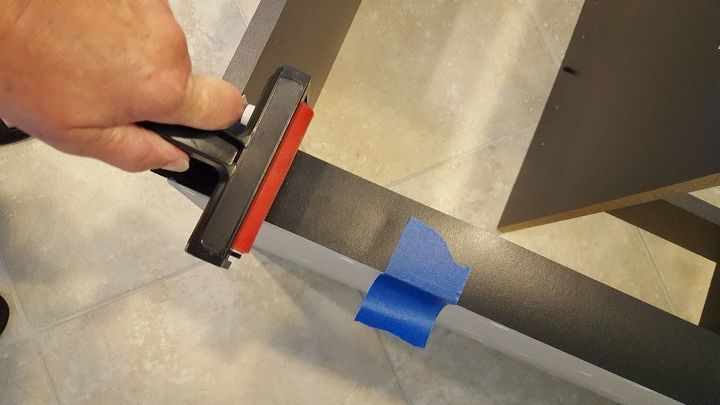
I had removed the old banding using an iron to heat it and then slowly pulled up the strip. To apply, the same method is used. I cut the strips a little longer than needed and attached them using the iron (see photo above). Most of the YouTube videos used the iron directly on the banding but I didn't want to chance getting that glue on my iron. I applied it with a piece of aluminum foil to protect the iron, working in small sections at a time. After heating up a section of the glue I used a brayer to apply pressure to remove any air or gaps (see photo below). I tried using a block of wood as some of the videos showed but it was scratching up the banding too much. A metal brayer would have been best but I didn't want to spend the money for a one time use. This brayer seemed to work fine.
I highly recommend that you watch some videos before tackling this. Some of them go into great detail about banding, placement, trimming, etc. Even so, it is a hit and miss thing until you get the hang of it.
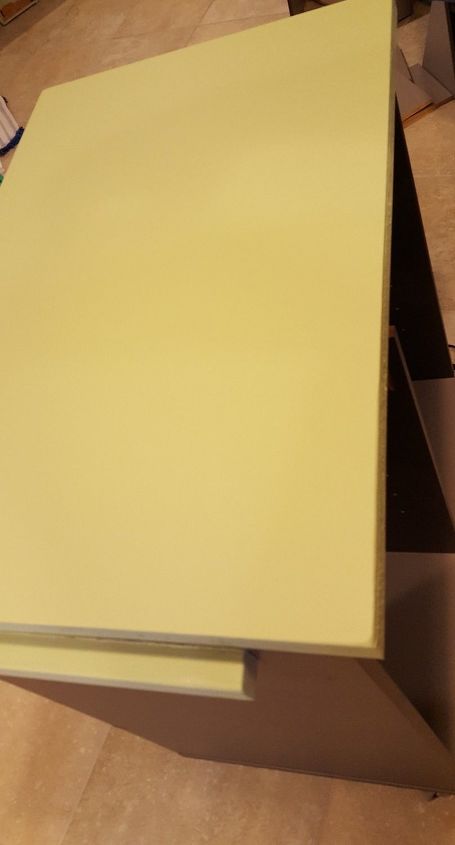
Here is a photo of the base cabinet, almost done. There is a strip of wood that was screwed onto the side when I bought this. I tried removing it but besides being screwed in, it was also glued on. I painted it the same color as the new top and put it to work later. I will cover that in my next (and last) chapter.
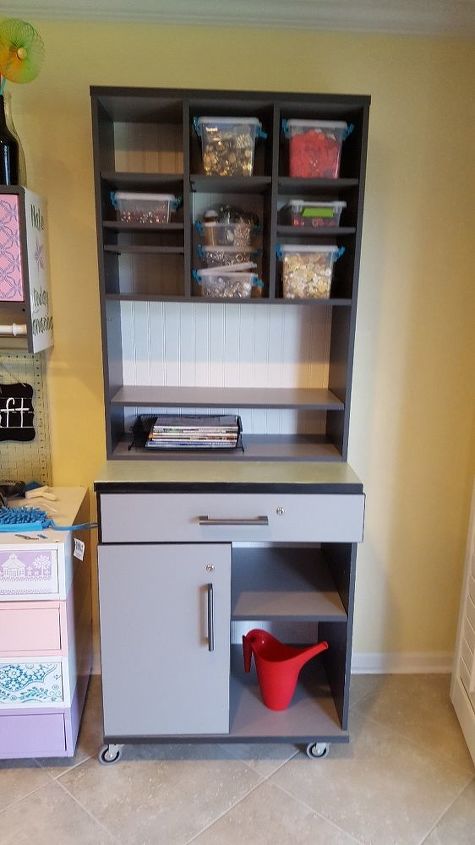
The final step was to replace the black backing. It was too dark. I picked up a sheet of bead board and Home Depot cut it for me and I attached it. It is so much brighter now.
Above is a photo of the whole cabinet, less the shelves, drawer and door. I lined the drawer with Contact paper to help protect it. Episode 5 will reveal the final layout.
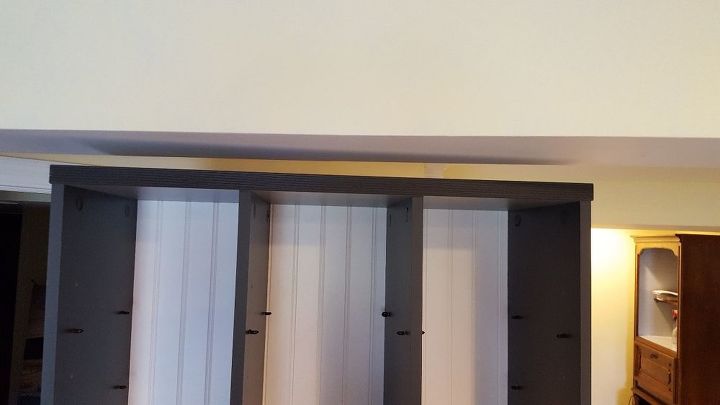
I love mobility and was so relieved when this cabinet just fit under the ceiling ductwork. Whew!
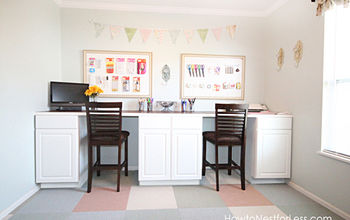
In Part 5 I will show detail for the bookcase and the cabinet items, as well as revealing the completed craft area redo.
Thank you for hanging in there! Stay tuned . . .
Resources for this project:
See all materials


Any price and availability information displayed on [relevant Amazon Site(s), as applicable] at the time of purchase will apply to the purchase of this product.
Hometalk may collect a small share of sales from the links on this page.More info
Comments
Join the conversation
4 comments
-
Almost finished with a very creative room! Looks wonderful!
-
Oh looking lovely!


Frequently asked questions
Have a question about this project?