


Makeover A Pie Safe With An Easy Distressing Technique
Thanks to my sponsor for supplying the free product to help me write this post today! I am really happy to work with our sponsor today to share this information with you because I knew that you would love it.
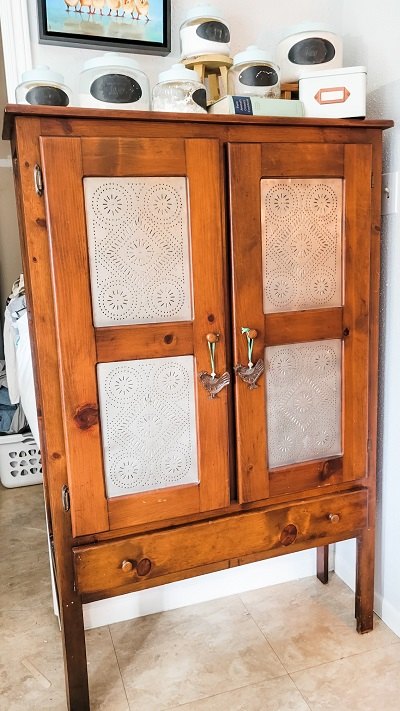
I’m slowly doing the necessary makeovers on the furniture that we took from our old life into this new and wonderful life. This pie safe needed a makeover – it wasn’t my style anymore. I was also excited to try and see if a candle and packing tape method to distress would work. (Spoiler alert – it does!)
This Pie Safe Has A Story …
If you will let me digress for a minute I’d like to share a story. When I was still married we experienced devastation in the way of a flood caused by a storm named Harvey. In that experience and the months after God shifted everything inside of me. He started a work in me almost two years before but that’s a tale for another time. After the flood my then husband chose for us to stay at his parent’s home which as it turned out was not the healing place we needed, as a matter of fact it was quite the opposite.
As it happens there was an estate sale. (these are still my escape when I need a moment) My then husband told me not to buy anything for our house which was being rebuilt – there was nowhere to store it. At this estate sale was this pie safe, it sat neglected in a corner. One leg was a bit turned in, covered in layers of who knows what and a bit rusty. And I saw myself in that pie safe.
I felt neglected, I was covered in gross feelings of worthlessness and shame, and so rusty and turned in on myself from being unloved. I told the sweet old man I wanted her, load her up! And that pie safe rode in the back of my Traverse for months until we were back home. (And boy did I get in trouble!)
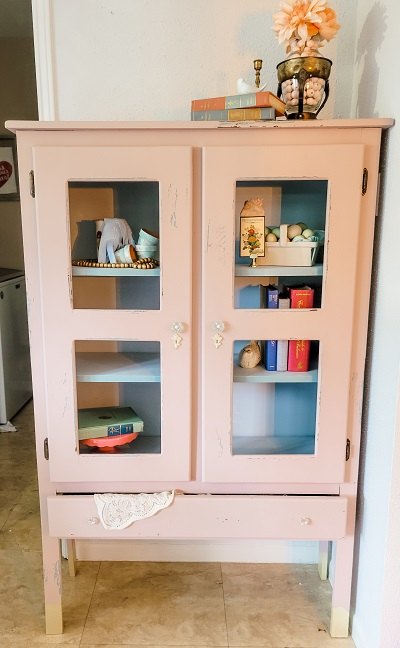
Now that Amory and I are in our newfound place of freedom and knowing that we are so worthy and loved I didn’t want the reminder of the darkness in which the pie safe came to us in. I wanted it to be light, bright and beautiful – beauty from ashes!
The Pie Safe Makeover Begins
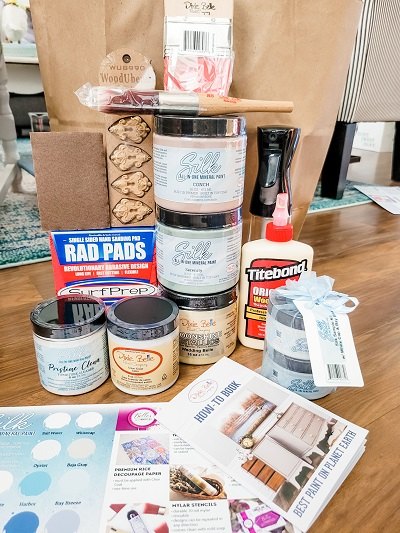
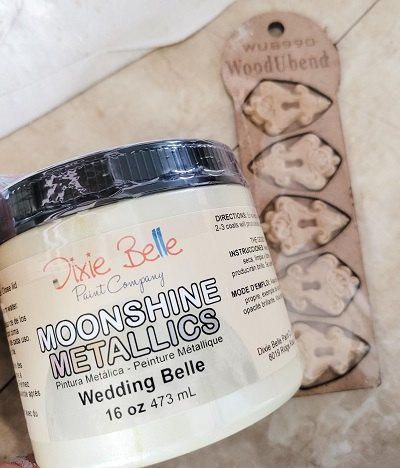
The light, bright and beautiful starts with Dixie Belle Paint. I was able to shop for all my supplies on their website (although they have local distributors too if you need to see the things in person!) and I had a blast! I chose to use their Silk All In One Mineral Paint in conch, serenity, white cap, and bay breeze. I also got small keyholes from their WoodUBend line. WoodUBend might be the best thing since Aldi’s plant based macaroni and cheese, just saying.
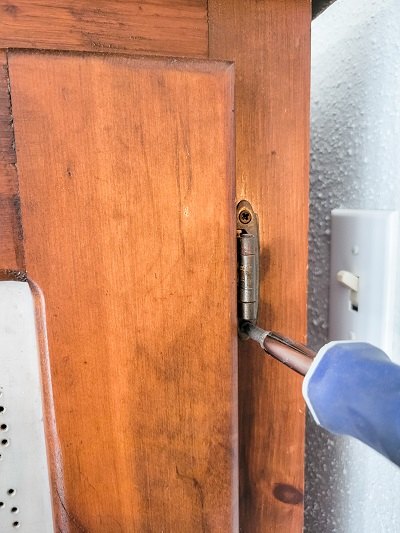
First Step In The Pie Safe Makeover – Removal of Hardware
I removed all of the cabinet knobs, drawer pulls, and the hinges from the doors.
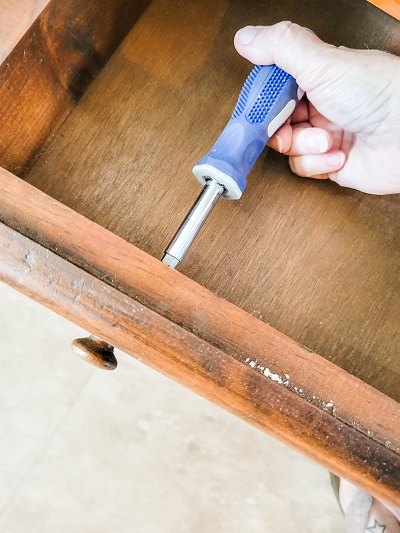
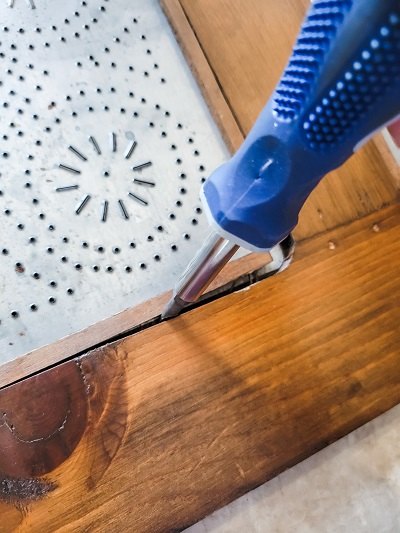
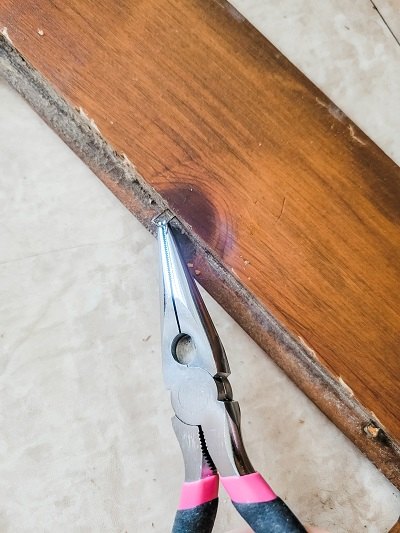
And then the tin panels, I hope to replace these with glass soon! The tin was held in place with small strips of wood and big staples. I used a screwdriver to pry the pieces of wood off and pliers to remove the one thousand and eleven staples. I think whoever built this was staple happy!
Next in the Pie Safe Makeover – Cleaning
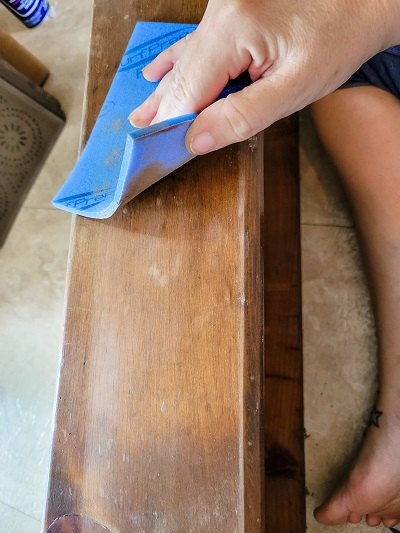
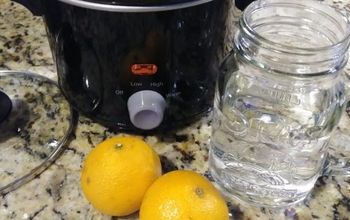
Sanding and cleaning! I used one of Dixie Belle’s Rad Pads to scuff sand the pie safe. Not sure if this is completely necessary but it makes me feel better. I then used Pristine Clean to thoroughly clean the pie safe. Mix 2 heaped tablespoons of the Pristine Clean granules in 1 Gallon of hot water and mix until dissolved. Apply with a rag and then wipe off with a clean slightly damp rag. Don’t let water puddle or sit!
Next In The Makeover – Paint The Pie Safe
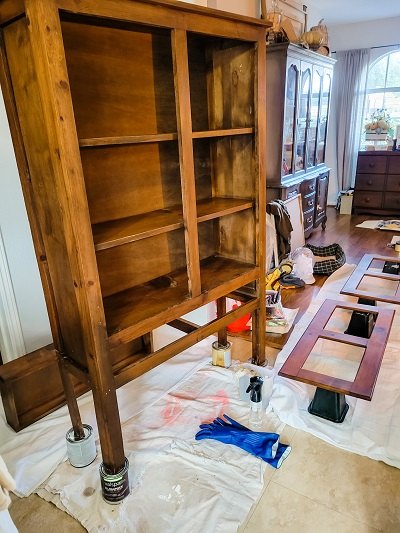
My first coat of paint was Dixie Belle’s Serenity … I seriously love this moody blue color. But any shade of blue and almost any shade of pink are my favorites! I love the blue on the frames I repurposed and my goat themed table, the pinks on my fall mantel – I could go on but I think you get my drift!
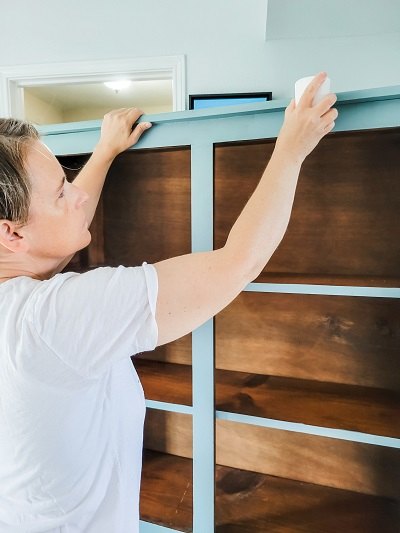
First Step In The Distressing Technique - Using The Candle
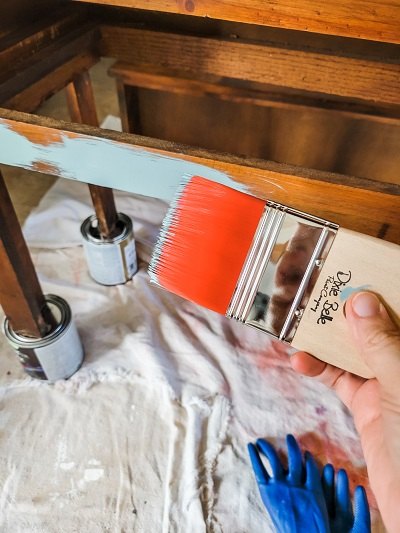
Then I rubbed a candle on the pie safe everywhere I did not want my next coat of paint, which would be Conch, to stick.
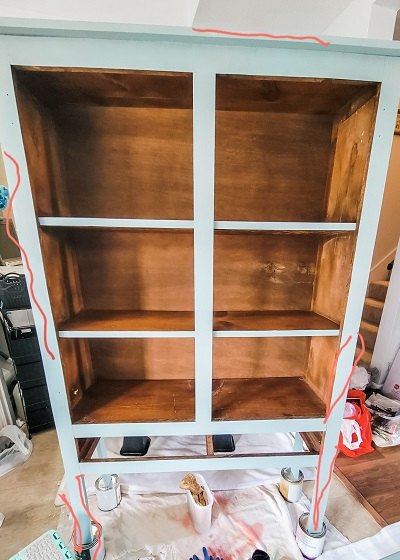
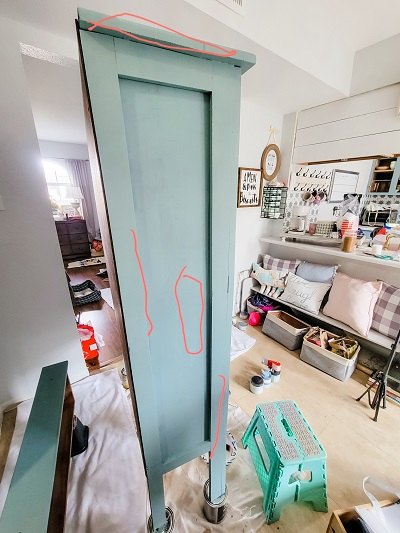
And because I have about three million things going on and 22 more things after that I take pictures of each side of my piece and draw myself a roadmap of where to distress later. See those red squiggly lines? That is where I have rubbed the candle on the pie safe! No need for me to remember or wonder! Really who needs that extra work?
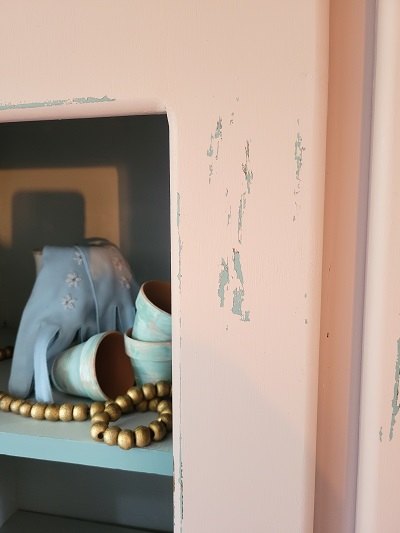
Using Dixie Belle’s Conch paint I painted over the Serenity. On the inside of the pie safe I used the same method, Dixie Belle’s Silk All In One Paint in White Cap was my my base color and Bay Breeze went over that.
Second Step In The Distressing Technique - Using Packing Tape
Is there anyone else who paints inside, doesn’t want to sand inside but also doesn’t want to haul their piece outside to sand? Yeah, me too.
This is why we rubbed candle wax on the pie safe! Because we are going to take the paint off easily, with no mess, and no sanding!
Referring back to the diagram of where we rubbed candle wax on our piece we are going to apply packing tape to those spots, rub it down really well and take it off. It leaves behind a beautiful distressed area.
Apply Packing Tape To The Pie Safe
I use packing tape from the dollar store, it doesn’t need to be fancy! Whatever you have on hand. But it does need to be packing tape!
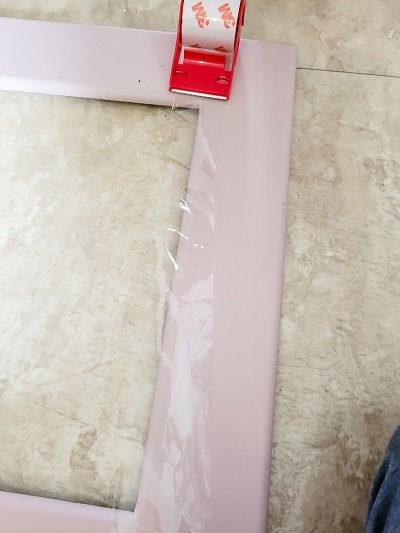
Press The Tape Down Very Good
Using a plastic gift card, a plastic scraper, or a plastic putty knife push the tape into the surface really well. The more it bonds the more paint that will be removed,
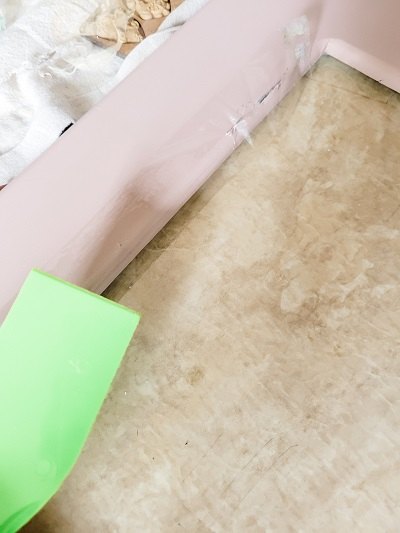
Remove the Tape from Your Pie Safe
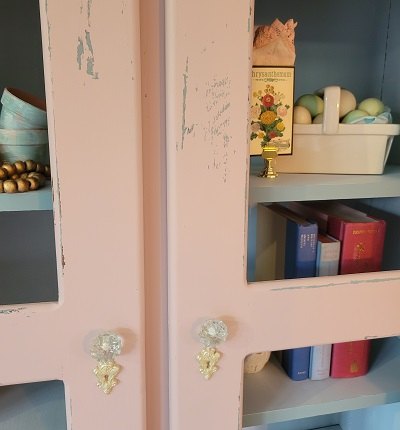
Pull off the tape to reveal the wonderful and lovely distressing you have created!
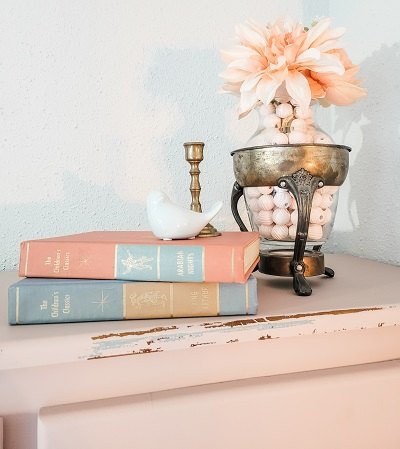
Finishing Touches of The Pie Safe Makeover
I used Dixie Belle’s Moonshine Metallics Wedding Belle to dress up the WoodUBend keyholes. The keyholes are attached to the pie safe with wood glue which is also sold on the Dixie Belle website. I brushed the Moonshine Metallics on the legs of the pie safe like it had dipped its toes in gold!
I am so thankful I was able to makeover this pie safe and make her light, bright and beautiful for years to come. It was very healing to “fifth sparrow no more” this piece and make it not discarded, worthless or put out on the curb.

Comments
Join the conversation
-
Another unique way of distressing furniture. Very interesting. Basically you were waxing the pie safe 😁 Great share


Frequently asked questions
Have a question about this project?
Why would you do that to a beautiful ANTIQUE?