


How to Repair Wood With a Burn-In Stick (Super EASY)
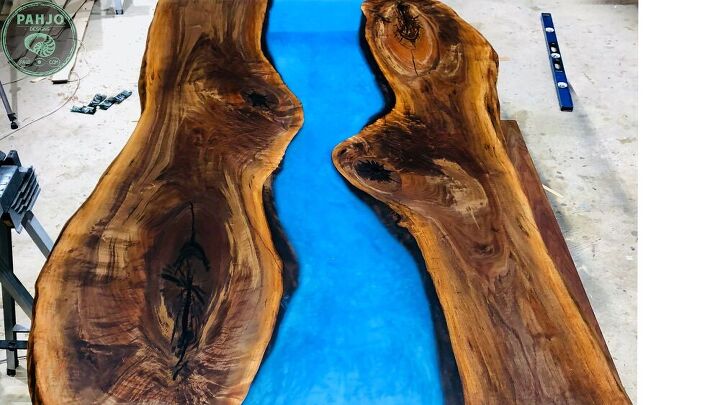
In this HomeTalk Post, I show you how to repair wood with a burn-in stick. This repair technique works for wood floors, wood cabinets, wood tables, and to fill small wood knots/cracks. Be sure to visit my blog and subscribe to my YouTube channel for more DIY tutorials.
There are several things that will be difficult to explain with words and images, so be sure to check out the Youtube video above! A Burn-In Stick is a hard wax that makes filling dents, scratches, and various wood defects super easy. A heat source heats the burn-in stick to a liquid to fill voids where it rehardens. Burn-in sticks are available in many colors to match any wood color.
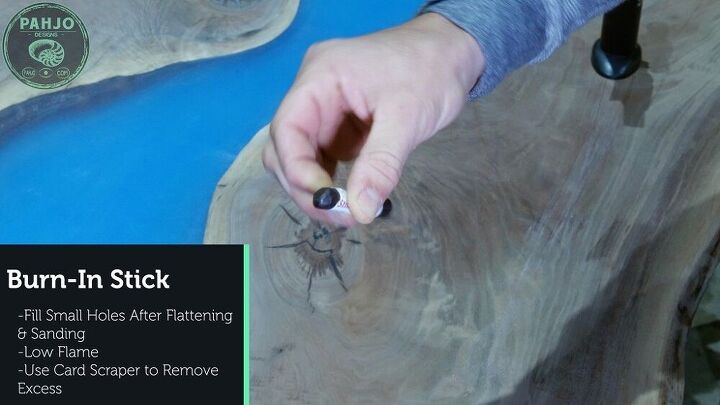
As I mentioned, burn in sticks come in a variety of colors to match any wood surface. As a quick tip, always choose a color slightly darker than the wood surface. Additionally, use the burn in stick on new projects/tables right before you apply the finish.
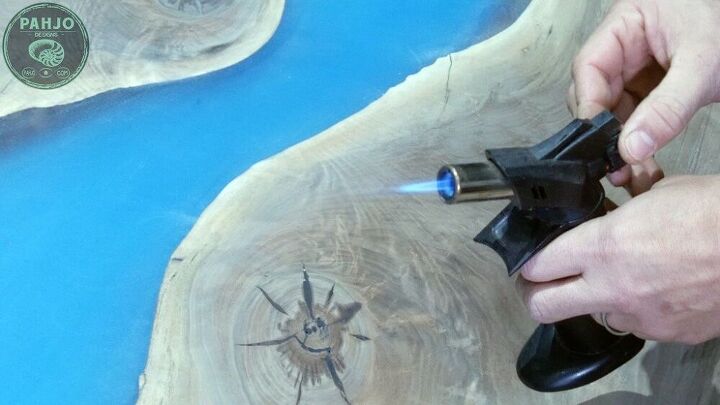
I use a mini torch for this, but any direct heat source works fine to heat the burn-in stick.
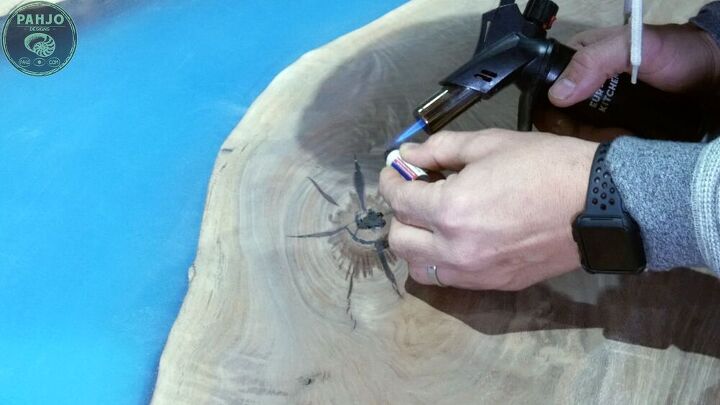
I put the mini torch on the lowest flame setting and heat the burn-in stick indirectly. If the burn-in stick touches the flame, it melts too quickly. I want to heat the burn-in stick to the point right before it begins to drip. Once at this point, I smear the heated burn-in stick into the void. It's ok to put too much as we will scrape off the excess in the next step. The material hardens really quickly, so make sure
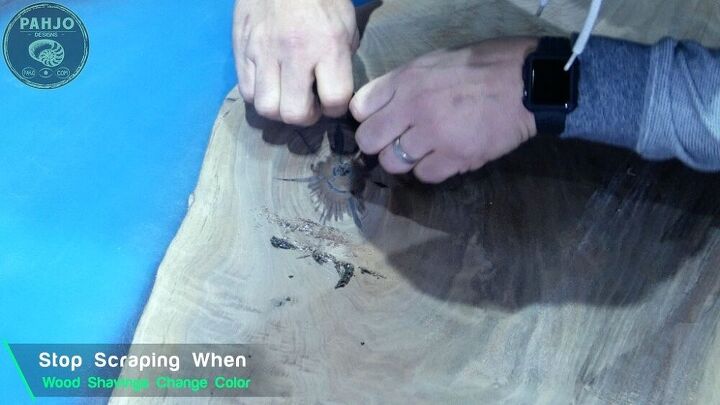
After a few minutes, you can scrape the excess off. This is a new table I'm building with no finish on it, so I used a wood card scraper. If you are working on an existing floor or piece of wood, you can scrape off with a credit card or driver's license. Make sure to pull the credit card over the material instead of push it like I'm doing in this picture. When the surface is flush, you are done scraping.

Once complete, the wood damage or defect will be perfectly flush.
Any finish you choose can be applied to the surface immediately after repairing the wood with the burn-in stick.
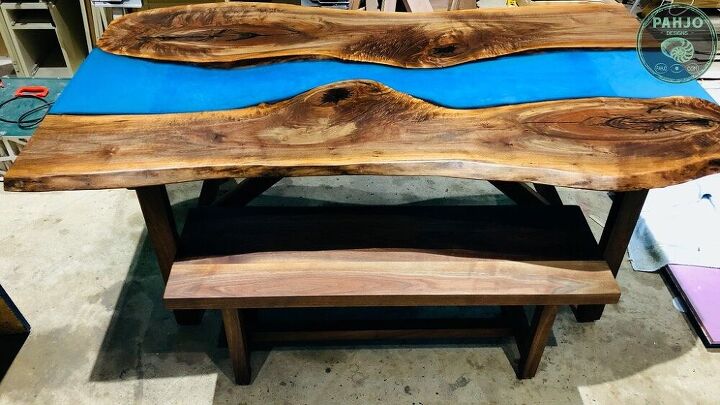
This wood repair technique works well on any wood surface. In closing, I hope this HT tutorial provided you with value. Please leave a comment down below if you have any questions.


Comments
Join the conversation
-
Awesome I’m gonna go subscribe to your FB page Absolutely Love this and want to figure out if it’s something I could do soRhanks so much for Sharing with video !


Frequently asked questions
Have a question about this project?