


Sanding Door Jams (and Other Tight Spaces).

This post is sponsored by MakerX but all opinions are my own.
Hanging a door and aligning the door jam is no easy feat. I measured and got what I ordered, but it just didn’t fit. Unfortunately, with a 100-year-old home, walls, and door jams, are not straight and level, so things never seem to swap out easily.
I needed to sand down the side of the door and/or the door jam to get the door to close properly. When I started this project, it didn't close at all. I was able to sand with a hand sander and get most of it ready, but the top left corner was just too small of a space to maneuver. Even using sandpaper was not getting enough wood removed to allow the door to close.
Enter the MakerX Rotary tool! Check out below for how the rotary tool made short work of this little sanding job that had caused so many headaches!
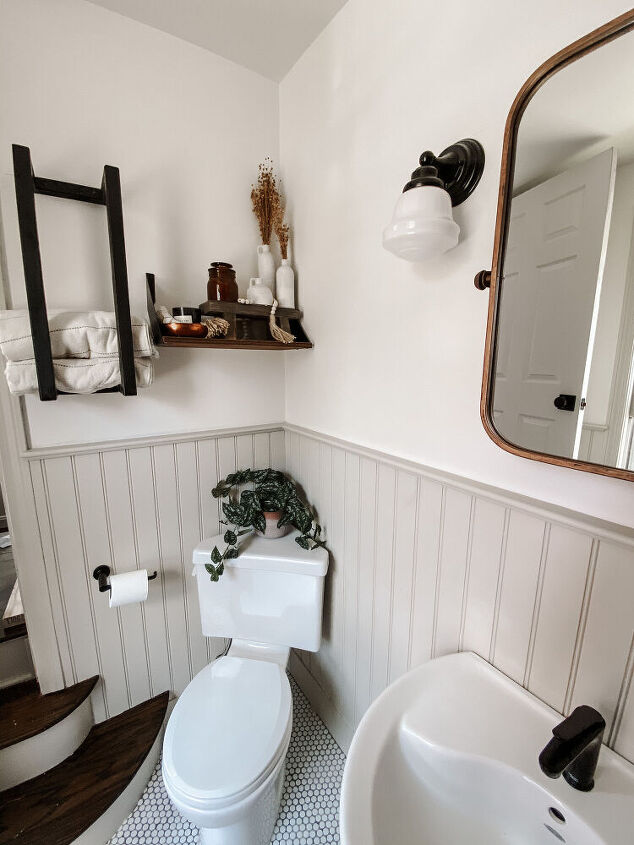
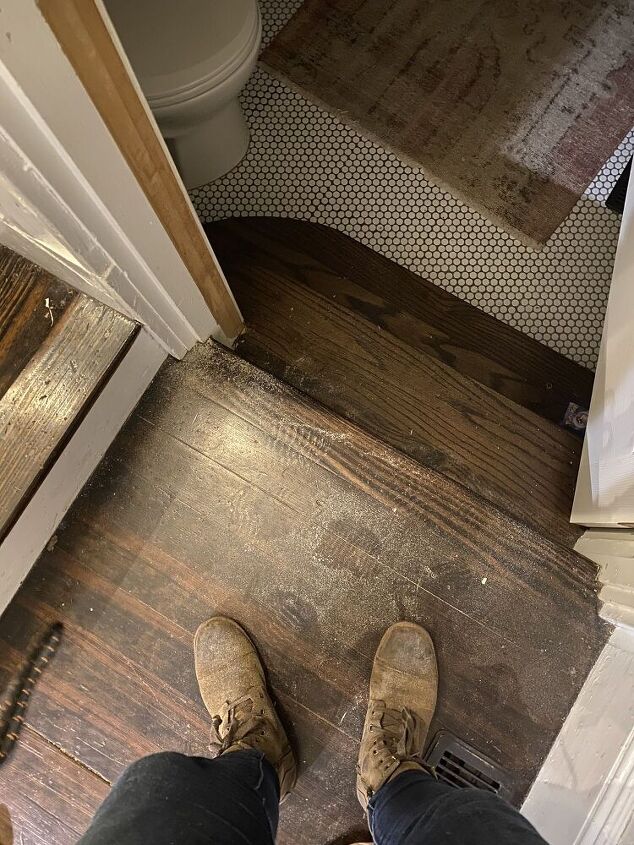
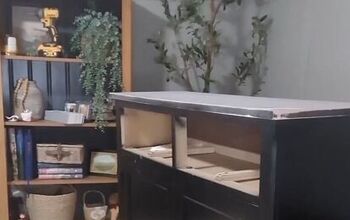
Here is the new bathroom. It is turning out great but we need the door to close!

Step 1: Get Your Supplies
In order to tackle this project, I needed my MakerX Rotary tool. I use this tool often as it has a ton of accessories that make DIY so easy; including a crafting tip and the option to engrave wood and metal.
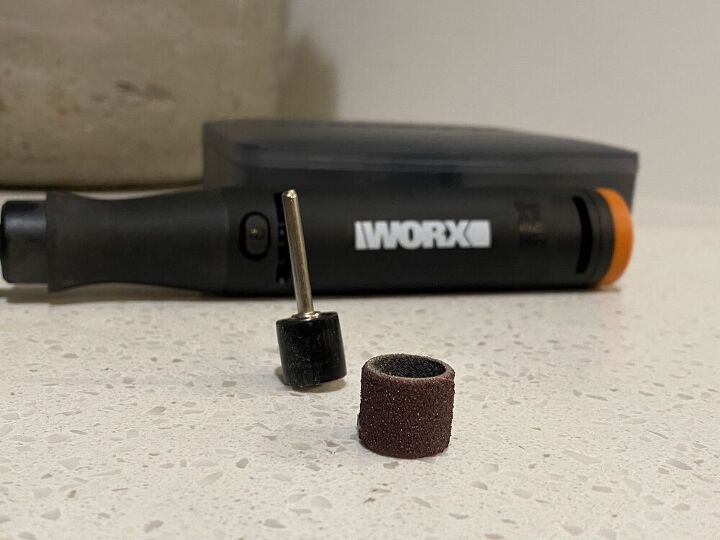
For this project, I used the Drum Mandrel bit with the sanding tube that goes on top of the mandrel. Make sure your MakerX Hub is charged and ready to go as well. Lastly, be sure to grab a pair of safety goggles.
As with any sanding project, grab a shop vac or broom and dustpan, as well, for a quick cleanup of all that sawdust.
Step 2: Prepare Your MakerX
This little tool is so handy and, with so many different adaptors, it can help you with unlimited projects. For my sanding issue, the drum mandrel and sander were all I needed.
As I mentioned, using a hand sander, a block plane, or even just sandpaper wasn’t getting the job done. Since the area was up top and in the corner, I couldn’t get in the space.
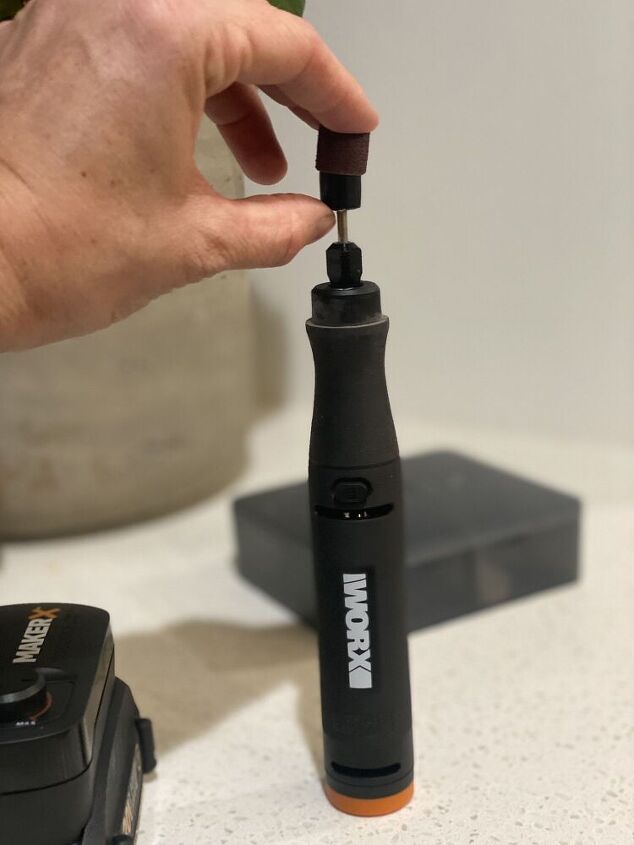
Once your MakerX Hub is charged, plug it into your Rotary tool. The system is simple; all the hand tools use the same plug and Hub for power.
Insert the drum mandrel and twist the bottom piece until the mandrel is in and tight. Once it is in securely, slide the sanding tube on top of the drum mandrel, so it fits snugly and is aligned on the top and bottom.
Throw your goggles on, and get ready to rock.
Step 3: Time to Sand
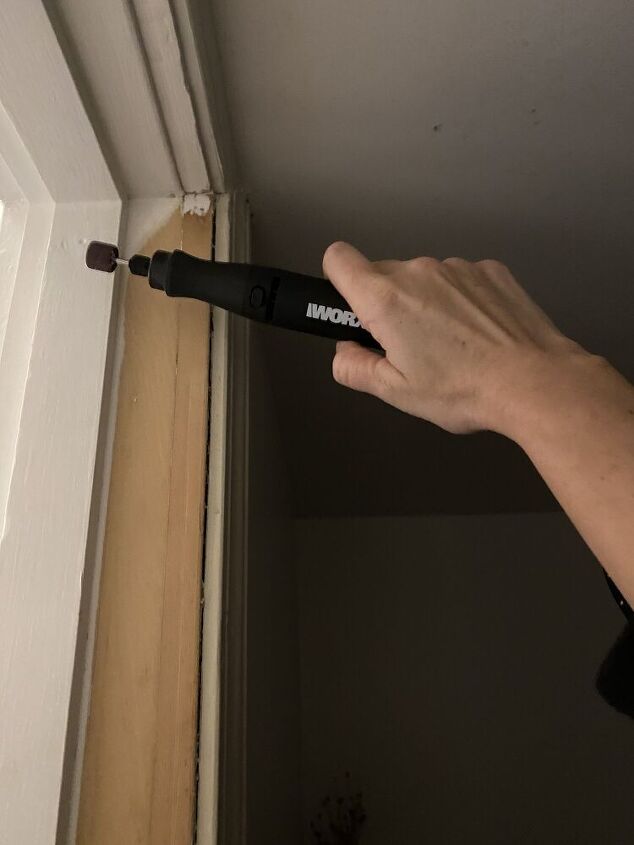
Turn the MakerX Rotary tool on before making any contact with the wood. Once it is running, go in at an angle, so the sandpaper lays flat on the wooden area. Because it is a small, narrow sanding piece, I moved the tool up and down to sand one layer at a time, one strip at a time.
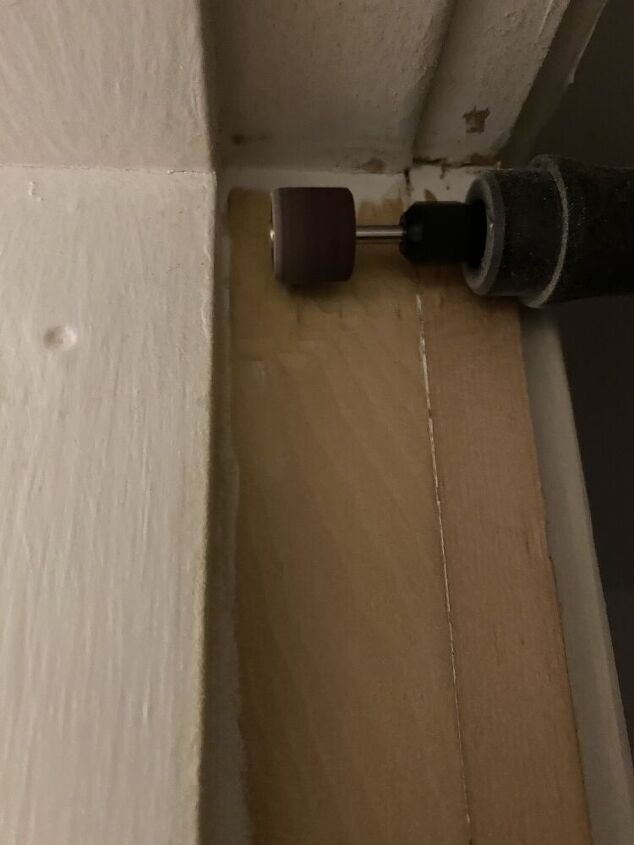
While a hand sander covers more area quickly, when you are trying to work in a tight space like this, the MakerX Rotary tool is ideal. In fact, with the speed dial turned up almost to the highest speed on the MakerX Hub, the Rotary tool with the sanding tube and drum mandrel made pretty short work of this 9 inch by 3-inch space.
It does take a little getting used to, but if you practice a bit, you’ll quickly get the hand of this tool. It works efficiently, and the handle allows for maximum control, which aids in its ease of use.
Before you consider yourself done, be sure to test your door and make sure you can shut it easily, with no area rubbing against the door as you close it.
Step 4: Cleanup and Admire
Next, I needed to wipe down your sanded area with a cloth that will remove the sawdust and use a piece of sandpaper as is required in order to ensure there are no lines on the door jam. I grabbed a vacuum and sucked up all the dust everywhere. It was everywhere!
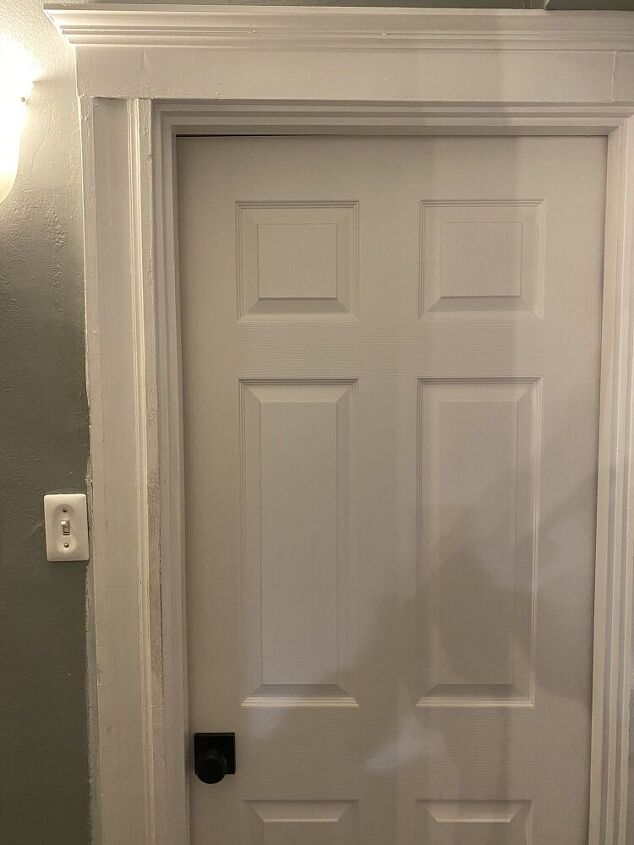
The door closes perfectly now! I am so glad to have this out of the way and can’t wait to start painting the trim and crossing this overdue project off of my to-do list. It’s been sitting like this for months. No more!
This is only one of a million uses for the MakerX toolset. I can’t wait to share my next one with you!


Comments
Join the conversation
-
I have just the opposite door problem. My door wont stay shut and pops open. How would I fix this?
-
Its beautiful, what color is on the wainscoting? Beautiful bathroom!


Frequently asked questions
Have a question about this project?