


How Trim & Moulding Can Modernize a Plain Slab Door

This project is sponsored by Westlake Royal Building Products™.
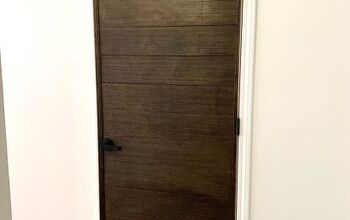
I had this plain white slab door that just looked boring and in need of refreshing. But rather than going out and buying a new door, I wanted to upcycle the current door and improve it, quickly and on a budget of course!
This was part of a condo flip that involved many cost-saving DIY projects. You can view them all at marciasocas.com. The beadboard accent wall project and the associated post were sponsored by Westlake Royal Building Products. The opinions expressed are completely my own and are based on the results I achieved with the products used.
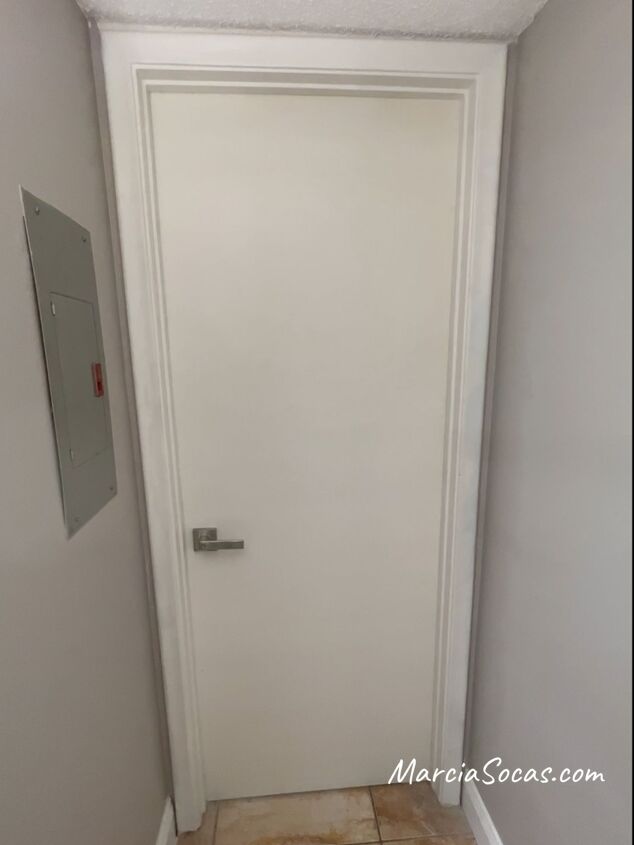
Here's my door’s starting point.

Products used
I used 2, 12-foot-long pieces of trim and mouldings from Westlake Royal Building Products. I chose the 1x2 trim. If the 12-foot-long pieces don’t fit in your car, they also have shorter lengths available.
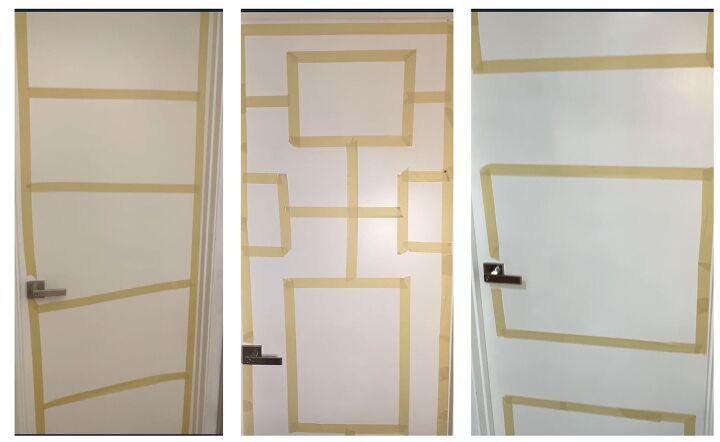
1. Create the shape
I noticed that my tape was the same width as the trim piece. So, I played with tape to come up with a design that I liked for my door. It helped me see the different ways that the trim could be applied and what different styles I could produce with it.
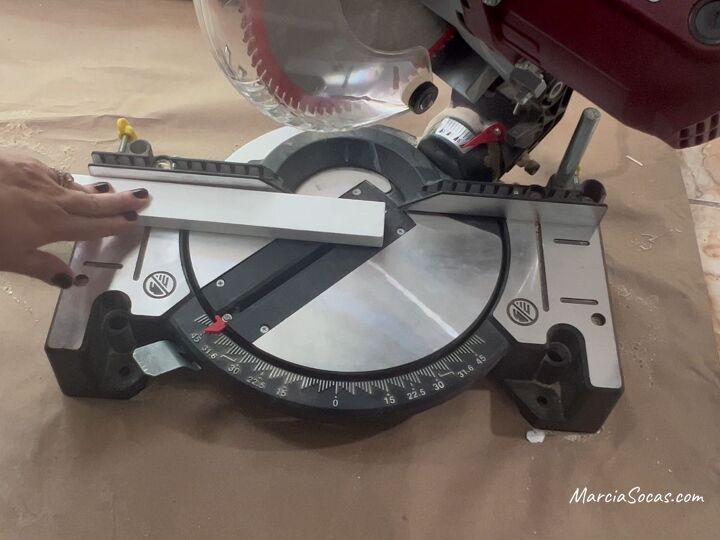
2. Measure & cut the pieces
I measured the dimensions of the pieces that I would need and I cut them using my miter saw.
They cut extremely easily and cleanly. For the upper left corner, I set the cuts at two 45-degree angles so that the corner pieces would fit together perfectly.
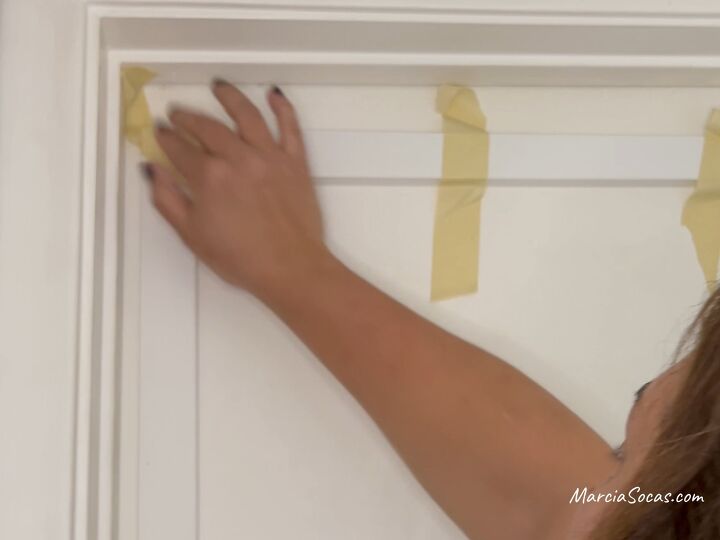
3. Adhere the trim to the door
I used construction adhesive to adhere the trim to the door and kept it in place using tape while it dried.
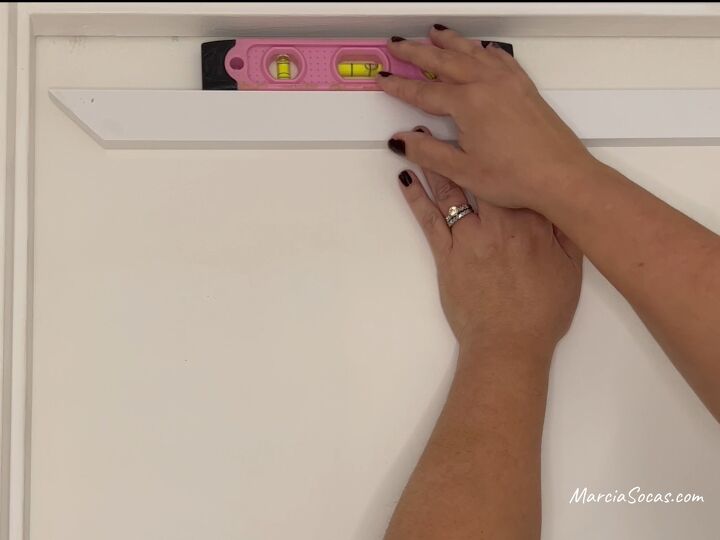
4. Make sure the pieces are level
I also made sure that the pieces were straight, using a level so that everything would stay nice and square at the end.
5. Check the ease of opening the door
Since my particular door opens inward, I made sure to place my trim pieces in place with the door closed, so that I was sure that the door would open and close easily after I added the trim.
6. Leave space around the doorknob
When it came to the area around the doorknob, I left a little space above and below the knob, just in case I ever need to change the doorknob in the future.
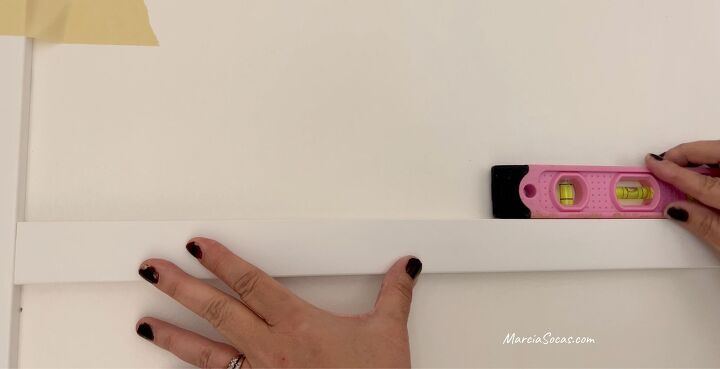
7. Add the center horizontal pieces
Once the pieces were added around the larger frame of the door, I then started adding the center horizontal pieces. I cut these using just simple straight cuts.
I also made sure they were level and went into place perfectly.
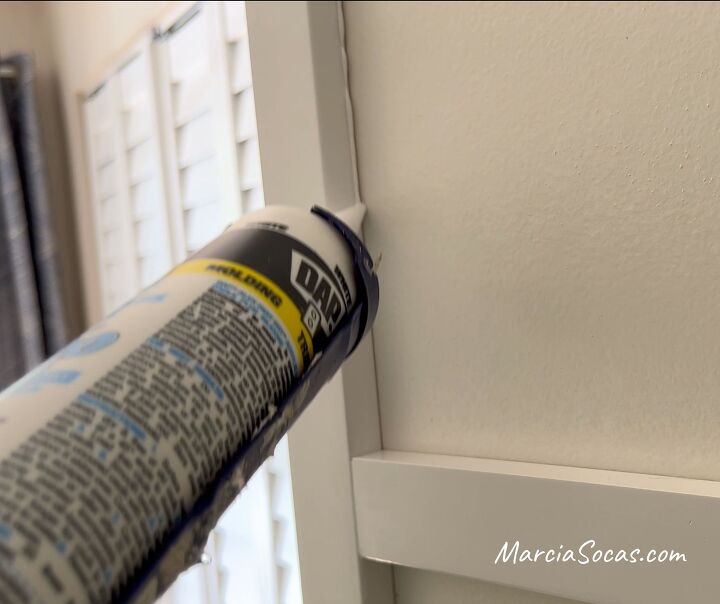
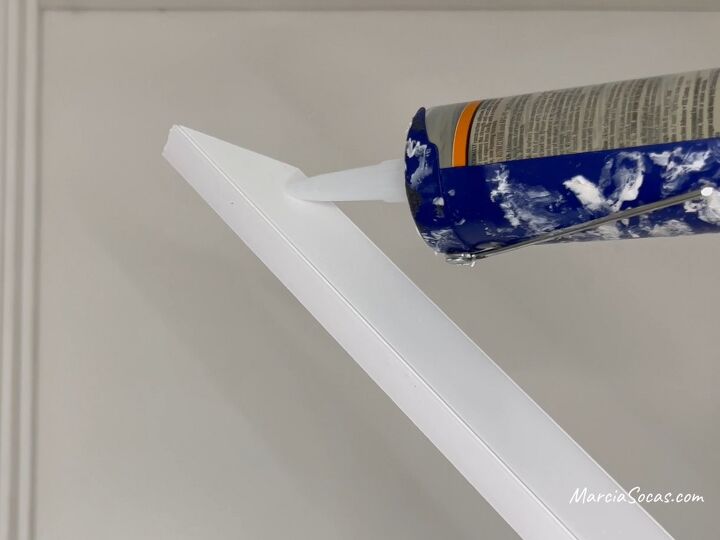
8. Add caulking
Next, I removed the tape and then added a bit of caulking between the trim and the door so that it would have a seamless finish.
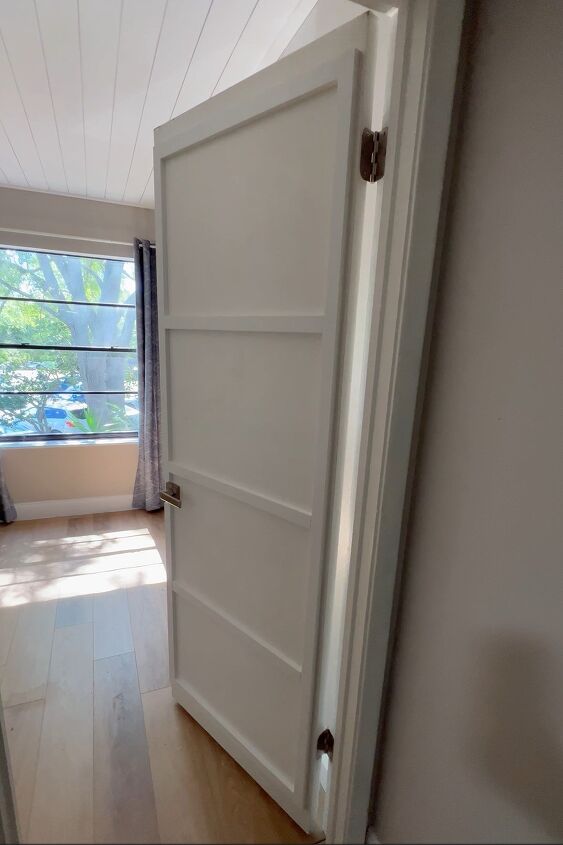
DIY door trim & moulding
The door looks great and so much more modern than the plain old boring slab of white that it was before. You can play with different designs and patterns to fit your design style and create a door that reflects your style and that you love.
What do you think of the finished door? Let me know in the comments below.
Westlake Royal Building Products provided the materials for my project. I loved the opportunity to work with these products and was thrilled to receive such beautiful results in this quick and easy project.


Frequently asked questions
Have a question about this project?