


Paper Tray Organizer
I recently made over a space upstairs into a small office workspace. I had papers everywhere and needed something to keep them organized.
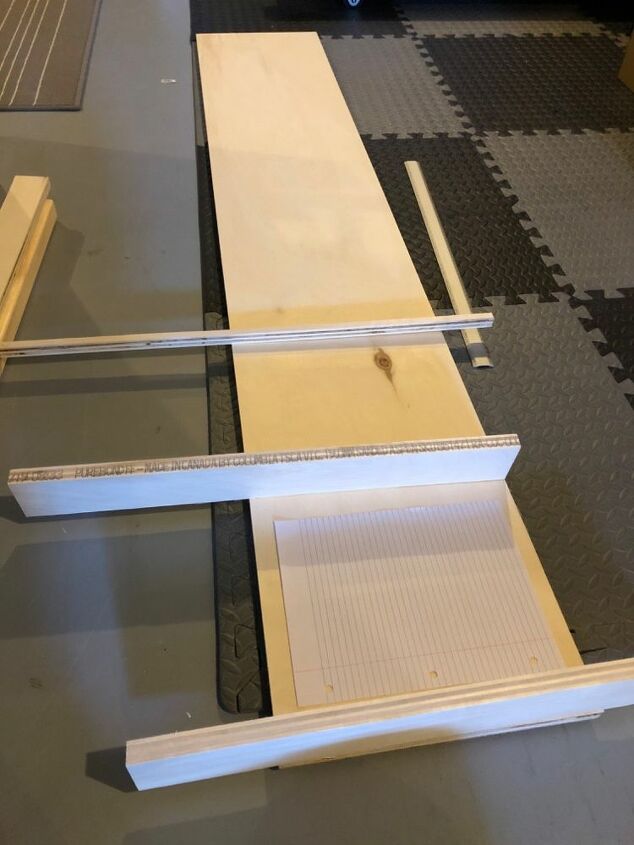
I had a piece of plywood that I was able to use for the main pieces of the tray and also for the dividers.
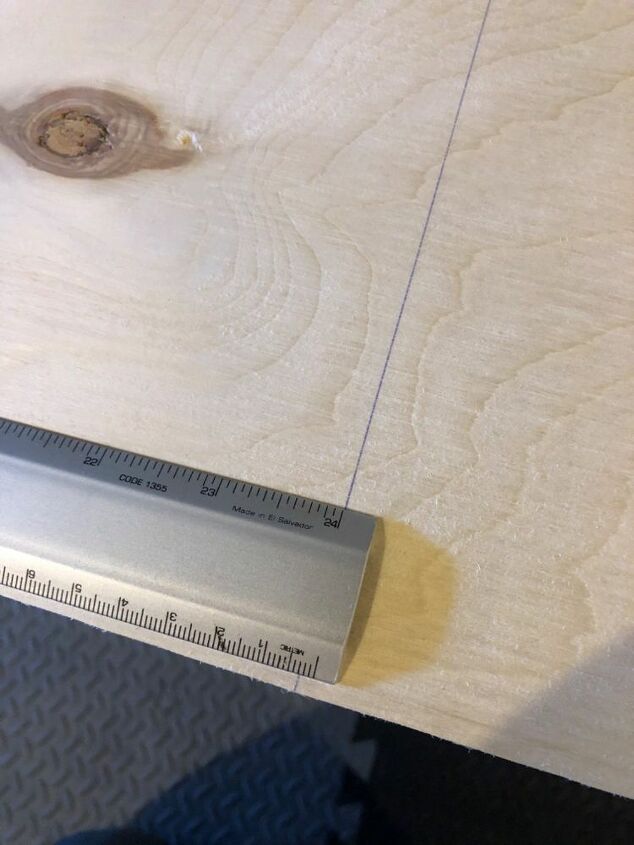
I wanted to make it big enough for four slots to hold the papers, so I went with 24”.
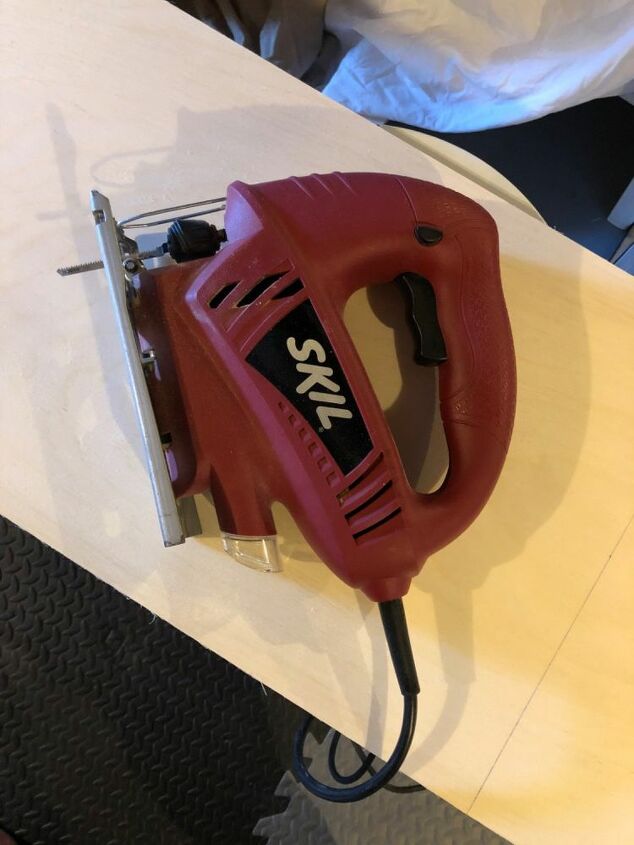
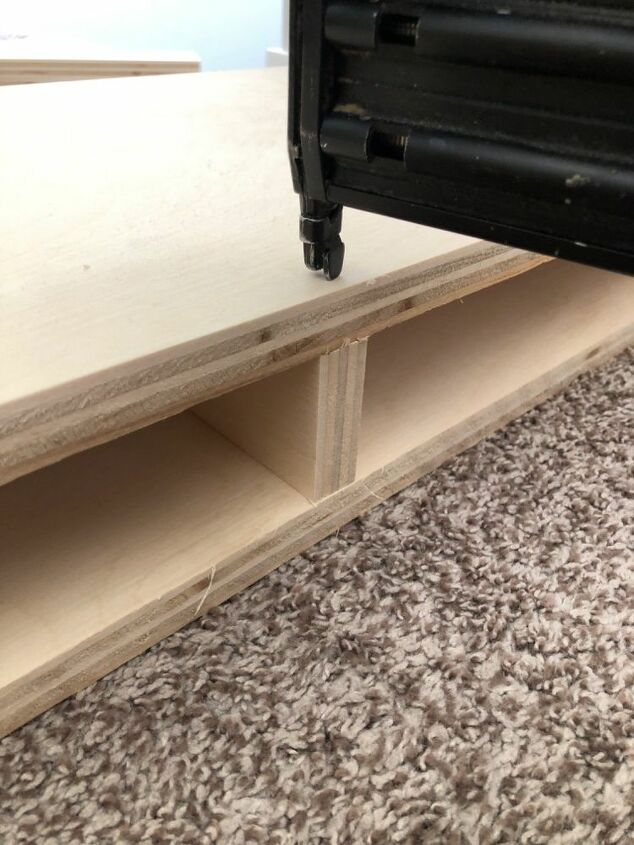
Using my jigsaw, I cut three pieces at 24”; top, bottom, and middle insert.
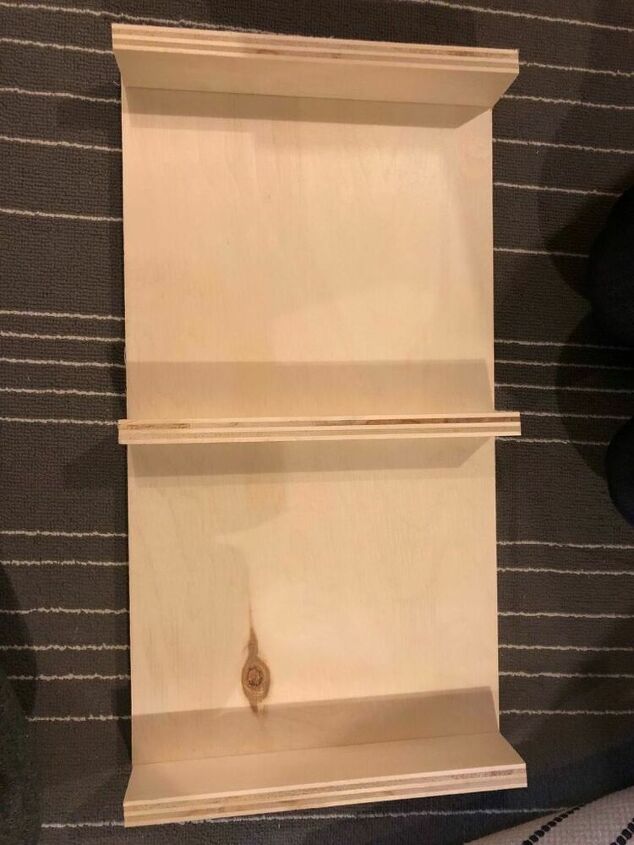
To allow for enough space for paper, I made the slots 12” long.
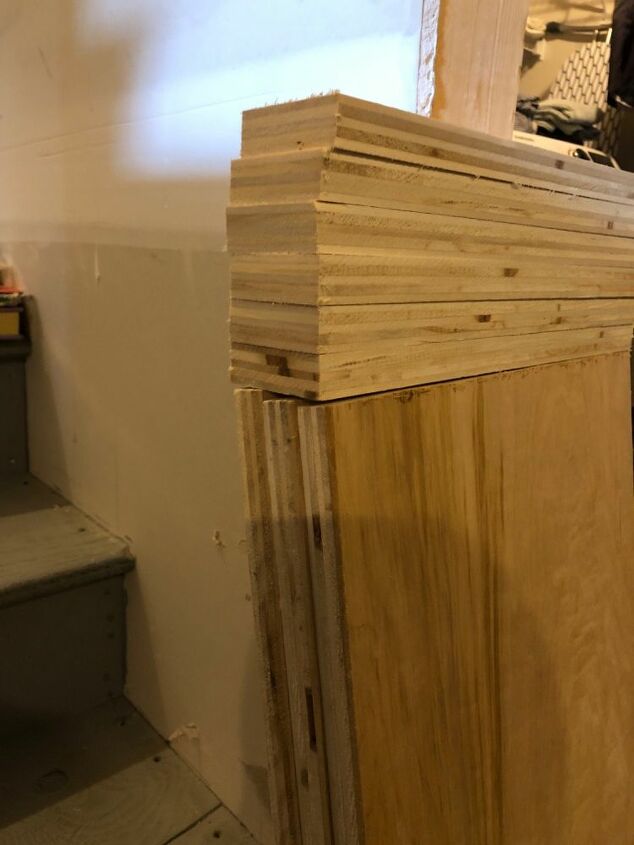
There were nine pieces in total for this project.
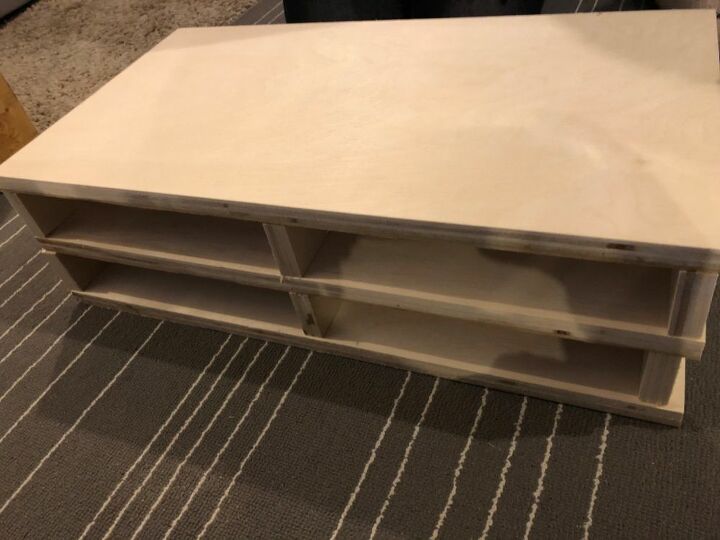
We stacked it to see how it worked and loved the way it looked.
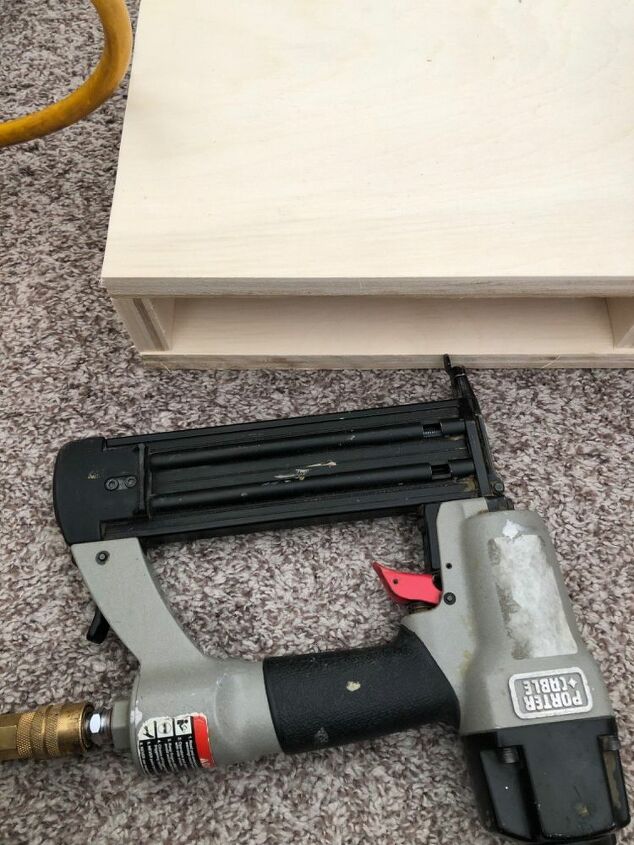
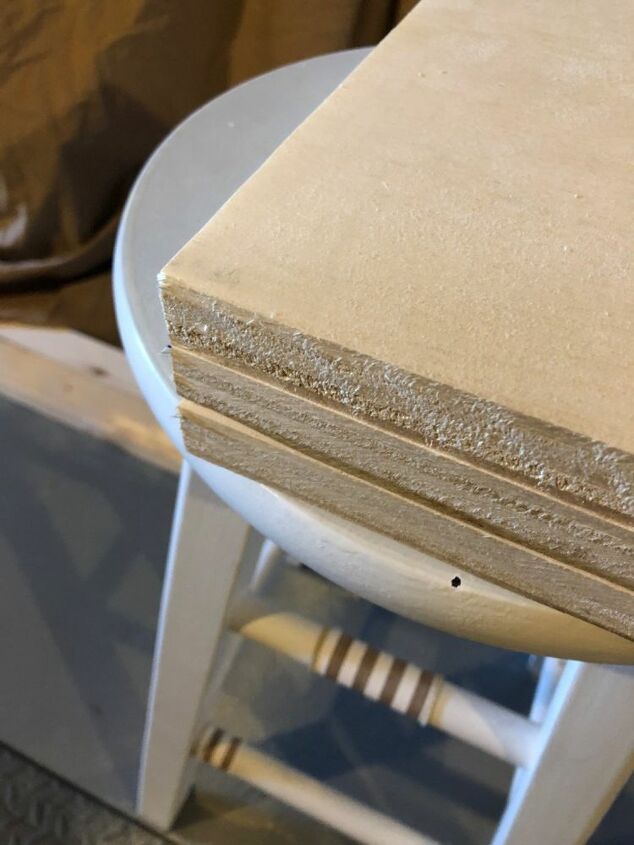
Using the nail gun we lined everything up and started nailing the two separate pieces.
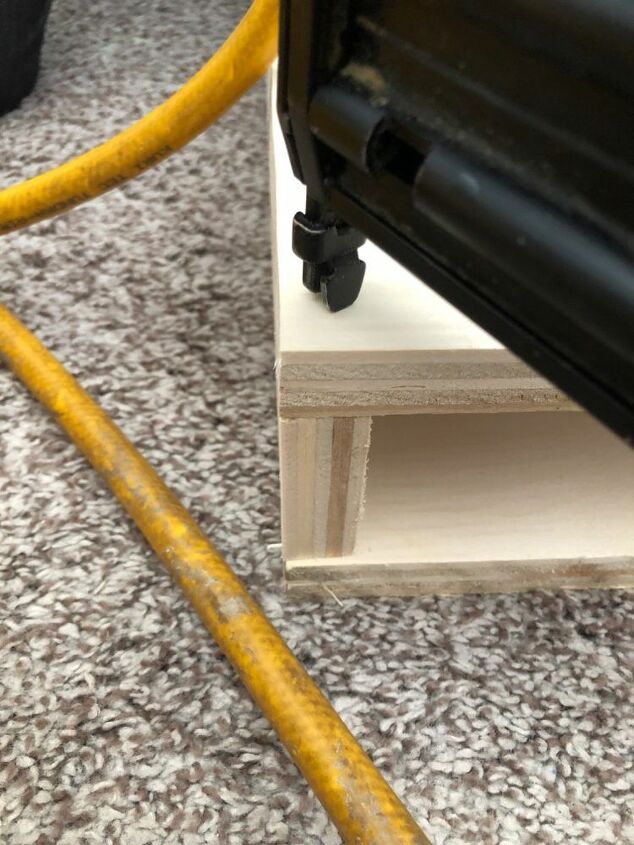
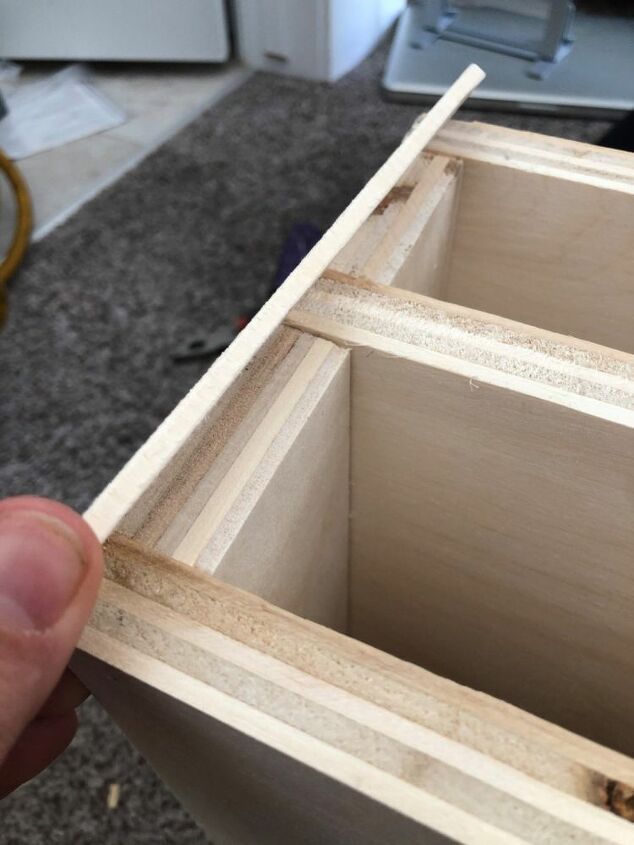
To join the top and bottom compartments together, we used a thin off-cut of plywood to nail across the joins in the back. It wasn’t very sturdy so we added contractor glue and stuck them together.
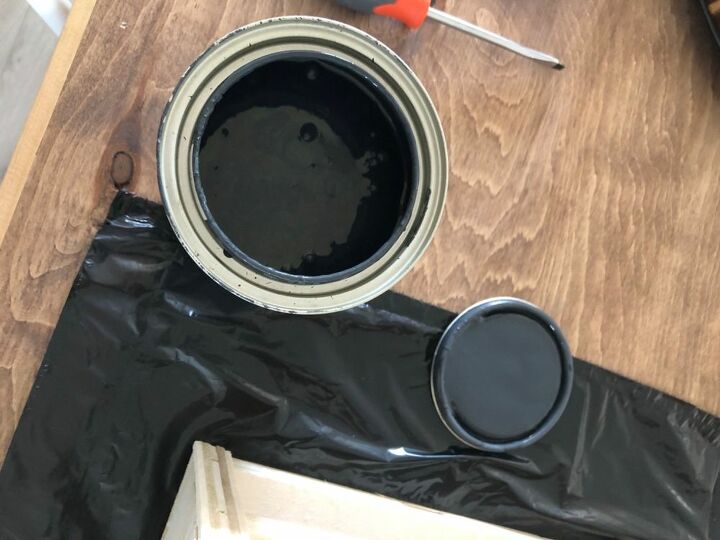
To match my workspace, I used Graphite by Jolie Paints to paint the paper tray.
Jolie Paints is amazing quality chalk paint and requires so sanding or priming. Check it out
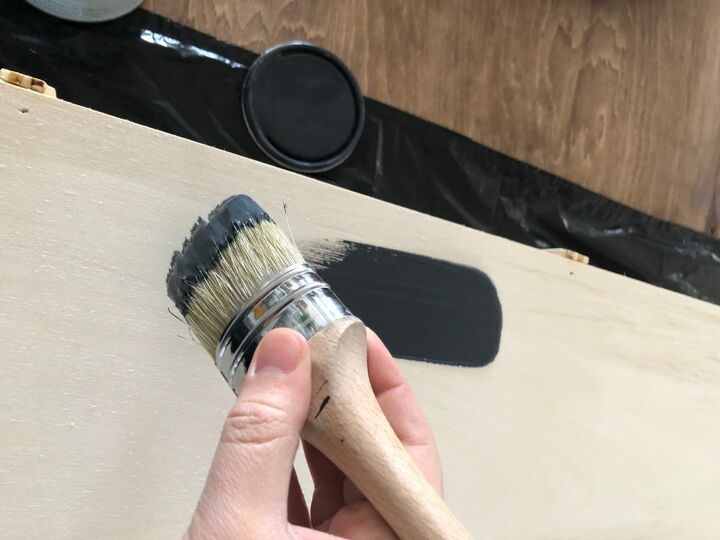
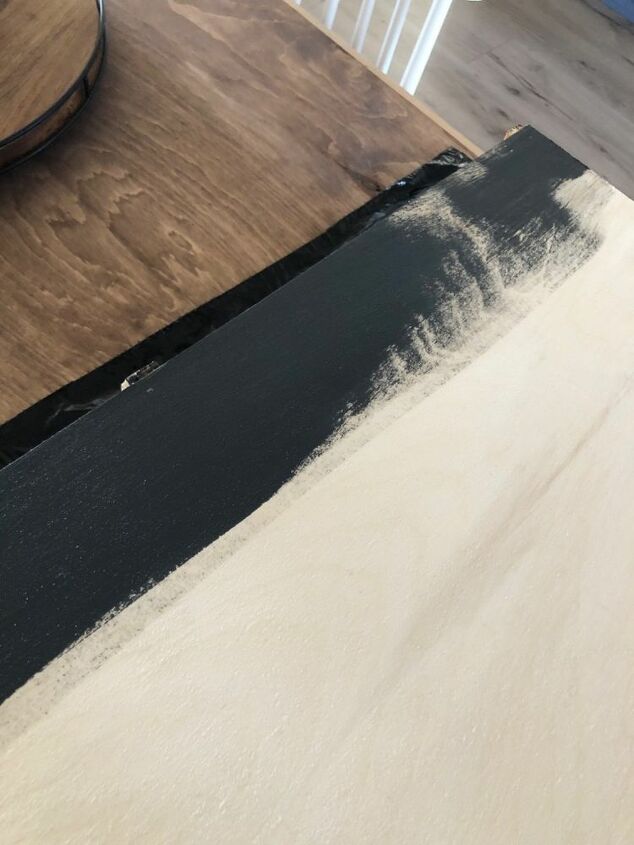
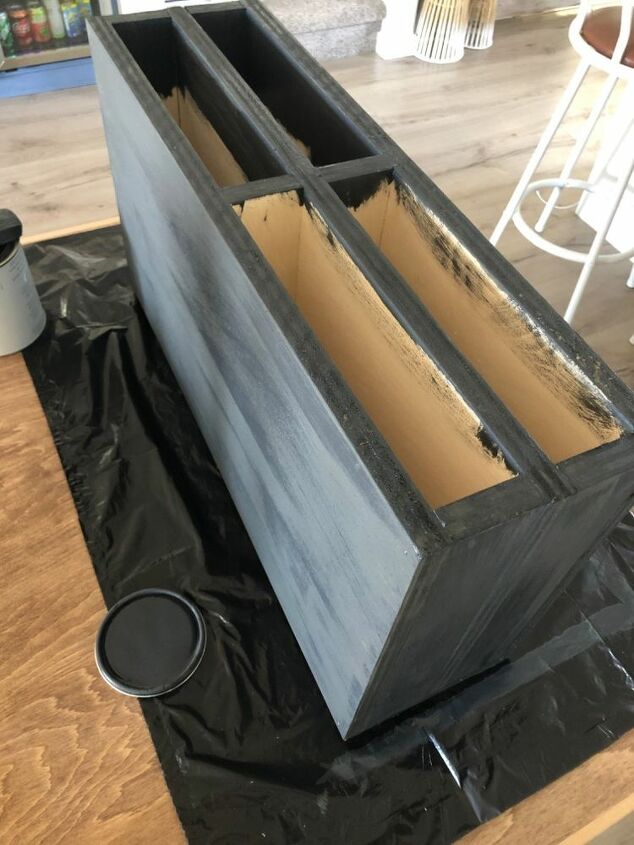
I would suggest painting before joining the two pieces, as it was really tough to get paint into the compartments.
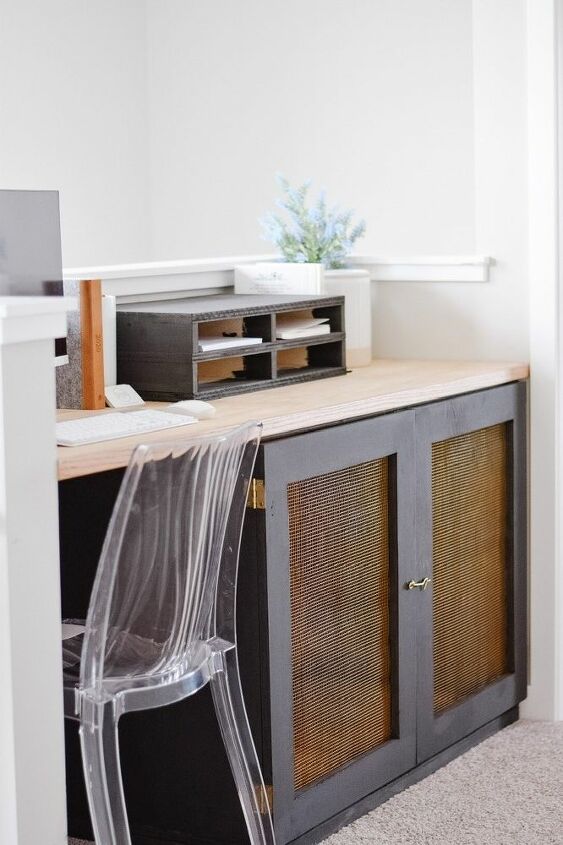
As you can see it looks great but I do have to finish it off by getting in there with some more paint.
Happy DIY’ing 💙


Comments
Join the conversation
-
It does look great. Great share
-
Maybe paint before you assemble.


Frequently asked questions
Have a question about this project?