


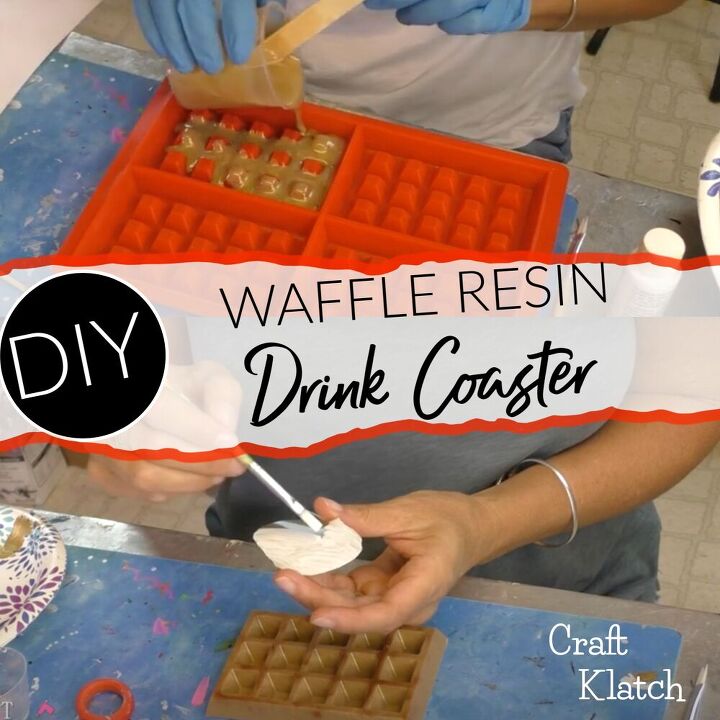
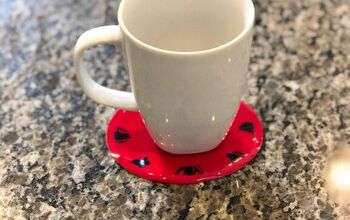
Resin Waffle Drink Coaster DIY
Learn how to make a Waffle Resin Coaster DIY! It's a great fun with food breakfast craft tutorial and fun home decor idea! Be sure to check out the post on my blog: https://craftklatchwithmona.blogspot.com/2019/08/waffle-resin-coaster-diy-another.html and/or check out the video at the bottom of this post.
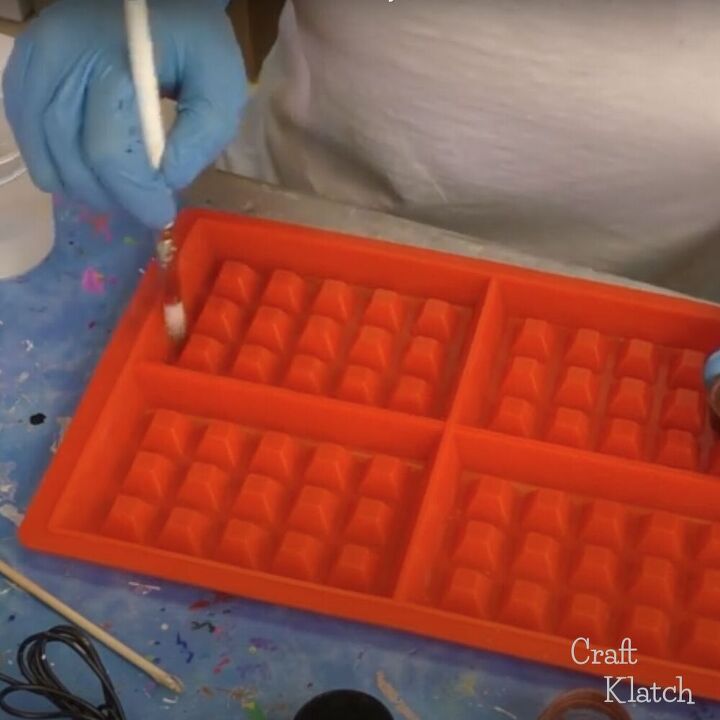
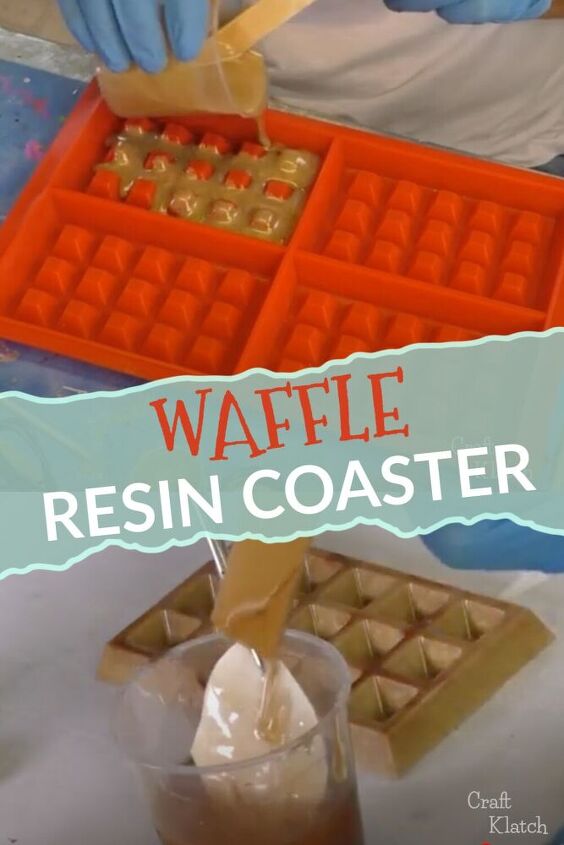
I used a copper pigment powder to lightly dust the mold, so it would give the waffle a little bit of a toasted or browned look.

I mixed my resin and added a gold pigment, as well as a little copper pigment to give it as close to a doughy/bready color as a I could.
TIP: I used a metallic pigment powder, but you could use inexpensive eyeshadow to color the resin as well!
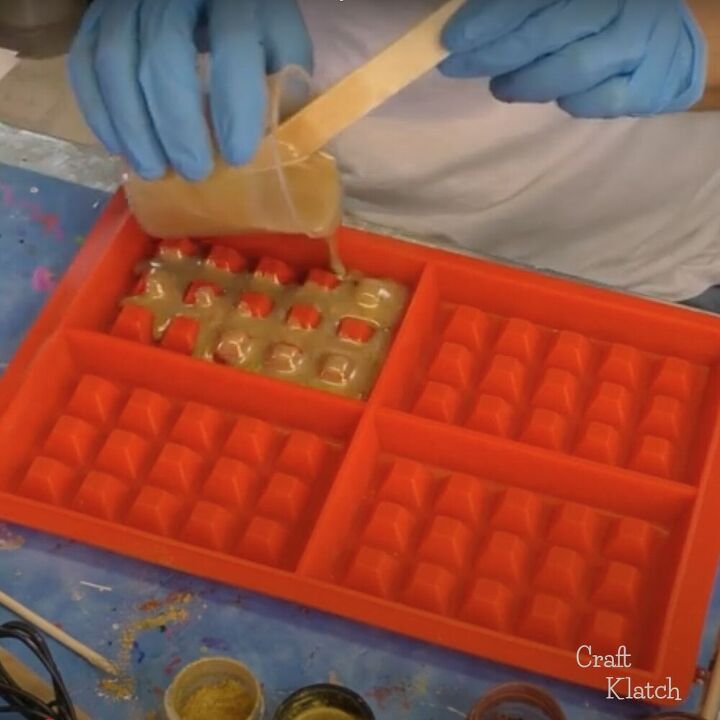
I poured the resin into the mold. I popped bubbles with a lighter and let it cure for a minimum of 12 hours.
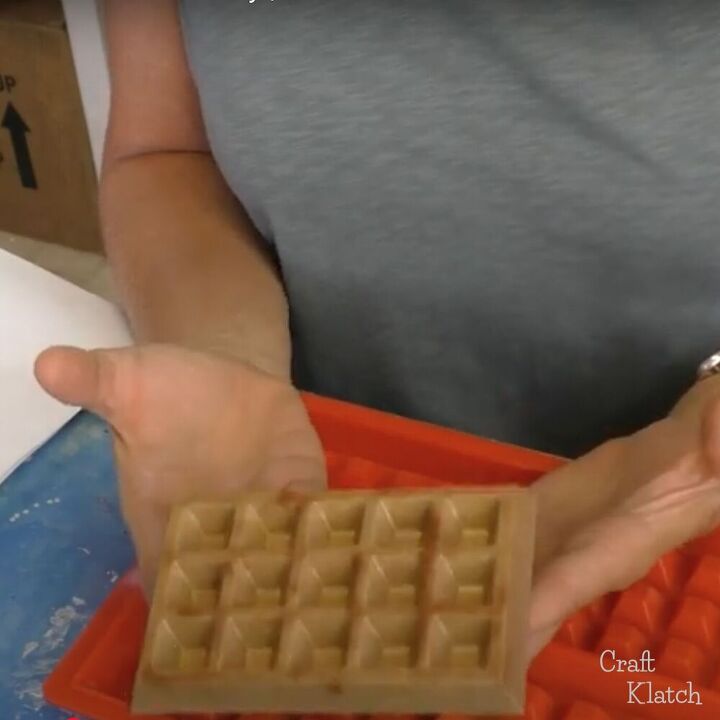
Once cured, I popped it out of the mold.
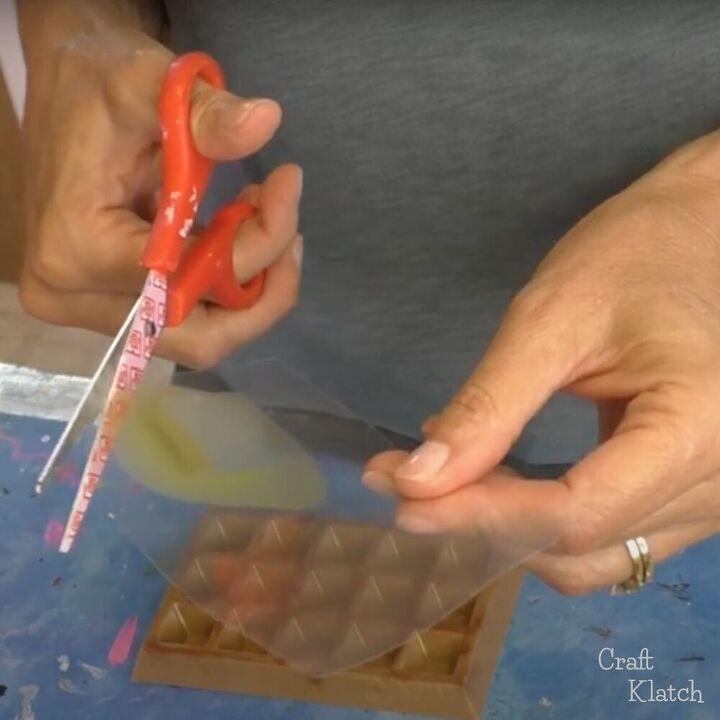
I printed a pad of butter onto transparency film.
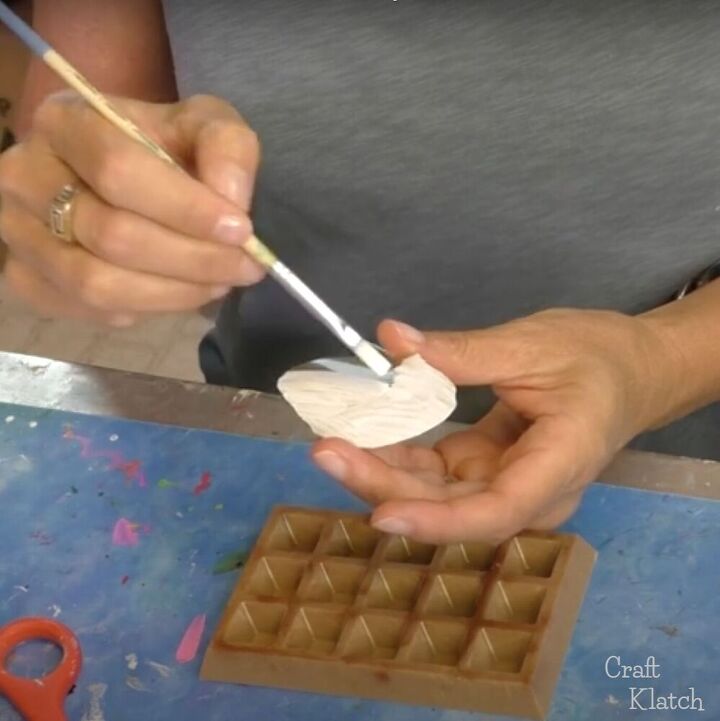
Because the transparency film is clear, I wanted to make sure the butter have a solid or opaque look to it, so I painted the back with white acrylic paint. I did two coats.
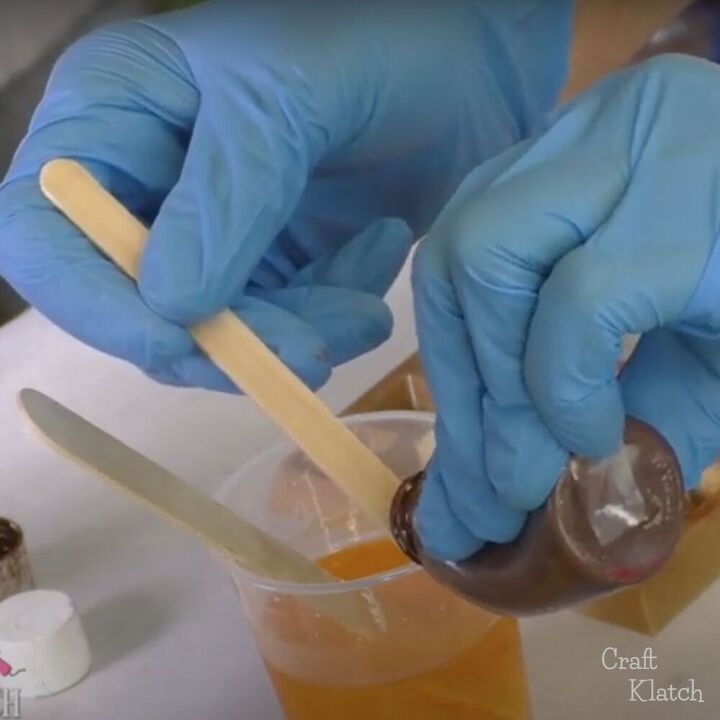
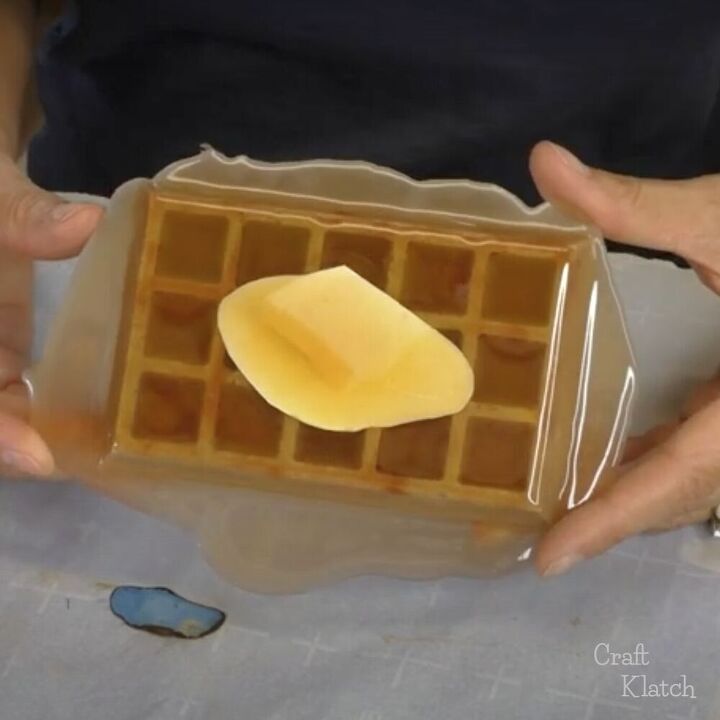
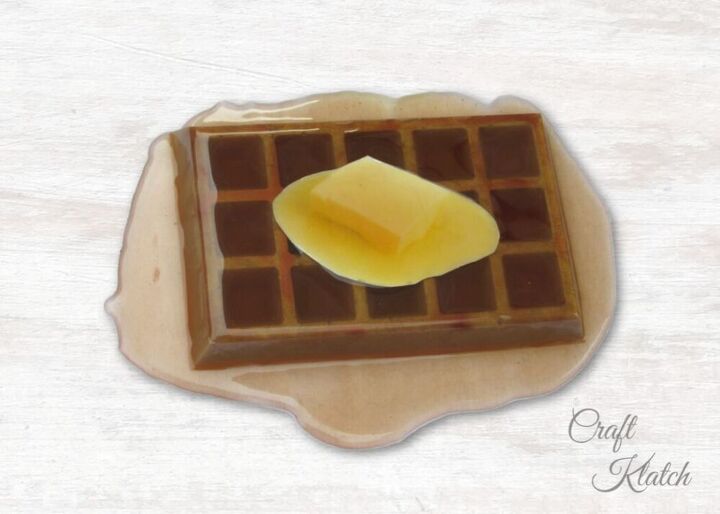
Because waffles are mostly associated with maple syrup, I thought it would add some realism. I mixed the resin and added just a little amber colored pigment, to tint the resin.
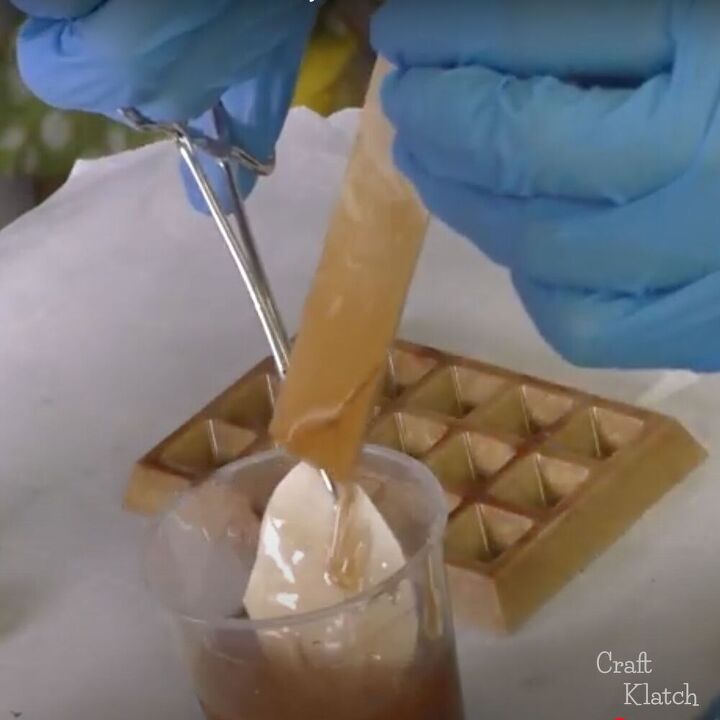
I dipped the butter into the amber resin, just to make sure it was covered. I then placed it onto the waffle, so would lay and stick nicely.
I was working to parchment paper because resin does not stick to parchment paper.
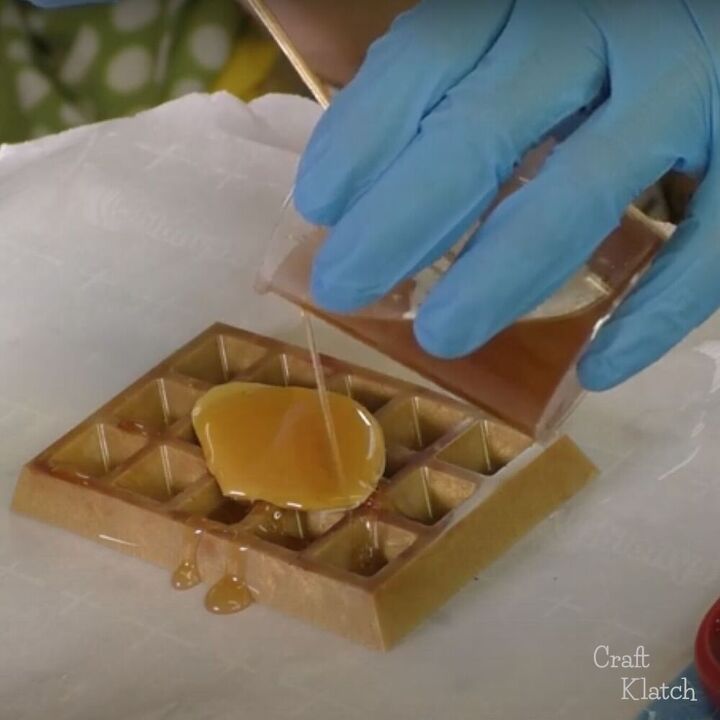
I poured the amber colored resin over the butter and the waffle, letting it pool in the indents and run over the sides.
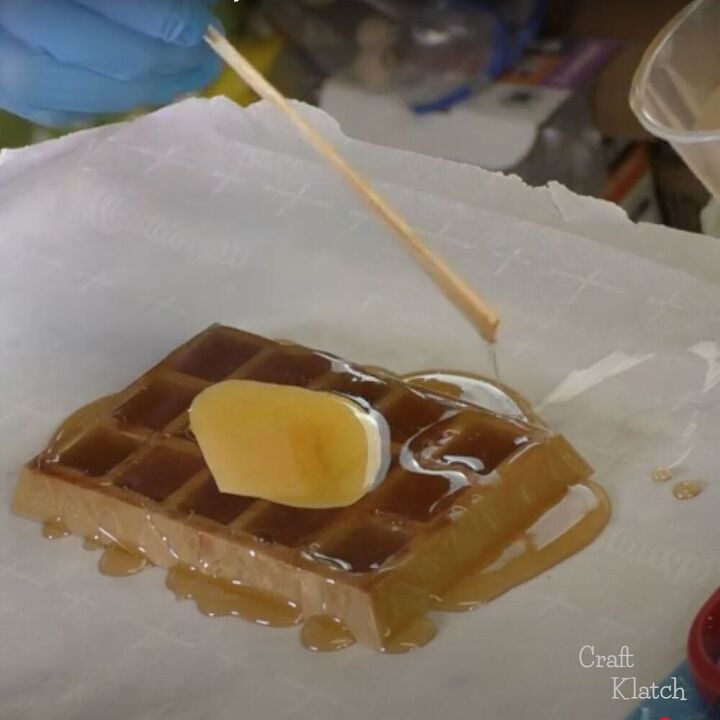
I popped the bubbles with a lighter and just let it cure for a minimum of 12 hours.
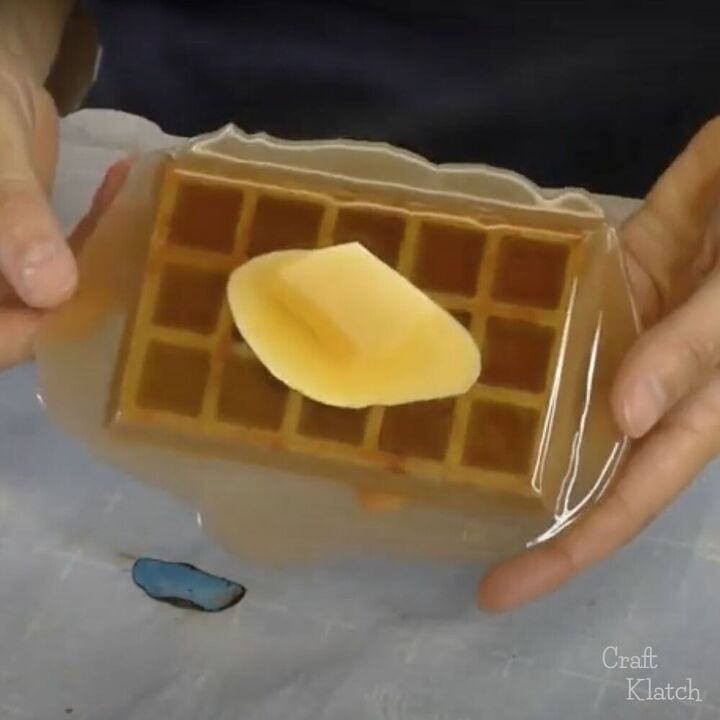
It easily peeled off the parchment paper and now I had a super fun coaster for my morning tea or anytime of day!
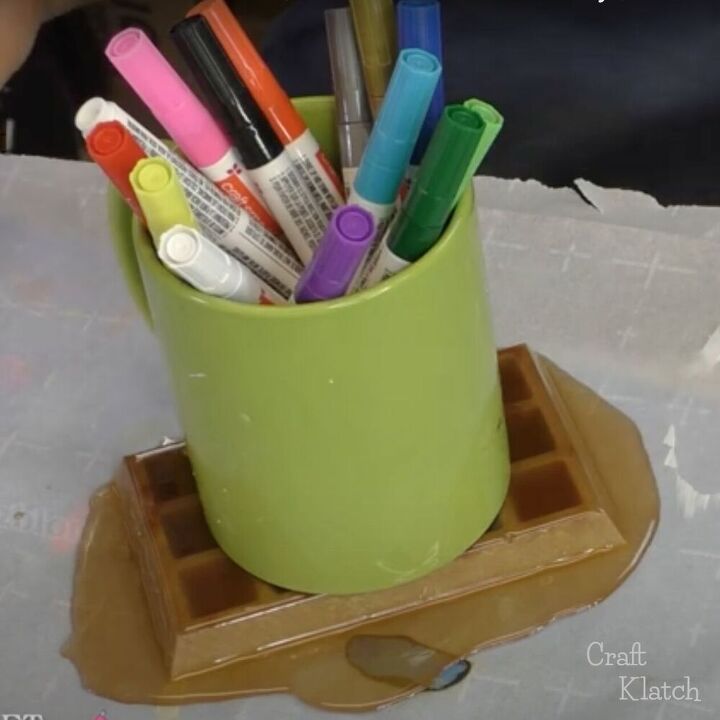
The size works great for a mug!
Resources for this project:
See all materials


Frequently asked questions
Have a question about this project?
I am a resin junkie and love this idea! Where did you get the butter pat picture to print?