


How to Totally Transform Your Bathroom in Just One Weekend

This post is sponsored by Wagner.
Watch me take this 1970s bathroom and totally transform it in just one weekend with two gallons of paint and some help from Wagner SprayTech.
By using the Wagner Control Pro 130 to spray my bathroom cabinets, the PaintStick EZ Roller to paint the walls, plus the Spray Shelter for a controlled workspace, I finished the project quickly, easily, and smoothly.

Tools and materials:
- Drill
- Painter’s tape
- Clear dropcloth
- Paint
- Marker
- Cloths
- TSP
- Water
- Wagner Control Pro 130
- Wagner PaintStick EZ Roller
- Wagner Large Spray Shelter
- Electric sander
- 220-grit sandpaper
- Paintbrush
- Painter’s triangles
- Painter’s mask
- New bathroom fixtures and decor
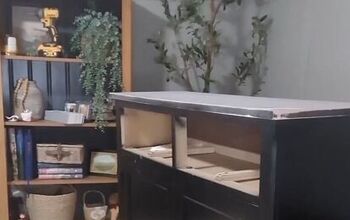
1. Remove everything
The first step is to take everything off the walls—the mirrors, the lights, the switchplates—and then, patch any holes.

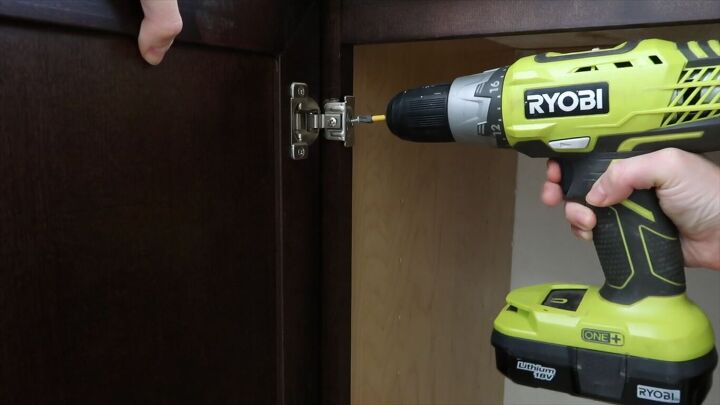
The cabinets were in great shape, so I just had to take off the existing doors and drawer fronts. This is super easy to do by just unscrewing them from the inside.
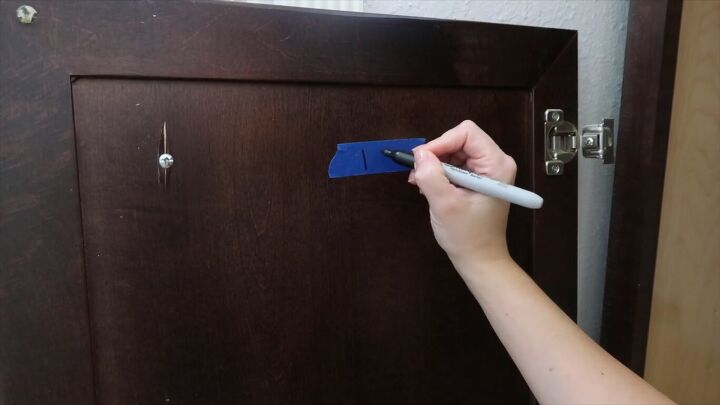
Painter's tape hack
Tip: I put a piece of painter’s tape on the back of each door to remember which door goes onto which cabinet. I’ll thank myself for this later.
2. Clean everything
To clean the cabinet boxes, I used TSP (trisodium phosphate). This helps prep your surface for paint by not only cleaning it but by de-glossing the cabinets. This ensures a smooth finish when painting. It’s super important to prep your cabinets before paint, to get the best results.

Once the cabinet boxes were wiped down, I moved on to the doors. First, remove the hardware, then set it aside. Since this hardware isn’t going to be seen, I can reuse it on my new project.

Then, wipe down both sides of the doors with TSP. I followed that with a clean damp cloth of just water.
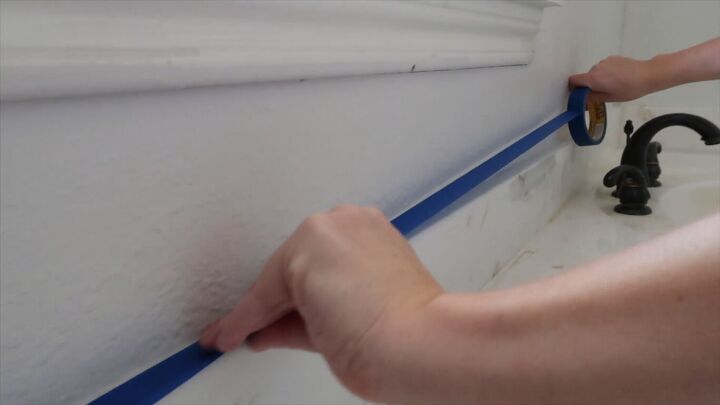
3. Prep the space
Before painting the walls of the bathroom, I made sure to tape off the countertops and the doorframes.
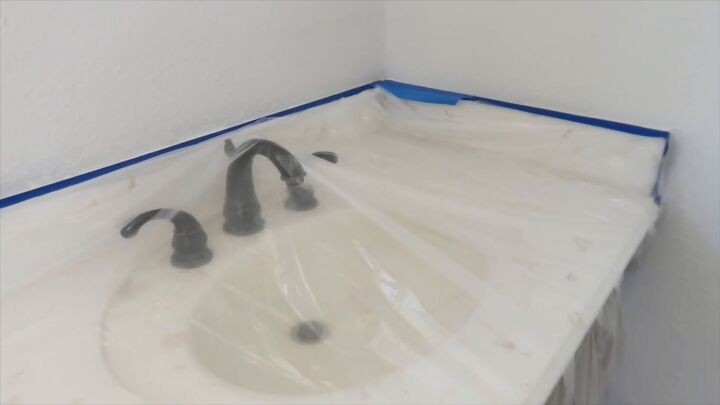
Dropcloth hack
Tip: Using a clear dropcloth, I was able to cover the cabinets and counters to avoid any splatters by sticking it to the overhang of the painter’s tape.
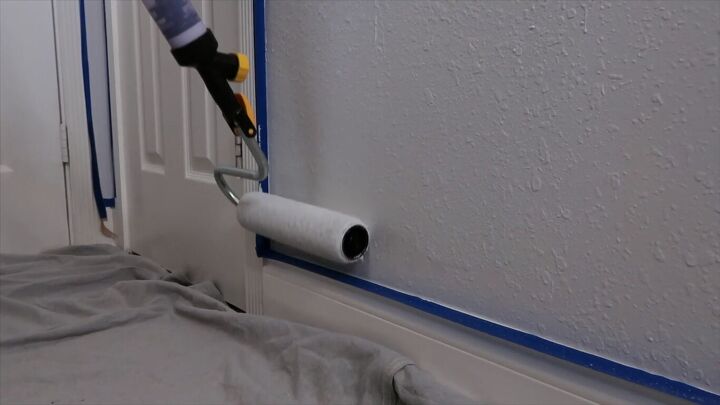
4. Paint the walls
Now for the fun part! Using the Wagner PaintStick EZ Roller, there was no paint tray needed. I was able to draw paint directly from the can, suctioning it into the handle of the roller. Look at that! How cool!
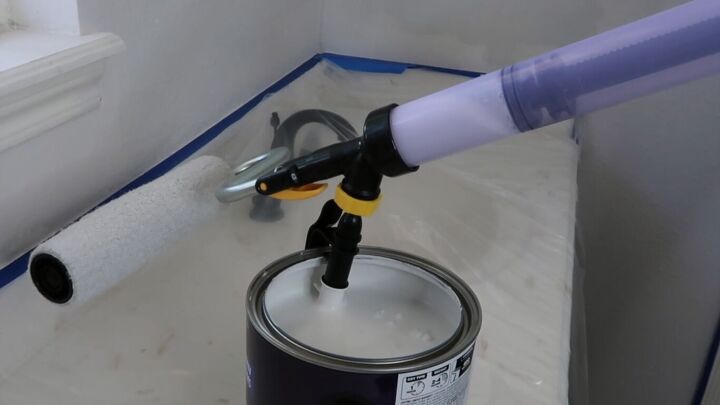
Wagner PaintStick EZ Roller

With a few pumps of the trigger, the paint started flowing into my roller, and I was ready to go. The paintstick held 22 ounces of paint, making it super easy to paint without stopping. The long handle kept me from having to get a ladder and I painted the room in half the time it would have taken me with a regular roller.
I can guarantee I will be using this every time I paint another room.
The color I used for the walls is First Star by Sherwin-Williams.
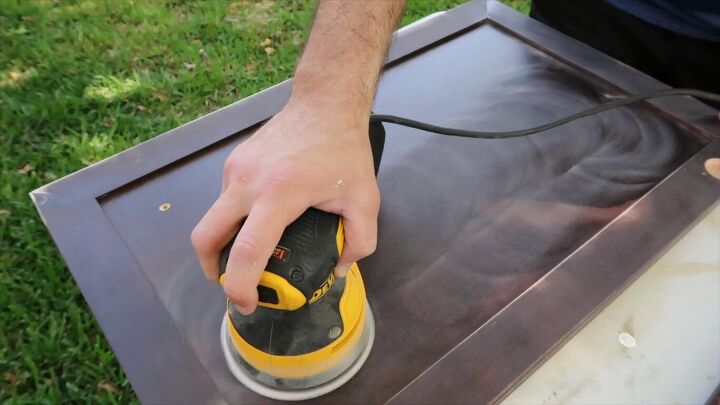
5. Sand the cabinet doors
While the paint was drying, I took the cabinets outside and gave them a light sand with 220-grit sandpaper. I was able to use my electric sander for most of this, but to get the details, I hand-sanded.
After the sanding was done, I wiped each door down with a damp cloth to eliminate any microdust.
6. Paint the cabinets
Upstairs, I started painting the cabinet boxes with this bright green paint called Garden Spot by Sherwin-Williams. I am obsessed with this pop of color and the way it totally brightens up the room. I brushed on two coats of this paint, but since the area was small, it was super easy and very quick.

Now, back to the cabinet doors.
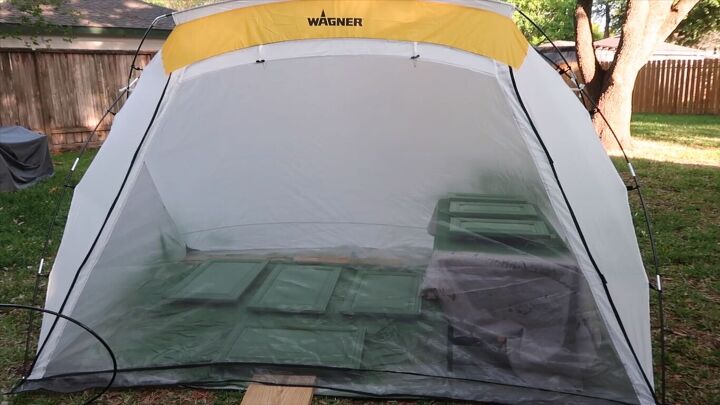
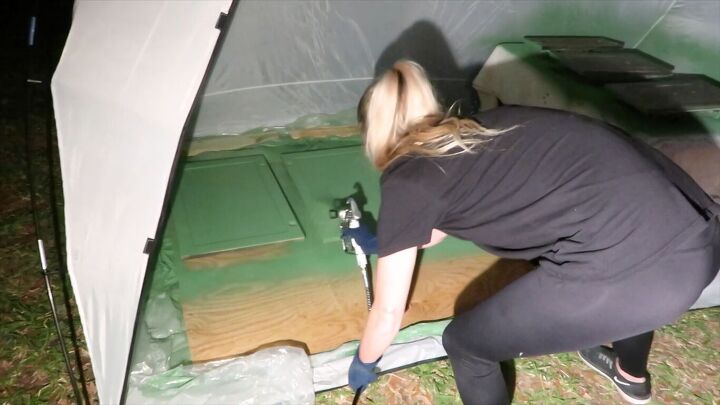
Outside, I spread out my Large Spray Shelter from Wagner in my backyard. This was a game-changer. I didn’t have to worry about overspraying anything on my house, my garage, or my dog. It kept the leaves and bugs off of my cabinets, and it was large enough to fit all of the doors inside at once.
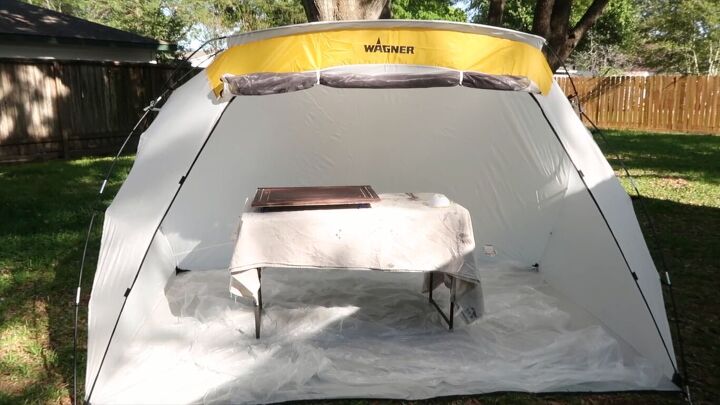
Wagner Large Spray Shelter

Painter’s triangles trick
Tip: I utilized painter’s triangles and if you’ve never seen these before, they essentially prop up the piece off of the table to allow you to hit the sides of the cabinet doors, in this case.

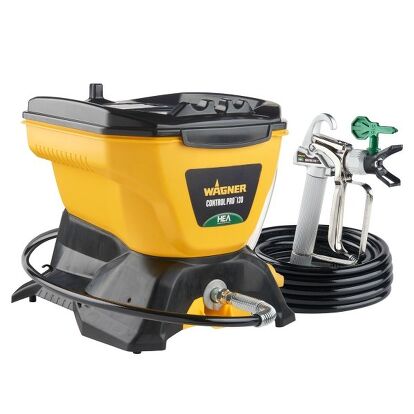
After everything was set up and ready to go, it was time to spray. I used the Wagner Control Pro 130. The setup was super fast and easy. After attaching my hose to the machine and the spray gun, priming the machine, then pouring in the paint, I was ready to spray.
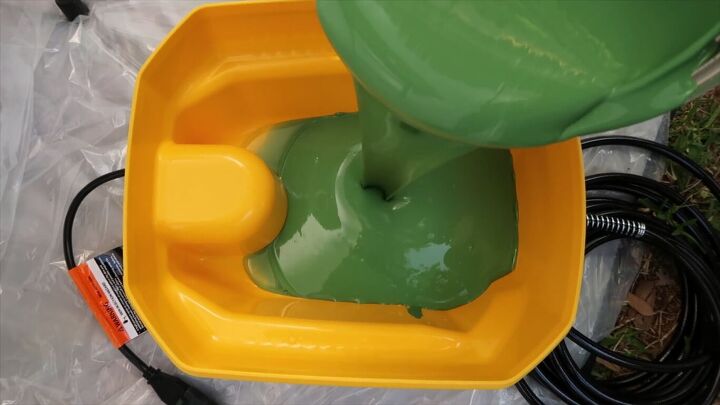
Wagner Control Pro 130
This was my first time using it and I will say I did use a piece of scrap plywood to test my gun before to make sure I was totally confident in spraying before I hit the cabinets.
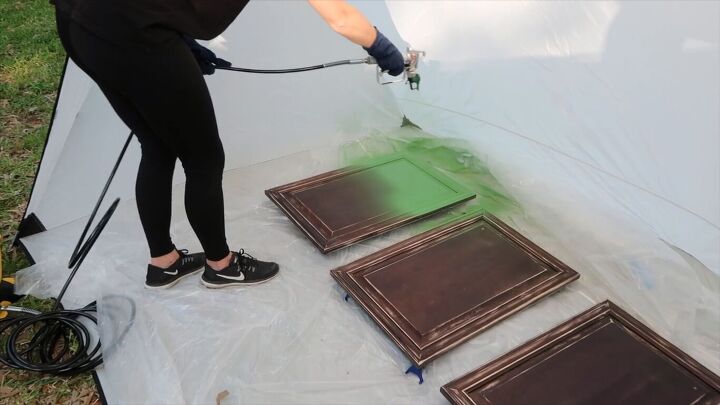
This machine is beginner-friendly and it’s as easy as pulling the trigger and moving in one slow, smooth movement. The overspray is 55% less than other sprayers and compared to hand-rolling, this took me no time at all.
Of course, don’t forget to use your painter’s mask when using the spray gun.
I can’t wait to use this on future projects like painting my garage and maybe even staining my fence.
Once the doors were coated, I closed the front of the shelter and left them to dry.
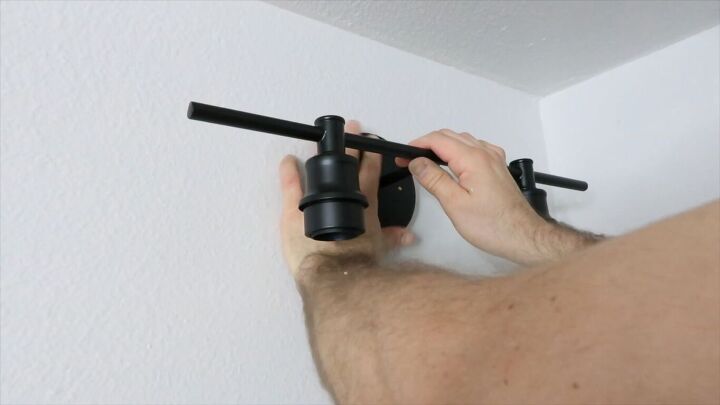
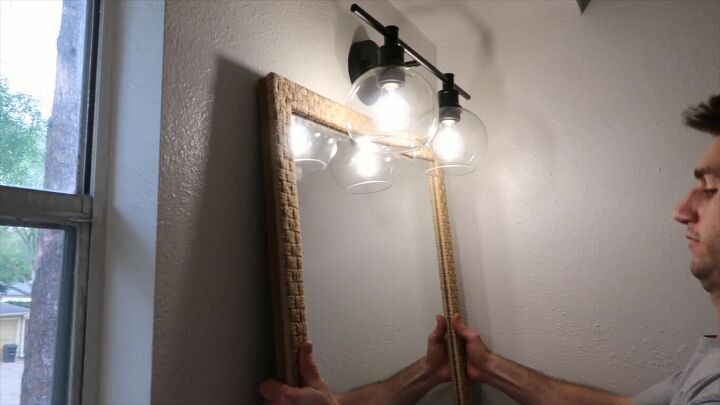
7. Add new light fixtures
Back upstairs, I hung the new light fixtures. Wow! What a difference.
8. Paint the back of the doors
Then, while the sun was setting, it was back downstairs to coat the front side of the cabinet doors, since they were finally dry. Thankfully, the shelter provided an easy workspace to finish the painting.
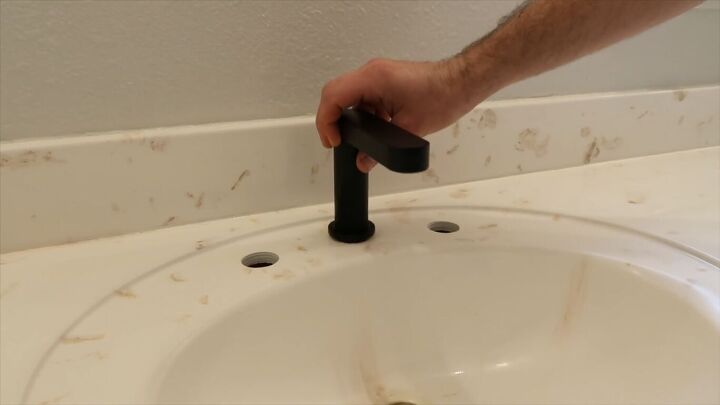
9. Add new faucet fixtures, hardware & other finishing touches
The next day, with everything dry, I pulled the painter’s tape and replace the outdated faucets with matte black modern fixtures.
I reattached the hardware to the painted doors and reassembled them onto the cabinet boxes in the bathroom.

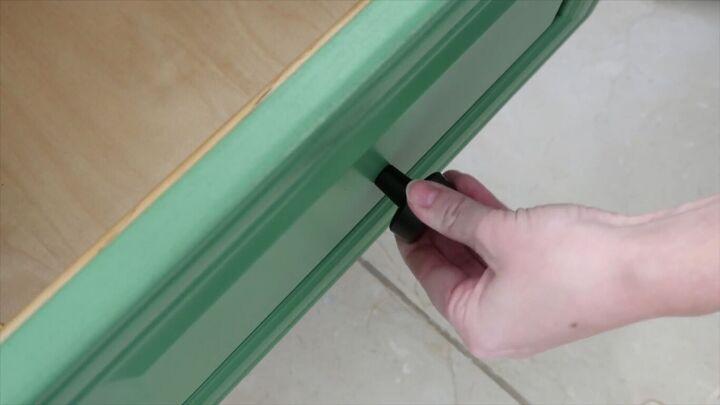
I added these chunky black knobs to the drawers for a modern twist. The screws were a little too long on the doors, so adding two washers to the back helped them fit perfectly.
I hung new mirrors, laid out a rug, added handtowel hooks, and some new art. The space is finally complete.
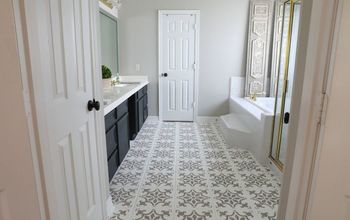
Bathroom makeover before and after
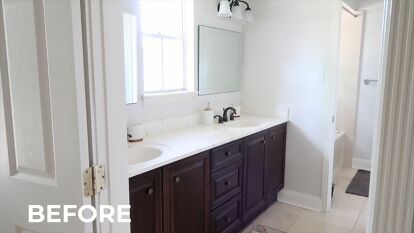
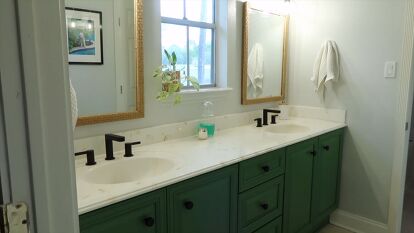
Bathroom makeover before and after
I cannot believe this before and after! The place feels clean and fresh. I’m energized just by looking at this new cabinet color. The black finishes brought this 70s bathroom into the modern day and I could not be happier.
I hope this inspired you to transform your outdated bathroom next weekend.
Thanks to Wagner for sponsoring this video and post. Check out their website to shop the products used.
Comments
Join the conversation
-
Sage is a wonderful color. This almost looks olive drab
-
I want to try doing this. Question. Is there a certain type of paint you used? I have the same vanity and afraid the paint will not adhere. Is that where the wipe down of the TSP comes in handy?


Frequently asked questions
Have a question about this project?