


Bay Window Bench Build

My sister had a bay window breakfast area and expressed that she wanted to have it provide more seating. So I spent 2 afternoons building a window bench for her!
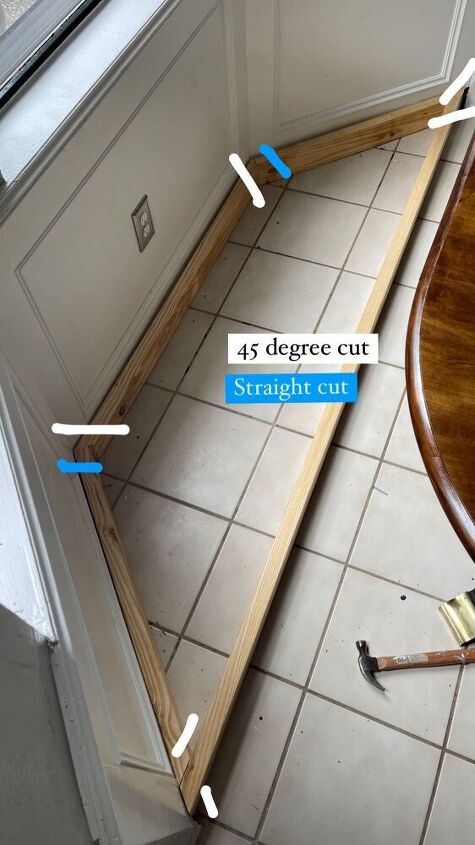
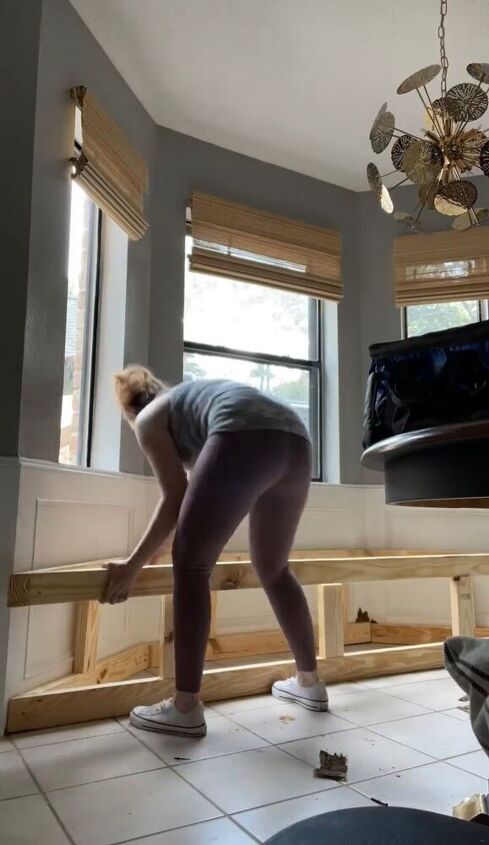
This was the hardest part about the whole project, just figuring out this shape and angles.
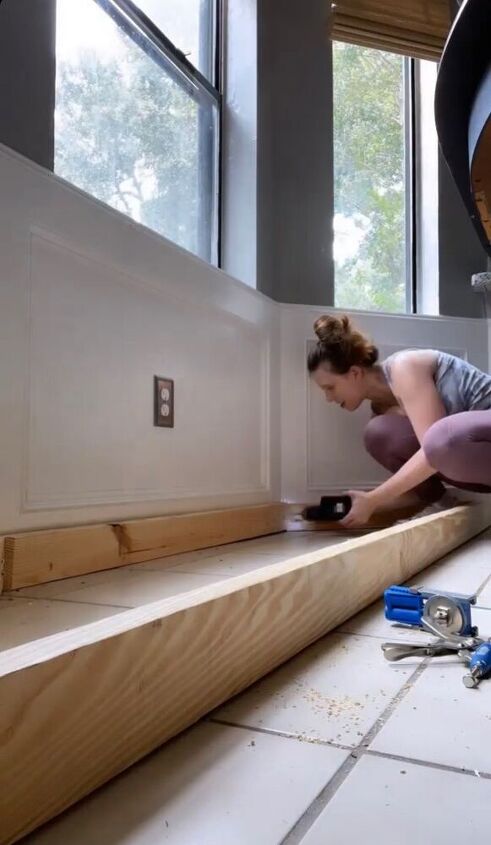
I used pocket holes to attach the bottom frame together
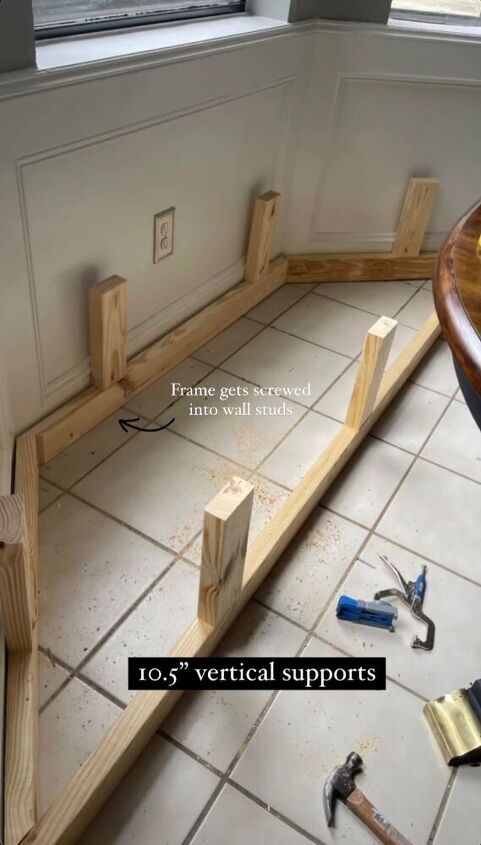
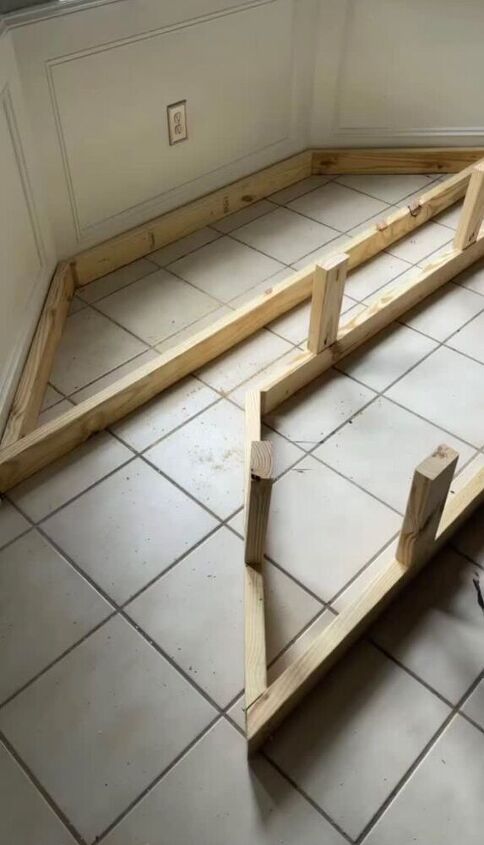
Added 10.5” vertical supports and attached with pocket holes as well.
Then, I created another frame exactly the same for the top of the bench.
Just like that we have a frame!
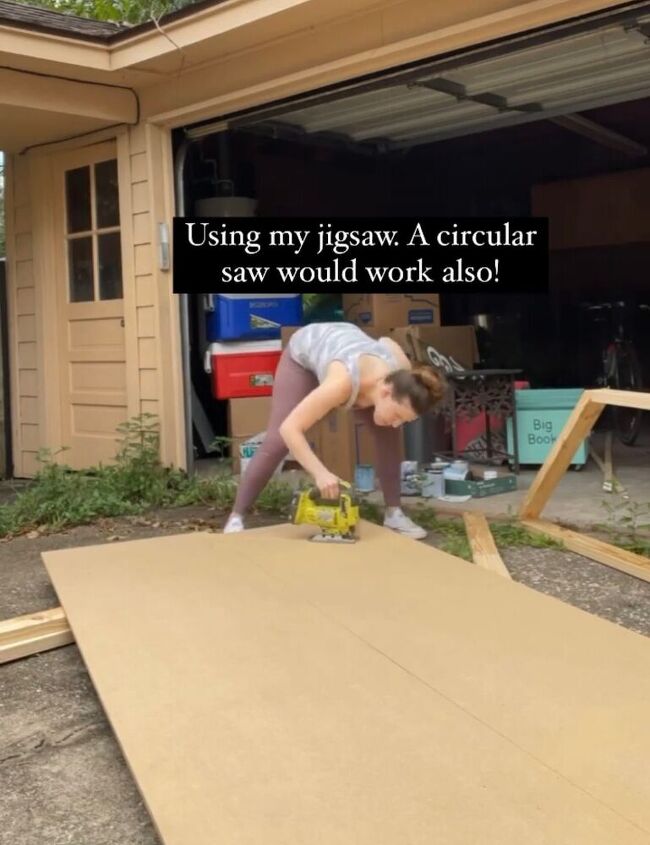
Next, I chose 1/2” MDF because it was cheaper than plywood to cover the frame. In order to get the shape right I simply traced my assembled frame right onto the MDF and cut it out with my jigsaw.

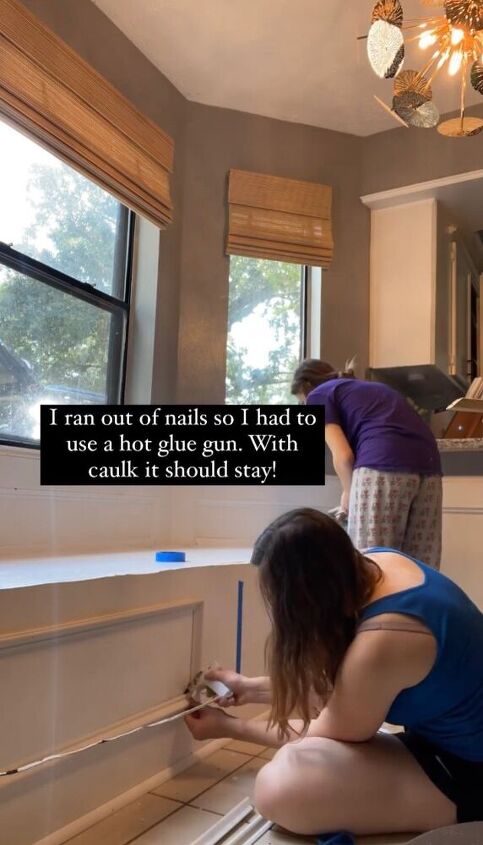
Using my nail gun I attached the top and side to the frame, boxing it in. Make sure to caulk all your seams for the most professional finish.
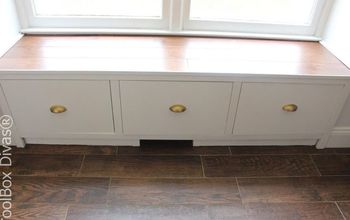
We painted the bench, replaced the quarter round at the bottom, and then added box moulding to the front to match the rest of the wainscoting in her house. This step really made it look complete!
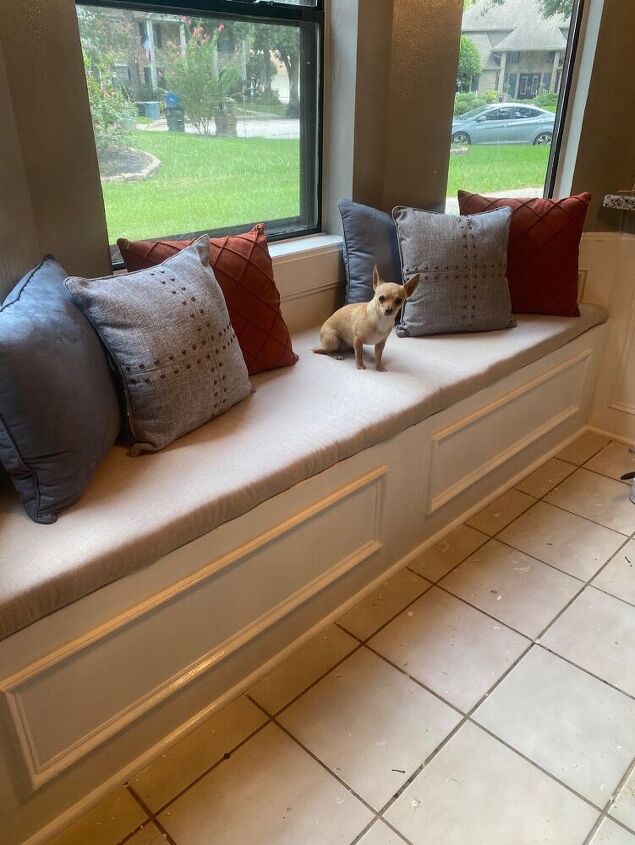
Tadaa! Her chihuahua was happy about a new sunning spot! We made the cushion with extra mdf, foam, batting, and some woven fabric stapled to the underside of the mdf and slid into place. We will move the table up to it and once styled with throw pillows it makes for the perfect little breakfast nook!


Comments
Join the conversation
-
Lost opportunity! There was an existing power plug under the window. That should have been relocated to be accessible after the seat was put in.
-
I like the project but there is a lost storage opportunity... doors could have been used to access the storage space under the seat. I had a bay window like this once and we put doors in it for that storage space.


Frequently asked questions
Have a question about this project?