


Dollar Store Christmas Tree

You may have seen my buffalo check painting tutorial, if you haven't, go take a look! In this project I will be using that technique on these wooden trees I found for $4.
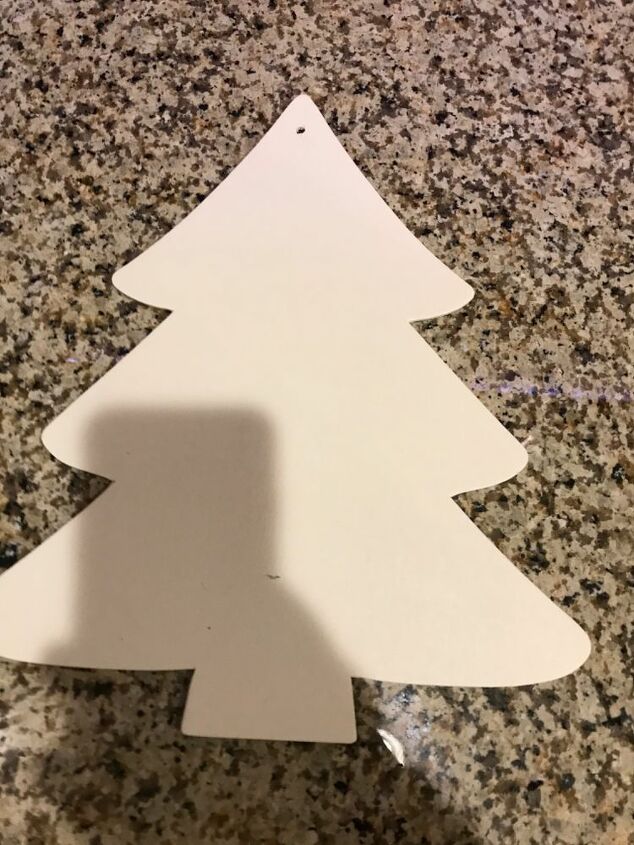
Choose 3 colors of paint you like! I used cream, grey and black.
Start off by painting all of the trees a cream color.
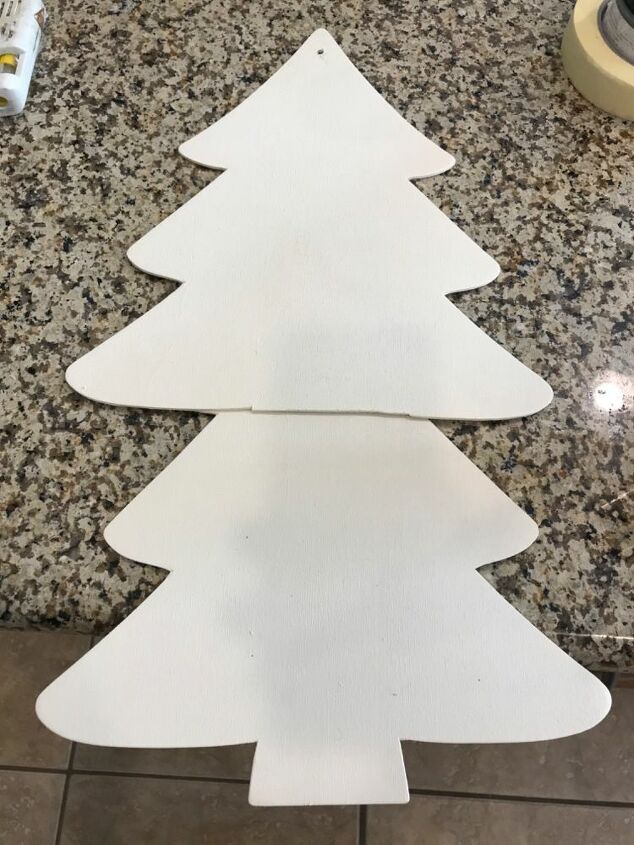
Then cut the trunk off one of the trees.
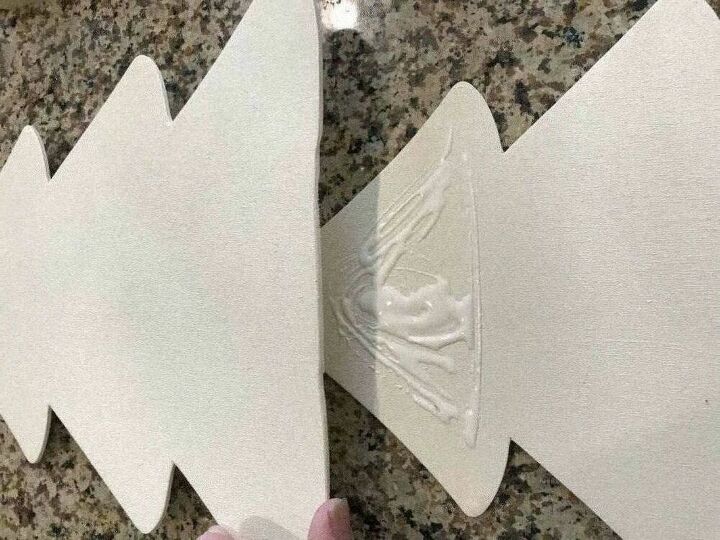
Next I glued one on top of the other, this way I'll have one large tree.
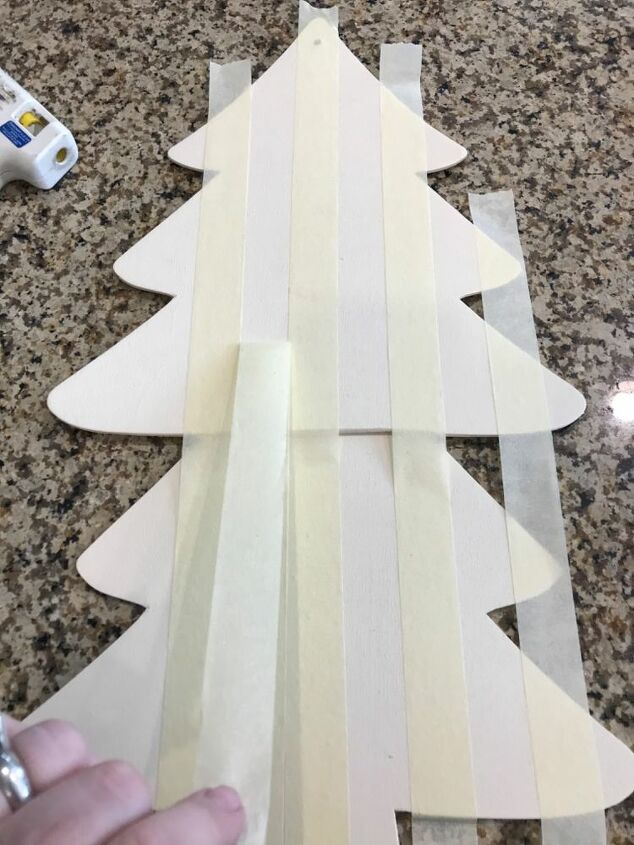
Once the paint and glue is dried, tape vertically across the tree. To make mine even, I completely taped up the tree, and removed every other piece. I saved those extra pieces.
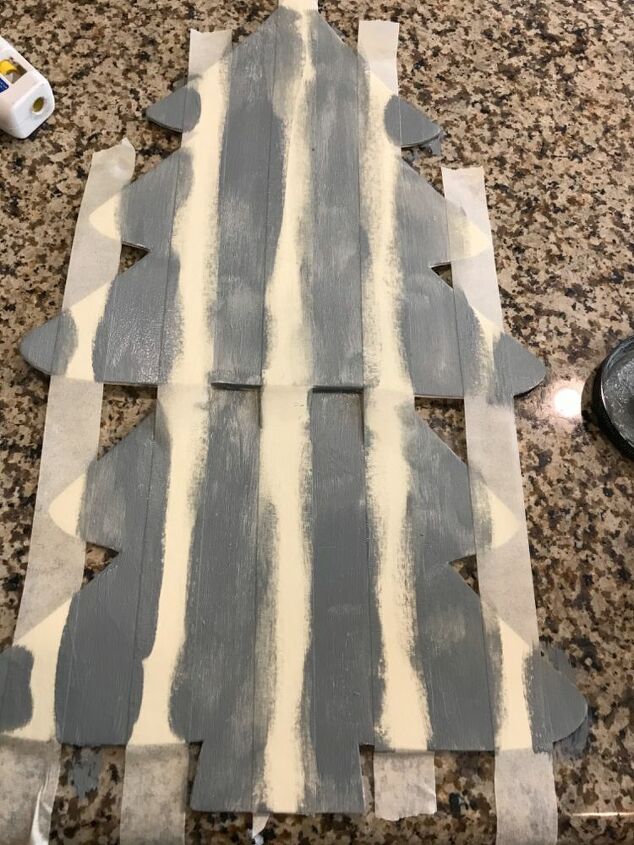
Then paint those stripes in the next to lightest color. Mine was this light grey.
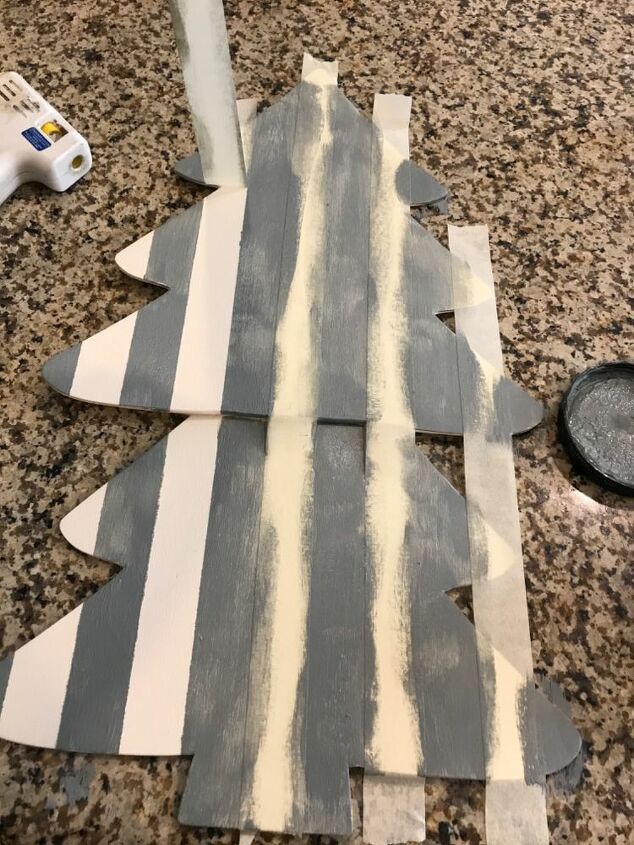
After it drys, remove the tape.

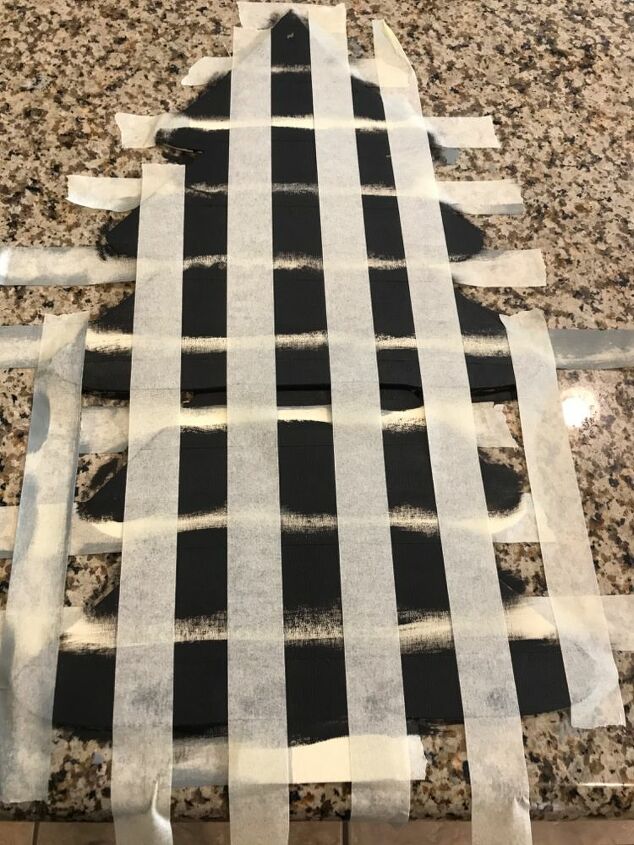
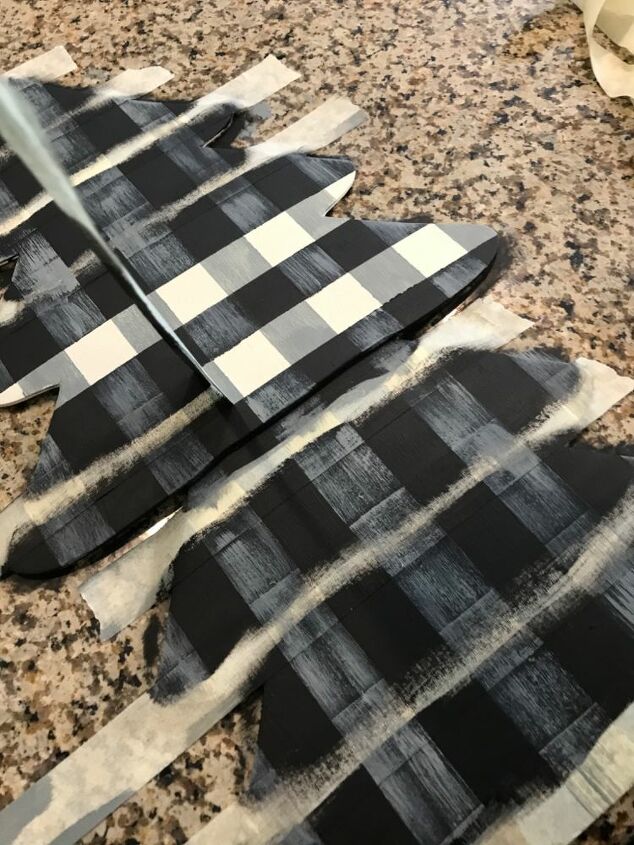
Next, tape horizontally across the trees and paint those stripes in your darkest color, mine was black.
Let it dry and DO NOT remove the tape!
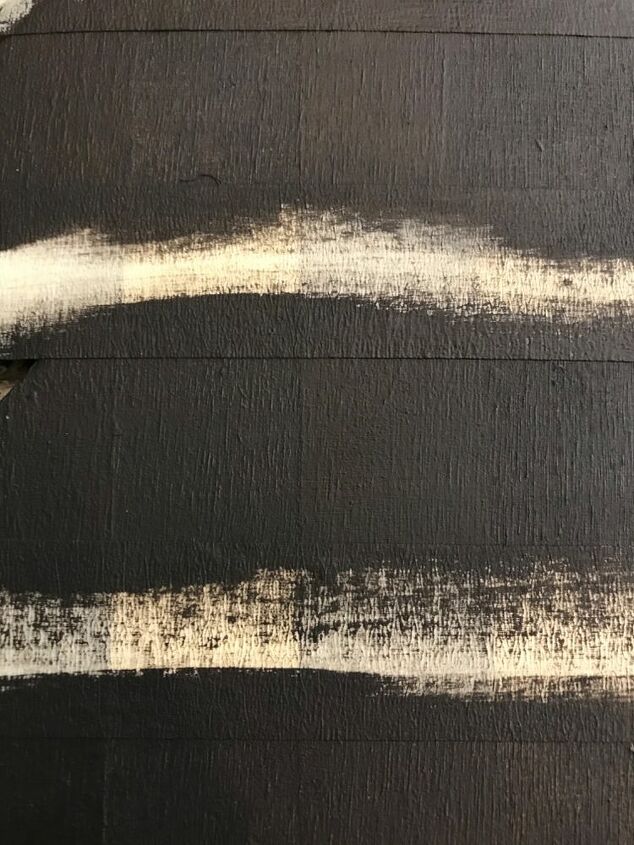
Now cover up the vertical ones you did in step one with tape.

Then dry brush them down in one direction for a light but not full coverage so it looks something like fabric and then you can remove the tape.
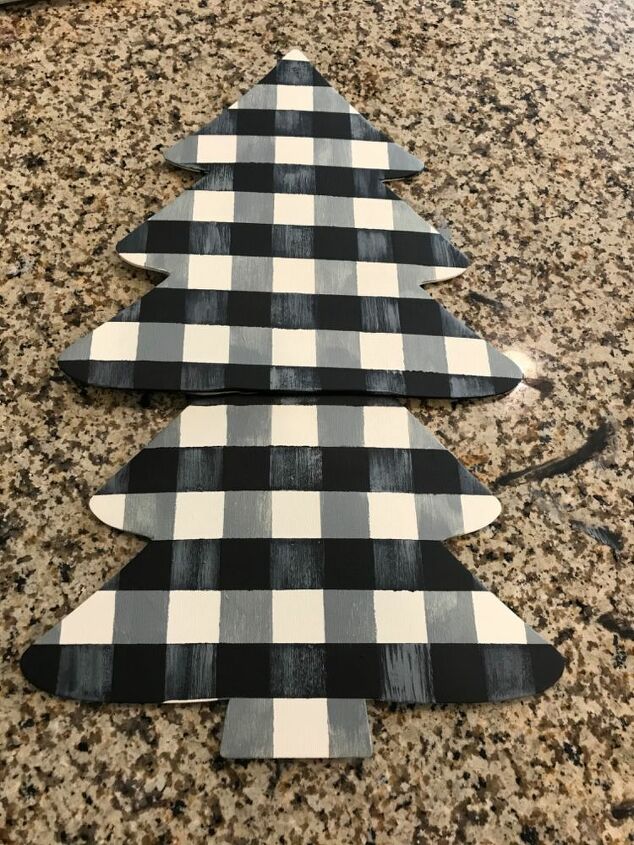
Remove all tape both directions and it should look like buffalo check!
I wanted it to be able to stand on its own so I used some blocks of wood for that.
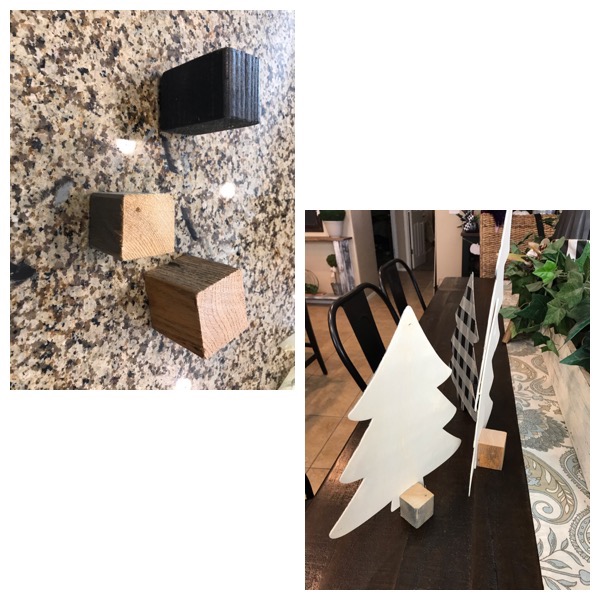
I used hot glue to attach them to the back.
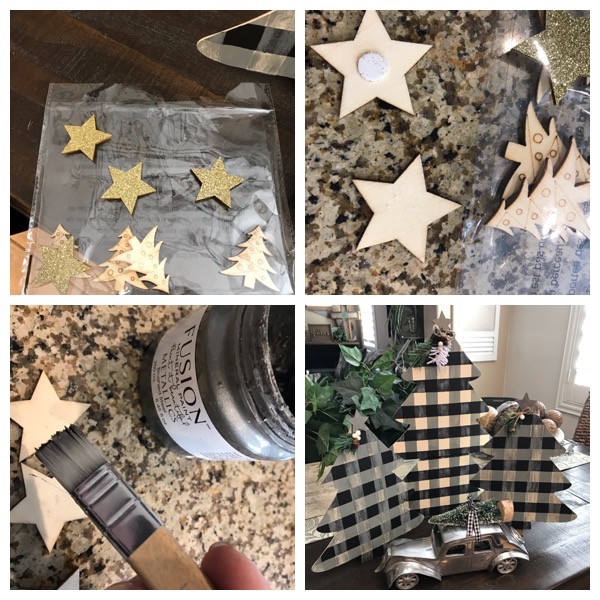
Another sweet detail I added was a wooden star I picked up that the dollar store. I used them to cover the holes in the tress that were meant for hanging. Added some greens and a bow, and that's it!
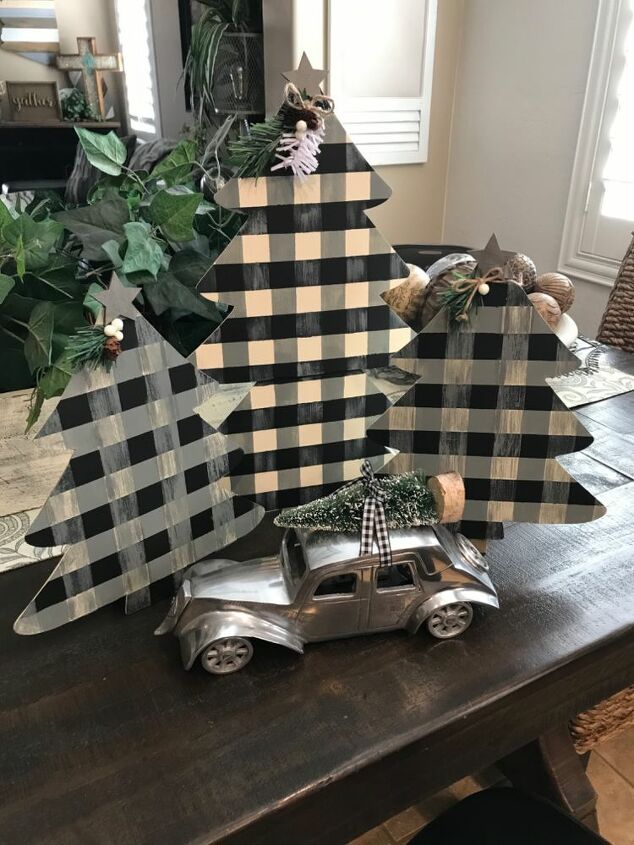
I think these $4 trees are great for the Christmas holiday season! Check out more of what I do on Gilbert Marketplace.
Resources for this project:
See all materials


Comments
Join the conversation
-
Just adorable!
-
I will be copying the silver car idea, its very classy, will tie abottle brush brush Christmas tree on the roof, you got me motivated !


Frequently asked questions
Have a question about this project?