


How to Make a Coffee/ Work Table With Wheels Made From Wood Pallets!

by
Jennifer
5 Materials
8 Hours
Medium
I used a huge ottoman for a table in front of my couch for years. It worked in the our last house great but has never worked in this house. I still used it thou and had to move it all the time to clean under and/or around it, pain in the BACK!
BACK!
BACK!I have a need for a new table for that area! Something that I can use for multiple purposes, as a coffee/craft/work table! So I'm going to make one!
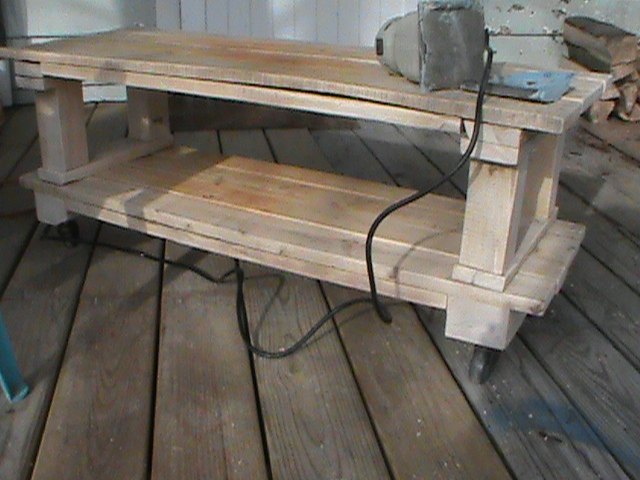
This is what I made from pallet wood!
I did a couple of things before I even started on this project like taking apart some pallets. Pallet wood is crooked, warped, dented, cracked and of course has a bunch of nails! I can work with all of that!
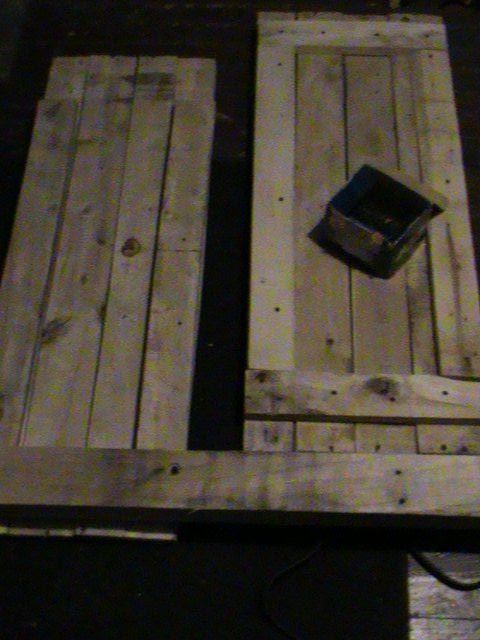
So get out all of those nails first, then choose the wood I want to use by laying out the wood and seeing what I got! I choose eight of the straightest, non warped boards all one length. Four for 2 levels, a top and a bottom. A long two tiered table is what I'm looking to make here!
Length of top and bottom is 40", top is 15" wide, bottom is 13" wide with a total height of 17". I used all wood screws of different lengths for the different parts of the table.
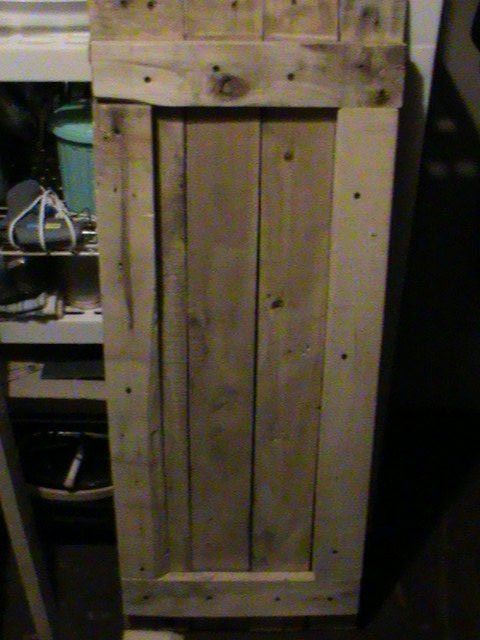
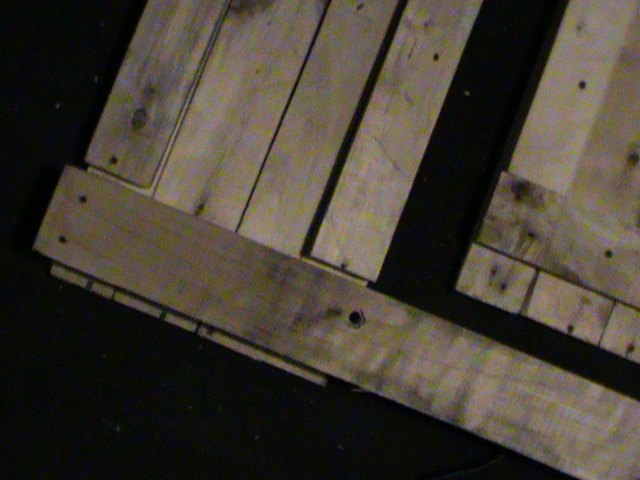
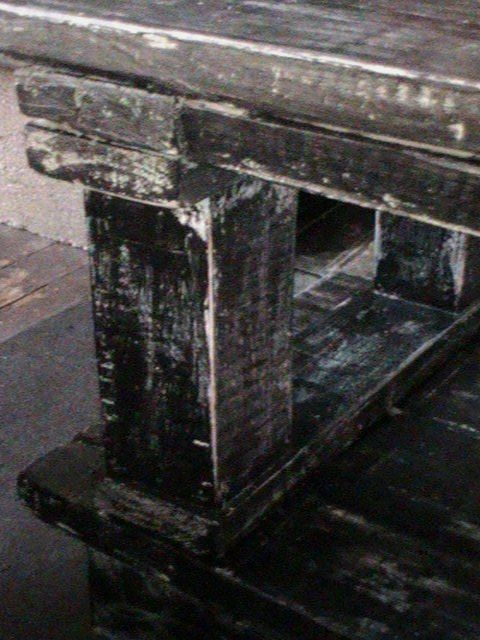
This is the underside of the top. Simple construction by framing the four top boards. Measure twice and cut once they say! 
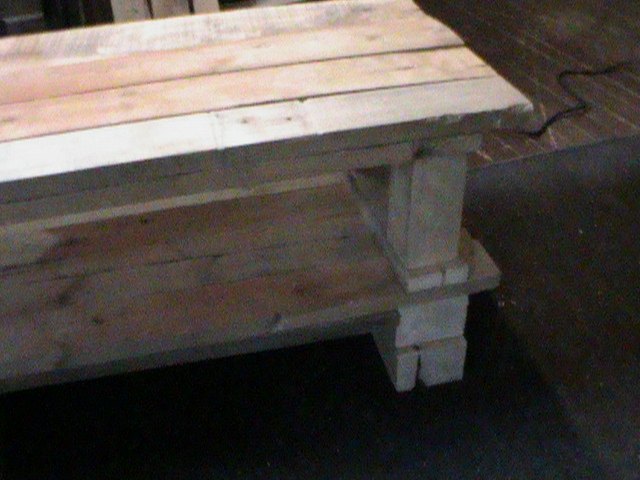
Top is finished, now on to the bottom. Here I used a 2 1/2 by 3 1/2 in. post. 4 screws for end pieces and 3 for side pieces on top and bottom levels= 28 screws ( I used 20 -1"and 8 -3") Now that is finished!
The next part of the table will be the posts between the levels. I cut four 3"x3" 's to 7 in. in length.
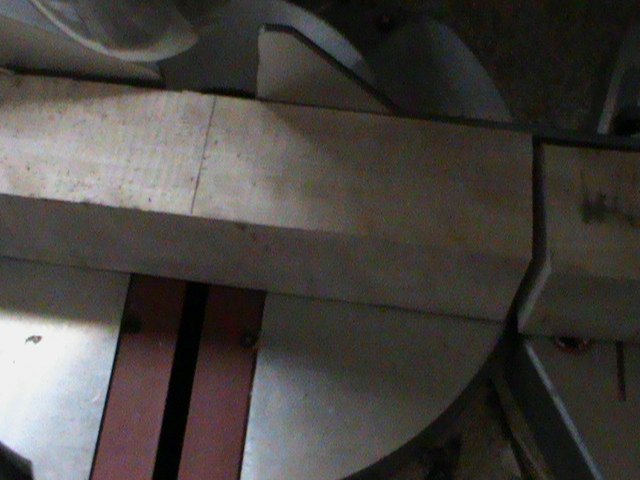
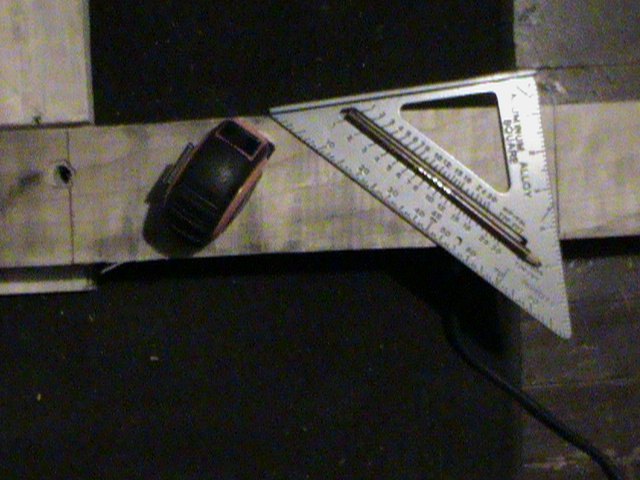
All pieces for the table were cut using a miter saw.
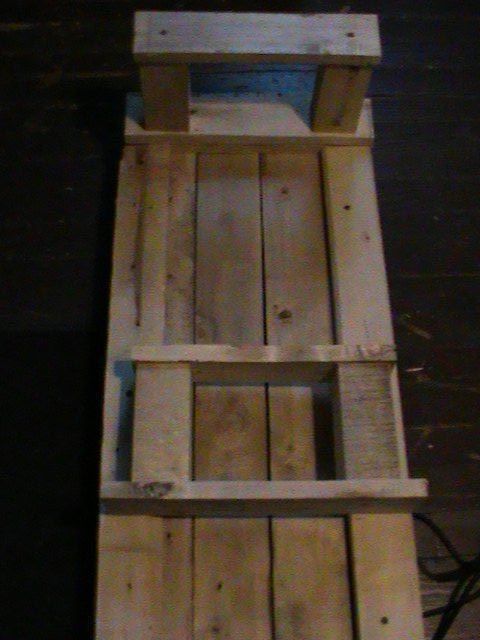
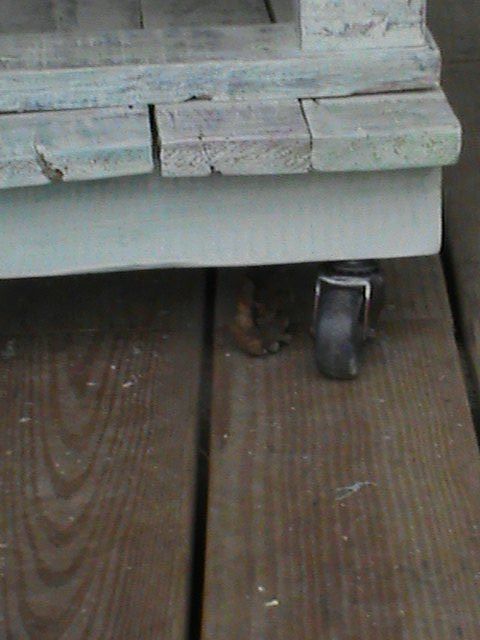
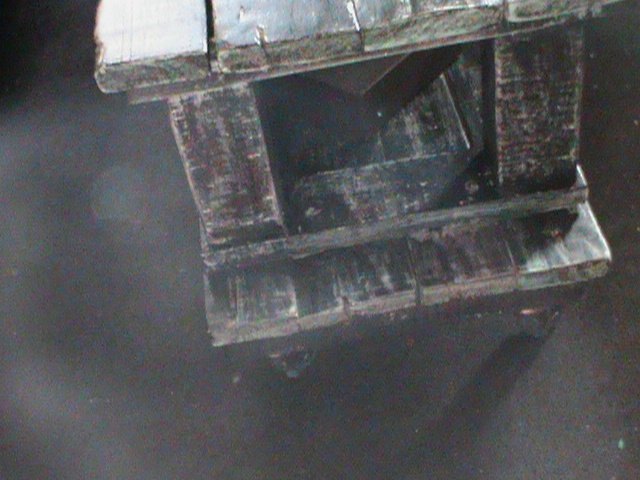
Okay in this picture I put all of the wood together to see just how tall I wanted the table to be. The piece of wood on the very bottom is there to represent the wheels I will be adding.
Okay I need to add some height to the table, just an inch or so. No problem, I added a board between the top level and the posts, 1 screw for each post top and bottom of both sets= 8 screws ( I used 3") . I then screwed in each post set to the top underside then the topside of the bottom level. 2 screws for the top, bottom and each end of the table = 8 more screws ( I used 2")!
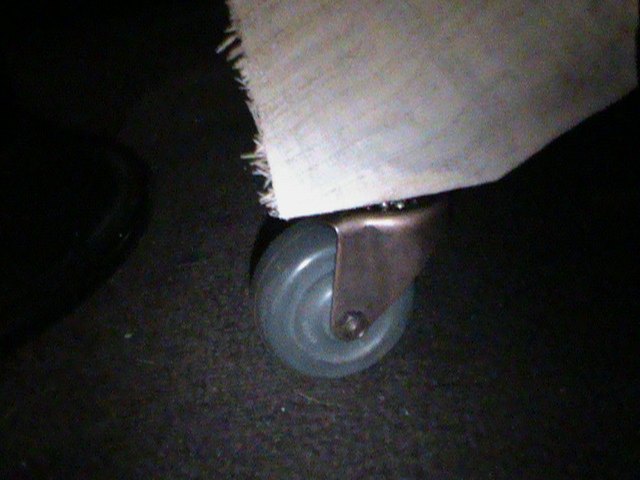
I flipped the whole table over and drilled 4 holes in the bottom posts. 1 1/4 in. from the corner of the post and 1 in. deep for the wheels I would be using. Next is sanding and then painting!
YAY almost finished can't wait  !
!
!
Palm sander works great, med. grit sandpaper!
Next...
Painting!! I used several different colors to achieve the look I wanted. Lipstick red, Turquoise, Laguna, Antique white, Sunny Day yellow, light leaf green (shown here) and then onyx black. I started with Turquoise, painted some random parts of the table then used the Laguna and painted some other parts and went to the next color, did the same until I had used all of the colors. I painted on top over color several times to make different layer of paint. Each layer of paint I would let dry then rub a wax candle all over the table. This will help when I do the last step.
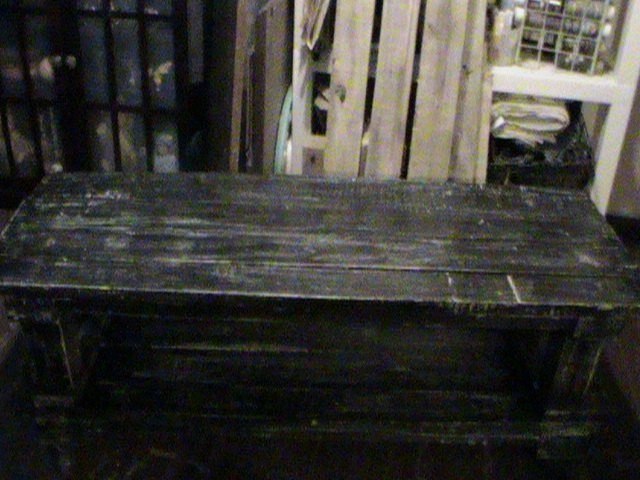
The last layer of paint was the Onyx Black. I then used sandpaper and rubbed off some black to reveal the layers of color underneath. FINISHED!!!
I painted it to look weathered and used on purpose, I did say I will use it for crafting/DIYing things and we all know what a mess it can be!
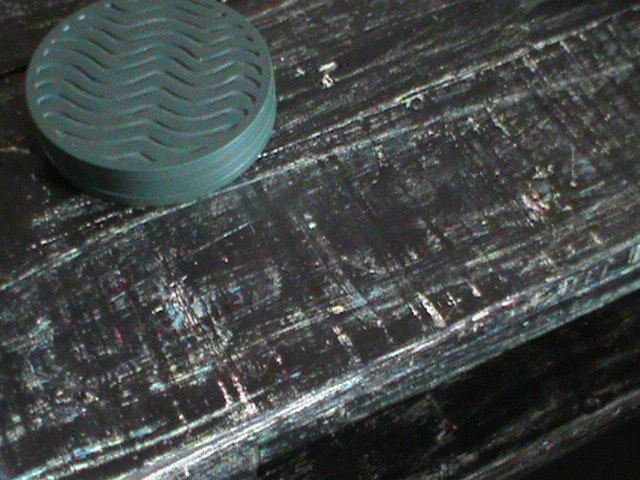
Here you can see a lot of color!
A little more red down here
Rough up some edges to see the natural wood too!

I think I will be using this table all the time!!!!! It looks so cool!!  I did this project in 4 days but only worked on it a few hours each day, not to much time involved.
I did this project in 4 days but only worked on it a few hours each day, not to much time involved. Well I need to start on my next project now, an entryway table with shoe storage! YAY !! Still need to post 3 more projects I have in the waiting for the right time.
I love all comment and any questions you have and thanks for looking at my new table!
 out!
out!Resources for this project:
See all materials


Any price and availability information displayed on [relevant Amazon Site(s), as applicable] at the time of purchase will apply to the purchase of this product.
Hometalk may collect a small share of sales from the links on this page.More info
Comments
Join the conversation
5 of 11 comments
-
How lovely!!
-
I absolutely love your table and would love to make one for myself. But I found the instructions to be confusing. For example, "I then screwed in each post set to the top underside then the topside of the bottom level." What the heck does that mean?


Frequently asked questions
Have a question about this project?
I love this and I plan on making one as a crafting table also. Where did you get the 3"×3" posts? Were they part of the pallet or something you already had?
Thank you@