


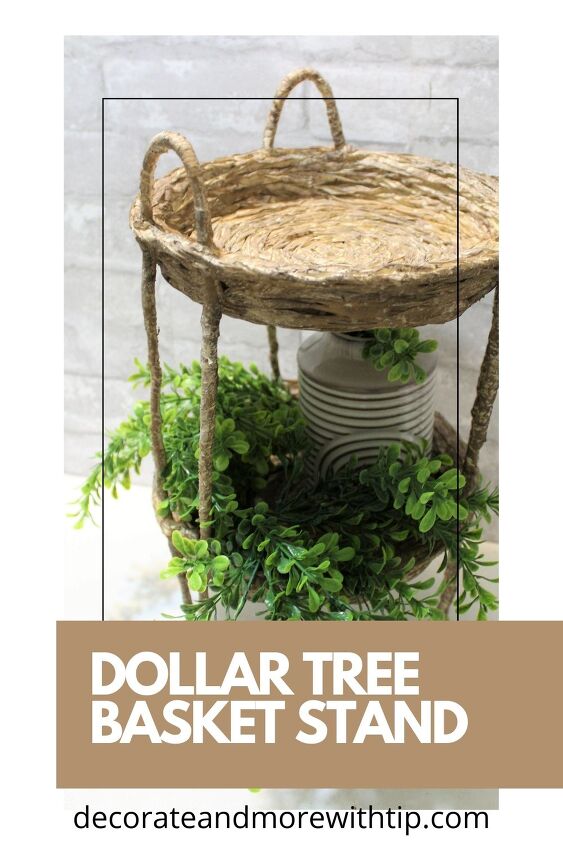
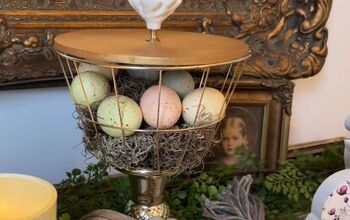
DOLLAR TREE HAND-WOVEN BASKET STAND
This post may contain affiliate links. Click {{ HERE}} for full disclosure.
Hometalk Recommends!
Welcome back to our Creative Craft hop, I wanted to thank Donna, Modern on Monticello for hosting this fun blog hop! There are 8 of us crafters this month to share step by step creative crafts with you, at the bottom of my page, I will share each participant’s link to their craft.
To view all of my creative crafts you can view it here CREATIVE CRAFT.
This isn’t going to be a quick project, but it is worth the time creating. I removed all the bugs and gave you an easier way to create this craft.
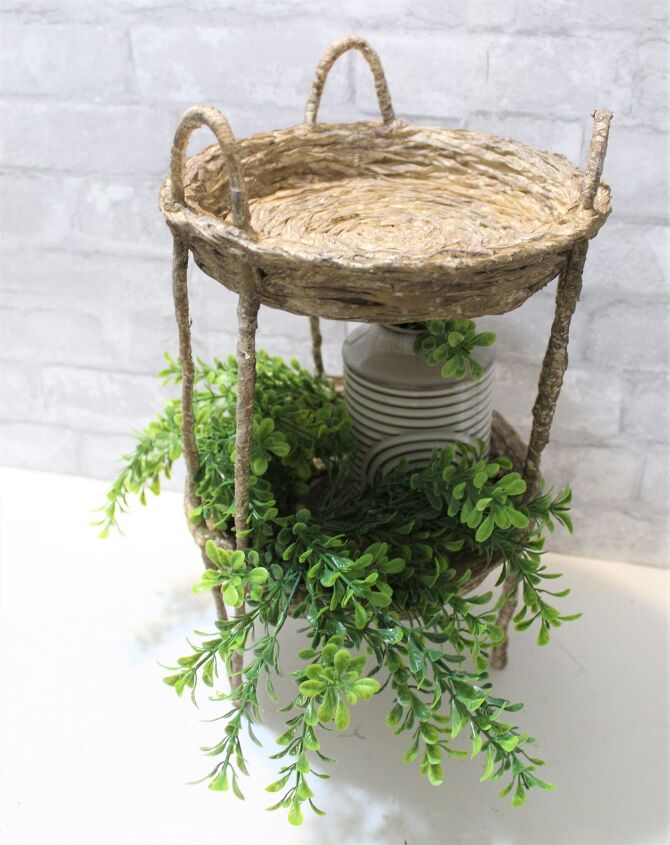
Dollar Tree Basket Stand Tutorial
Items needed:
- 2 cake pans (same size)
- 3 wire coat hangers
- 2 Dollar Tree hula skirts
- hot glue (lots of it)
- paint of your choice
- drill and drill bit
- wire cutters

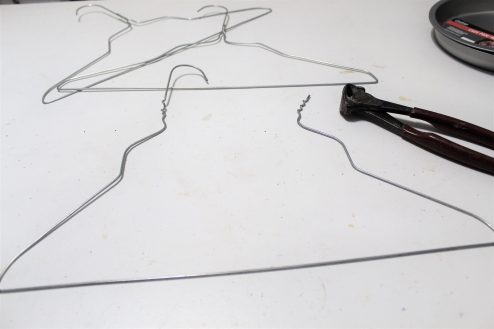
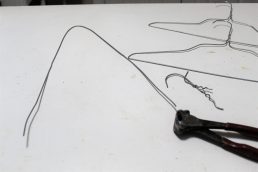
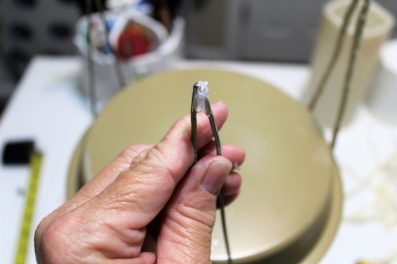
Prepare the 3 coat hangers
- Cut the hook off the hanger
- Straighten the wire
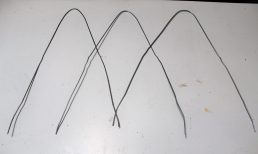
- Bend the wire into a pin shape
Prepare the supplies:
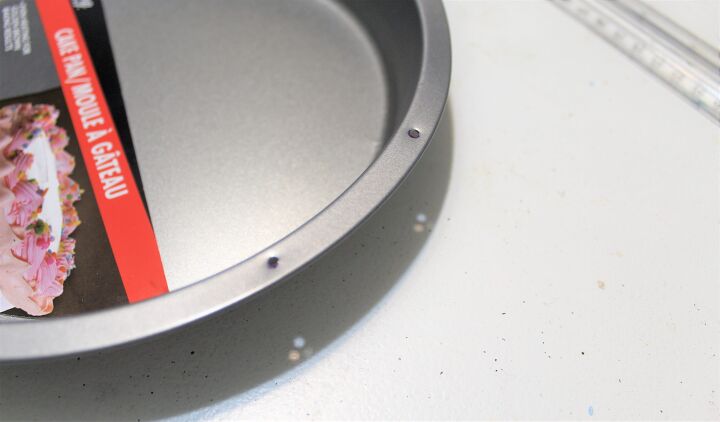
First pan:
- Measure out two marks 2 inches apart
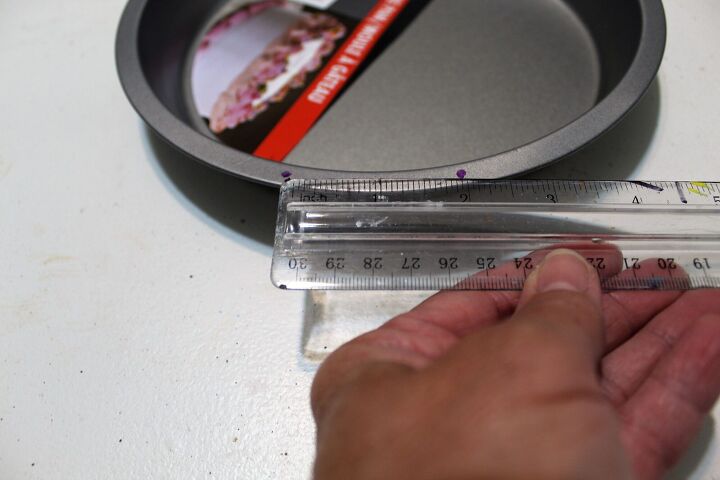
- From one mark measure out 6 inches, mark and measure out from there 2 inches. Make 3 sets of dots.
- Using a drill bit the size of your coat hanger wire and Drill holes to every mark.
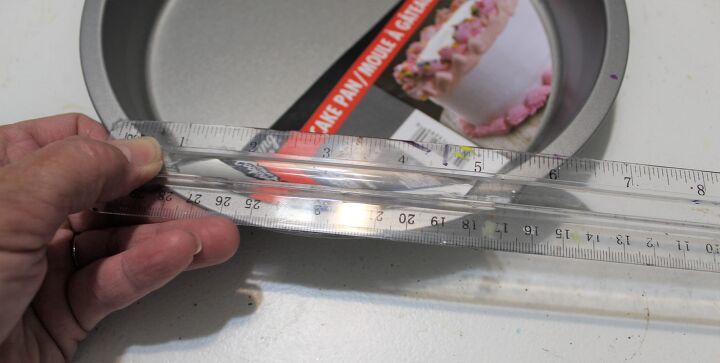
Second pan:
- Do the same as above but measure out 1 ½ inch marks and distance between the sets of marks 6 ¼ inches.
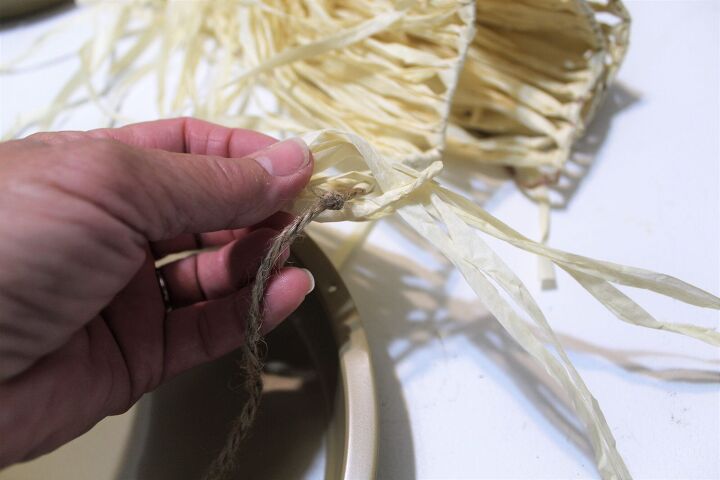
Remove the grass from the skirt’s waist band:
- Cut one end of the twine from the skirt and slide off the grass. It will come apart with ease.
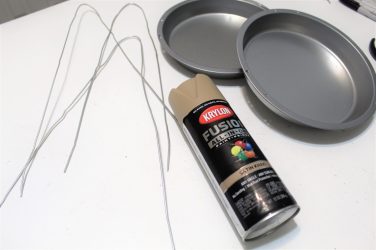
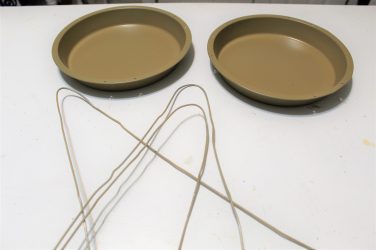
Paint the pieces
- Spray paint the 3 pins and 2 pans with the color of your choice. I am using Krylon Satin Khaki.
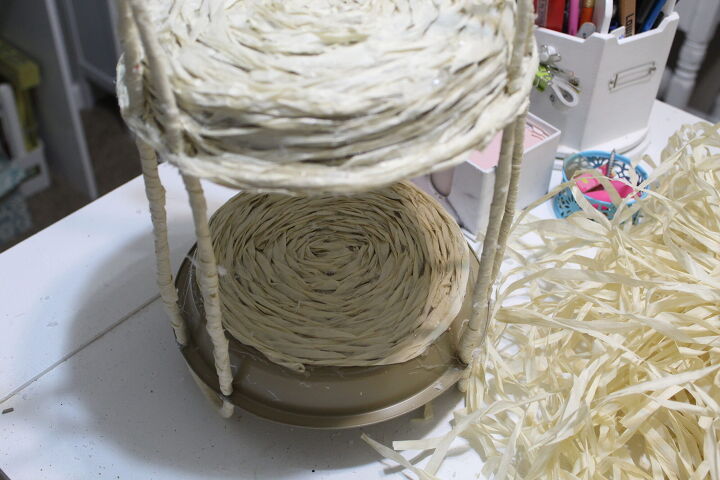
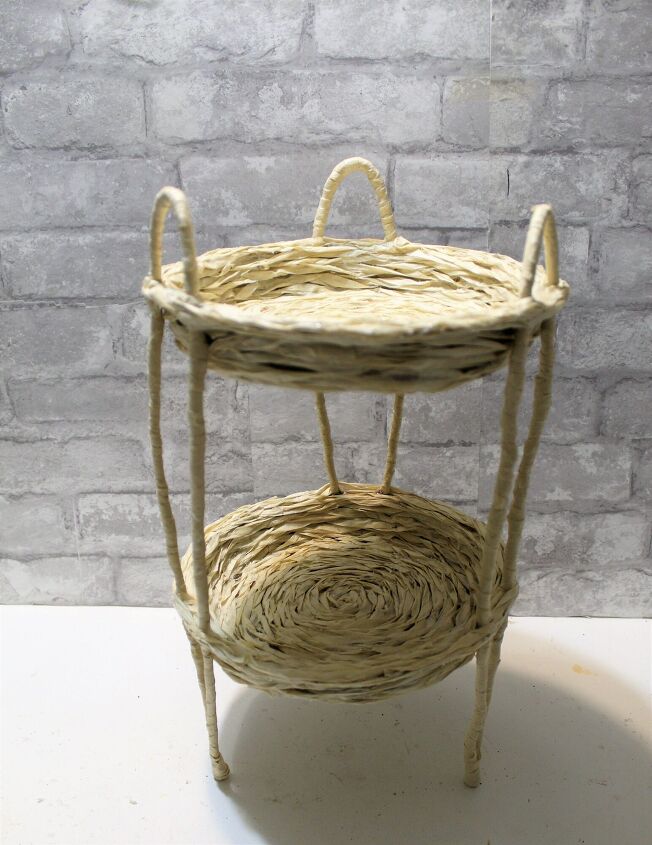
Assemble the stand
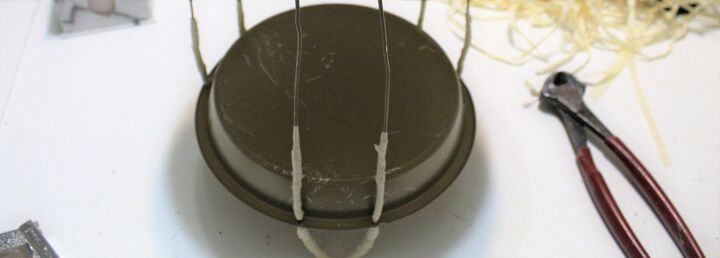
- Slip the pins into the drilled holes in the pan with the 3 sets of 2 inch drilled holes.
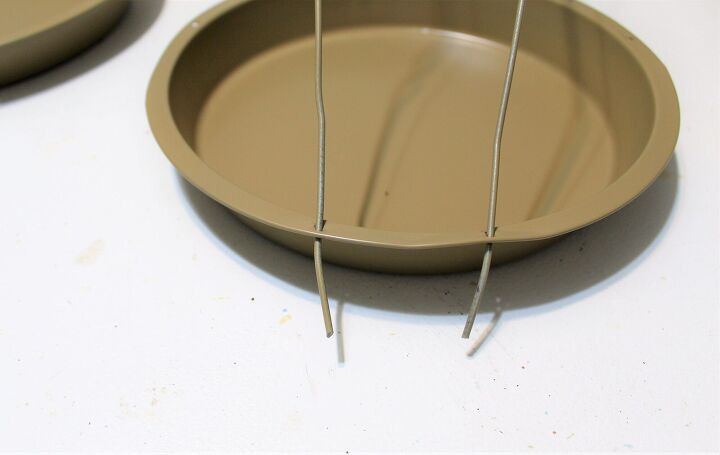
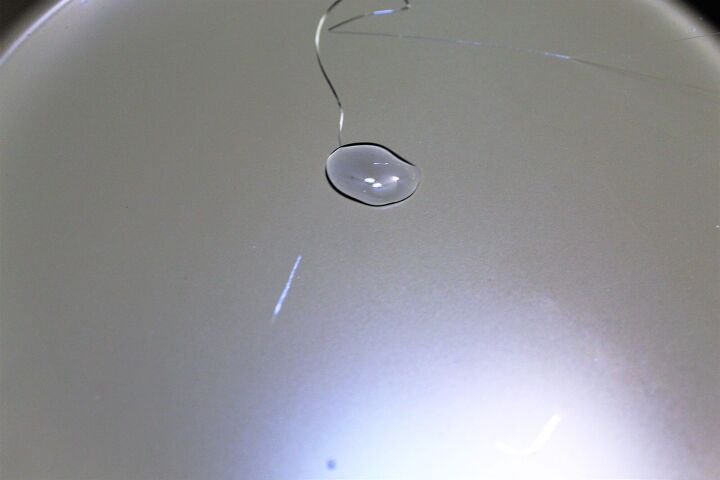
- Measure the top of the pin to the lip of the pan 2 inches. To keep the pin from moving add drops of hot glue to top and bottom of the drill holes.
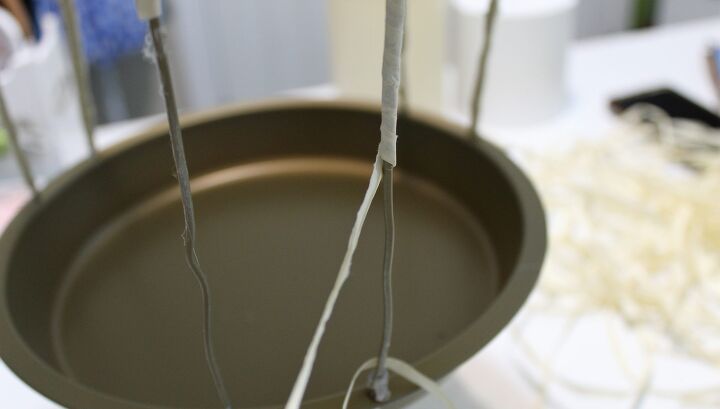
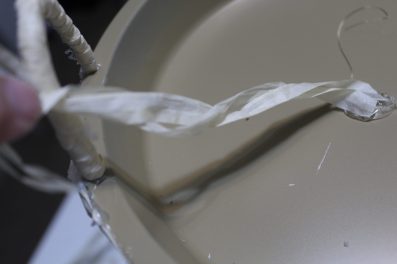
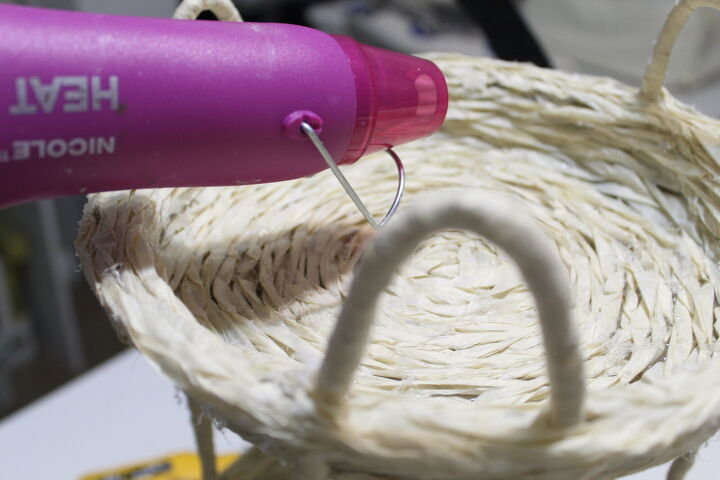
- Wrap the grass around the loop of the pin, starting at one side gluing as you wrap to the other side. Do this to all three pins.
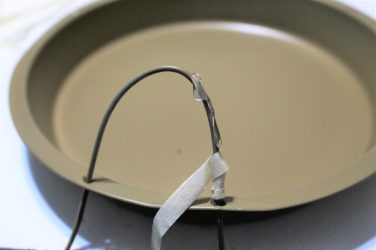
- Wrap halfway down each pin under the pan.
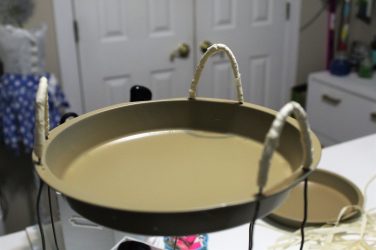
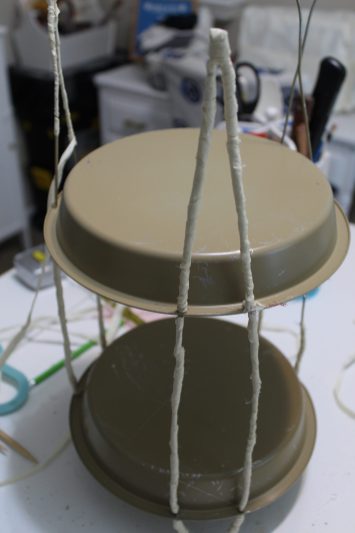
- Add the second pan to the pins. Measure from the bottom of the top pan to the top of the second pan 7 ¼ inches. Add a dab of hot glue to keep the pan in position.
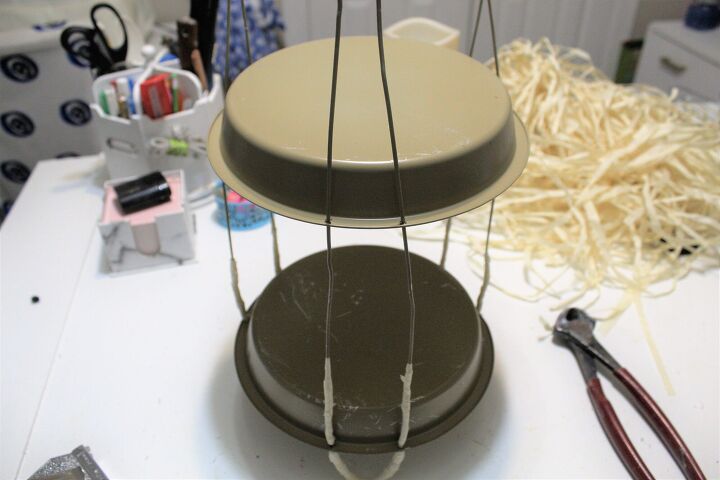
- Finish wrapping the middle part of the pin with grass.
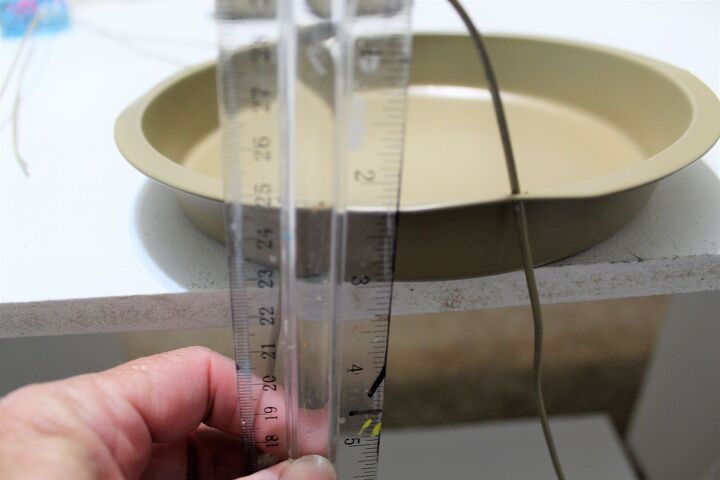
- Turn the tray upside down, measure up 15 ½ inches to the end of the pin, snip if longer.
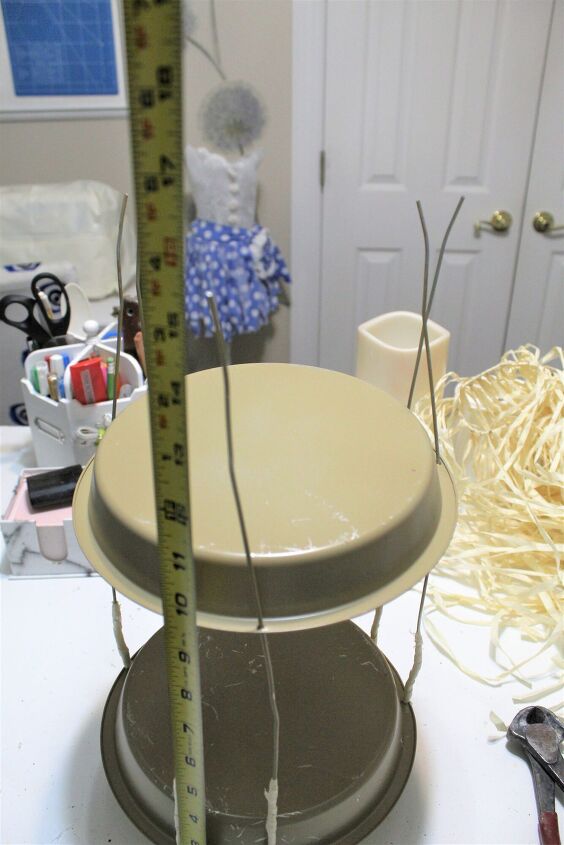
- Pinch the end of the pin together and add hot glue, hold until glue is cold. Wrap around the glue to make a padded foot, continue to wrap the bottom pins.

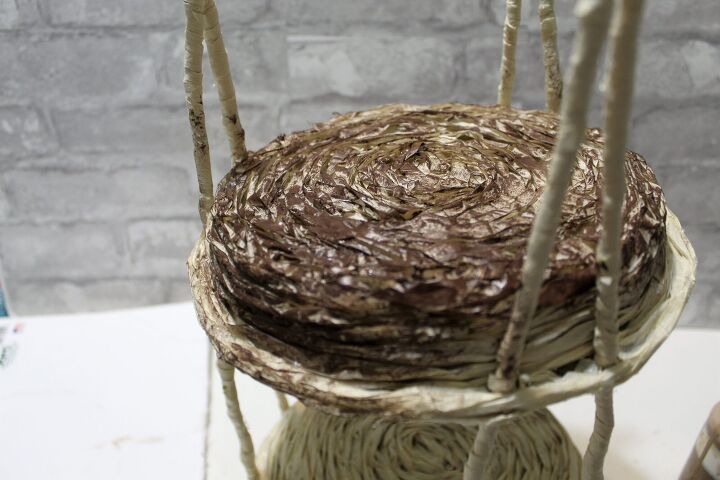
- Add a dab of glue to the center of the pan (to each pan, top and bottom).
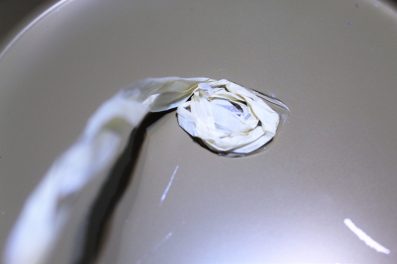
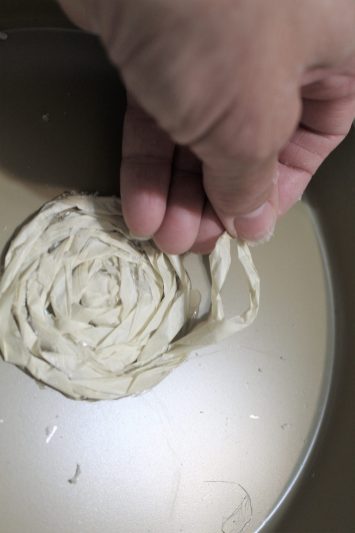
- Take one strand of grass and fold in half, add the two ends to the glue and start twisting the two strands and roll the twisted strands in a circle. Keep adding strands until you cover the entire pan.
- Remove the hot glue webs by using a heat gun or blow dryer.
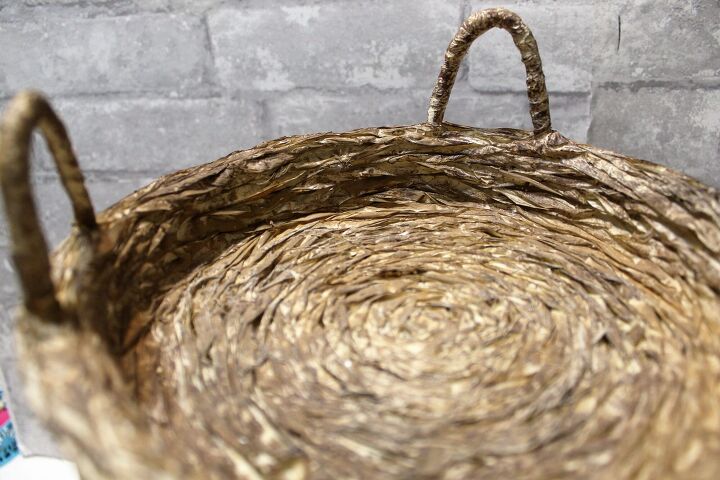
Paint your stand
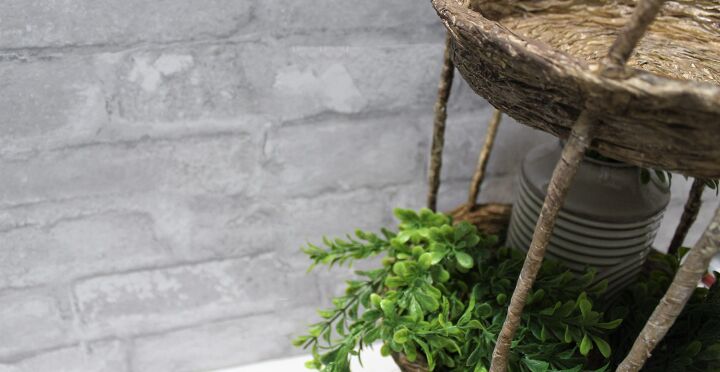
- Paint the basket stand in the color of your choice. I went with a faux basket color, using cashew, hazelnut and burnt umber.
I know it was a lot of wrapping, but the outcome was worth it.

Thanks for joining me as I made my creative craft, now let’s go over and see what the other Creator’s created.
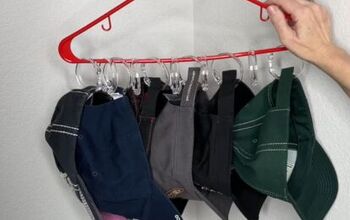
Easy Clearance Wreath Upcycle
Dollar Tree Hand-woven Basket Stand
Welcome Home Painted Birdhouse
DIY Mid Century Modern Inspired Wall Sculpture
Indoor/Outdoor DIY Farmhouse Lantern
Tattoos on Glass Decor
Finally a Frame
How to Paint and Mod Podge a Wooden Tray
Follow Decorate and More with Tip!!
↓ To find all of my inspiration ↓
Facebook ◊ Pinterest◊ Instagram ◊ HomeTalk ◊ YouTube
Stay strong and God bless! ♥


Copyright secured by Digiprove © 2022 Terrie


Comments
Join the conversation
-
Super looking, I’d not ever thought about using raffia to cover wire and such. I’ve always used hemp twine or jute rope for wrapping and covering, I really love this project.
-
Very pretty


Frequently asked questions
Have a question about this project?
how much weight can this hold? Guessing not much