


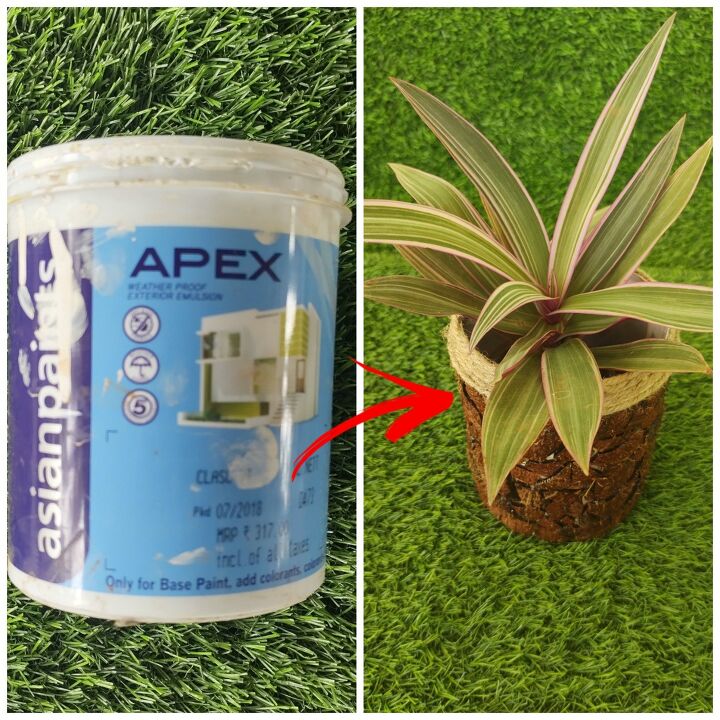
DIY Planter Using Coconut Shells

Upcycling plastic reduces the amount of waste that gets to the landfills. Using this waste plastic into something creative, not only helps the environment to reduce it's waste, but also helps us to be a little more creative in using our ideas to beautify our garden. So let's make a planter using coconut shells and a container.
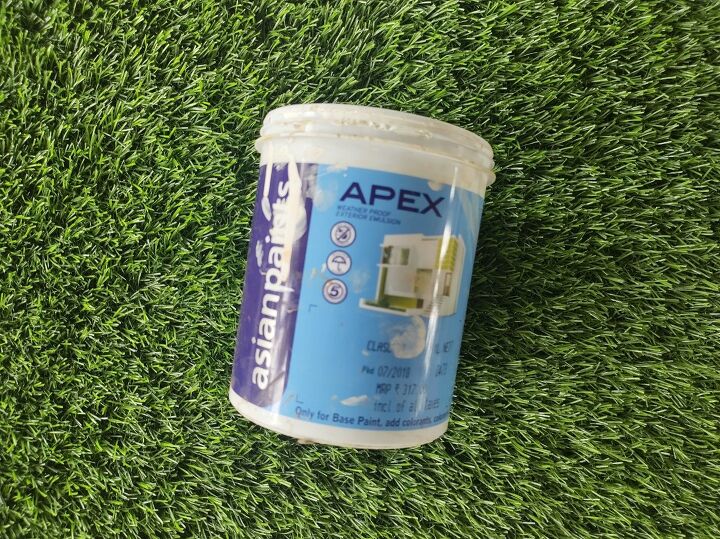
Step 1: Rinse and clean any container of your choice.
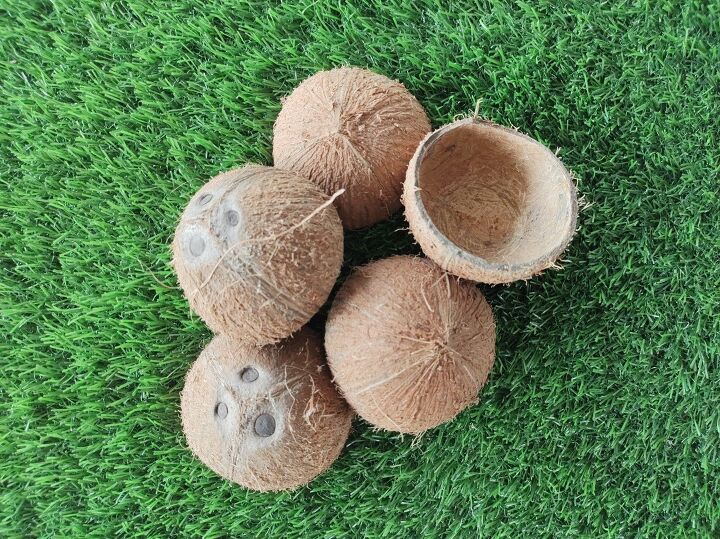
Step 2: Take some coconut shells, make sure that they are dry and clean.
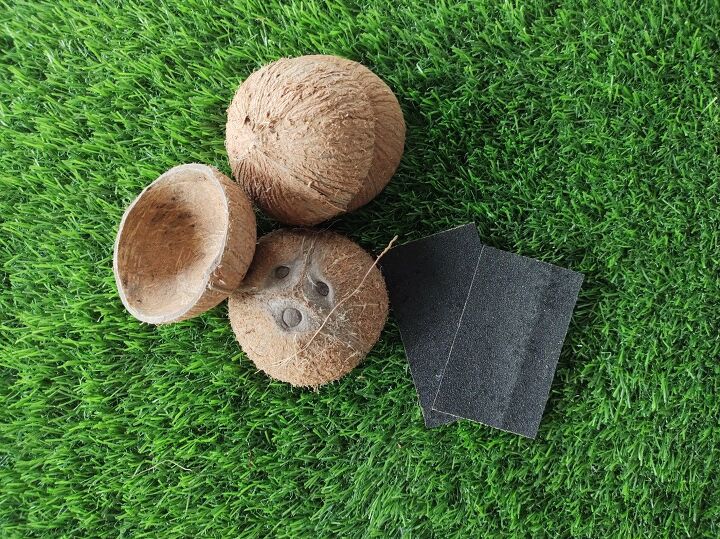
Step 3: Using sand paper smoothen the outer surface.
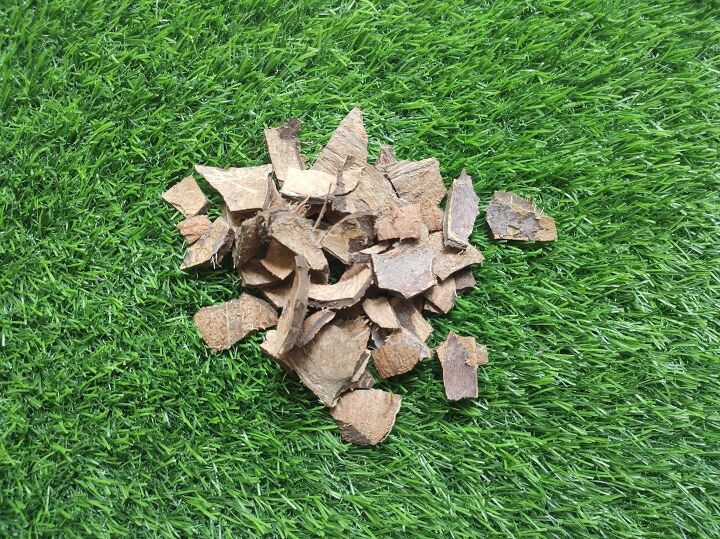
Step 4: Using any hard object make pieces of the coconut shells as shown. Be careful while doing this.
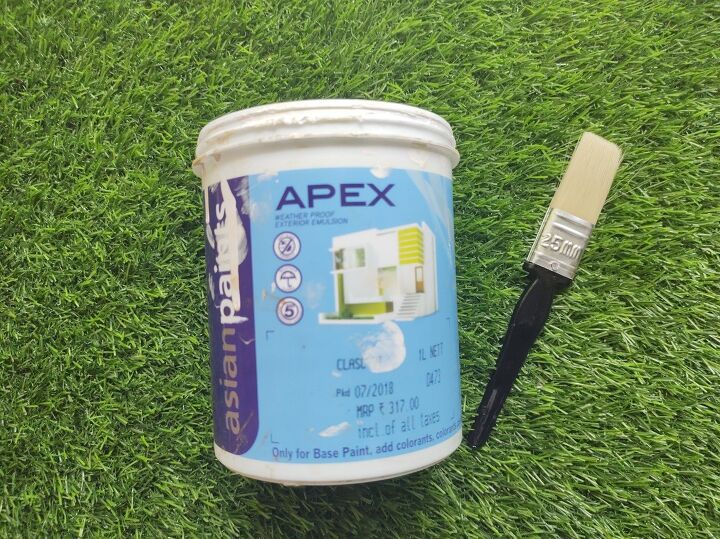
Step 5: Paint the entire surface using Matt Chalk Paint.

Step 6: Once painted and completely dried it's time to stick the coconut shell pieces using glue.
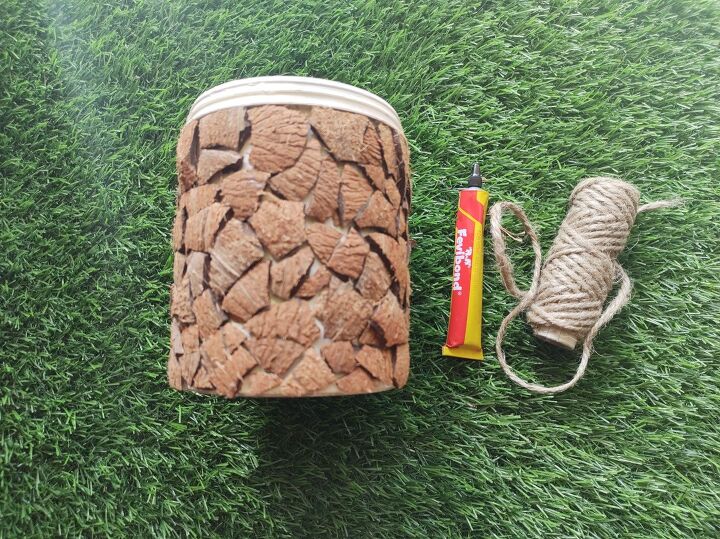
Step 7: For the topmost part of the container I'm going to stick jute rope.
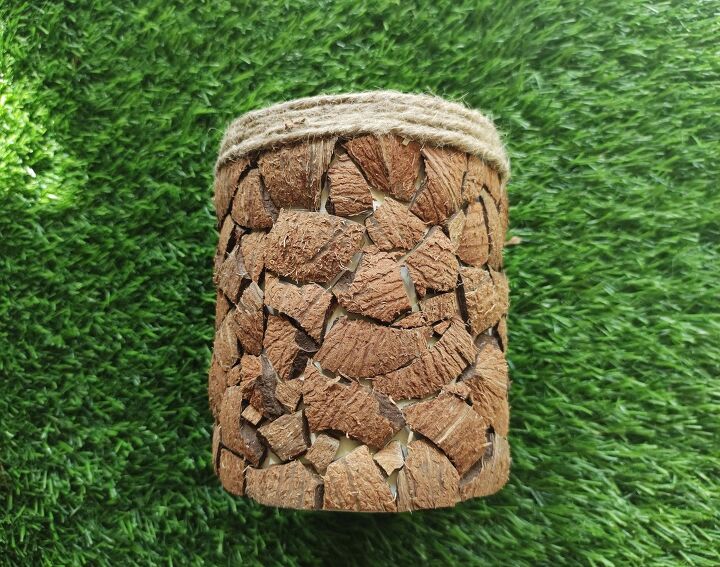
Once completed it will look something like this.
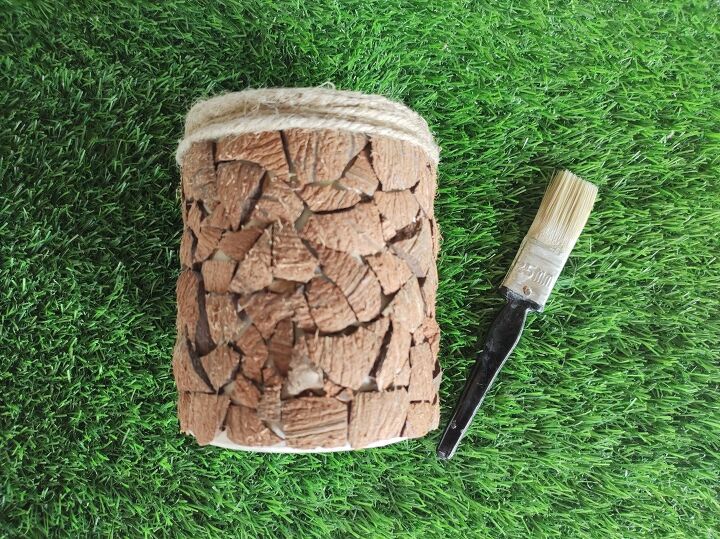
Step 8: Using a brush I'm going to apply varnish all over the coconut shell pieces.
 Video processing...
And DIY Planter Using Coconut Shells is READY!!!
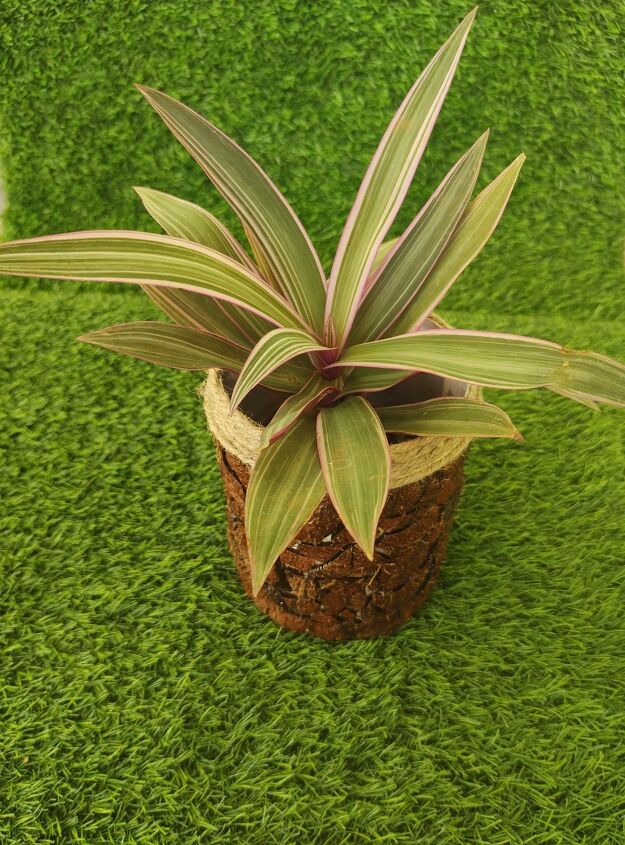
This planter can be used in 3 ways;
- You can make a hole at the bottom and plant your favourite plant in the planter.
- Without making any hole to the planter, add water and some plant cuttings making it a propagating planter.
- Can directly add potted vase and let water drain in the planter itself.


Comments
Join the conversation
-
Congratulations 👏
This is a nice different project 🔨 🎨 🌿
I really like it ❤️
Thank you for sharing 👍️
-
Very attractive and a great way to reuse💕👏🏻


Frequently asked questions
Have a question about this project?
How to keep coconut pieces from coming off because they’re concave