5 Ways to Use Old Wine Bottles in Your Garden

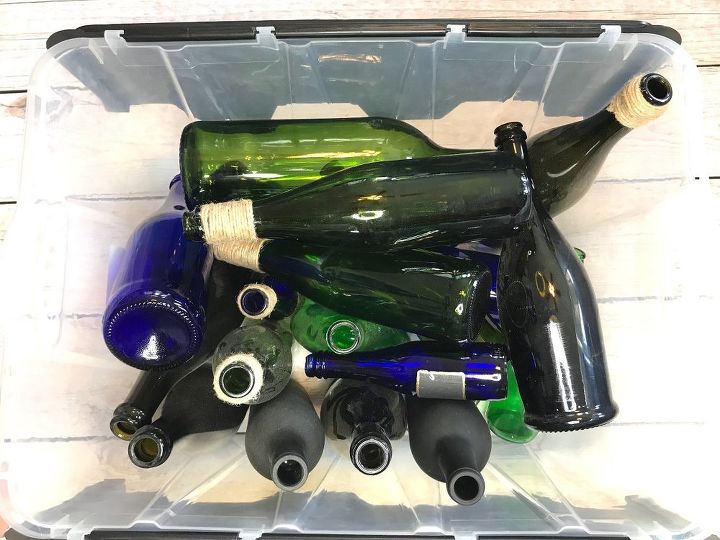
One problem I have is seeing a potential project in just about anything and everything--I'm a self proclaimed crafting hoarder and I'm trying to be better about what I keep so as not to drive Rob completely bonkers. Something that I have a ton of that I know can be used in so many ways is a bin of wine bottles. Whether we've popped open a bottle for dinner with friends or my many friends keeping theirs for me, I've collected them over the years and have actually gotten rid of a lot of them when trying to purge the basement. However, I still have several and thought I'd finally do something with them.
Oooooh the possibilities...
WAY 1: GARDEN BORDER
I know we've all seen it at some point or another but who doesn't love a good wine bottle garden border?! I simply used a rubber mallet to drive the wine bottles, neck down, into the soil.
The more bottles, the merrier! And what I love the most are the pops of blue. You can also do this project with other bottles--beer, vinegars, the list goes on and on.
WAY 2: GARDEN MARKER
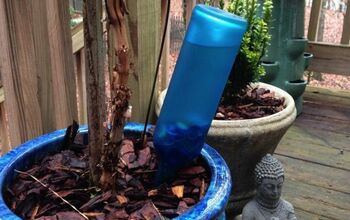
Whether you want to label plants, flowers, herbs, or simply use a wine bottle instead of a sign, this is a unique way to personalize your garden area. I created a vinyl sticker using my Silhouette Cameo 2 machine and some white outdoor vinyl. Then, using transfer tape, I applied the sticker to an upside down blue wine bottle.
My father-in-law is a landscaper by trade so naturally, he does all of the gardening around his house; I figured I'd leave him a little surprise out there the next time he's digging in the dirt. 
WAY 3: BIRD FEEDER
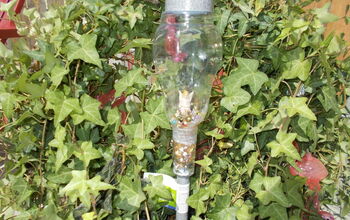
I saw this super cute bird feeder idea floating around online and I decided to add a little something extra. Lately, I've been obsessed with metallic copper spray paint--the Rustoleum brand is so nice and I love how the color pops so I decided to try it on a green wine bottle.
I took painter's tape and taped off the bottom of the wine bottle, then spray it with copper spray and let it dry completely.
Then, I took 6 gauge copper wire and created a hook at the bottom of the wine bottle, finally wrapping the wire around the bottle until I reached the neck of the bottle.
*Note: 6 gauge wire is really difficult to manipulate by hand so I used needle nose pliers and a rubber mallet to help get the twist started and press the end of the wire down on the neck of the bottle.
Once the wire was secure around the bottle, I took a Gadget Soda Bottle Feeder I purchased on Amazon and secured it to the end of my wine bottle. Of course, make sure to fill the bottle with birdseed before you attach the feeder.
*Note: Unfortunately, the feeder attachment doesn't fit on every type of wine bottle. I just so happened to have one with the right lip (I guess that would be the proper way to describe the end of the neck?); I took my wine labels off so long ago so I'm not sure what exact bottle worked for the feeder attachment but I would venture to guess it was a Prosseco bottle.
Aside from the wire being a bit of a pain to work with, I love how this unique feeder came out!
*Note: As much of a pain as it was to use this bigger gauge wire, I would strongly recommend sticking with 6 or 8 gauge as it will be the best to hold the weight of the birdseed-filled bottle. I tried a smaller gauge wire and it was way too flimsy.
Also, the wire I used can be found in the electrical department of Home Depot. I purchased 3' for this project.
WAY 4: HANGING TIKI TORCH:
I've made my own tiki torches in the past (check out the tutorial here: http://www.hometalk.com/diy/upcycle/wine-bottle-tiki-torches-16938666 --of course you'll need to omit the marbles and the stand though) but when I discovered they could be hung, I had to try it! I changed up some supplies with the help of Rob but overall, I love the look.
After I made a tiki torch, I used a metal blade (Very important! Only use a blade for cutting metal!) in my jig saw to cut a 3/8"-16x12" threaded rod. Be very careful cutting the rod--work steady but slow when using the jig saw. I cut my rod down to 6" because I wanted it a safe distance off of my in-laws' fence.
Next, I used wood screws to screw the ceiling plate to the fence post. Then, I twisted the rod into the plate, ensuring that a nut was screwed on to the base of the plate. After that, I screwed a 1" split tube hanger to the end of the rod, and finally I placed the neck of the bottle inside the hanger and tightened the screws so that the bottle would hang freely.
How cool is this??! Make sure to place a copper cap on the wick so that it doesn't get rained on--plus, the added copper looks cool too. 
WAY 5: CENTERPIECE ARRANGEMENT
This idea is probably as old as time but I love how you can change it up depending on the theme of your event, the size of your table/surface or your personality.
For this little centerpiece arrangement, I used painter's tape to mark off the bottom of the bottles, then sprayed them with Rustoleum metallic copper spray paint. Once the paint was dry, I placed a funnel in each bottle and filled about half way with water.
Finally, I placed a few stems of fresh eucalyptus and white roses in the bottles. A rule of thumb is to use odd numbers--whether it's for the stems themselves or the bottles. My art teacher in high school taught me to always use odd numbers and that has stuck with me for {ahem} 15 years now.
Enjoyed the project?
Comments
Join the conversation
-
 Wor49493105
on Aug 14, 2022
The #6 wire will be super easy to bend if you heat it first with a kitchen torch. Be sure to hold it with heavy-duty potholders or set it up with some 'third hands.' You want to be able to torch it without, of course, burning your fingers. Drop in a bucket of cold water or hose it off with cold water. Gently clean with copper cleaner. The wire should bend quite easily now.
-
-
 Can56115167
on Aug 16, 2022
Yes, we should all let our neighbors know that we are winos
-







Frequently asked questions
Have a question about this project?
Did you have to make a hole in the wine bottle to attach to copper wire to make the birdfeeder ?
Why stop with borders along walkways? With enough bottles, you can fill them with sand and sink them flush with the ground to create the entire pathway. Design limited only to your imagination.
This is a question about another one of your projects...where did you find the cool Burlap bag you used in another one of your projects?