


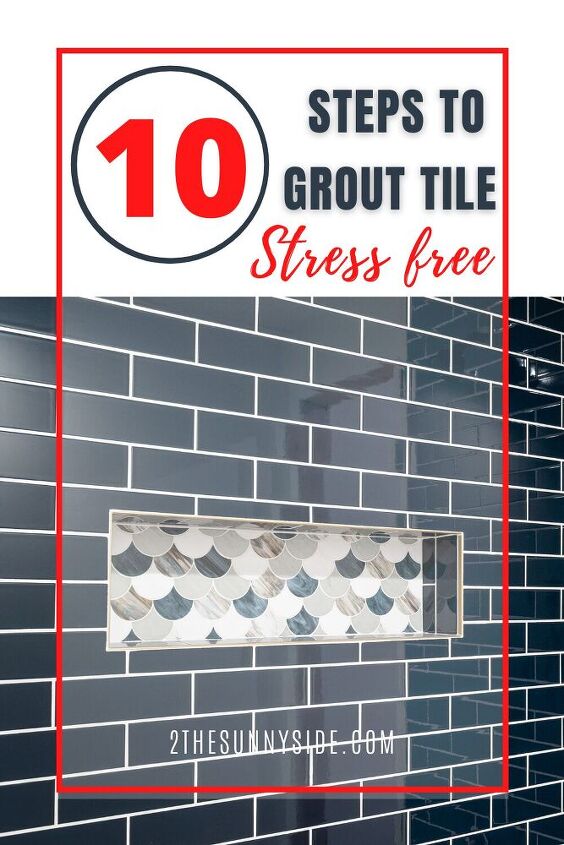
How To Grout Tile Stress Free | What You Need To Know
Welcome to week 4 of the Spring 2021 One Room Challenge! In this post you’ll learn How To Grout Tile stress free!
If you’re new here, WELCOME! You can learn more about us here. As a reminder you can easily navigate through each week of this coastal inspired bathroom project.
-1st week: The Design Plan
-2nd week: How To Install Shiplap the Easy Way
-3rd week: How To Tile a Shower
-4th week: you are here
Last week we conquered the daunting task of learning how to tile a shower! This week we will cover how to grout tile. Anyone else feeling overwhelmed by all the options available? Are you left wondering “What do I really need?”
Here is a list of basic supplies needed to grout tile. Specific products will be based on the type of tile installed. (Sanded vs. unsanded, etc.) Consult the pros at your local tile supply store to help you gather the correct supplies needed for your job.
This post contains affiliate links for your convenience. As an Amazon Associate I earn from qualifying purchases. See our disclosure for details.
To achieve a successful grout job, specific steps need to be carried out. Each of these will be discussed in more detail below.
- Gather materials needed ahead of time.
- Read grout directions FIRST.
- Mix grout to the right consistency.
- Work in small sections at a time.
- Apply grout diagonally at a 45° angle.
- Periodically check for gaps or bubbles in the grout.
- Allow proper dry time.
- Wipe off extra grout with a wet sponge.
- Buff away remaining haze.
- Seal corners with silicone caulk.
Vulnerability is not the most comfortable feeling. However, I would be hiding the truth from you if I didn’t admit my own apprehensions before we started to grout the shower.
Yes it’s true, I had a moderate freak out.
We’d already spent so much time to install this beautiful tile, what if we did something wrong and ruined the entire shower?
I took my questions to YouTube where I learned that the grout I’d already purchased was NOT recommended for a beginner! If I let this particular grout sit on the shower walls too long, ultimately I’d need to “tear your walls off and start over”.
Say what?!
Was I really going to need a different type of grout? Or could I pull this off?
My online search for answers continued. Luckily I found this video which calmed my nerves enough to start the process!
The largest take away why the Mapei Ultracolor Plus isn’t recommended for beginners (per said DIY YouTuber) is that it has a quick dry time. Which ultimately means you need to work quickly! If you’re not experienced at this, there is a chance the grout could dry too long and you wouldn’t be able to clean it off your shower walls!
Well after watching the additional video on this specific grout, I felt more optimistic about moving forward with this product anyway.
In the end, I did choose to use the Mapei Ultracolor Plus. In my opinion using this grout, even as a beginner, was just fine!
If you plan to use this I do have a few suggestions to make this process go more smoothly.
- Grab another set of hands to help. I applied the grout, and after the allotted dry time had passed, my Mom began to wipe off the excess grout.
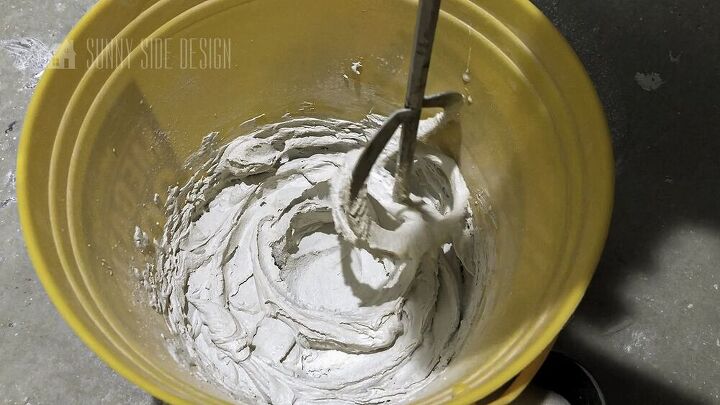
2. Don’t mix the entire bag of grout at one time. Instead, mix small batches to alleviate the stress of getting it all on the walls quick enough.
– Per the directions and re-configuring the measurements, we mixed 1 1/3 C water with 3 lbs. of grout. You will want to use precise measurements. Our kitchen measuring cup and food scale worked like a charm.
The number one thing I’ll say over and over about how to grout tile is to read the directions before you do anything else. Each brand and type of grout might have varying instructions. Follow them to a T and you’ll be fine!
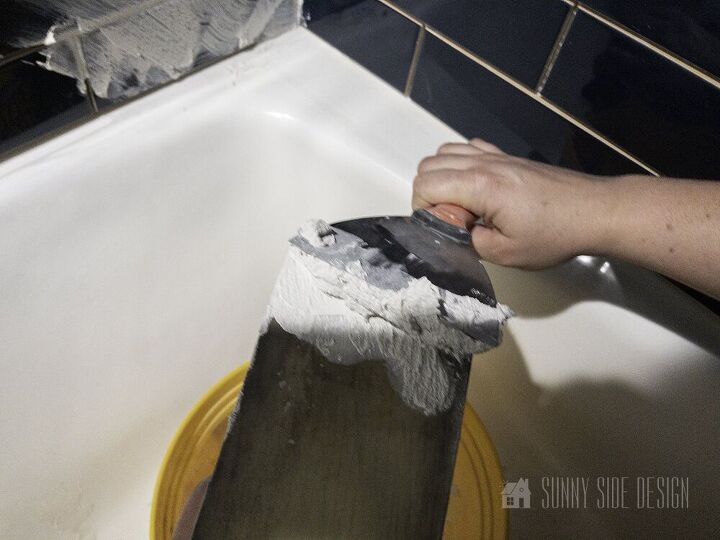
After mixing the first batch of grout, I used a small putty knife to transfer a small amount on the tip of the grout float. Having the grout loaded on the edge of the float made it a little easier to push the grout into the grooves and corners.
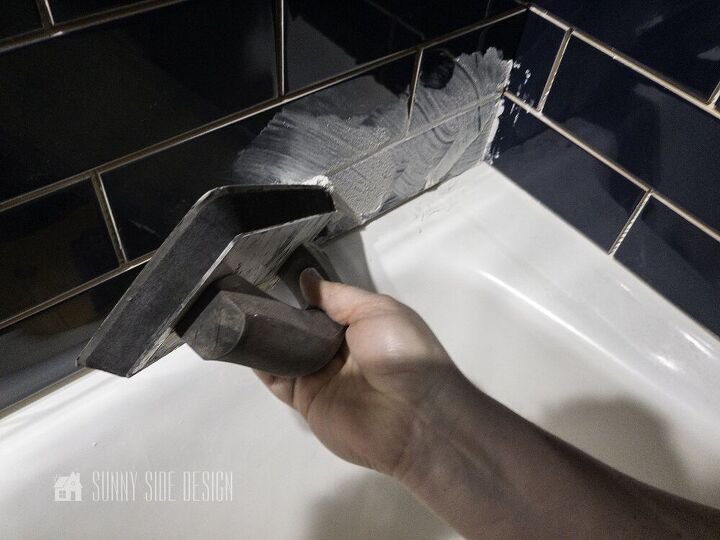
When applying grout it’s important to move the grout float at a 45° angle in a diagonal direction. This will ensure that the grout is properly applied in the joint rather than inadvertently being pulled out by spreading the float in the wrong direction.
Work in small sections at a time. Although there is a dry time to be mindful of, it’s okay to take your time. You’ll likely need to move the grout float around the tiles from more than one direction to make sure grout is being applied evenly.
Remember, that by mixing a small batch of grout at a time there’s really no need to stress about getting it on the wall before it drys. You’ll have plenty of time to apply it, then set a timer per the directions of your specific grout before the next step.
According to the directions for this grout, dry time is 15-30 minutes. As long as you’re after 15 minutes and before 30 you’ll be just fine.
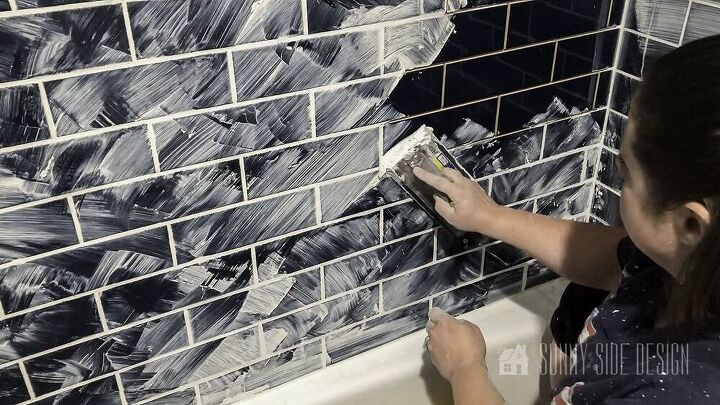
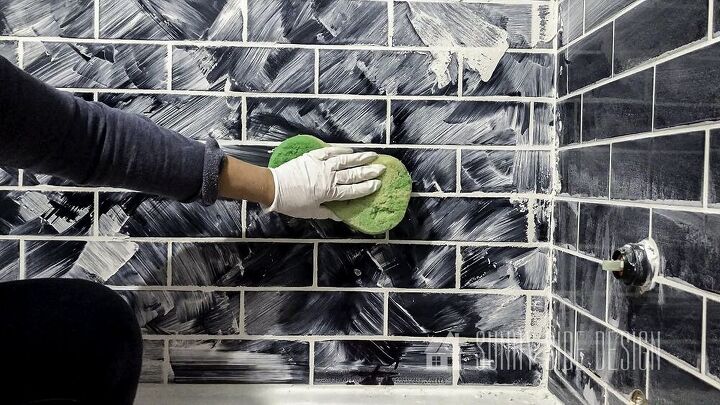
Wet a large sponge and wring out the excess water. Then wipe off the extra grout. Be sure to keep the sponge flat against the wall as to not remove grout from the joints.
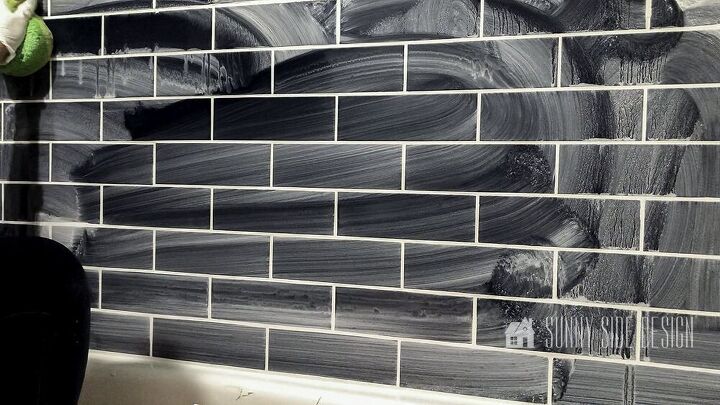
At this point, you’re not going for a sparkling clean tile wall. There will be excess grout residue remaining on the tiles. Don’t panic. It can easily be wiped off later.
At this stage the timer has likely gone off to wipe the next section anyway. Proceed applying the grout and wiping excess off until the entire shower surface area has been covered. Allow the grout to dry.
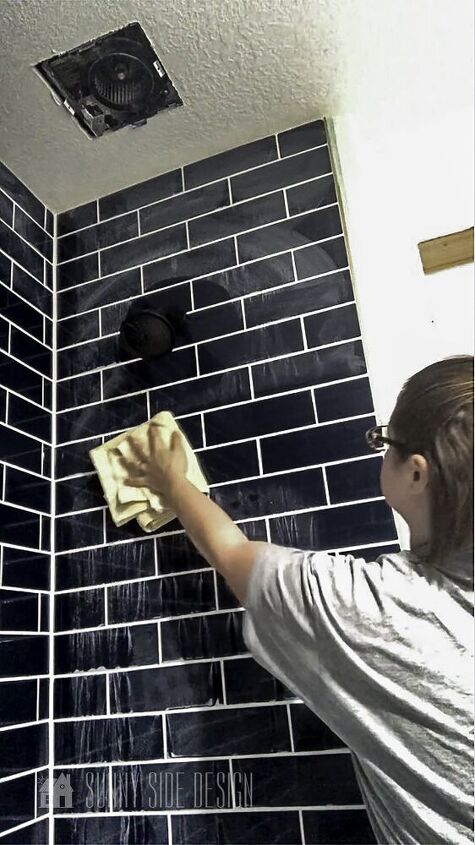
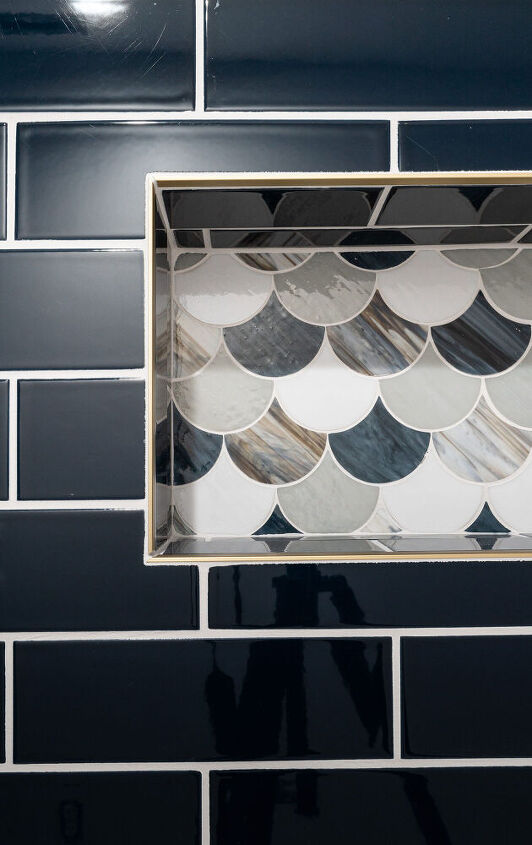
We let the grout dry over night. Then the next morning I was able to easily remove the remaining haze.
To do this, take a dry towel and simply wipe the shower walls. That’s it!
Here’s a better look at the haze and how easily it cleans off.
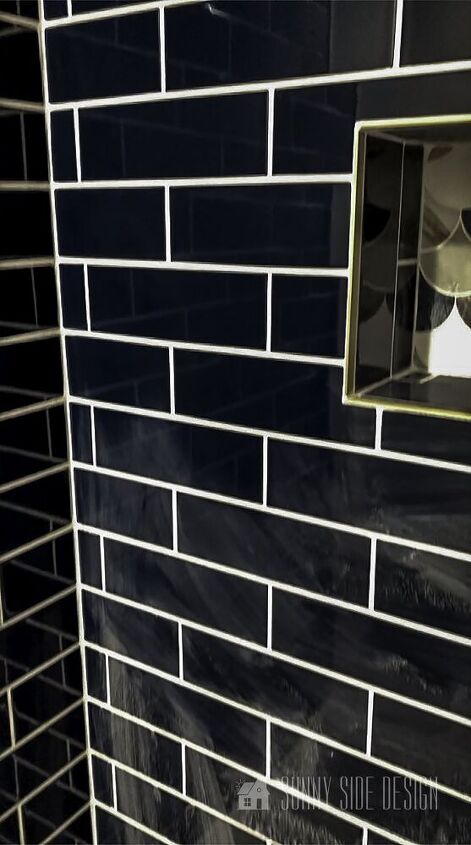
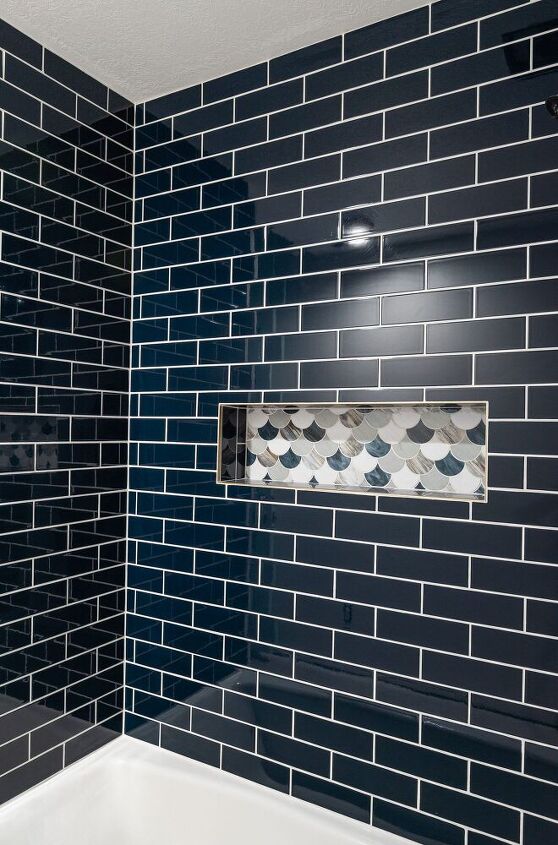
All in all, this process went smoothly even for us beginners! Even though I had a panic attack researching how to grout tile, we didn’t run into any issues with it drying too quickly.
Again, in my opinion, this grout is just fine for beginners to use. Just be mindful of the amount of grout you mix at a time, and pay attention to the dry time. If you follow these steps, you’ll also be able to achieve beautiful results.
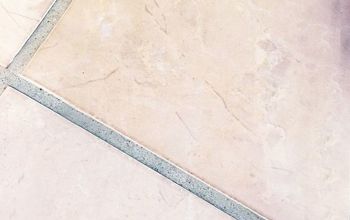
Lastly you’ll need to apply a silicone grout to the corners. Grout has the tendency to expand as it’s not flexible. While caulk on the other hand allows for movement and provides a better sealant.
It’s also important to apply a penetrating grout sealer since its cement base is porous and can absorb liquid. Sealing will also protect the grout from mildew and staining.
Once more, this process wasn’t as intimidating as I made it out to be in my mind. Whatever brand you choose to work with, read the directions, take your time (while also working in the dry time window), and you’re sure to achieve great results too.
What are your thoughts? Does this whole process seam more manageable now? Do you feel confident in tackling this final step to finishing the shower tile? Do you have any other tips or suggestions to grout tile?
Please comment and ask any questions below, we love hearing from you!
Please PIN and share with your friends!
And as always here at Sunny Side Design
WE HOPE TO BRING YOUR HOME TO THE SUNNY SIDE OF THE STREET!
Be sure to follow us on Pinterest for even more home decor and DIY ideas.
To see what we are working on before it’s on our blog, follow us on Instagram.
You can also find our video tutorials on our YouTube channel.


Frequently asked questions
Have a question about this project?