


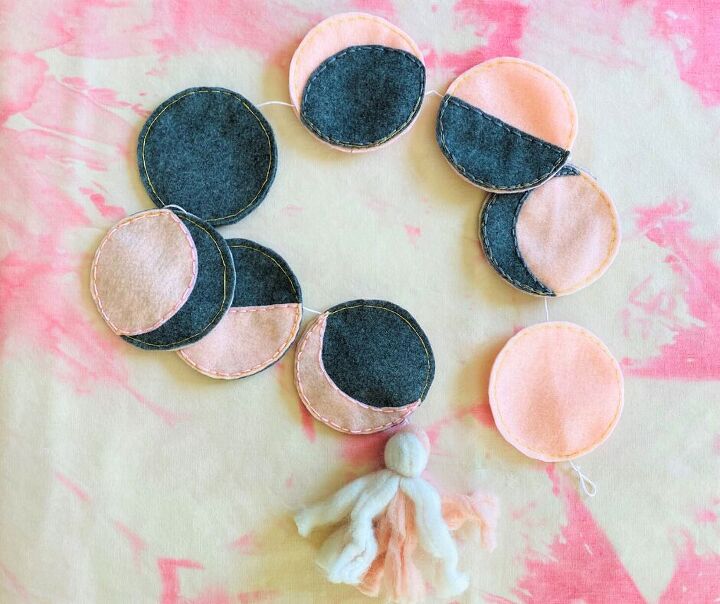
Moon Phase Wall Hanging
I am so excited to show you guys how easy it is to make your own moon phase wall hanging. This is a fun project that lets you take the night sky into your home. My daughter Scout has recently become interested in all things astrology and so this was a perfect addition to her bedroom. I also created a printable with the meanings of the different phases. If you are making this as a gift, this printable would be great to include with the wall hanging.
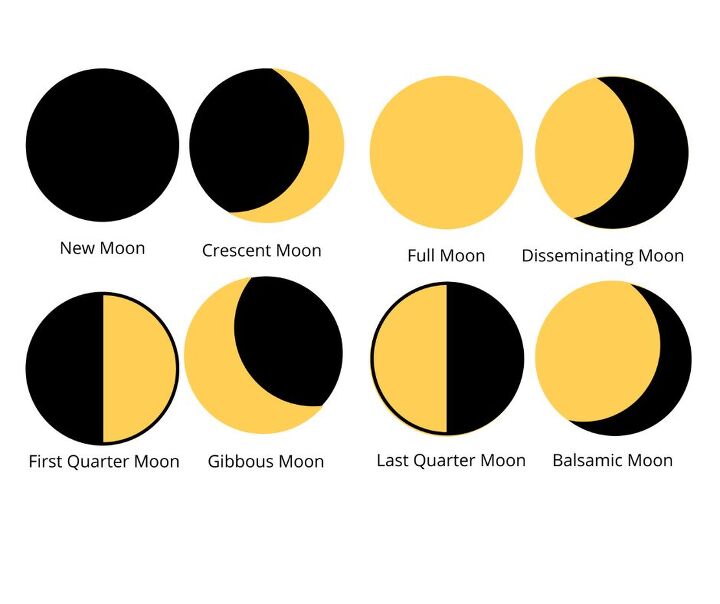
Print my moon phase printable to use as a guide for your wall hanging. (You can grab this printable on my website)
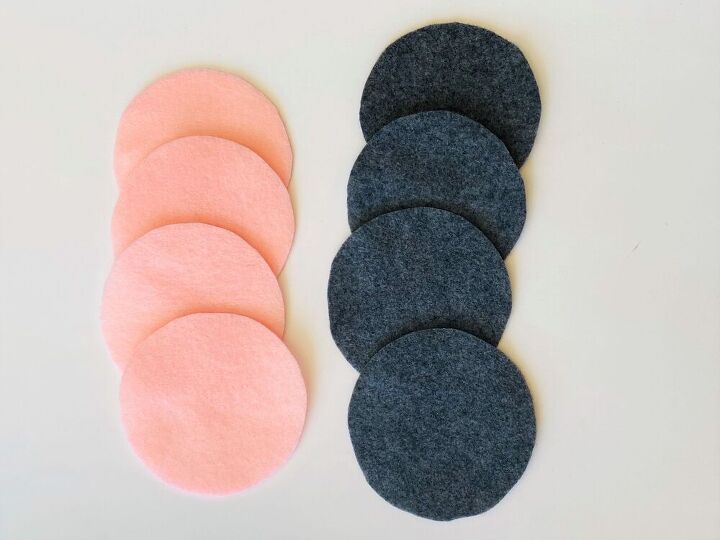
Cut out 8 circles in two different colors for the moons, and 8 "extra" circles that you can set aside.

Cut out the printable and use as a guide to cut out the different moon phases.
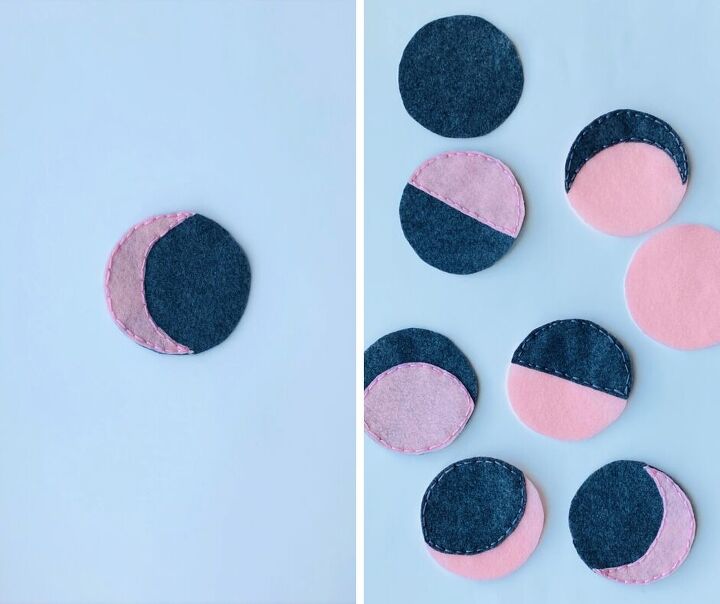
When all the pieces are cut out, stitch together with embroidery floss.
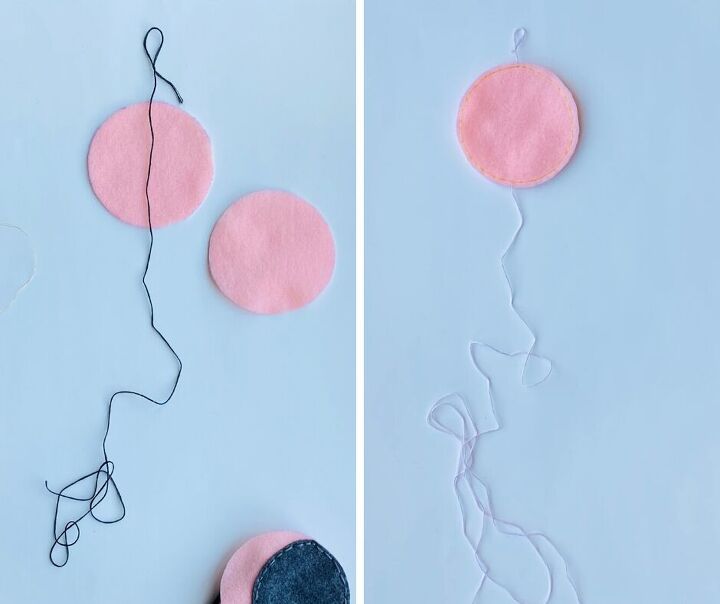
I took a long piece of embroidery floss and tied a loop at the top for hanging. Stitch the moon circle and the "extra" circle together with the embroidery floss in between.
(I was going to use dark floss, but switched to white since the darker color showed through the pink floss.)
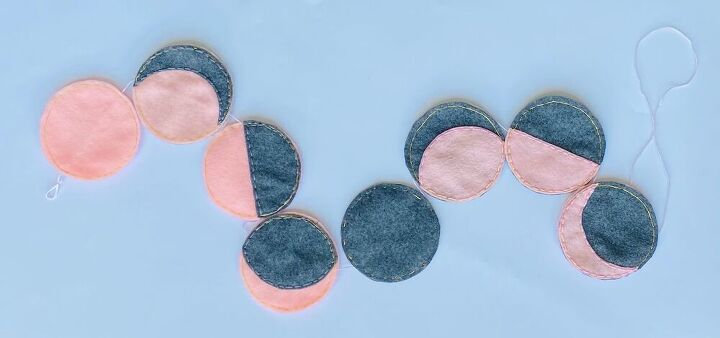
Continue adding the moon phases to the wall hanging. I used gold thread for this part because I didn't think I had enough of my gold embroidery floss.
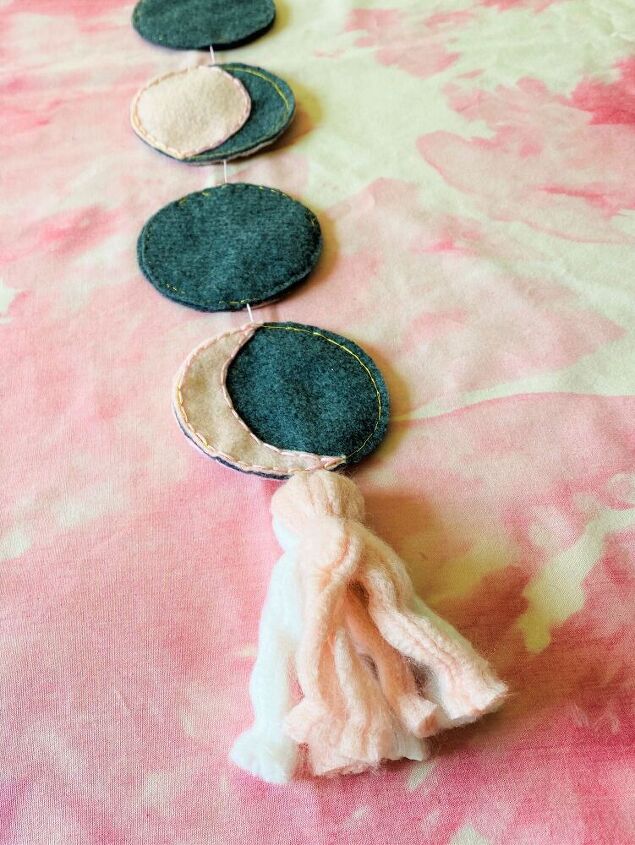
I tied a tassel to the bottom of my wall hanging, but you can tie a knot in the floss and cut the access floss off if you prefer... or add something else like a charm or pom pom.

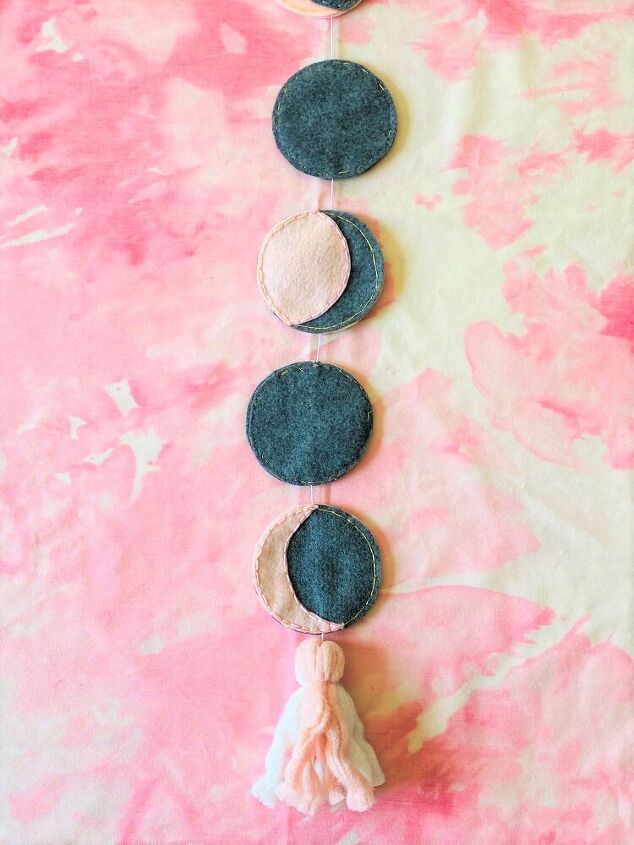
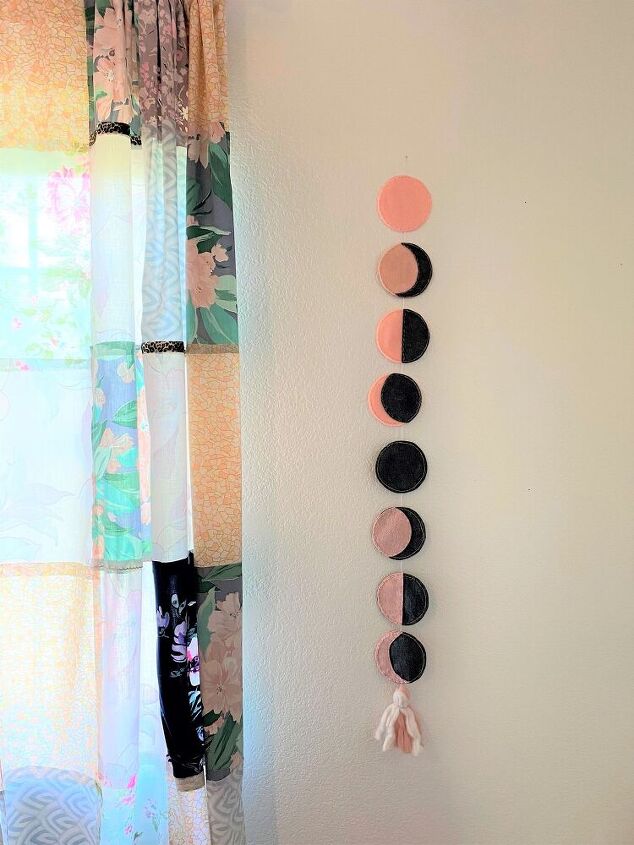
Hang your wall hanging and enjoy! I love how this turned out and it's great because you can customize the colors to match any home décor.
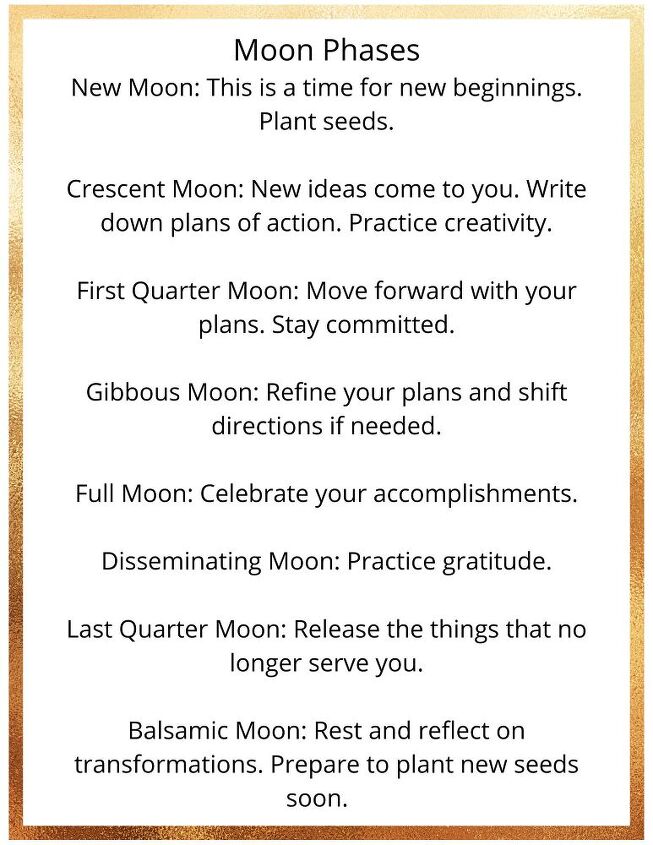
You can grab this free printable from my website.
Resources for this project:
See all materials


Comments
Join the conversation
-
So neat! Thanks for the terrific idea!
-
So clever, I love it.


Frequently asked questions
Have a question about this project?