


How to Make a Portable Craft Table for Almost Nothing!

by
Jeanie
6 Materials
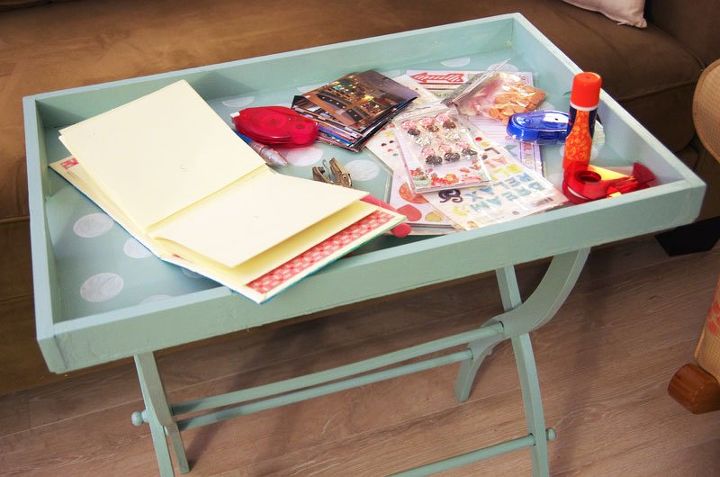
I built this handy portable craft table with some scrap wood and a $1 yard sale find. It sure gets a lot of use!
I started by building the tray top with pieces of leftover 1 x 2s and a thin piece of plywood that I found in my scrap wood pile.
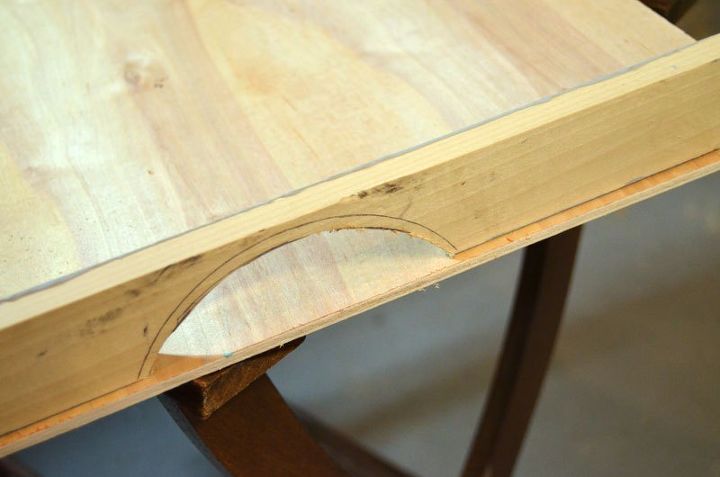
I cut semi circles on the end pieces to serve as handles for the tray top of the table.
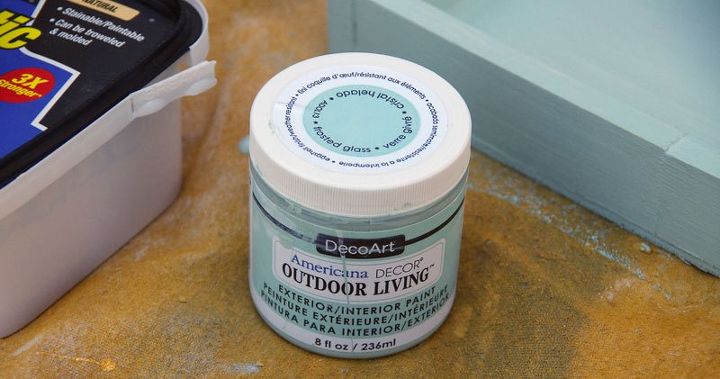
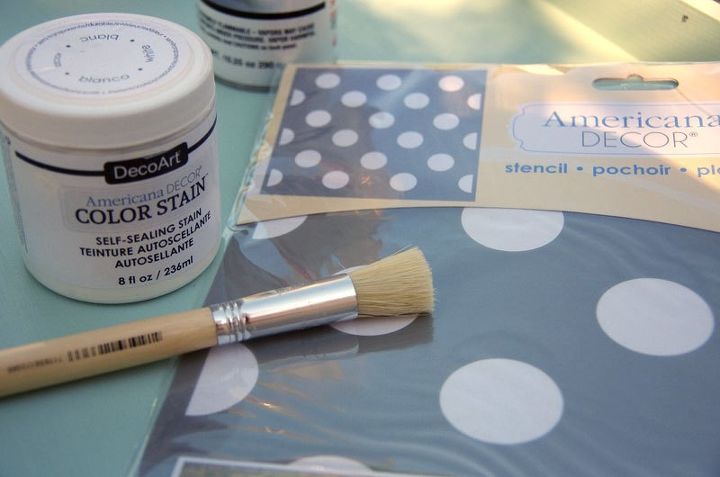
Adding white dots using white color stain and a stencil gave it a fun, whimsical look.
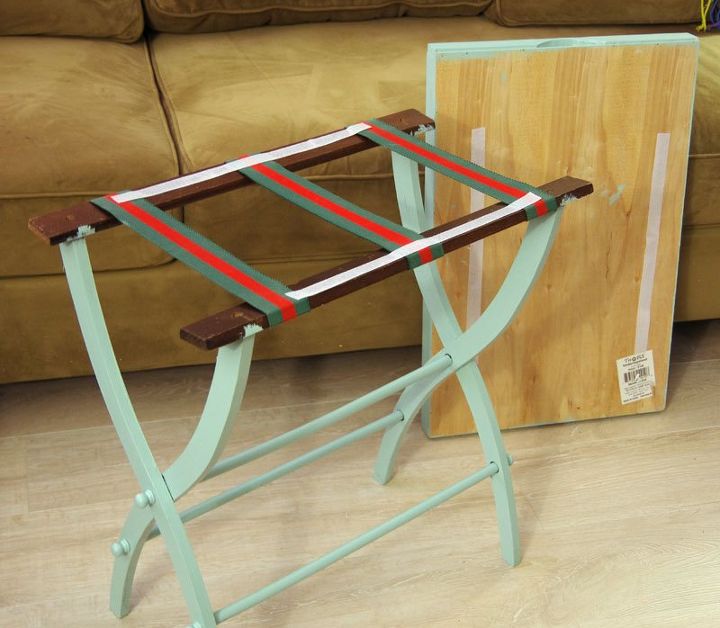
Now to make the table portable, I added strips of self-adhesive hook & loop to the luggage rack and also to the bottom of the tray.
Now my table can be taken apart and stored quickly and easily. I have used this table every evening since I made it! I can work on small crafts like scrapbooking while sitting on my sofa watching television.

I can carry the empty tray top up to my craft room and fill it with my supplies for the evening. When I'm done, I love that it can easily be taken apart and stored when I'm not using it.
Want more details about this and other DIY projects? Check out my blog post!
Comments
Join the conversation
3 comments
-
This is cool! I can use something like this for small projects. Great idea!
-
That is such a smart idea!


Frequently asked questions
Have a question about this project?