


CAN Little Things Make A Difference? AT LEAST 2/3 OF THE TIME THEY CAN

2 Materials
$4
3 Days
Easy
I am curious by nature, so here are a few "little things" I read about, and tried, and their results. The first one: how to keep bar soap and its bathtub, kitchen, or basement holder from getting "icky." The second one: a quick comparative study on the best way to clean a painted picture. The third one: an inexpensive but effective way to provide some light on the front porch.
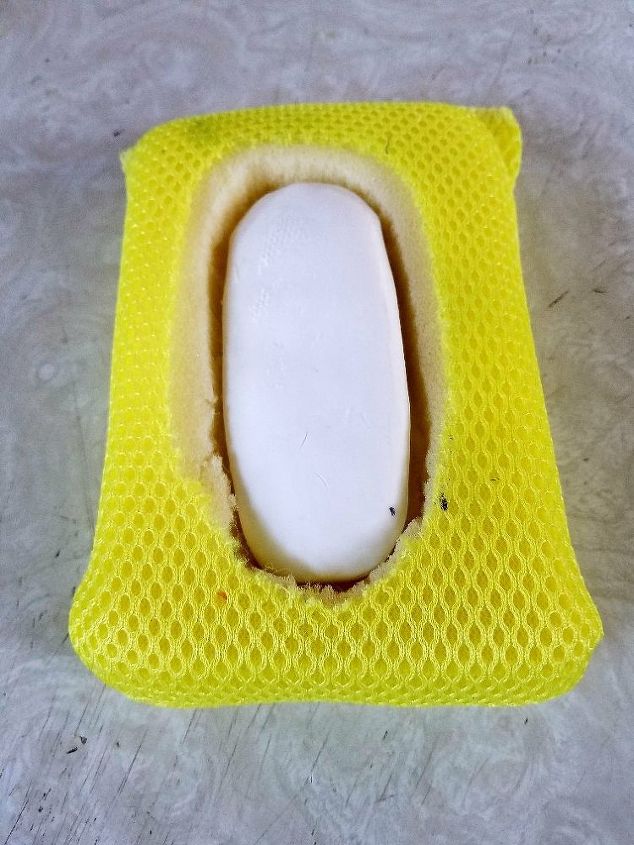
I was at a Dollar store picking up a few things when I saw a 2-pack of kitchen sponges and remembered something I'd read a few weeks earlier involving a much thicker car detailing sponge. I bought the pack of sponges, and when home I got out a marker and an old detail blade (I call it a crafting scalpel, my sister calls it an X-Acto knife). Although an auto detailing sponge was too thick for my personal taste I must admit that about halfway through the cutting I understood why a thicker sponge may be preferred.
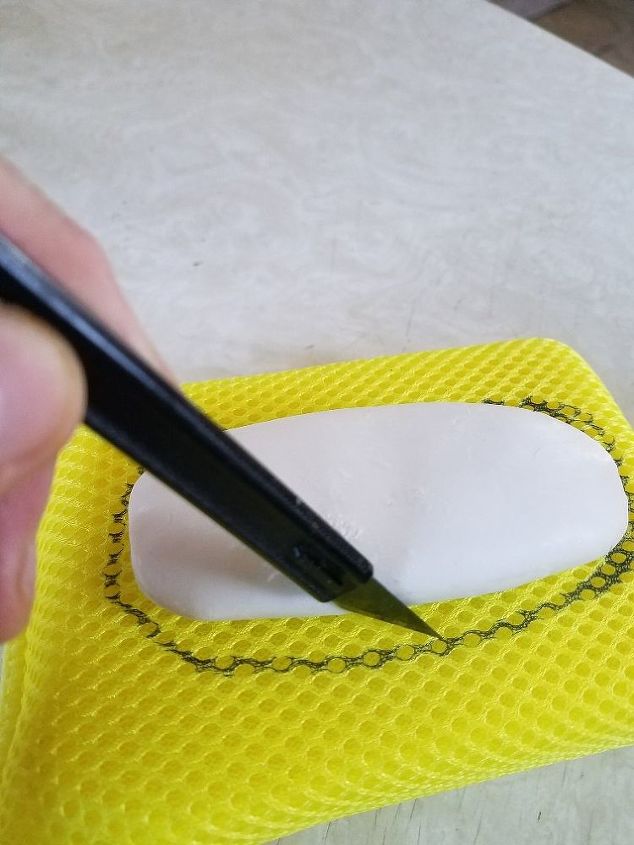
First I traced around the soap with the marker, then began to cut along the line, through the mesh, and into the sponge (and be careful because the mesh is tougher than it looks).
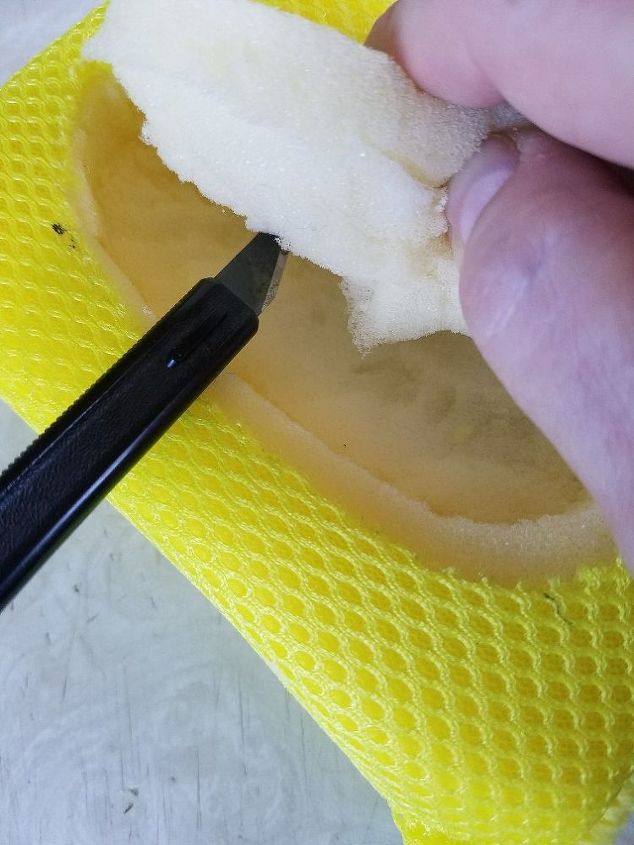
At about one-third to half-way through the sponge, I began gently pulling back on the sides and cutting sideways in order to free the center of the sponge. PLEASE, be VERY careful doing this as it would be oh so easy to slice yourself open. I recommend just using small little cuts instead of longer slices, as you will have more control. That's it; just put your soap into your sponge and place the sponge wherever you need it to be.  Now on to the second little thing I did: the comparative painted picture cleaning.
Now on to the second little thing I did: the comparative painted picture cleaning. 
The Comparison: BREAD versus TAPE. It is actually, it is very difficult to see the dustiness of this dragon picture on the paint itself but the black velvet background shows it very well. (My niece began painting it in 1997 but never completed it, nd my om kept it around inc case she might someday want to. HAH! Looking at the center patch of black velevet you can see the BEFORE amount of dustiness. The top and bottom patches of velvet show the AFTER effects of the cleaning attempts.
I began my study with the slice of bread, and cleaned ONLY the actual painted part on the LEFT side of the painting (green and yellow areas). The black velvet background on the bottom of the picture picked up a lot of the bread dust that was created, and even blowing on the left side of the "bread-cleaned" paint did not remove all the dust from either the paint itself, nor the velvet.
For comparison's sake, I did the RIGHT side of the picture next with the masking tape. I wrapped the tape around itself on the roll, and rolled it over both painted area AND upper velvet area. By compairing the top velvet area to the center velvet area you can see about how much dust was taken off the paint (since the center velvet shows the "before" amount). After I took this picture, I had used the tape to clean up the dusty mess the bread made. Although I see only a VERY slight difference in the before and after from the tape, I actually feel that, between bread or tape, the tape is the better choice. To be quite honest, I feel the BEST option would be a gentle "whipping" from a clean, dry, lint free rag the way Momma always did. Some of the "old ways" are still viable even now. And Now, on to the third "little thing" that I wanted to get done: affordable porch lighting.
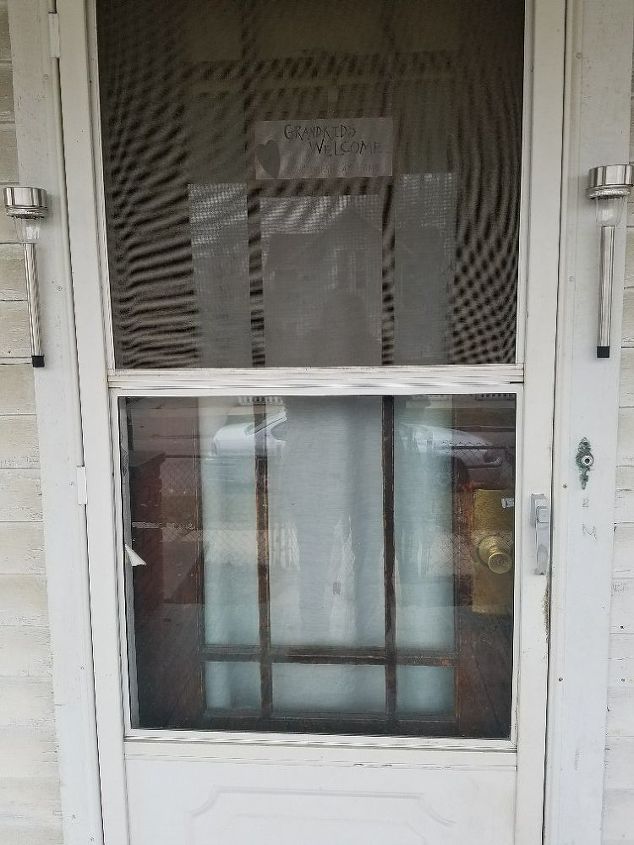
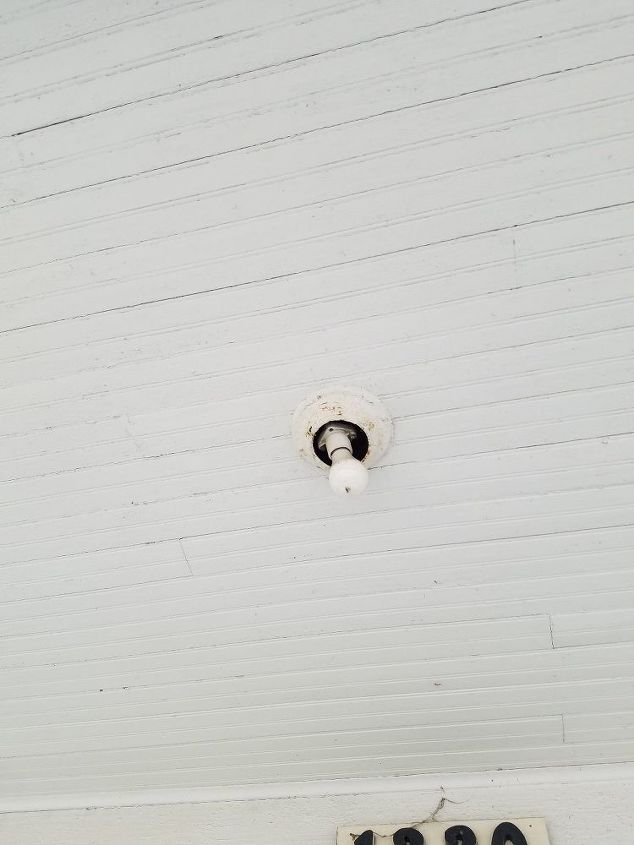
New lighting above ... old lighting below. For 20+ years our front porch has ben without a light and when folks come over in the evening and knock, it's difficult to see who is out there. We really needed SOME SORT OF LIGHTING. Hiring an electrician to come fix the old, outdated, out of commission overhead light, that had served us well for 30+ years, was out of the question. Hmmm, what to do? What to do? Think, think, think.
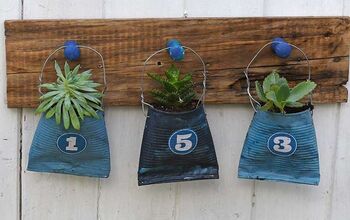
I ran across a picture in Pintrest where someone had taken old canning lid BANDS and screwed them along their backyard privacy fence and used them to hold some solar yard lights ... hmmmm .... the cost of fixing the overhead porch light, or the cost of a few solar yard stakes? (I already had everything else I needed) HAH! EASY CHOICE!
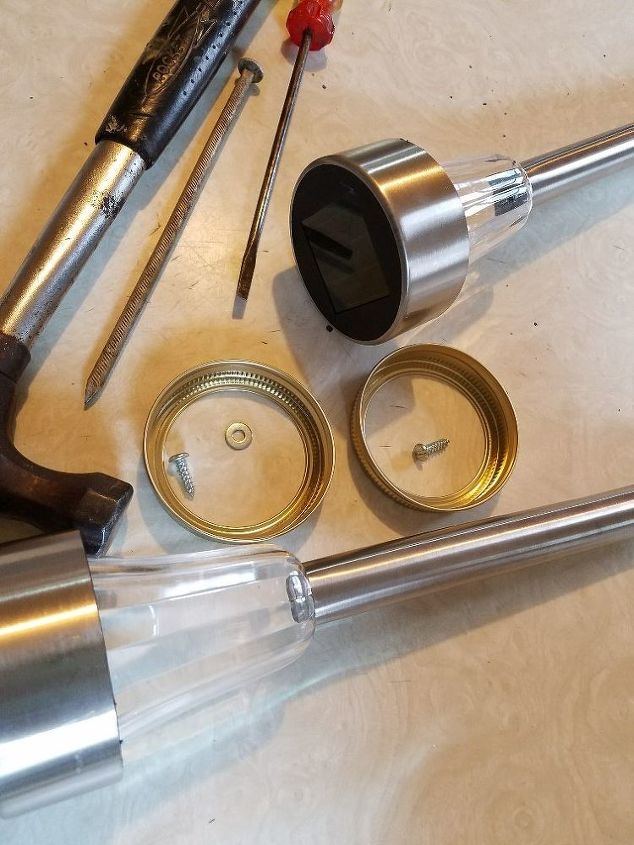
I went to Menard's (because it's so close) and happened to get the solar yard stakes on sale at 50 cents off each. YAYYY ME! When I got home I opened the kitchen "junk" drawer and rifled through nuts and bolts and nails and hooks, etc until I found 2 screws, 4 washers, a long aluminum nail, a screw driver and hammer. Yeahhh buddy! We're in business now!
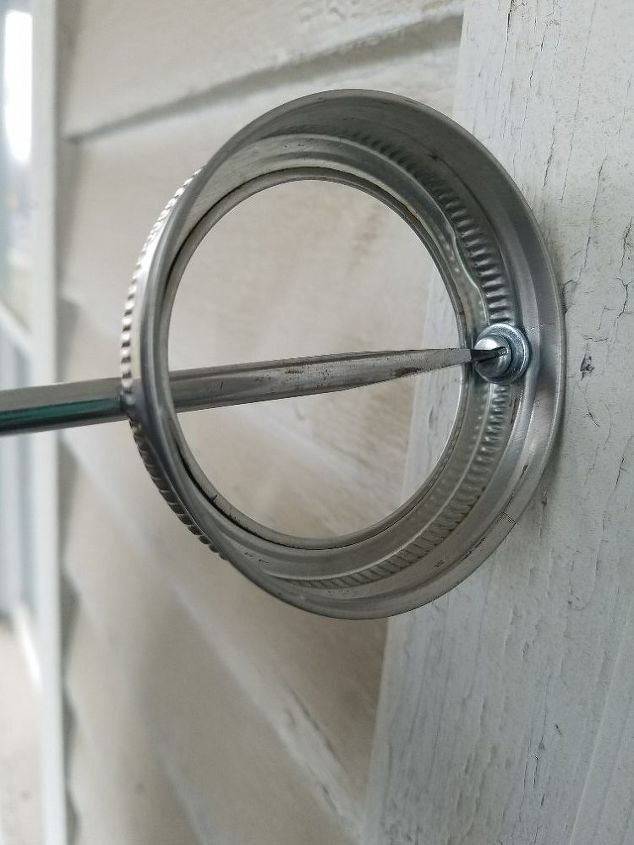
I grabbed my measuring tape, went outside with the hammer and nail, and measured down and across to locate the point where I wanted to place the canning bands. I made a hole on each side of the door as a beginning hole for the screw. I went inside, grabbed a piece of wood, nd used the nail and hammer to place a hole going from the inside of each canning band to the outside. Then I took the wsher, bands, and screwdriver outside. I placed a washer on each side of the lid as a reinforcement for the hole and placed the screw through the hole in the band and into the start hole on the doorjamb. I began screwing it in, but halfway through just didn't have any more strength. My sister came out to help, but she said we needed a driver with a wider head. She went to her son's house to get his, and sure enough it did the trick. The band twirled around with the screw HAH! but it went all the way in nice and tight and we just adjusted the band once the screw couldn't be turned anymore.
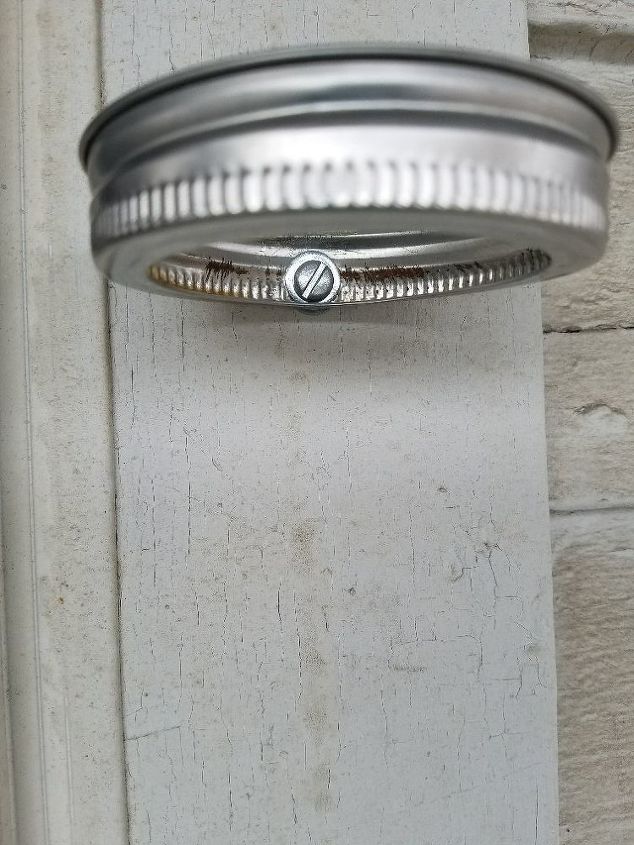
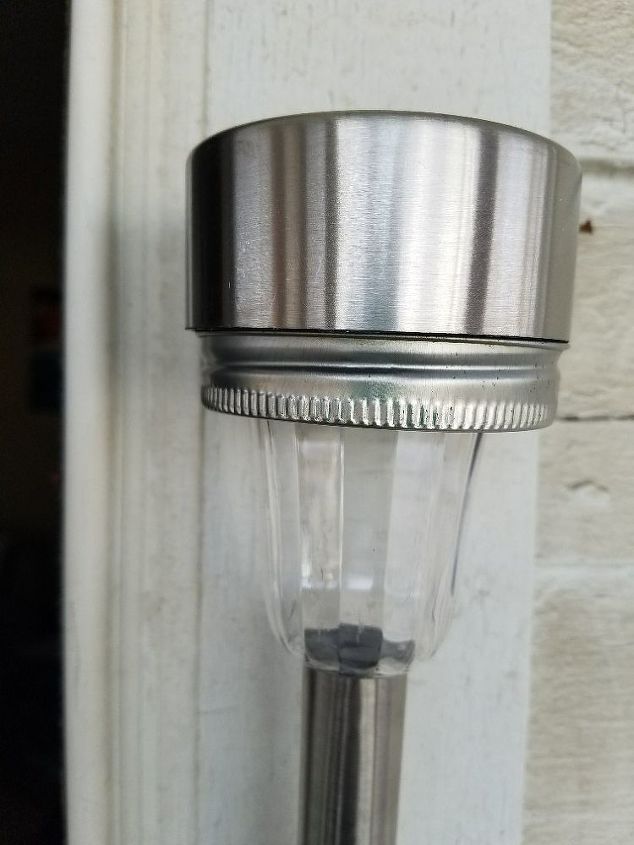
All sturdy and ready to hold the solar yard light. The clear bowl part rests under the bottom of the band, and the silver solar part just sits on the top
As my maternal Granpa would say: "GOT'ERDUN" ;) They need to have a bit more light at night though, as far s I am concerned, but my sister thinks they are just fine. I wonder if I can find some that look the same but with about twice the lighting strength and switch them out without my sister knowing LOL .. So here is the finished product at work. They are fine, for now, and I have to get back to working on the third part of my "Momma's Chair" project  But these three little projects have made me very happy, all-in-all, and to my sensibilities show that the little things DO make a difference.
But these three little projects have made me very happy, all-in-all, and to my sensibilities show that the little things DO make a difference. 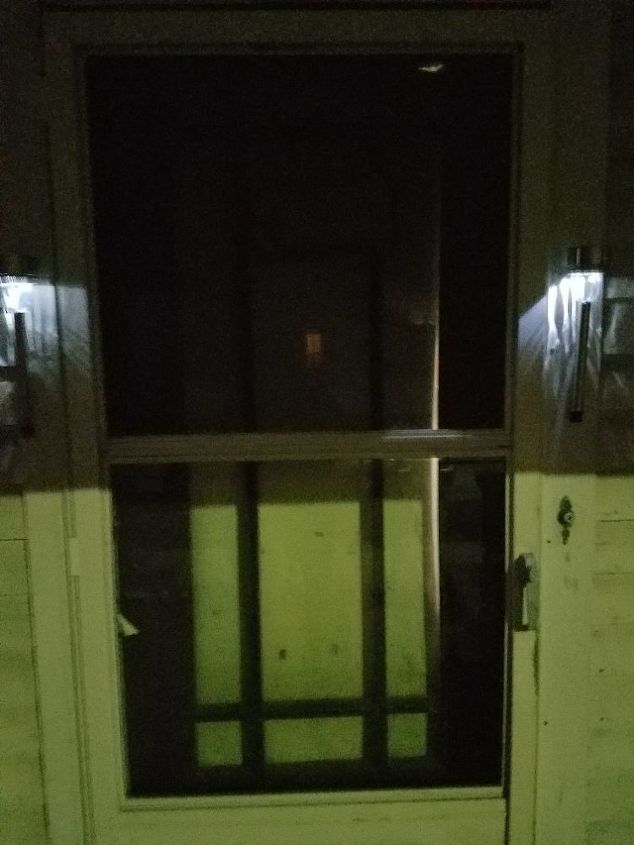
Comments
Join the conversation
2 comments
-
Thank you for sharing your experience, these are great tips!


Frequently asked questions
Have a question about this project?