


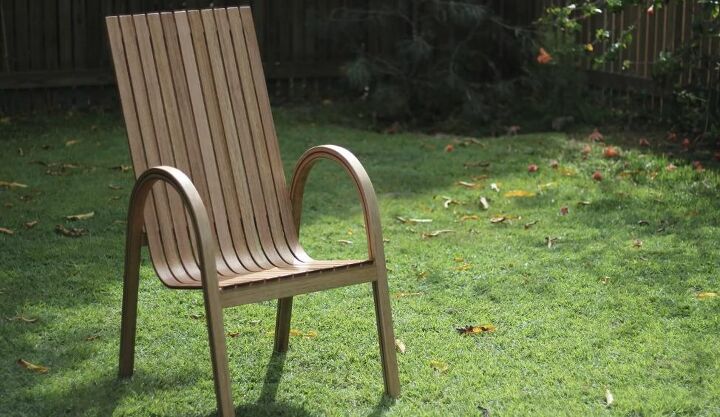
How to Make a Steam Bent Chair

Steam bending wood was a new technique for me and I was hesitant to give it a try but took a chance and created a chair for my lounge. I used steam bending to make my wood pliable for a chair design I was inspired by on a website and wanted to try to recreate. Exposing wood to steam makes it able to bend into a desired shape and then retain that shape when the wood cools. This technique was perfect for creating a curved chair seat and arch-shaped sides. I used kiln-dried wood that was easily accessible at my home improvement store but air-dried timber, if available to you, will bend better.
You Will Need:
- MDF panels
- Pine boards
- Hole saw bit
- Band saw
- Miter saw
- Circular saw
- Hand sander
- Jointer planer
- Wood glue
- Danish oil
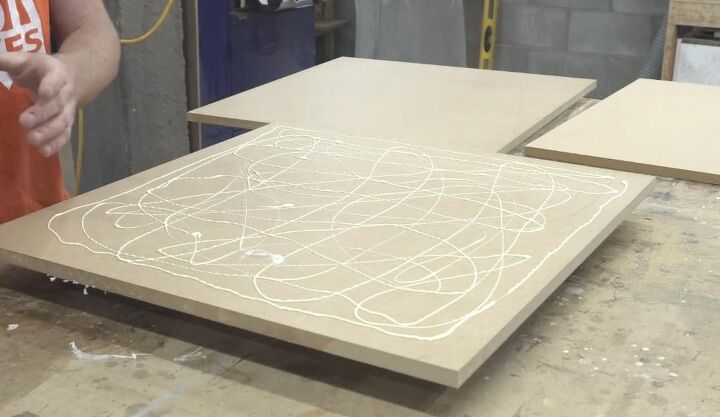
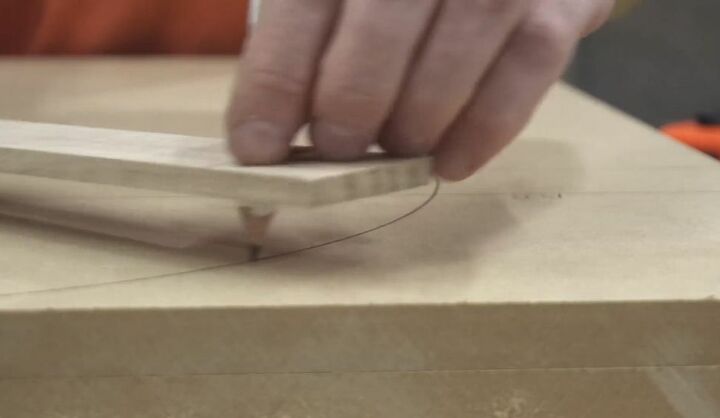
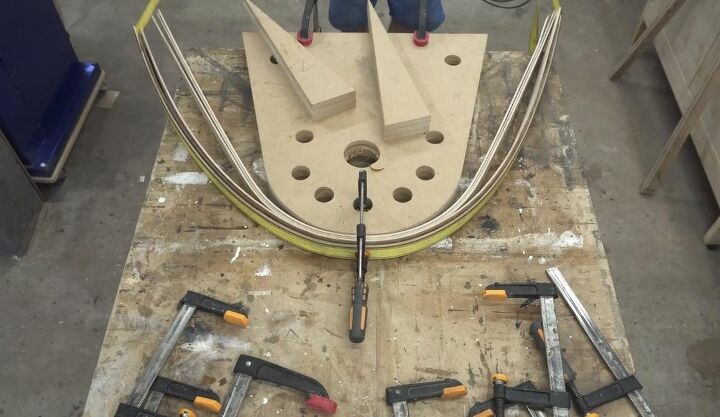
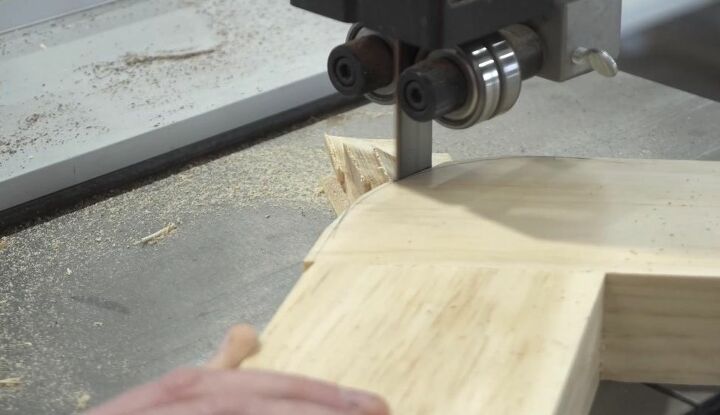
I used three 16mm MDF panels, glued them together and created a round form with a band saw by drawing a circle.


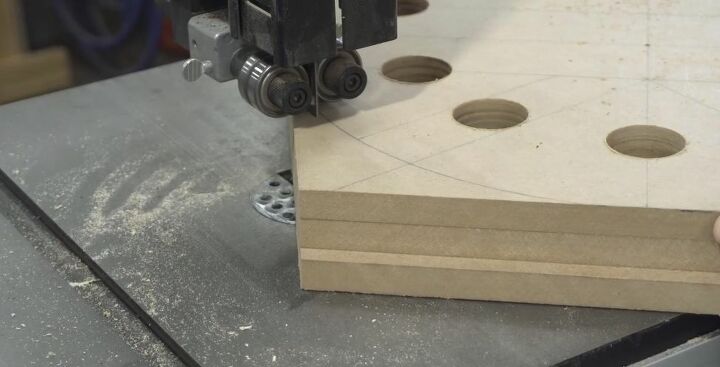
I drilled large diameter holes in the wood form to hold my clamps in the bending process. I used a hand sander to smooth off the form so that the wood could flow and bend around it as easily as possible.
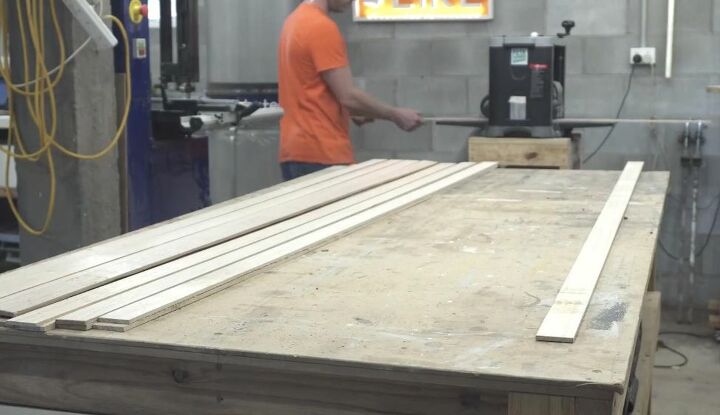
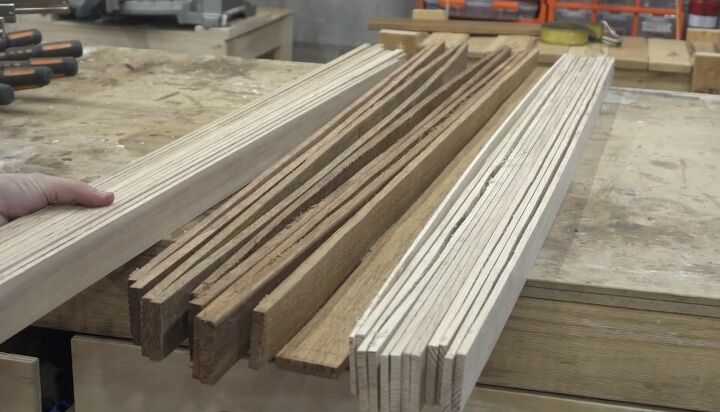
I used a combination of Tasmanian oak and ash for the chair. I cut and placed strips of extremely dry ash in the steamer to get it a bit more supple and then began cutting the oak pieces into thin 3mm strips.

After I finished milling the boards I needed for my chair project, I placed them all into the steamer at 80 degrees.

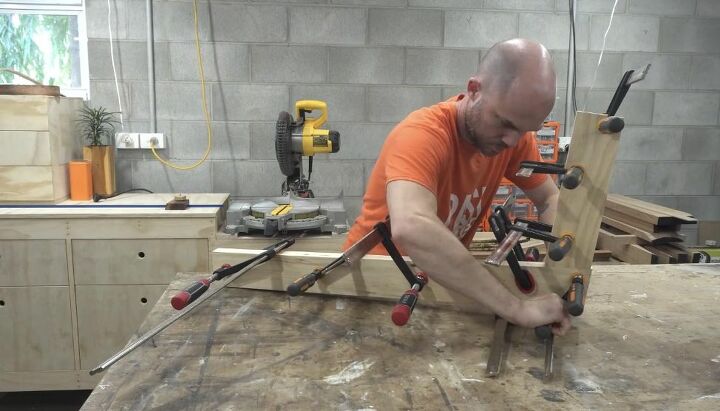
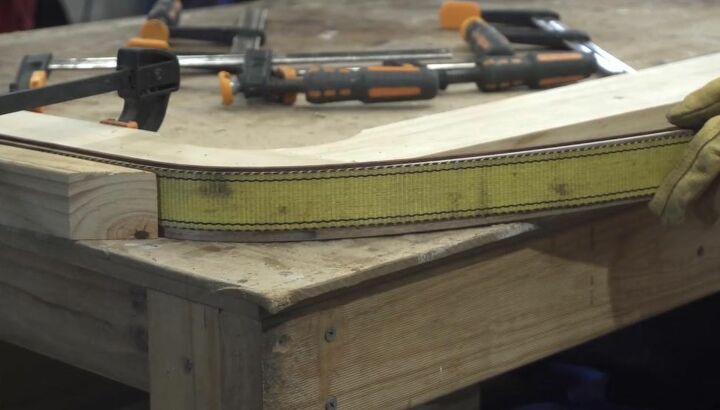
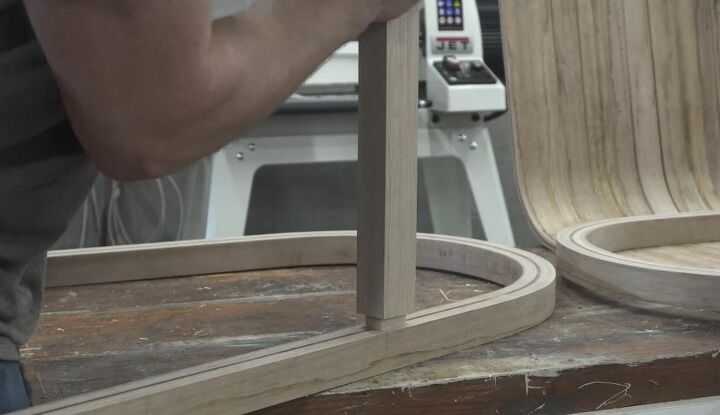
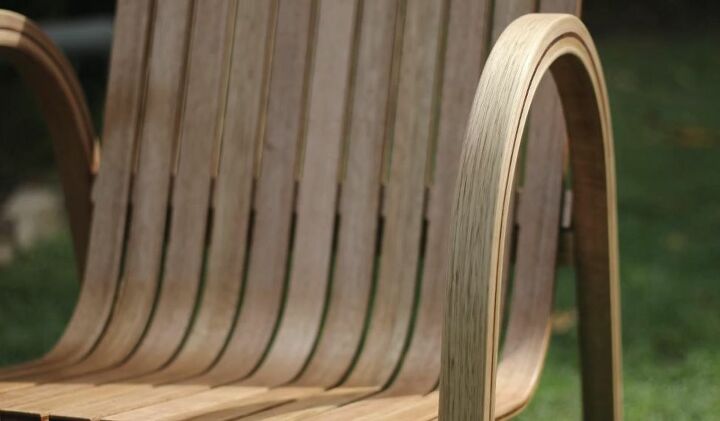
I removed the strips from the steamer and used a strap and clamps to bend and hold the strips tightly around the form. I did this two times; one for each side of the chair and found that wearing gloves and using the strap for the second bend made the process work much better than my first bend. Bend the wood as quickly as possible once removed from the steamer, pull the strap tightly around the still hot wood toward your body, and clamp around the entire form. Let the timber cool for a couple before removing from the clamps.
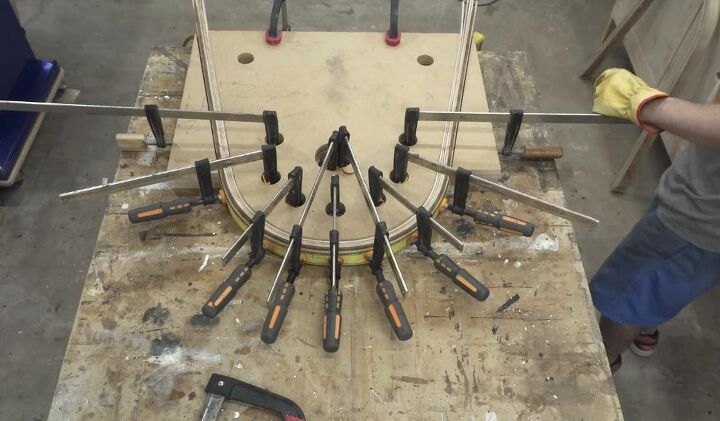
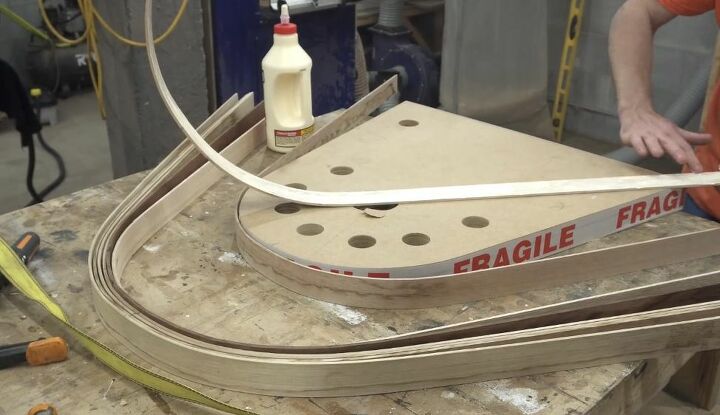
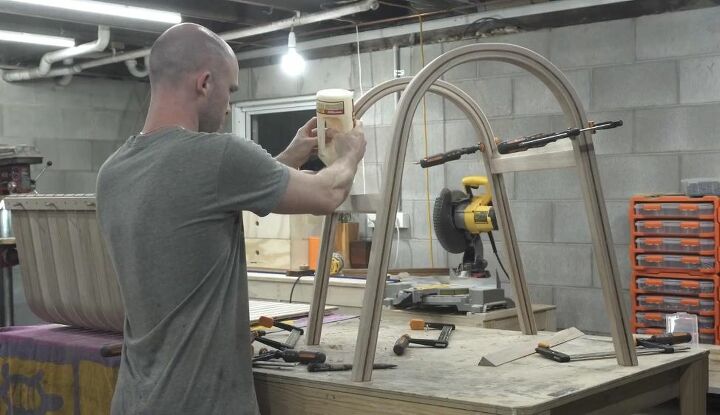
I took the oak strips off of the form, put wood glue in between them, bent them back around the form, and then clamped them in place once again.
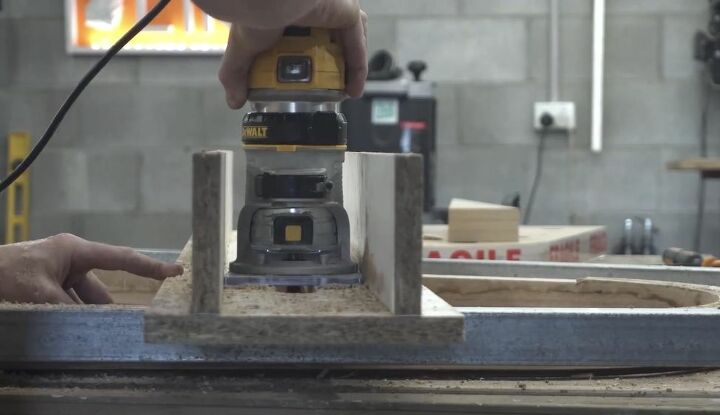
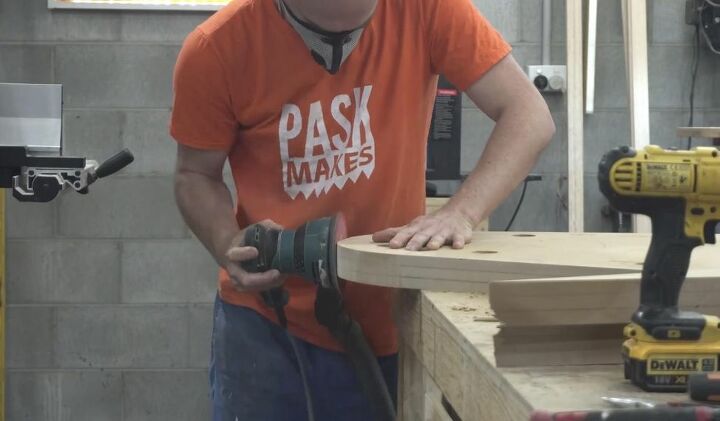
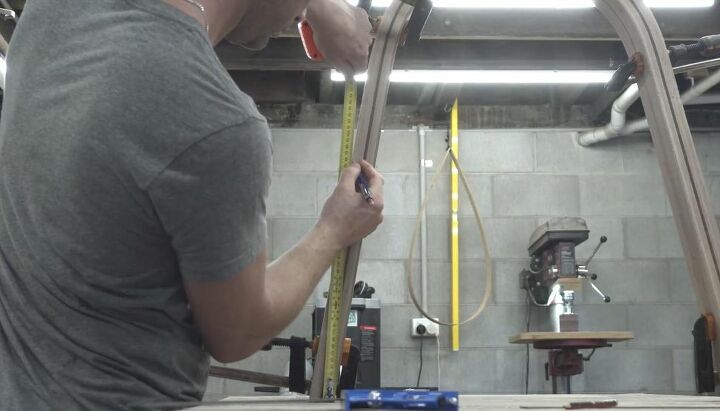
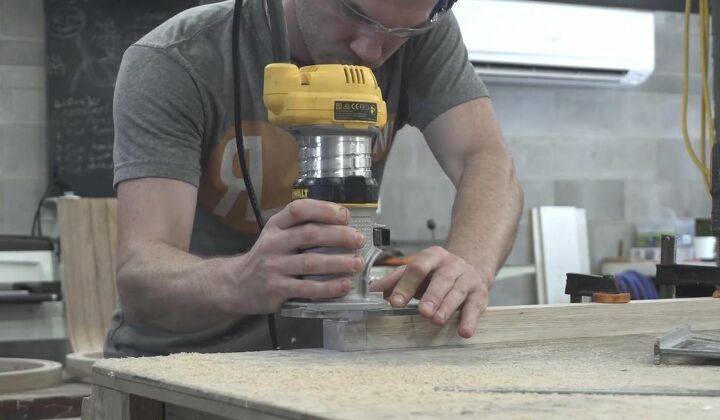
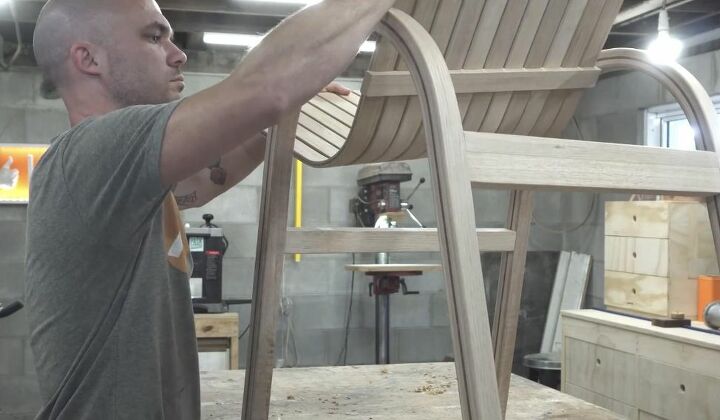
Once the glue had dried on the timbers on the leg form, I took them out and flattened one leg face with a router jig.
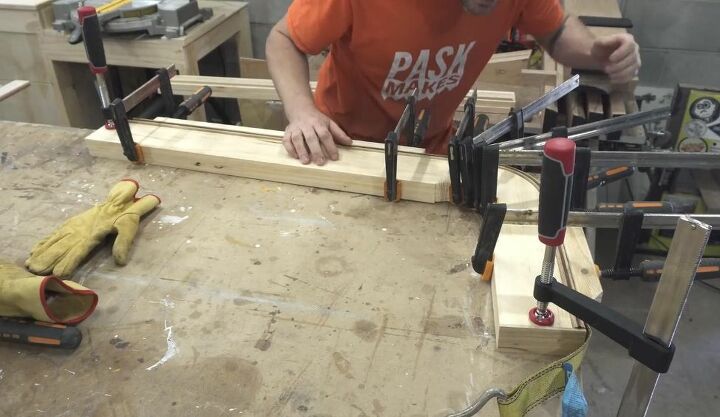
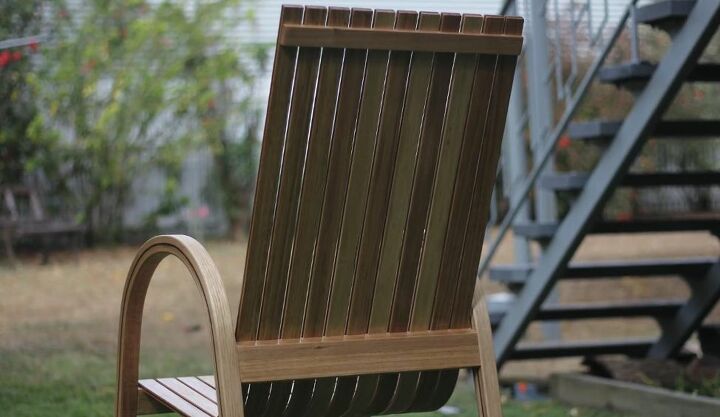
To create a contrast within the chair slats, I placed a combination of merbau and Tasmanian oak into the steamer. I created a chair form using pine boards cut to create a 100-degree angle from the horizontal to the vertical. I clamped and attached my cut pieces with wood glue into the form and then rounded off the sharp corner with a band saw. I added a stop block to the base of the chair form.
I removed the wood for the chair slats from the steamer and bent them around the chair form with a strap and clamped them tightly. I placed wood into the steamer and around the form in batches and having more forms than I did would speed up the process of creating the chair’s seat significantly, but I wanted to be sure that all of my strips were exactly the same shape. Once cooled, I removed the bent wood from one form and placed it onto a second, identical form with wood glue to set overnight.
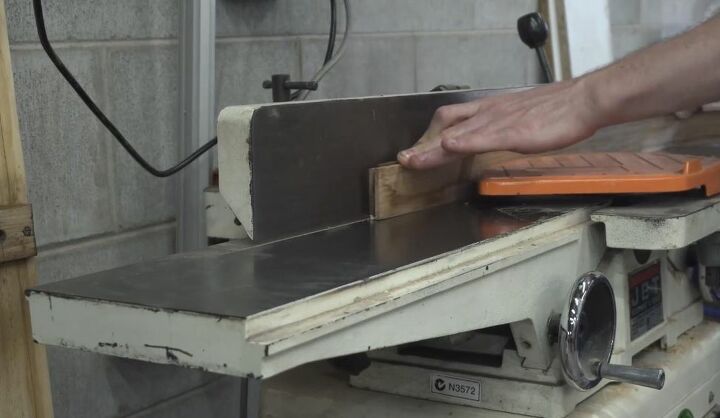
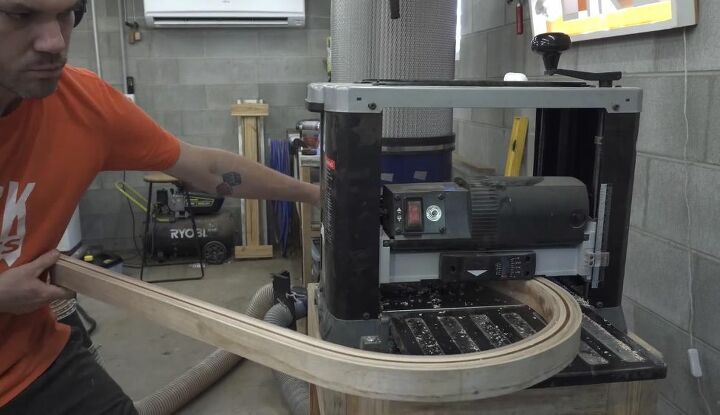
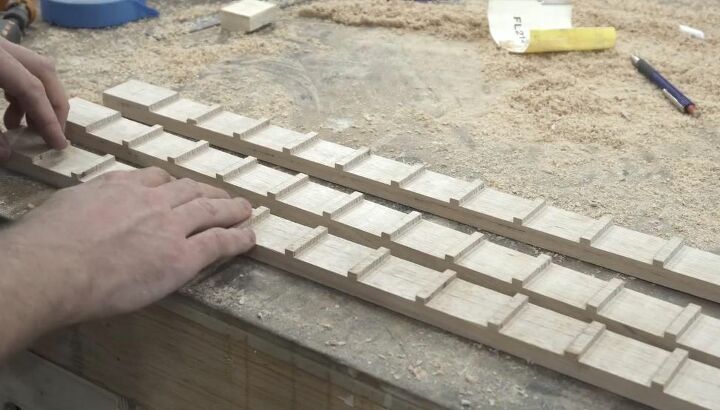
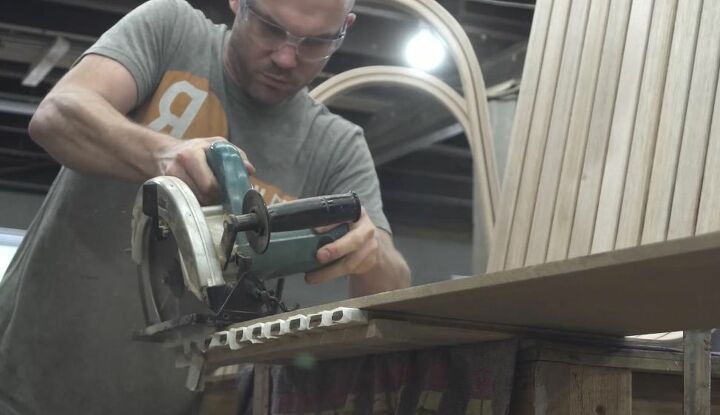
I had eleven strips formed to the shape of my chair seat and I used my jointer planer and band saw to ensure that all of them were the same thickness and had an even surface.

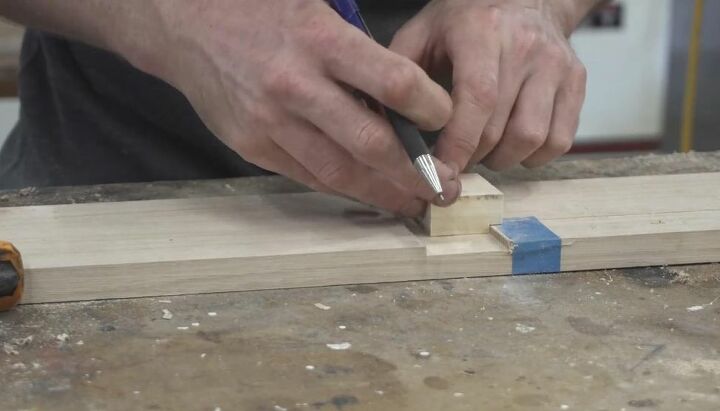
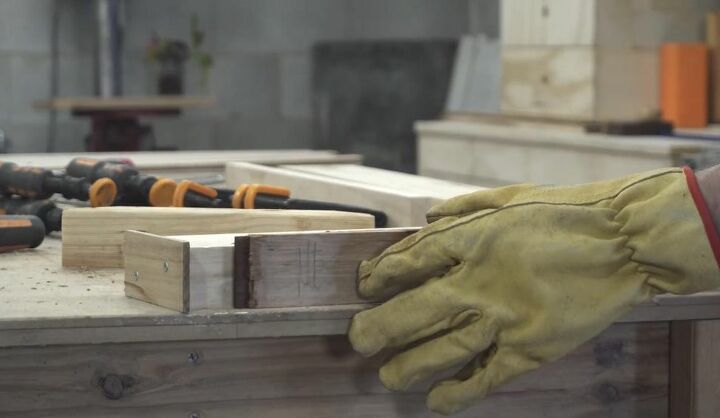
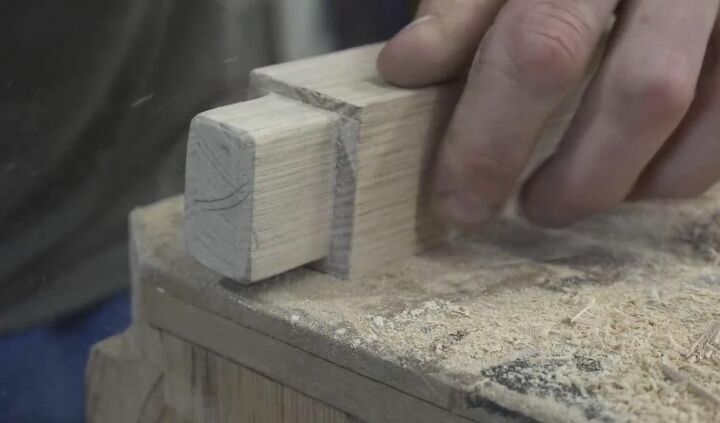
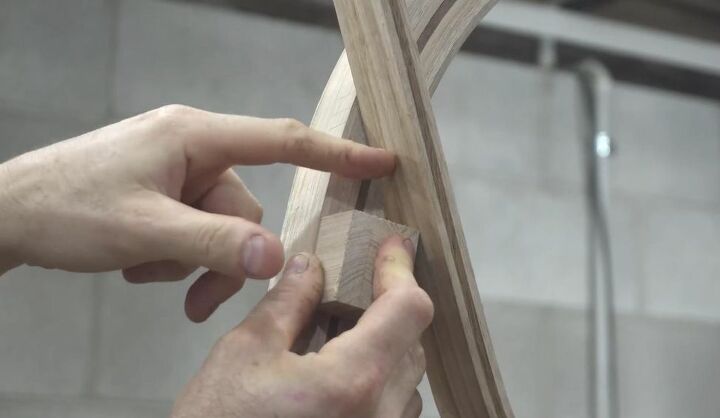
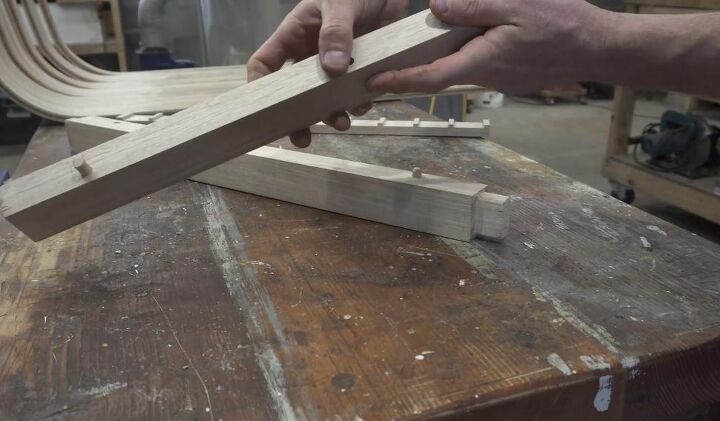
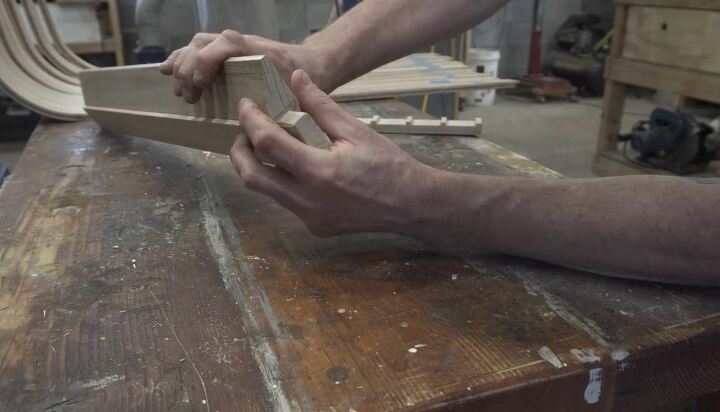
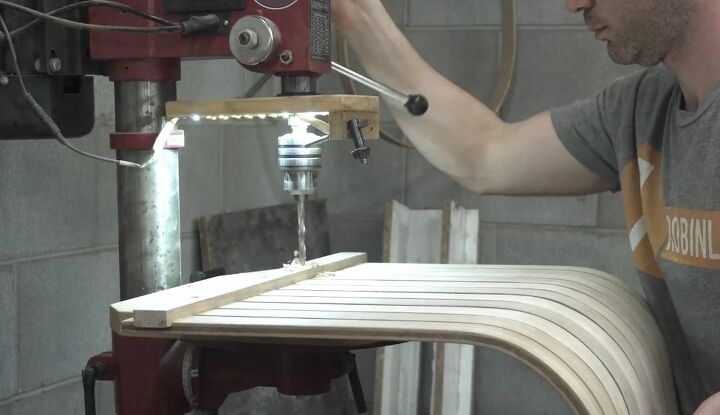
I created three pieces of notched wood to split the slats evenly and attach to the rails for the leg assembly later on. I created spaces to inlay the slats into the three pieces.

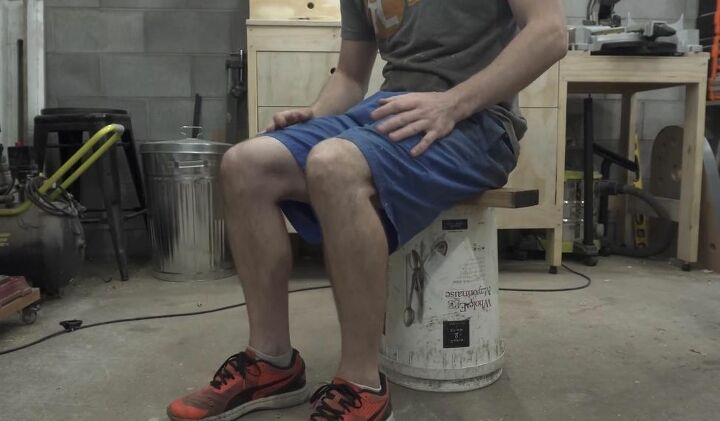
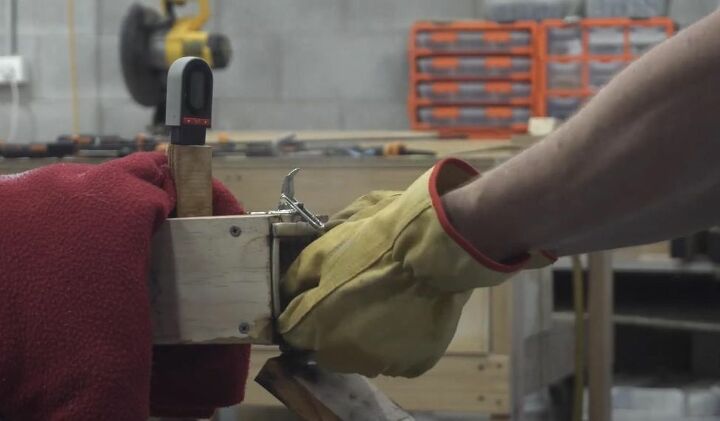
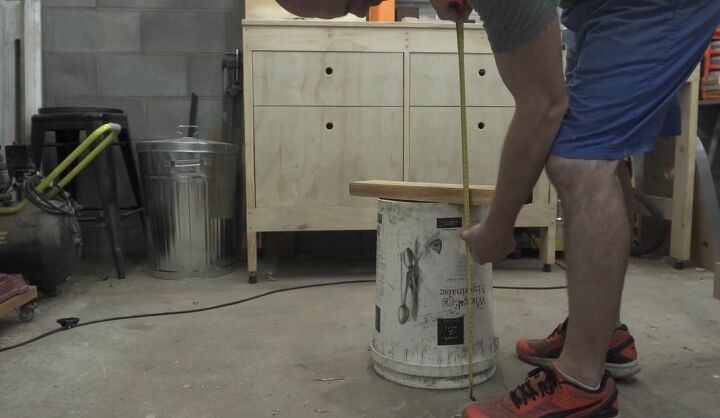
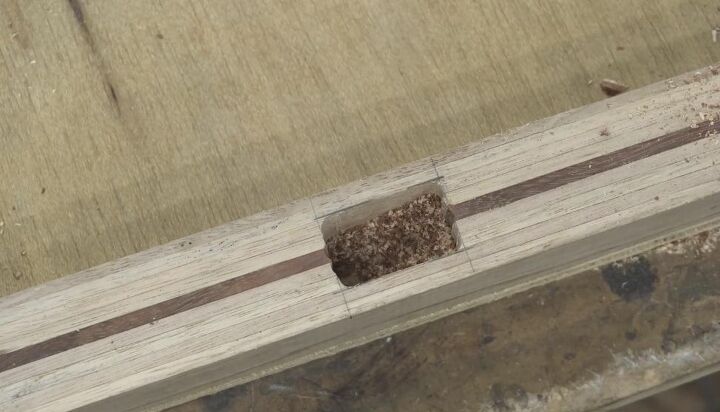
I measured the height I wanted the chair seat to be and then clamped my two side supports together to mark the height for the mortises at the same time to ensure they were the same height on both sides. I used a spade bit to create the mortises and then cut the rest of the inside edges using a router to make sure the internal edges of the mortise was flat and perpendicular.
I created my front rail piece and installed it inside the mortises on either side of the chair supports. I used the front rail to support a slat to estimate the angle I needed to install my back rail.
With the front rail in place, I measured and marked the angle and height needed to support the slats for the proper seat angle. I attached the rail with a full mortise and tenon just below the slat and then between the rail and the slat, I created a triangle piece out of Tasmanian oak to slot in for the slats to sit against. I cut the angled piece and added dowels to help hold the shape together.
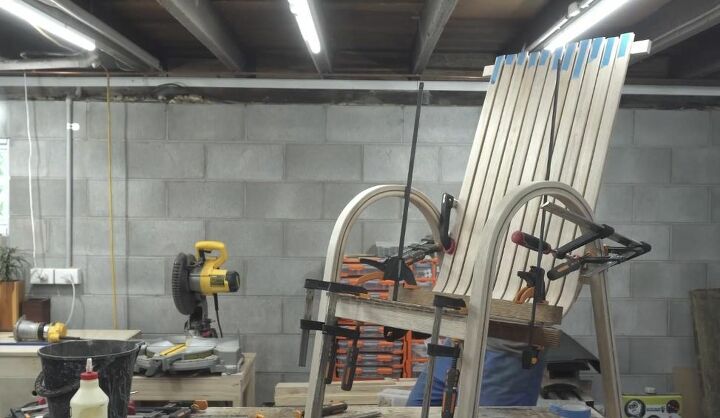
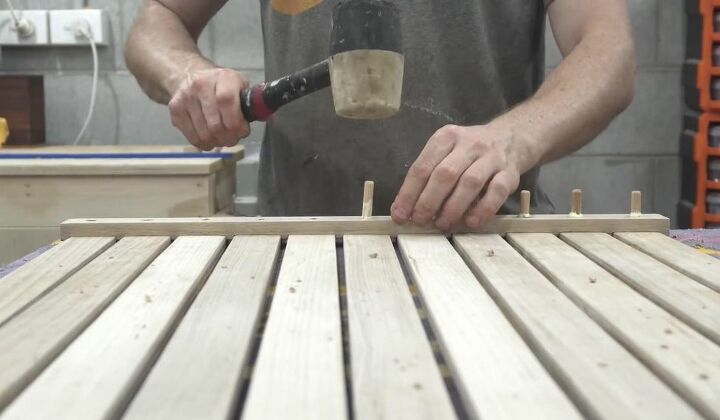
I clamped the spacer strips on the back and the front rails and glued the slats onto the spacer strips three at a time before stopping to clamp them in place. Once the wood glue was dry, I pulled the entire assembly away from the chair to reinforce the cross-grain joint by running a dowel through the support strip on the back into each one of the slats. I installed the dowels and then trimmed the protruding pieces flush with the support.
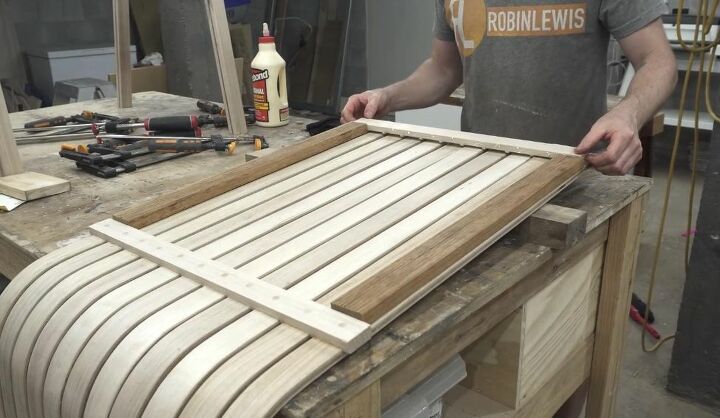
I glued on the third and final spacer strip to the top of the assembly on the back using two boards to make sure the two upper spacer boards were spaced accurately.
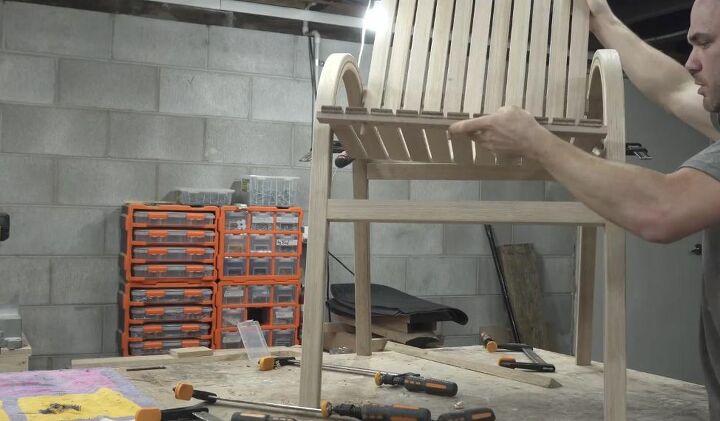
I cut away excess length from the angled seat slats both above the upper spacer board and below the bottom spacer board to ensure comfort where the legs hit the seat and for a streamlined design. I gave the chair a final, finishing sanding and used wood glue to fit the seat snugly down into the chair frame supports.
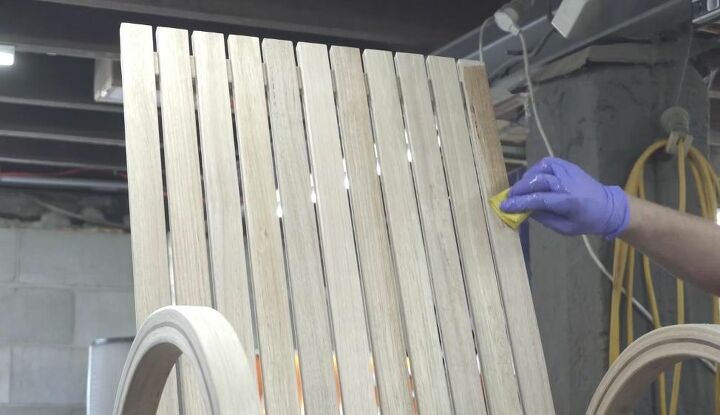
To finish, I added two coats of Danish oil to the surface of the chair with light sanding between each coat. Brush or wipe on the finish to seal, protect, and provide your project with a warm and natural appearance.
I could not be happier with how my first chair project turned out and would not hesitate to try this project again with the knowledge I gained in the process of building it. I’m grateful to have taken all of the advice and encouragement I received to try something new and learn an interesting technique that was outside of my comfort zone.
Have you created a chair or another piece of furniture for your home or used steam bending in one of your woodworking projects? Share your tips and project photos or find inspiration for your next DIY on Hometalk!


Comments
Join the conversation
-
Amazing Amazing Amazing! You are truly talented. It is beautiful
-
Amazing, absolutely beautiful. Better than something you would buy in the store. Great job. keep it up.


Frequently asked questions
Have a question about this project?
Absolutely beautiful! This was your first chair? I think you should make more! I'm sure you will have people clamoring for them.