


DIY Target Shooting Game
Looking for game ideas to keep the kids occupied this summer, this game could be for you. Can be played by people of all ages and group sizes. I am an aged care nurse who fills in the position of entertainment officer when she is away. I had to do her job for 4 weeks in a row and had no idea what I was going to be doing with them. I came up with the idea of making another game since the Horse Racing game I made was such a hit.

This was my second attempt at this game, my first one was a total failure. The reason it was a failure was I learnt not all felt is equal. The felt on my first attempt would not stick to the velcro. I went to my local budget store with my velcro ball and tested it on the felt first before I bought it. ( Naughty I know) You should be able to throw the velcro ball at the felt and it should stick. Any fabric that velcro will stick to will work. Our residents woollen jumpers get stuck all the time, so if you can knit or crochet that would work even better.
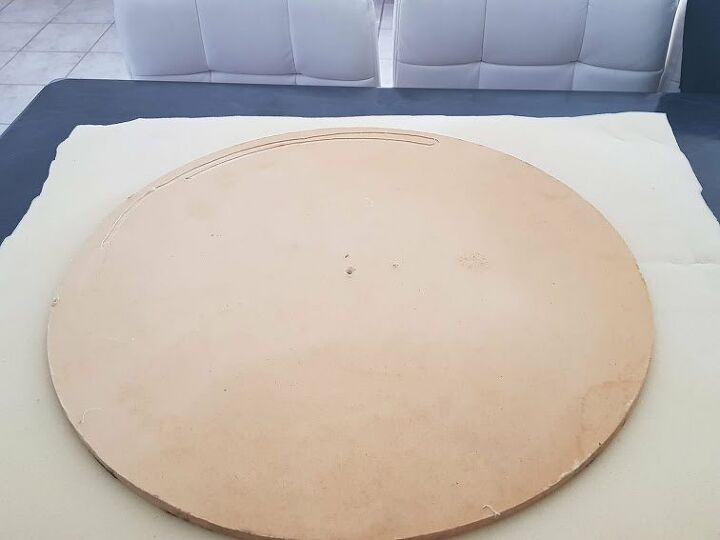
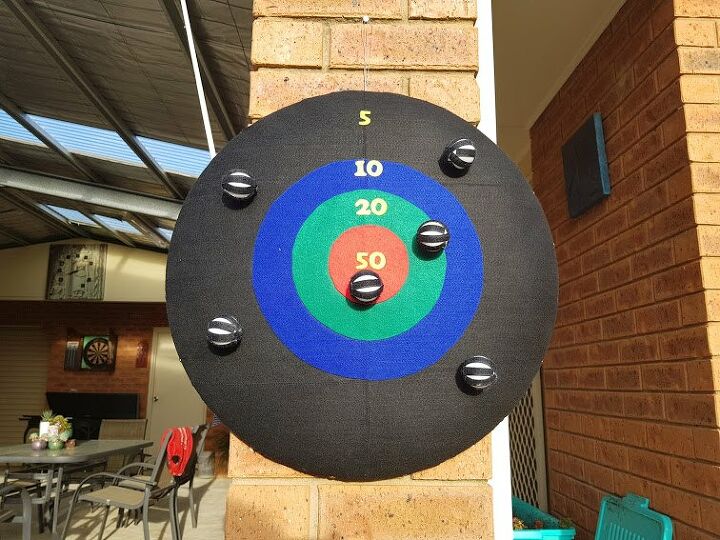
My board was already a large circle because it was an MDF tabletop. The diameter of the circle is 60cm. I added the foam because with the first attempt the balls would hit the board with such force they would bounce off.
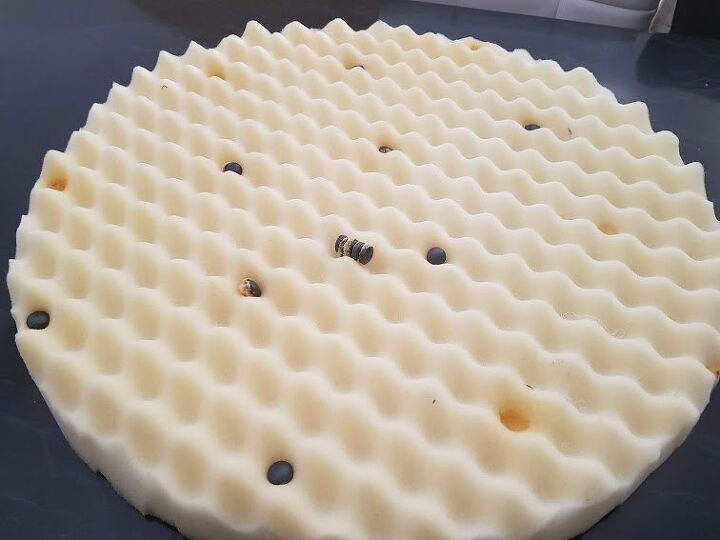
The foam is to cushion the blow and make the balls stick. I try to build all my projects using recycled materials, so my foam was an old magnetic eggshell mattress. The foam was cut to the size of the board and glued in place. I removed all the magnets
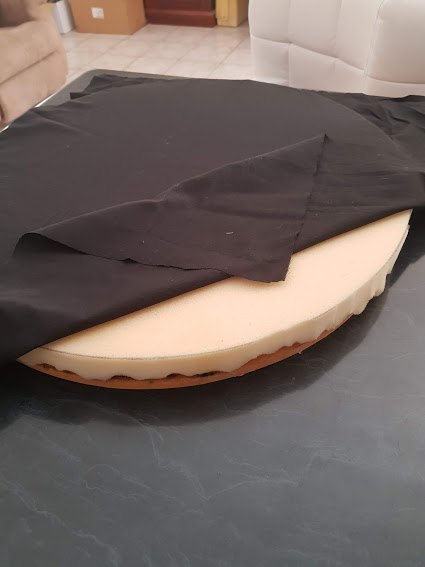
Cover the board with the black cotton and staple it to the back. I only used cotton because my felt was not long enough. Don't pull the cotton too tight, the target must still be bouncy once covered.
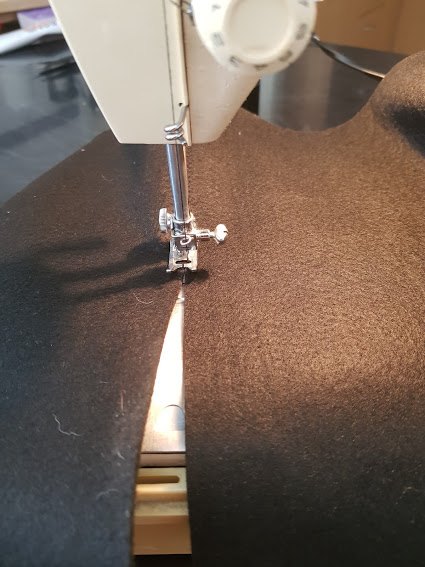
Because I could only get A4 sheets of felt I had to sew them together. I used a zig-zag stick to join them.
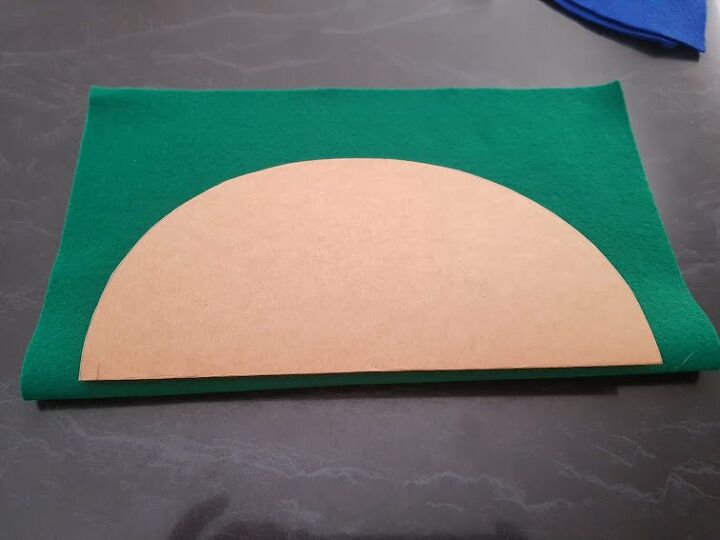
Using a piece of Kraft paper I made a circle template for the targets. And cut around the circle.
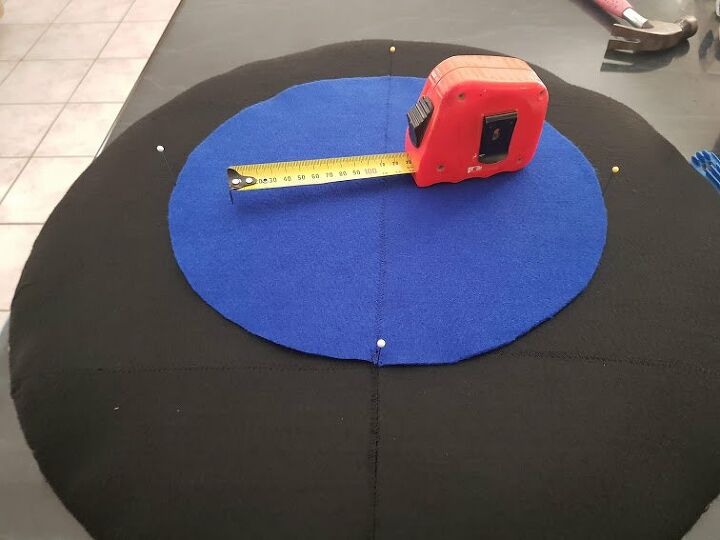
I measured the board and found my centre and marked it with pins. Using the spray adhesive glue the first circle was glued in place. Using the pins as a guide.
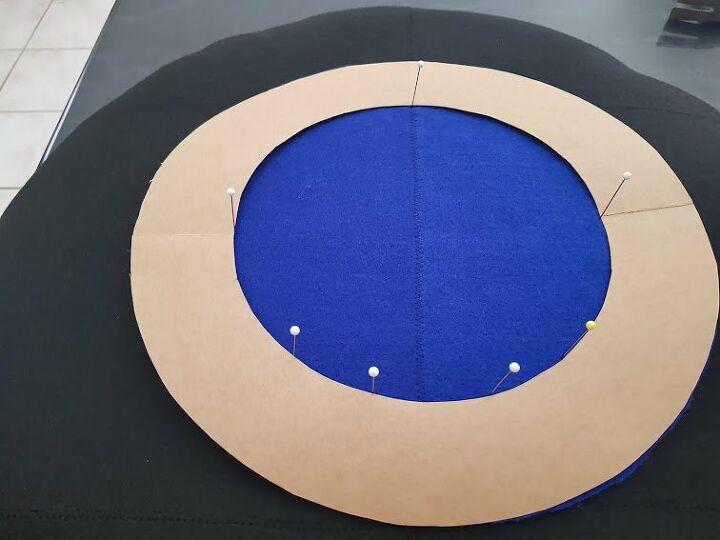
The paper circle was used as a temple for the next colour. Place it over the bottom colour to protect it from over spray from the spray adhesive.
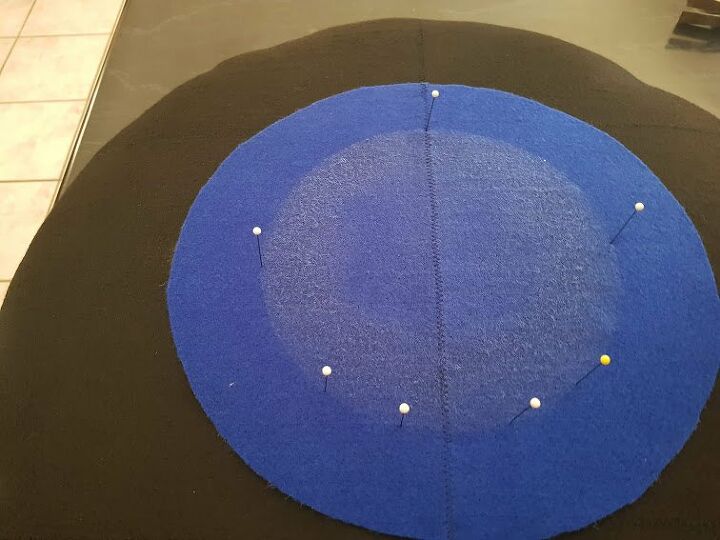
Just repeat this step until all the colours have been added.

Don't soak the felt in adhesive it will cause the fibres to get flat.
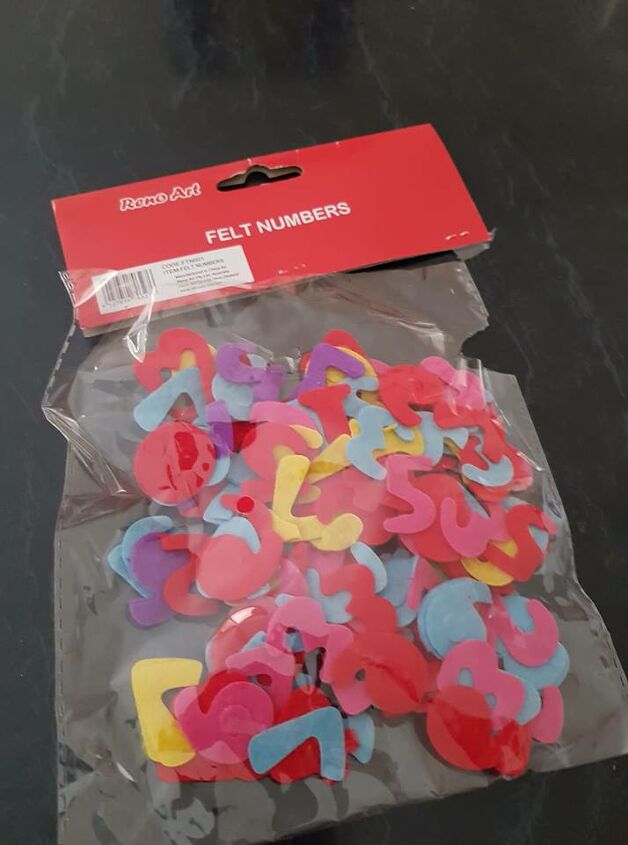
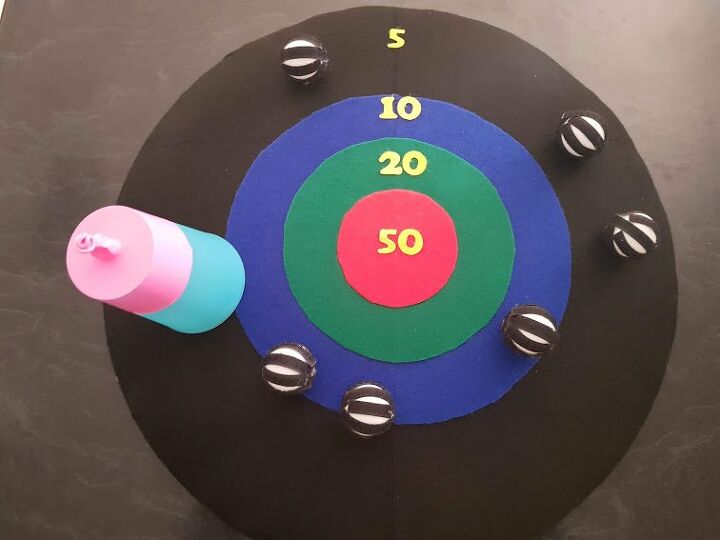
Add your felt numbers to the target.
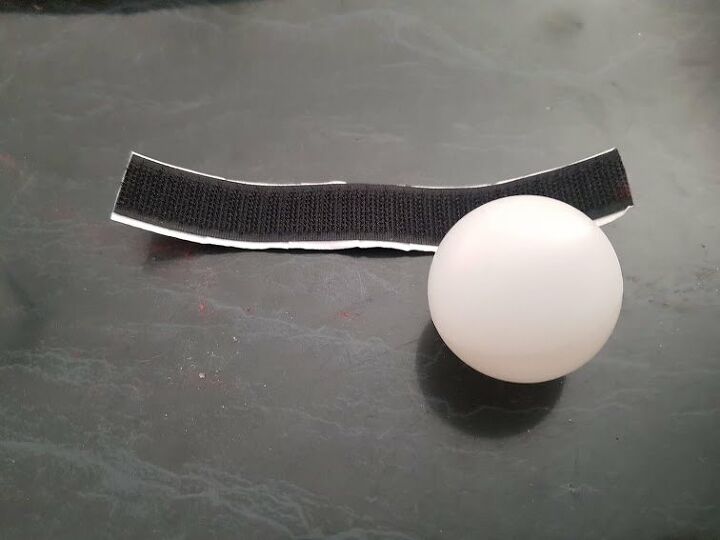
The back of velcro strips was self-adhesive, which was sticky enough to add directly to the ping pong ball. I cut the strips in half and covered the surface of the ball.
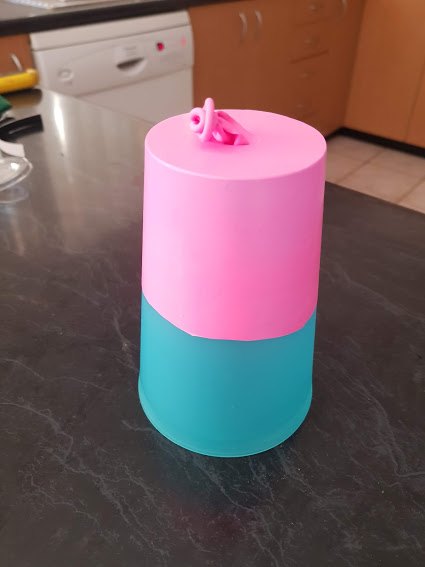
To make my "Gun" I used a plastic cup I had at home and cut off the bottom. I was lazy and used my tabletop sander. I removed any sharp edges with sandpaper. Using a balloon tie a knot in the end and cut off the top. The balloon is then stretched over the cup. The ball is put in the cup the knot in the balloon is pulled back and let go. The knot then hits the ball sending it flying out of the cup to the target.
The cost of this project for me was very low because I used recycled materials and products that I had at home. Your cost would depend on what you use. To see more on this project visit my website listed below.
Looking for more ideas, check out this stunning chaise lounge I made from mainly recycled materials.


Frequently asked questions
Have a question about this project?