


What Not To Do When Tiling a Floor
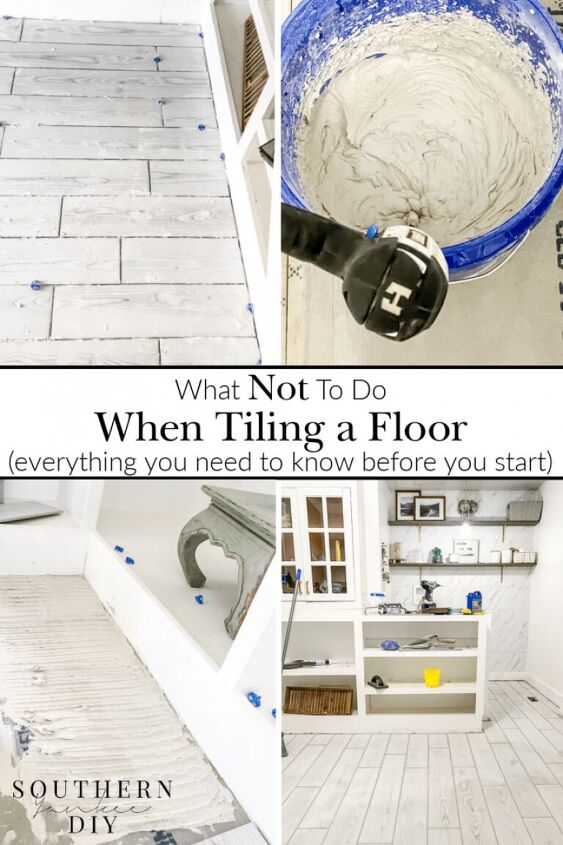
What Not To Do When Tiling a Floor
Everything you need to know before tiling a floor for the first time & what mistakes to avoid
Some projects I am super confident about starting, I know what needs to be done & how to do it.
Other projects, mainly ones that I do for the first time, are more intimidating.
Tile was one of those project y’all!
But after we completed tiling our walk-in closet & laundry room I now know that it is totally doable & doesn’t have to be scary.
We did however make some mistakes & we thought you might benefit from our knowledge of what not to do when tiling a floor…
If you have been following along with our walk-in closet/laundry room renovation you know we start with a room that looked like this:
It was rough y’all!
We had to remove the carpet & scrape the popcorn ceilings.
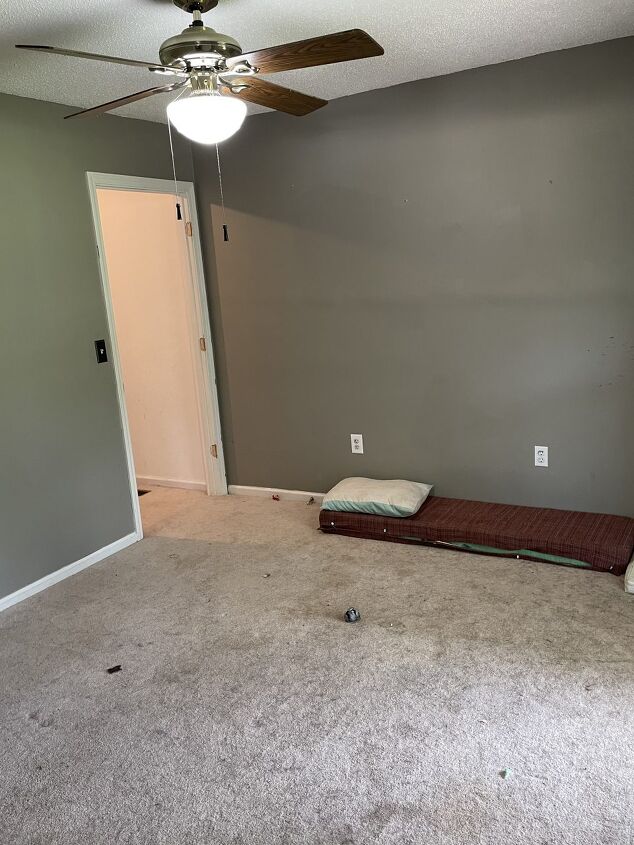
This room was actually a small room in the front of the house that I think the previous owners used as an office.
We ended up closing off the original entrance & creating a new one through our bathroom wall.
This layout just made the most sense for us especially since we tore down the wall to the original closet in the master bedroom & made a little office nook.
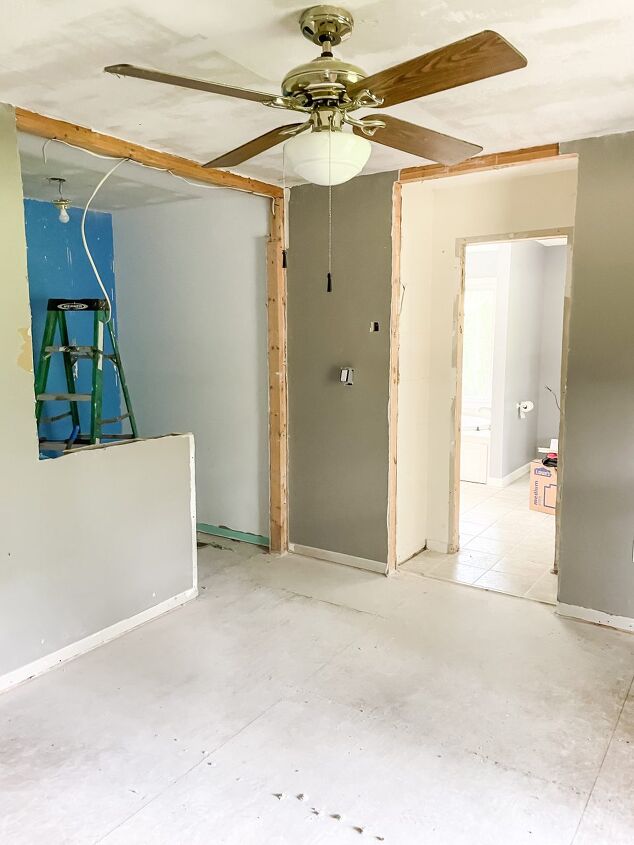
We also removed the closet wall & created a half wall to enclose our new laundry room area!
I know there are a lot of mixed reviews of a laundry room in the closet, but I think we are gonna be fans of this placement.
Eventually when Eli gets old enough to do his own laundry we will install a stacked washer/dryer unit in his bathroom closet.
You can check out that complete renovation here!
We also added DIY built-in shelving & hanging space to the closet portion.
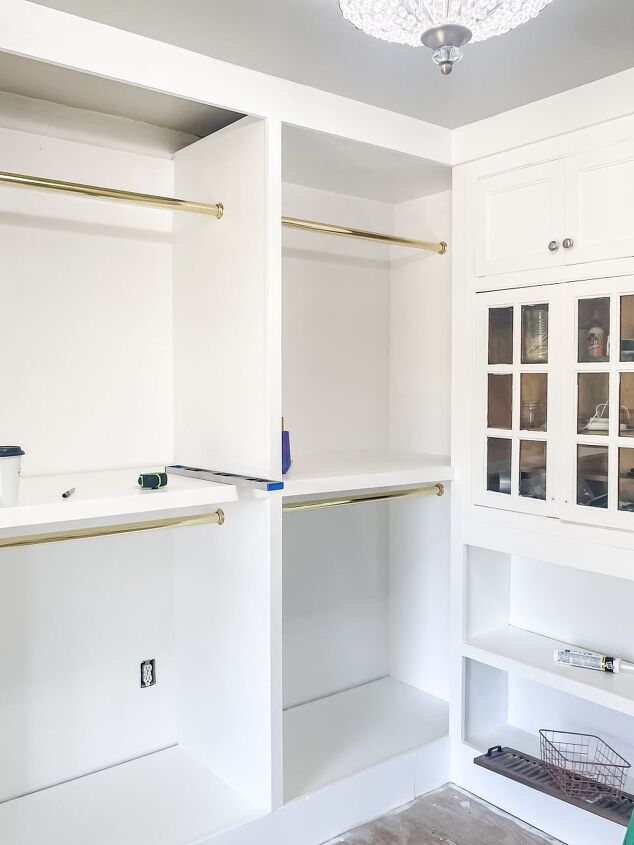
Now we are onto what feels like the grand finally of this project, tiling the floors!
I was a little nervous going into this part of the project honestly.
We have installed lots of flooring but never tile.
So I did a bunch of research & tried to be as prepared as possible, but we still made some mistakes.
I am going to share everything we did wrong & some things we did right to save you time, stress, & money!
What Not To Do When Tiling a Floor
1. Not Taking Leveling Seriously
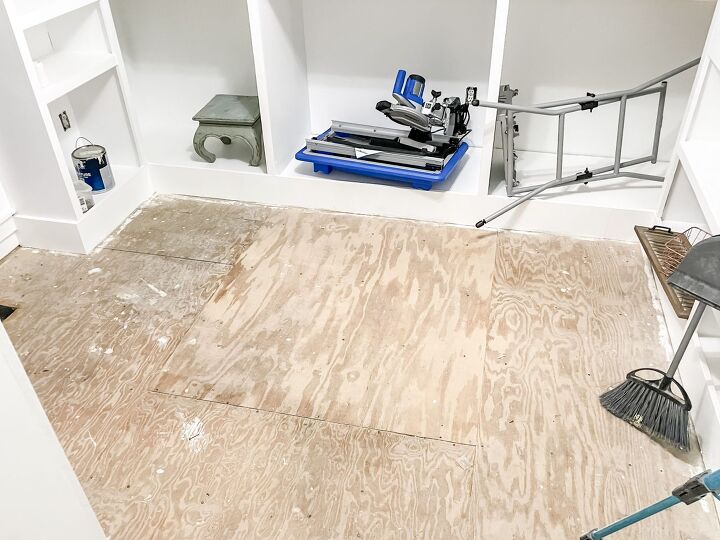
All the research said to level the floor & I knew it needed to be done, but I didn’t take it as serious as I should have.
We used a large level & found out our floor did in fact slope.
We tried sanding down the plywood but it just wasn’t enough to make a difference.
At this point we should have used a layer of leveling compound… we however did not.
This created a problem when we went to lay the tile & we had to use a lot more mortar to try & make it more level.
2. Not Being Cleaner When Laying The Cement Board
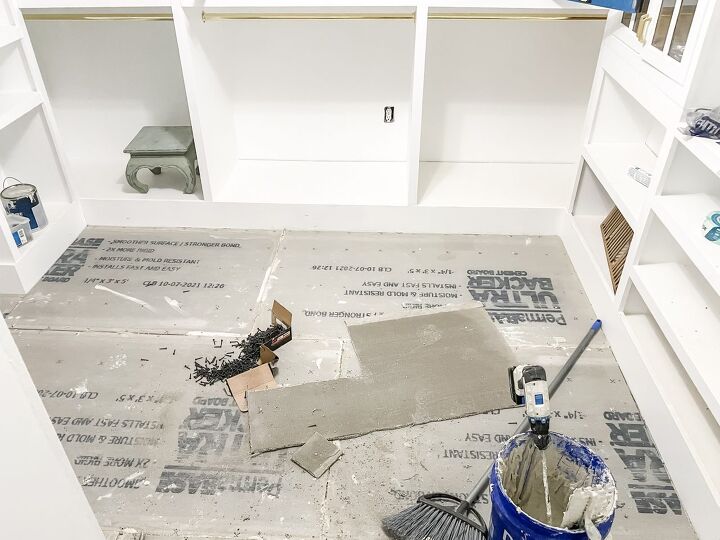
After the floor is properly level the next step is to add cement board.
Manufactures recommend not laying tile directly onto plywood because it expands & contracts.
This is where cement board comes into play.
You apply it using mortar on the bottom, then laying cement board on top.
Once the cement board is in place, use 1 1/4″ cement board screws to further attach it.
The mistake we made was being too messy while applying the mortar.
In some places we had large chunks that dried on the top of the board.
Also mortar oozed out from between the gaps & dried.
We should have immediately wiped this away so that we didn’t have to sand the dried mortar away later.
3. Not Screwing Correctly
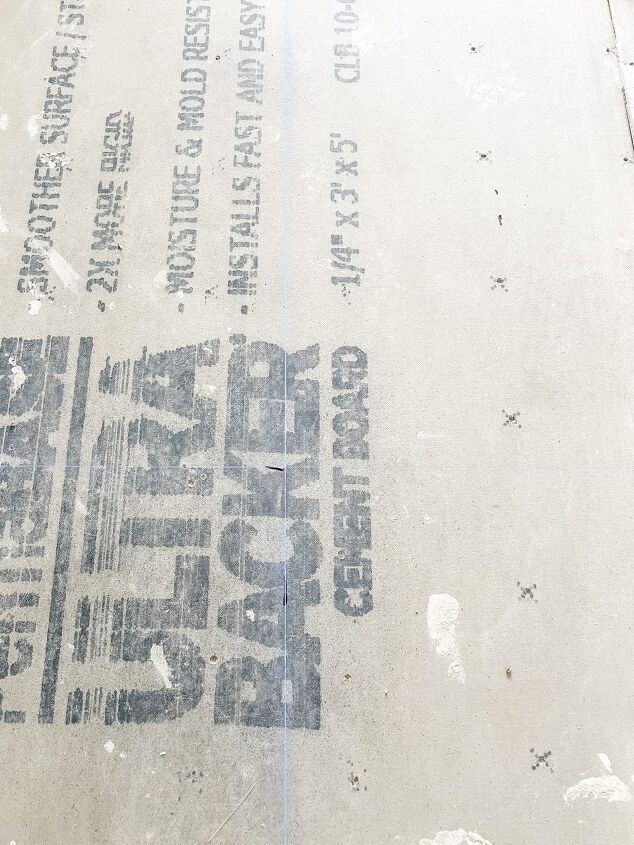
The cement board has X’s where screws need to be located. we did this part correctly.
What we didn’t do was make sure all the screw heads were slightly below the cement board.
We had to go back & drill a few down deeper, not a huge mistake but still took extra time.
Another thing we missed at this stage was again leveling the cement board as we laid it.
Had we caught just how off the floor still was here, we could have added extra mortar underneath the cement board.
4. Working In Too Big An Area
This was something else we were warned about however I took that to mean make small batches of mortar.
Not necessarily work in a small sections….
Working in too large of sections made the process messier because we were crowded by the tiles that were previously laid out.
We were also dripping mortar everywhere because we had to lean over the larger work area.
And we had to scoop mortar back into the bucket because the mortar we laid was wider than the tiles & we needed to work across not down.
5. Using The Right Cutter
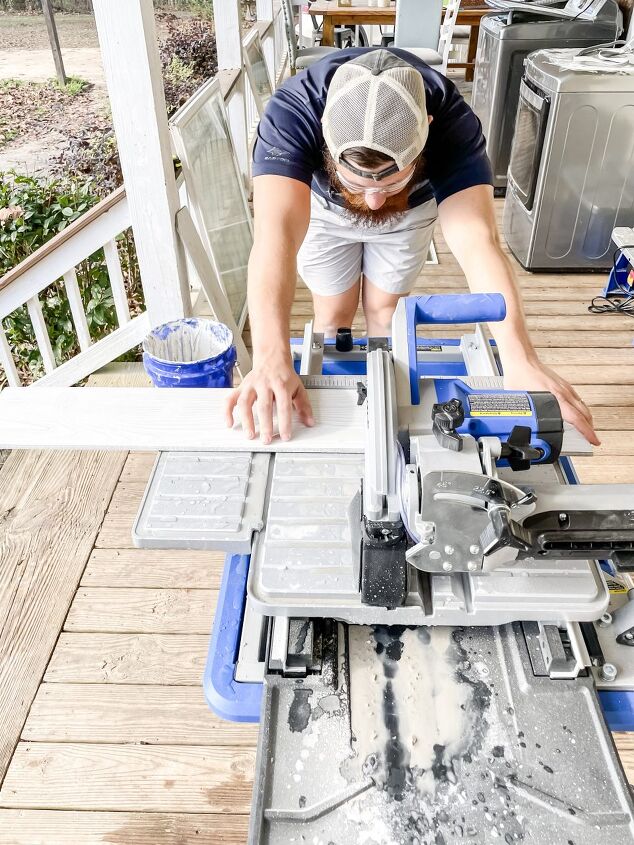
For my birthday this year I got this brand new tile saw!
This was our first time using it & I was super excited.
It worked perfectly for most of the cuts, but when we needed to cut long strips the tiles kept cracking.
They were cracking because the tile saw doesn’t have enough support on the back end for such long cuts & narrow pieces need a lot of support.
This is where a manual tile cutter would have come in handy.
Plus they are pretty inexpensive so having it in combination with the tile saw would have definitely been worth it!
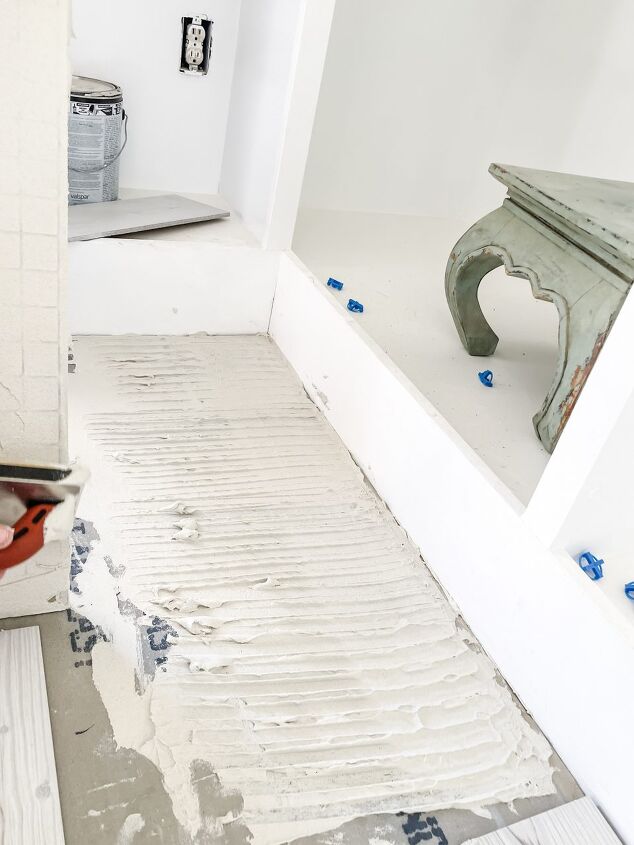
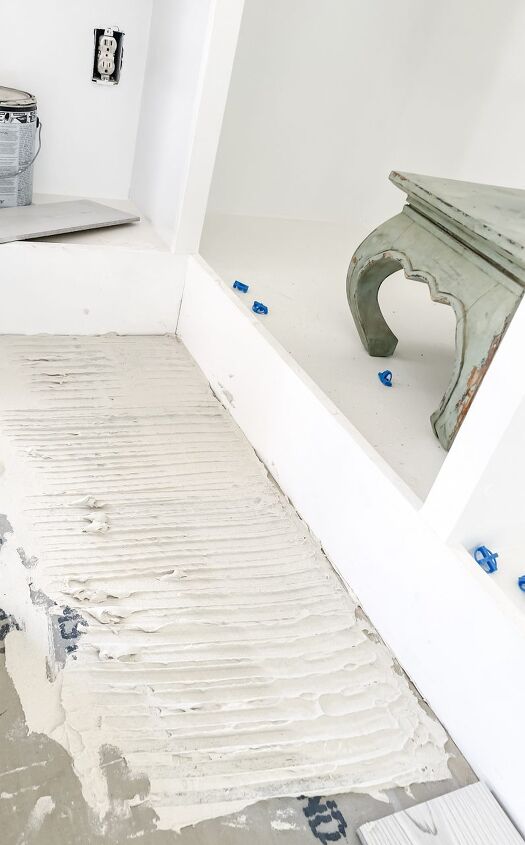
6. Too Thin Mortar
This part we really dropped the ball on…
In all honestly I don’t remember reading anything specific on how much mortar to use.
What I do know is you should not be able to see the cement board in between the notches.
We needed to lay down more mortar & then be sure to hold the trowel at a 45-degree angle.
You can lift up the tiles after they are placed to make sure you are getting good coverage.
Luckily we realized this mistake in time & fixed it!
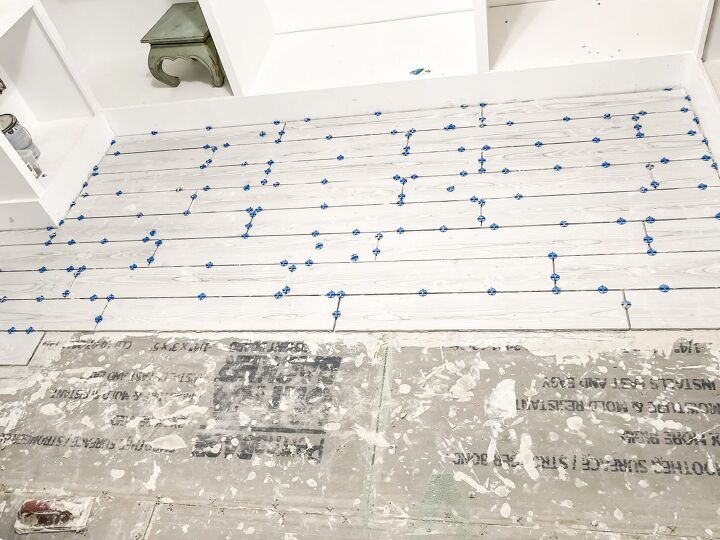
7. Not Enough Spacers
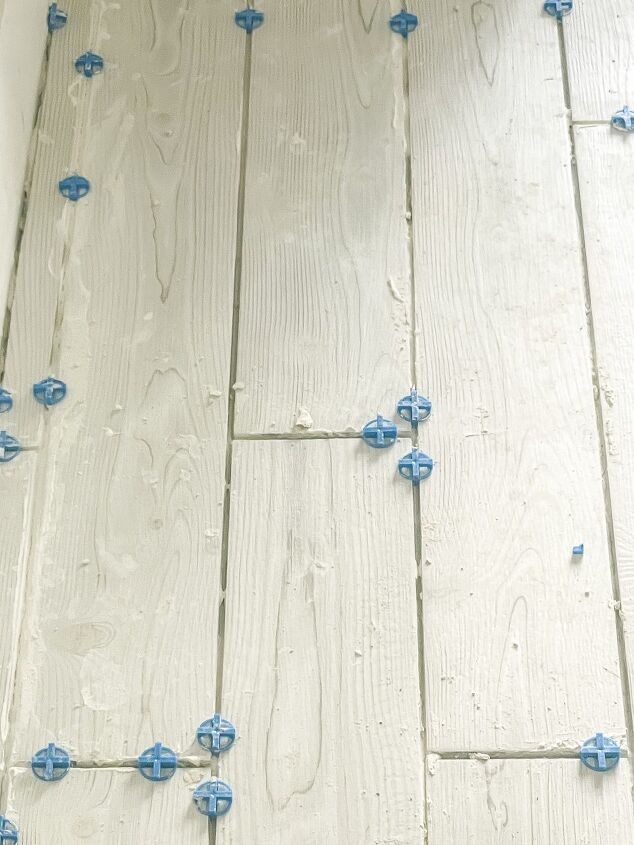
Our room is 130 Sq Ft & we bought 200 spacers, this was not enough.
Maybe it’s because we are beginners but I think more spacers the better!
We had to use spacers from tiles that were already dry which is not ideal.
Get more spacers!
8. Not Wiping Excess Mortar
This one should have been obvious to us but it was not.
We let the mortar install get too messy here too.
It dried on top of the tile & had to be removed later with a scraper & soapy water.
Luckily it came off okay, but that wasted a lot of time.
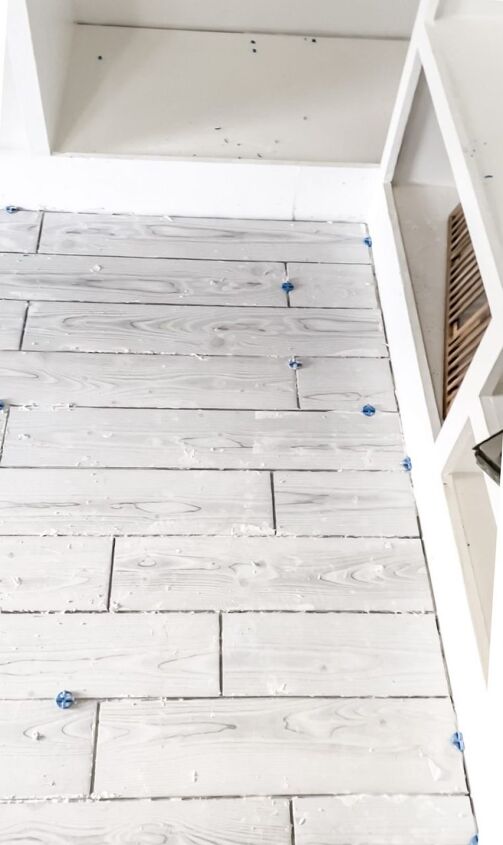
Another thing we needed to do is remove the excess mortar from in-between the grout lines.
Grout will not cover the mortar & the mortar will show threw, so it’s best to clear the lines as you go.
9. Overestimating
When Adam & I took on tile day we thought it would be just that, 1 day.
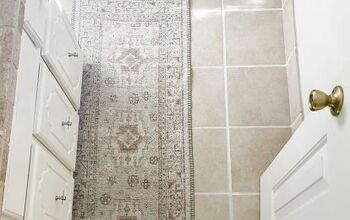
This is how far we got in a day.
Keep in mind we were also taking turns chasing a toddler around but still, we were disappointed to say the least.
I wish we would have had a more realistic expectation of the project timeline because it led to us feeling pretty defeated after the first day.
If we had known how long it actually takes a beginner to lay tile I think we would have been more organized & felt better about our progress.
Those are our biggest regrets for laying tile for the first time.
We did do some things right too though that I recommend:
1. Staple Removal

We did take the time after removing the carpet to remove all the staples & nails in the plywood.
This saved us a lot of time in the long run.
My big secret for removing staples is to use a wood scraper or pliers!
2. Laying Out Tile
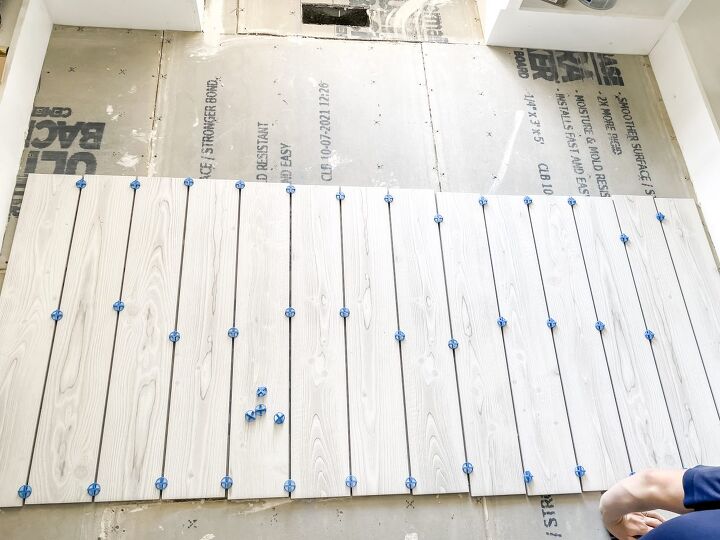
One smart thing we did was doing a dry tile layout.
We marked the center of the floor, then laid out tiles across the room with spacers to see what size gap was left at the wall.
Once you do this, take that gap measurement & split it with both sides.
This way you have an equal ripped tile piece on each side.
3. Mixing The Mortar Correctly
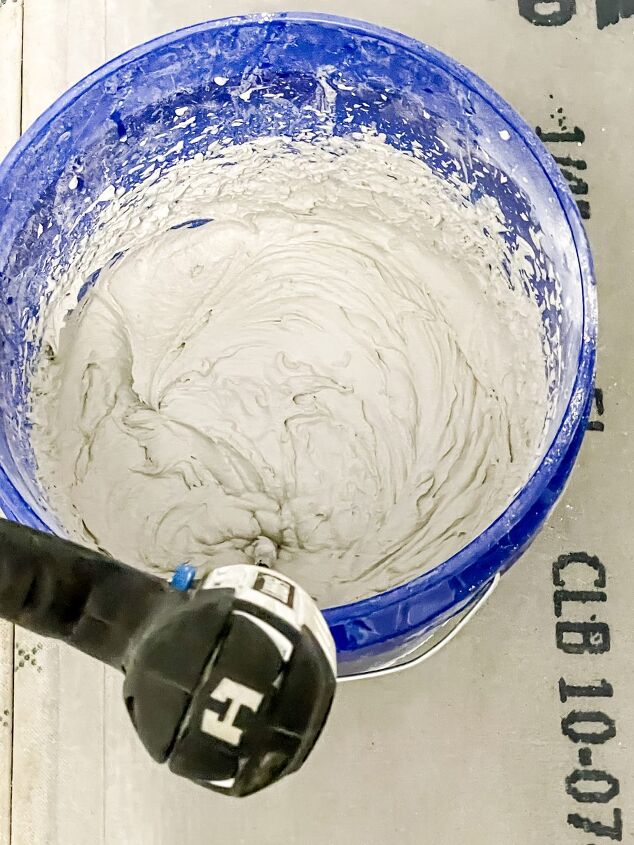
Mixing the mortar the right way is a key step that we actually did right!
We followed manufactures instructions & mixed a 4:1 ratio of mortar & water.
It’s important to add the powder to the water & mix for 5 minutes.
After the initial mixing we let it sit for 10 minutes which is called slaking.
Once the 10 minute wait is over, mix again for 3 minutes before use.
This combination of steps gave us the perfect consistency for our mortar.
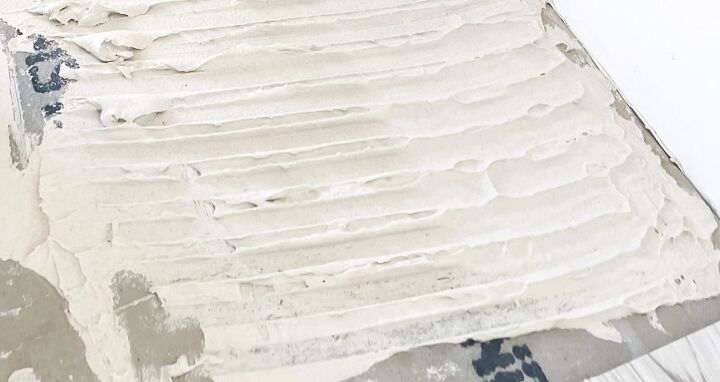
4. Notching Correctly
When notching with a trowel it’s super important for the lines to run straight with the short side of the tile.
Having straight lines helps the tile collapse into the notches better without trapping air.
Move the tile side to side in order to get it to collapse into the mortar for the strongest bond.
5. Backbuttering
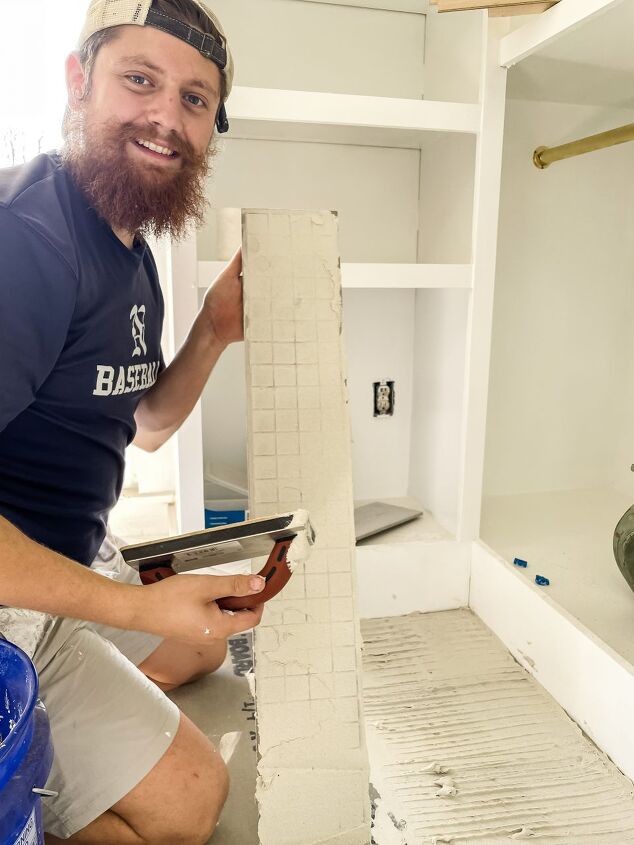
Of course we had to document Adam’s first back-butter!
Back-buttering is when you apply mortar to the back of the tile.
This is another crucial step for a good tile bond.
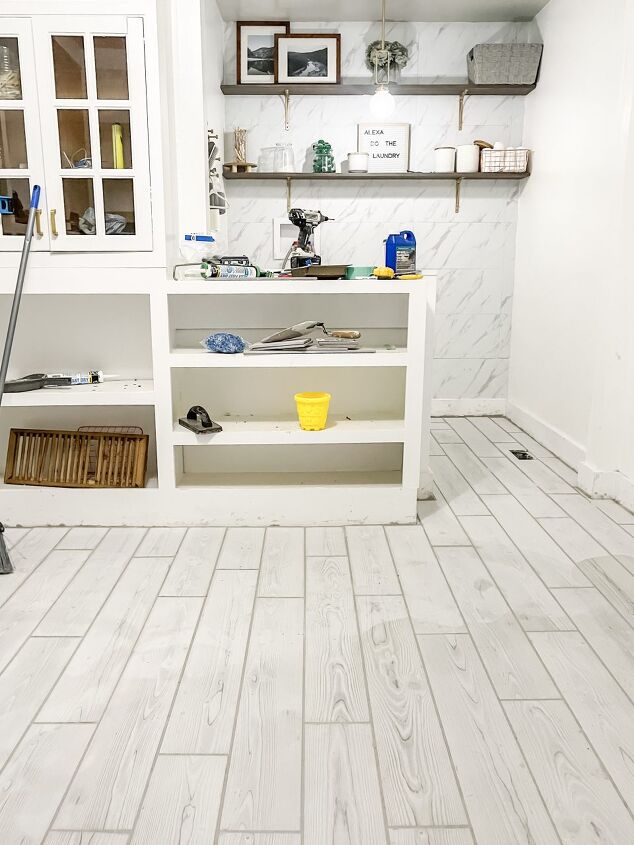
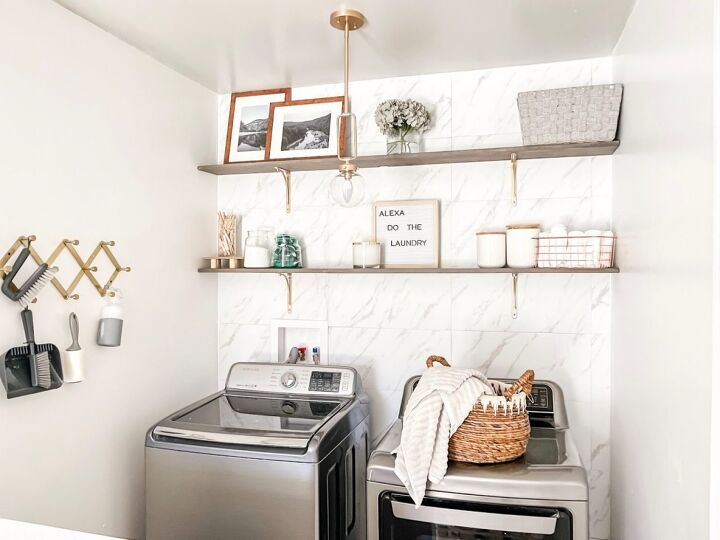
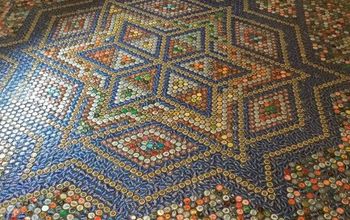
Even with all our errors our tile project turned out amazing!
It turns out grout is like the caulk of tile work & hides a lot of things & really makes it all come together.
This final step of this room renovation was a big one & I am so glad it is done!
We do feel a lot more confident about tile work now, which is good because we have a lot of tile projects coming up!
Let me know if you have any questions & what mistakes you made during your first tile install!


Comments
Join the conversation
-
Great tips. You covered everything. Great knowledge for the first time DIY. My first tile job was over plywood way before there was cement board. What a mess. Underlayment screwed to the subfloor was recommended at the time which i didn't use. You learn as you go.
-
Not sure if this applies beyond ceramic, granite or travertine tiles, but be sure to rotate the tiles as you take them from the box and lay out, otherwise you’ll likely wind up with an undesirable striation pattern.


Frequently asked questions
Have a question about this project?