


How to Build a DIY Giant Nutcracker For the Holidays

Get ready to embark on an exciting Christmas crafting journey with this DIY giant nutcracker project! I'll guide you through each step to create a life-size nutcracker that will stand guard over your Christmas celebrations.
So, roll up your sleeves, gather your materials, and let's dive into this DIY oversized Christmas decor project!
This post was transcribed by a member of the Hometalk editorial team from the original HometalkTV episode.
Tools and materials
- 12-inch concrete form tube
- Wood pieces
- Tape measure
- Marker
- Drill
- Screws
- Jigsaw
- PVC pipes
- Foam
- Caps
- Hot glue gun
- Primer
- Bucket
- Gold trim
- Paint
- Foam brush
- Pencil
- Ruler
- Wood buttons
- Tinsel garland
- Dust mops
Hometalk may receive a small affiliate commission from purchases made via Amazon links in this article but at no cost to you.
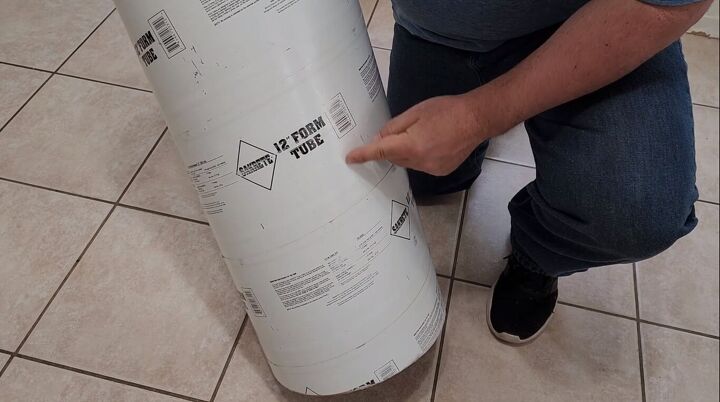
For this super cool Christmas project, we're going to start with a concrete form tube; 12 inches will be just perfect for this. You can pick this up at any hardware store.
How to make a giant nutcracker
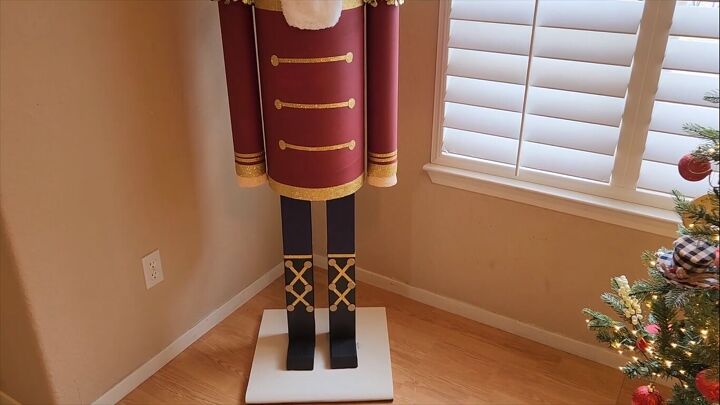
1. Attach the legs to the base
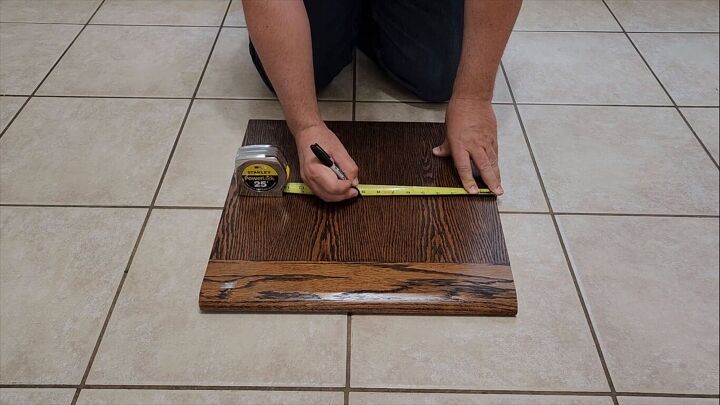
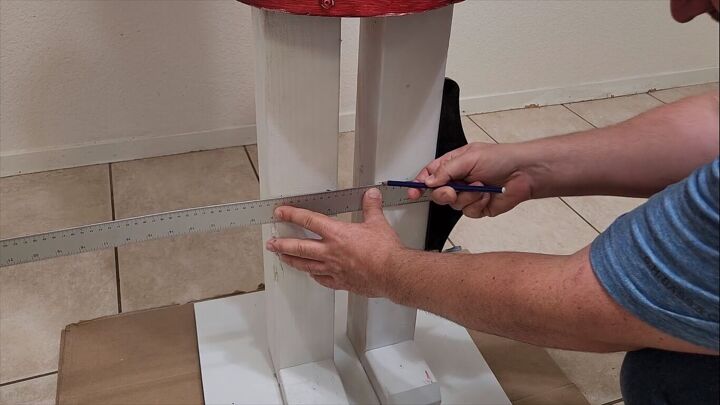
The first thing we have to do is make a base. This is 18 inches by 18 inches. We're going to find the middle at nine inches and mark an X.
We're going to use this starting point to go one inch on one side and one inch on the other. That's how we're going to measure for the legs of the nutcracker.
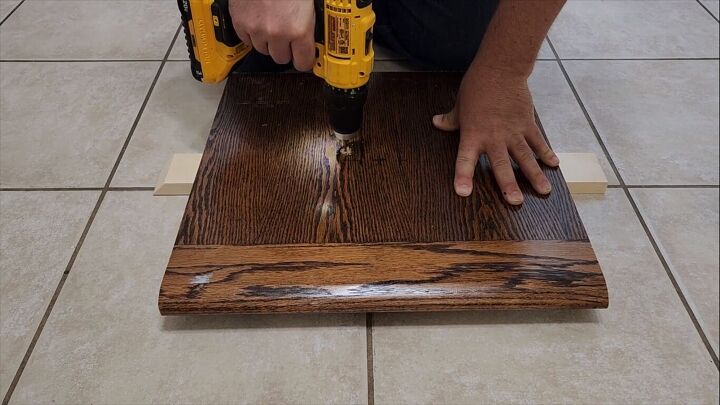
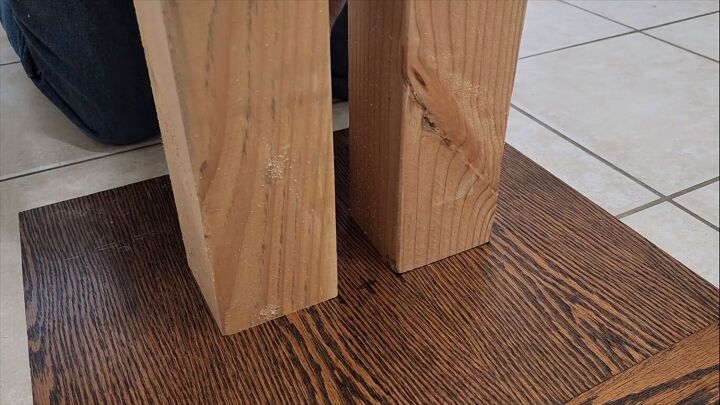
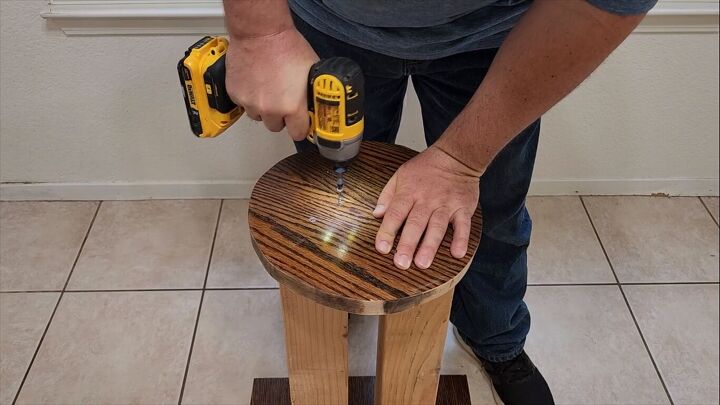
Now, this is the hard part. We've got to drill through the base: two screws for each leg in order to hold it together.

Once you do this, put it upside down on top of the legs. That way we can screw through the bottom and into the legs. This will make it nice and sturdy.

2. Make the nutcracker's body
Next, we take the form tube and cut out a piece of wood that'll fit on the inside. Once you mark it, cut just on the inside of the line, and that way it will fit right over the tube.
Drill two holes, one for each leg. Once you get these pilot holes drilled, put the 2.5-inch screws in. This will make it super strong.
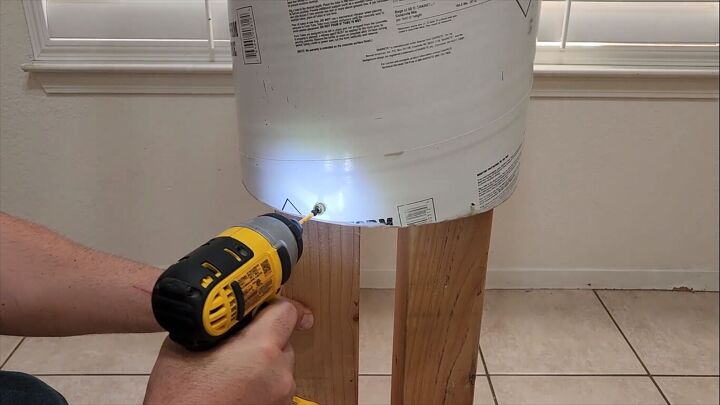
Put the tube on top of the wood. Slide it right into place and drill some pilot holes through the tube and into the side of the wood. Put some screws in that'll hold it in place. That'll again, strengthen this and keep it where we need it.
3. Make the arms
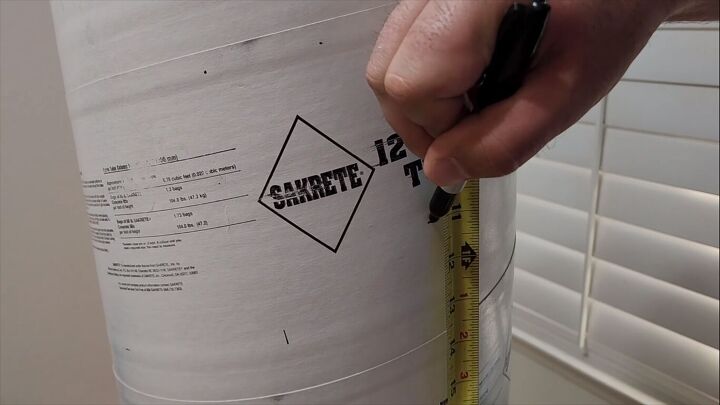
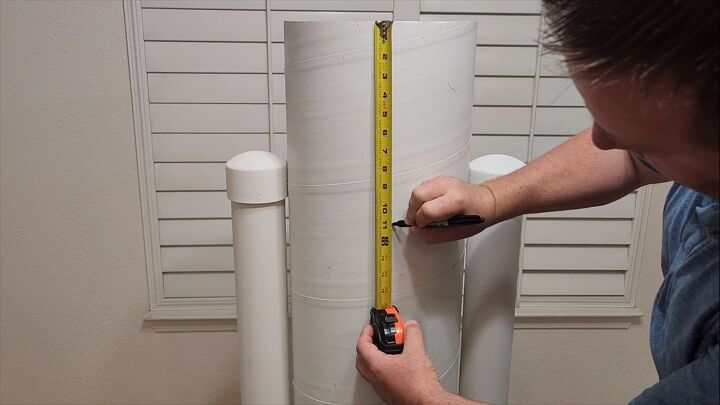
Next, let's go down on our 33-inch tube by 11 inches. That's where we're going to put the arms.
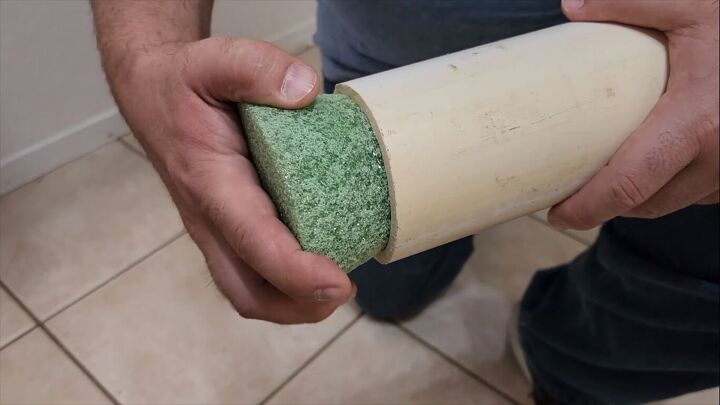
Our arms are made out of 3.5-inch PVC pipe. I picked up this foam piece from the Dollar Tree. Slide it back and forth and run some glue around it. That's going to hold it in place.
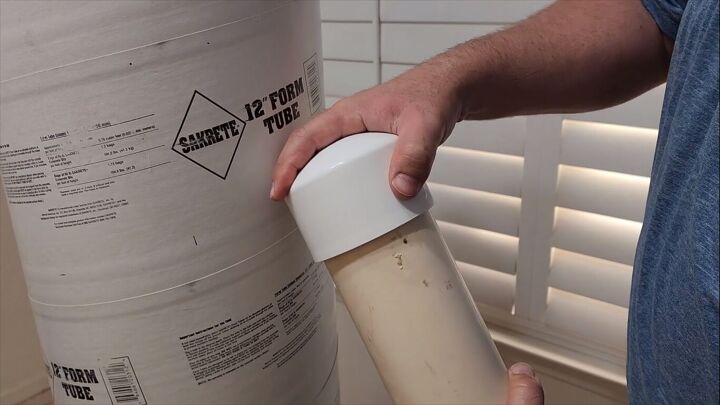
On top of the pipe, we're going to put a cap. This is going to be like the shoulder blade, part of the uniform. Put it right at that 11-inch mark, take some screws, and drill it through.
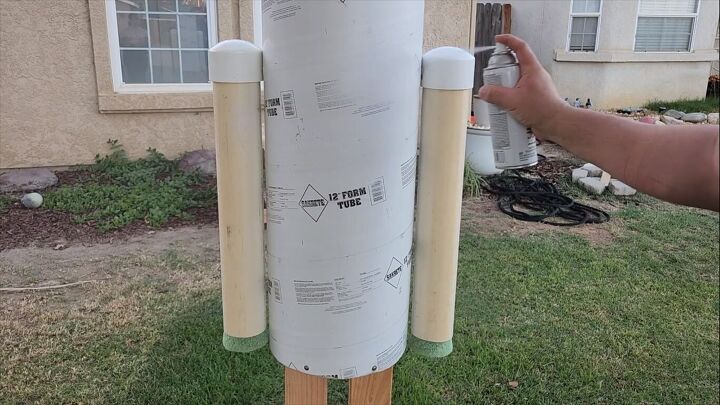
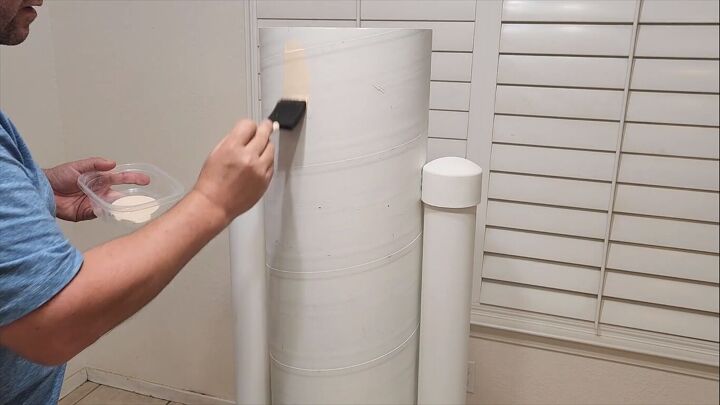
4. Prime
Once we have the arms on, it's time to prime it. Primer is so important on a project like this. You want the paint to stick and look good when it goes on. Primer is the way to do it. Make sure you get it nice and even on there.
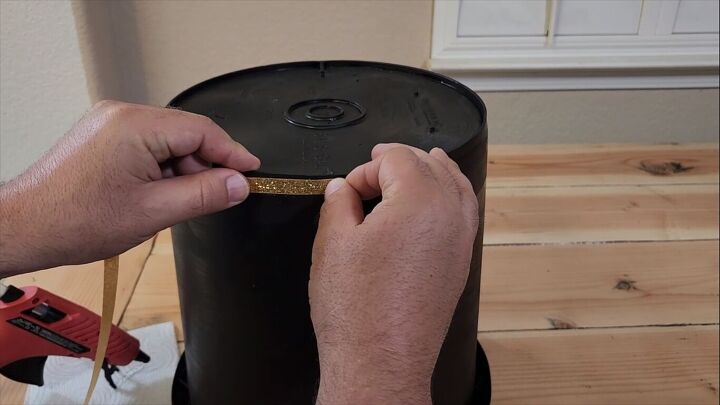
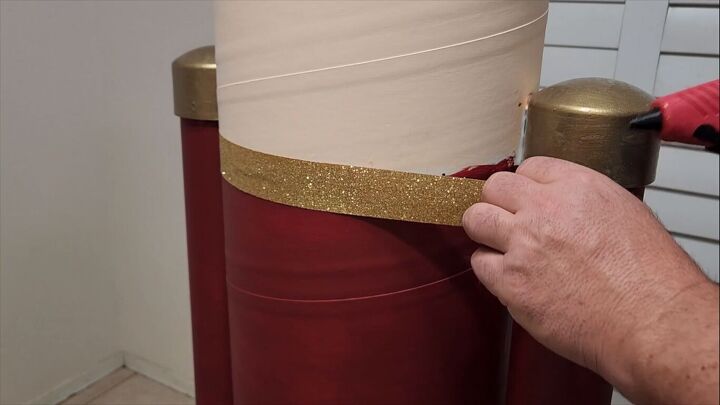
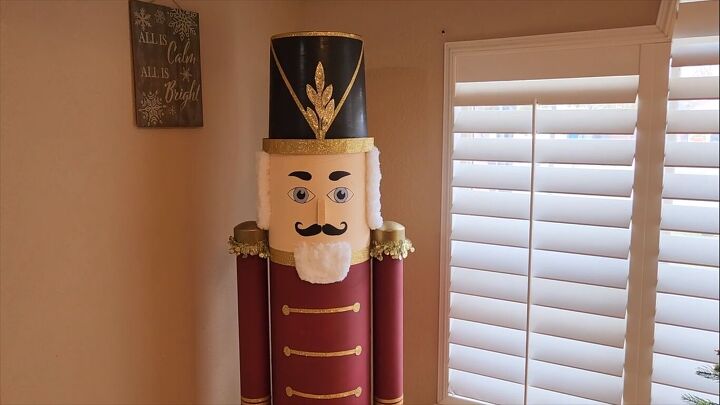
5. Make the helmet
While waiting for the primer to dry, I grabbed a five-gallon bucket that I painted black and I started putting some gold bands around it. This is the top of the helmet.
I used some hot glue and put it right around the edge. Be careful not to burn yourself.
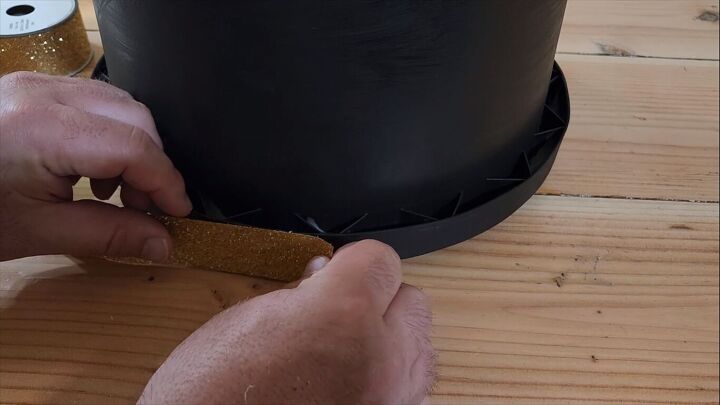
On the bottom, I'm going to use a thicker band. We're going to do it just like we did with the top. Put a little bit of hot glue and just work your way around.
6. Paint
Again, we're going to go down 11 inches. Mark it around because that's going to be where our head goes. The rest of it, which is 22 inches, will be our body.
Let's start painting. This is the head, so we're going to paint all the way around using our paint. You're going to need multiple coats, so just put it on nice and light. Make it look good.
Next, we work on his boots. Make a line straight across.
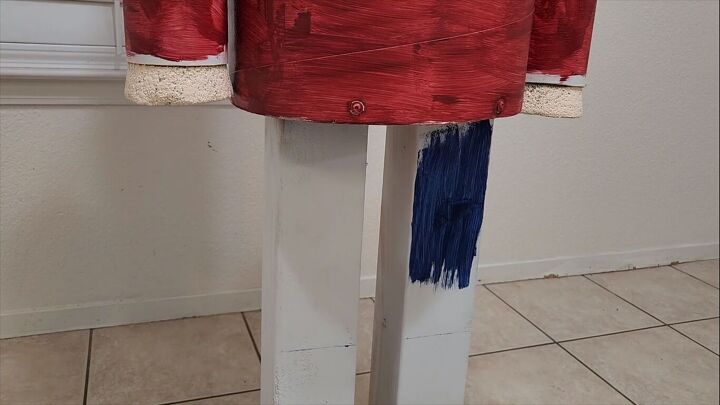
It's time to paint his jeans blue. As you can see, the first coat is not the best, but we're going to use multiple coats.
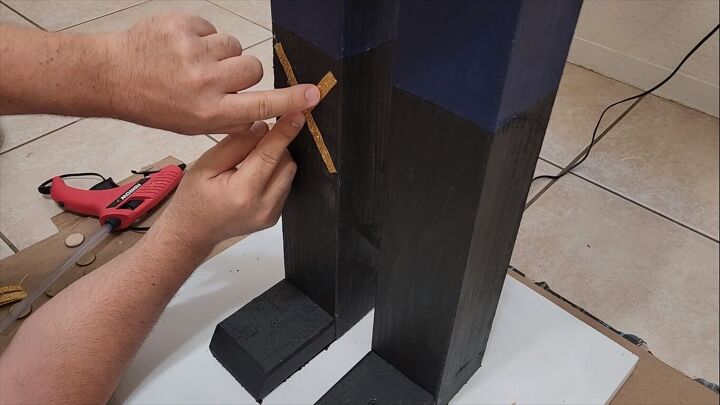
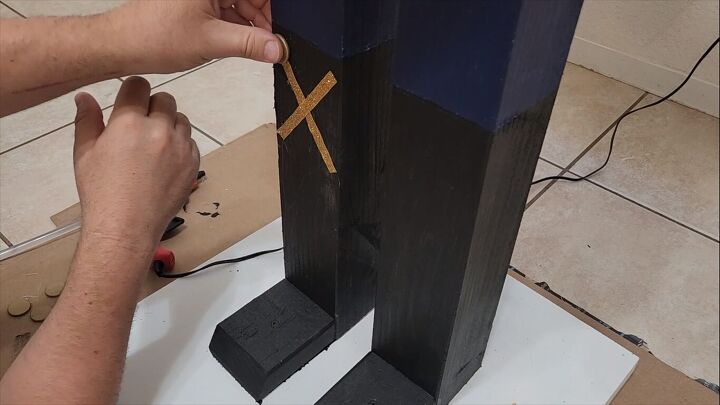
7. Add gold trim details
It's time to put his laces on. We don't want the boots falling off! Again, use the same lace that we used for the top of the helmet and put some Xs down there. Use some hot glue to put those on. Don't worry about the ends.
I painted some wood pieces that I got from the hobby store. Put those on to give it some nice design.
Next, whenever paint joins another color, put a ribbon around it.
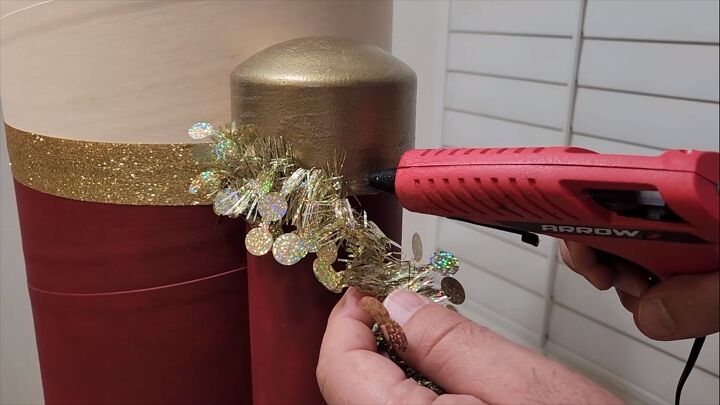
Around his shoulder pads, put some garland on. I got this from the Dollar Tree.
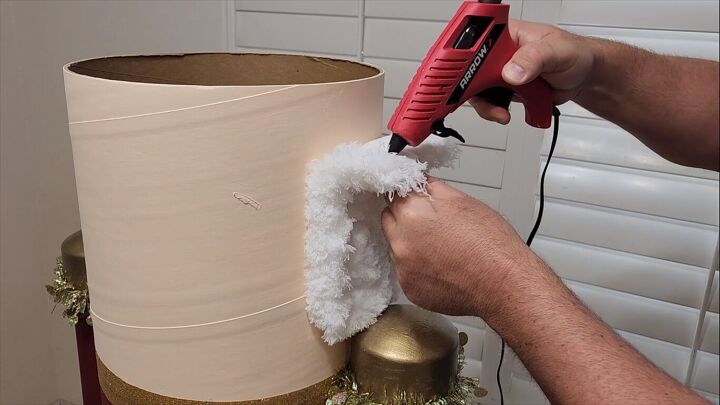
8. Add details to the face
Next, it's time to glue on some hair. This is actually a dust mop from Dollar Tree. I trimmed it to fit, put some hot glue on it, and glued it up.
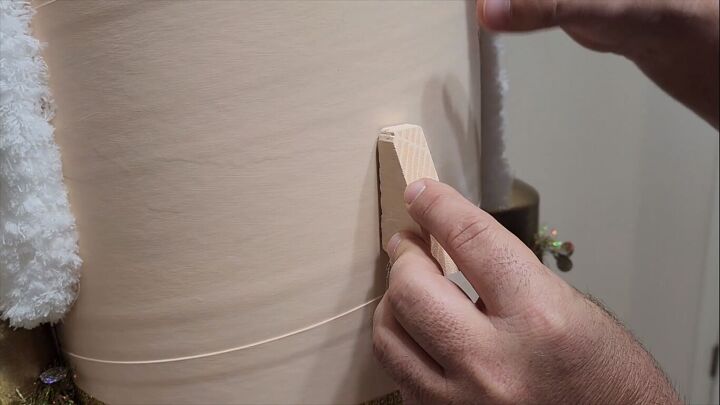
Now it's time for the nose. I took a little piece of cut wood and hot glued it on.
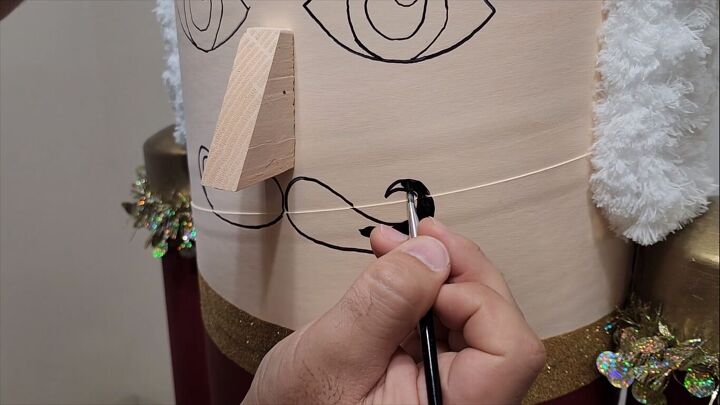
Next, I outlined his whiskers, then we're going to use some black paint to paint it in. Go nice and slow on this. We want to make it look good. This is what's going to grab everybody's attention.
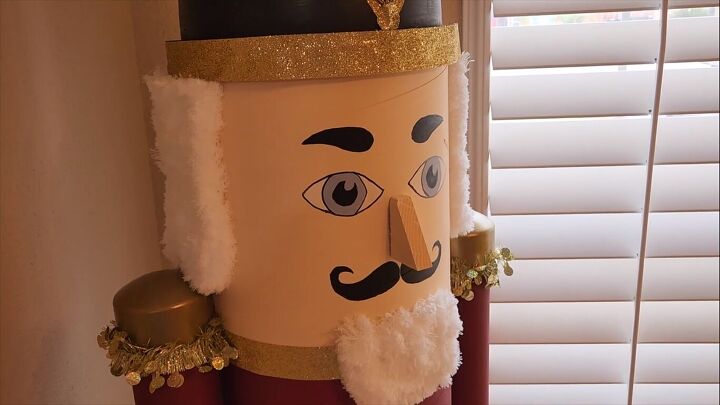
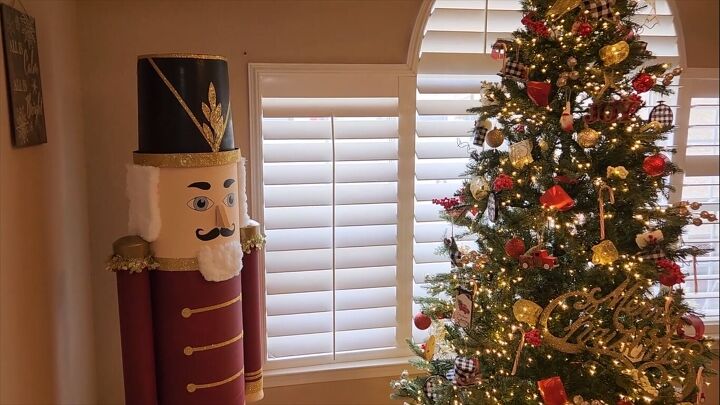
DIY giant nutcracker
This is our DIY giant nutcracker. I think I'm gonna call him Blue Eyes because of the spectacular way we got his eyes to look. He just looks amazing standing there. Guess what? He turned out to be six feet tall! He stands guard over the Christmas tree and all the presents that'll come.
I hope this inspired you to make your own nutcracker crafts. Let me know what you think of this project in the comments below.
Comments
Join the conversation
-
I love nutcrackers, congratulations, he loos amazing👏🏼👏🏼👏🏼
-
Very impressive! My daughter collects nutcrackers but I don't think I can pull this off.


Frequently asked questions
Have a question about this project?