


How To Make An Easy Ribbon Craft DIY
Make this Easy Ribbon Craft DIY using dollar store supplies and scrap wood. It makes a great addition to your home decor, and can be hung on the wall, or placed standing on an entry table or mantel.
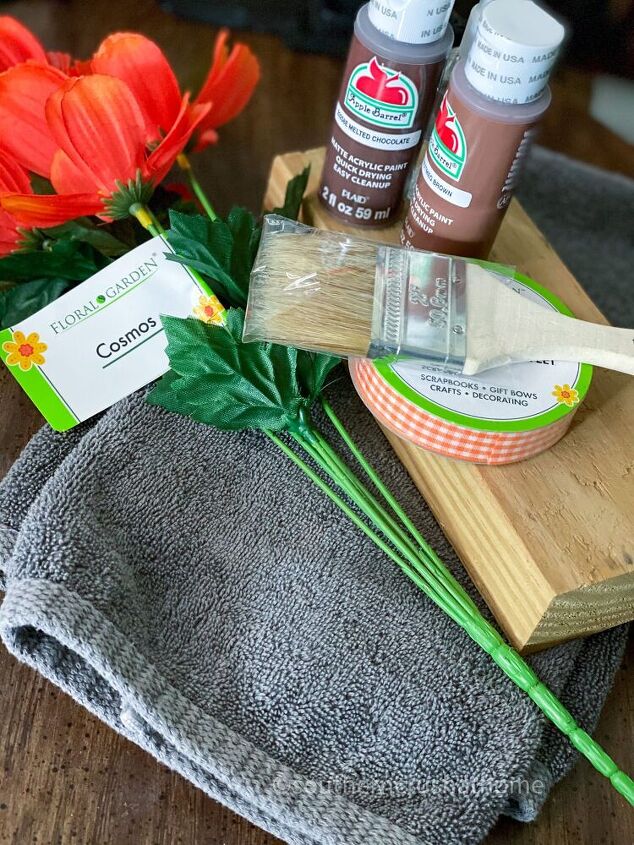
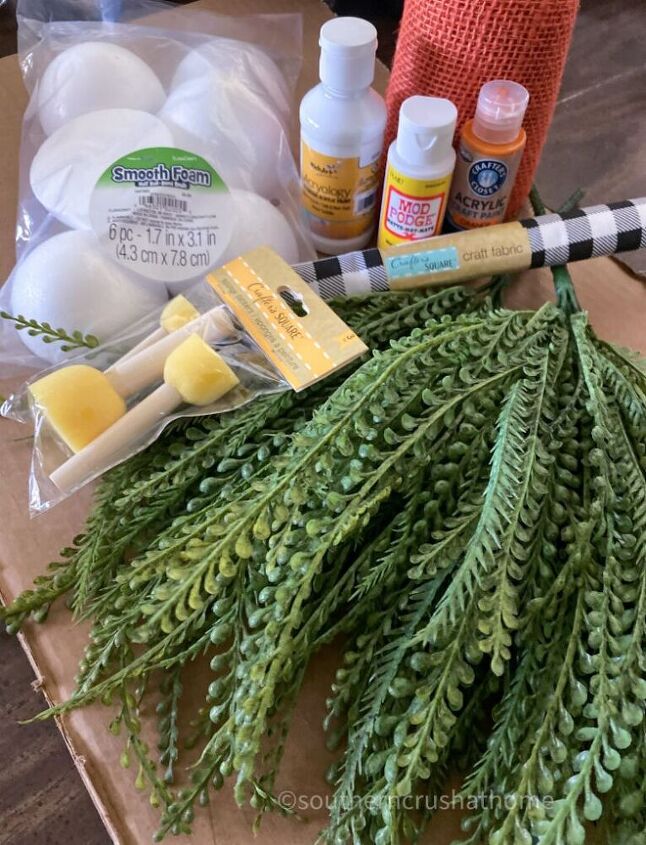
SUPPLIES
- Scrap Wood
- Dollar Tree Gingham Ribbon
- Dollar Tree Flowers
- Spray Bottle With Water
- Acrylic Paint in brown
- Hot Glue Gun
- Chip Brush
Pour a little bit of the brown acrylic paint onto a paper plate. Spray the paint with water using a spray bottle. This is making the paint more of a stain.
Use the chip brush to completely paint the wood piece. Once it is painted, use a baby wipe to wipe some of the paint off.
Let dry. You can use a heat gun to speed up the drying process.
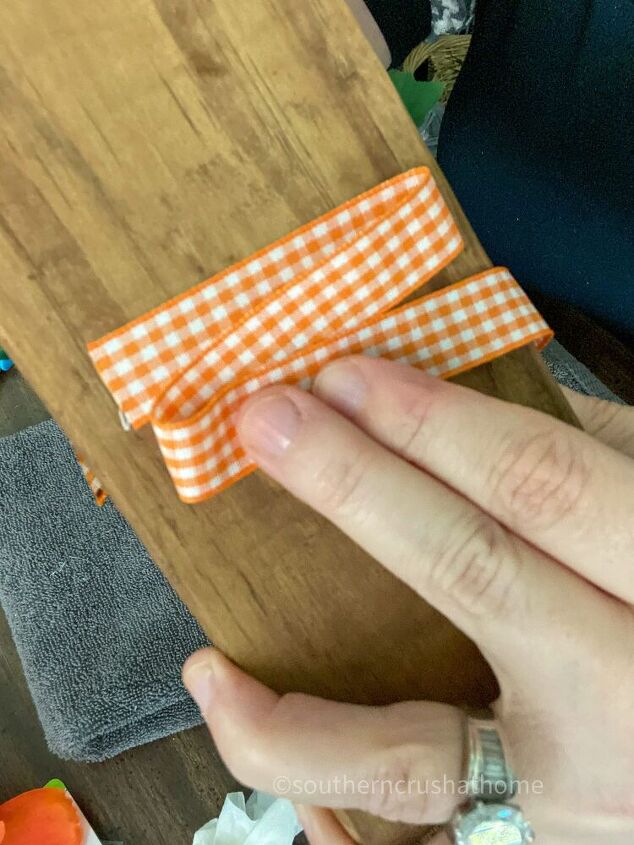
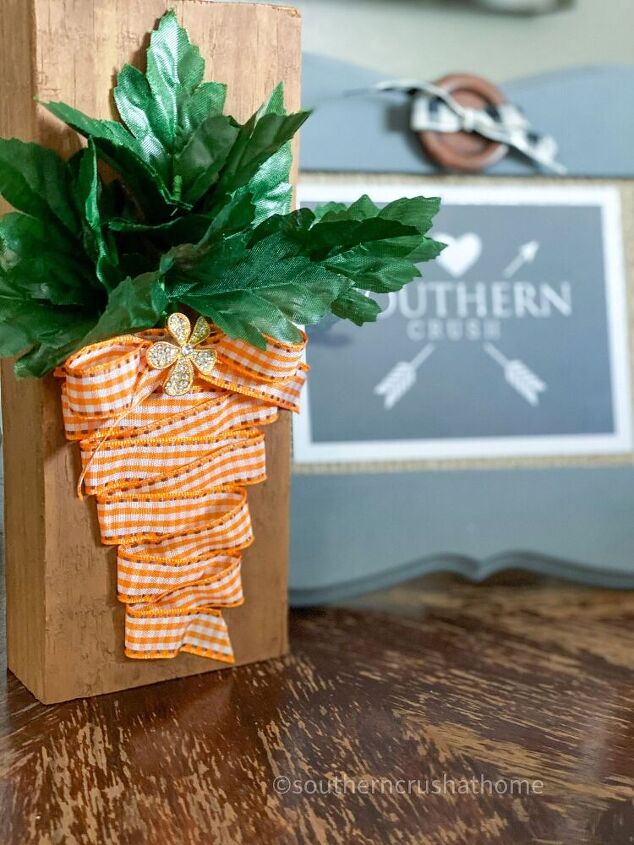
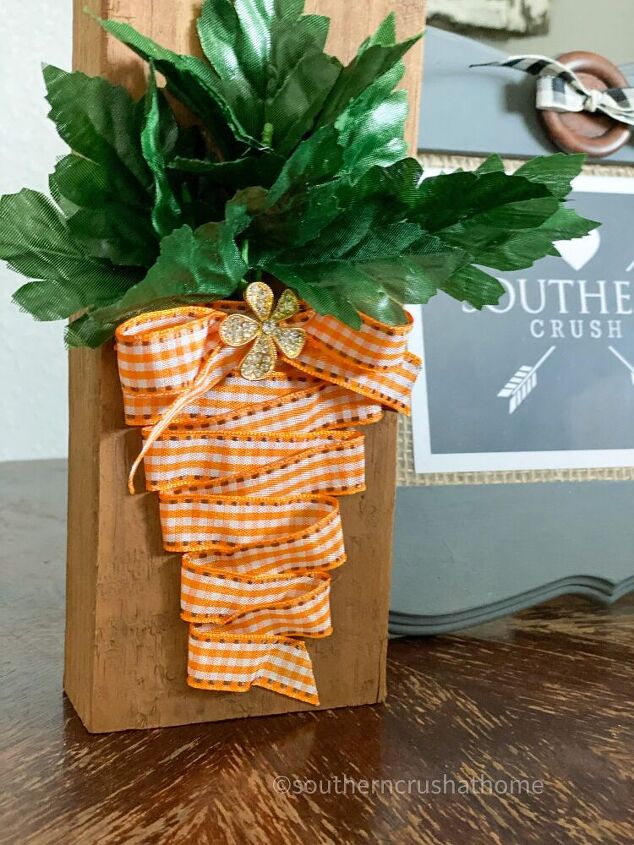
Add a dab of hot glue to the end of the gingham ribbon and place it on the wood piece. Continue to add the ribbon with hot glue in a zig zag fashion to the wood. It’s easier (especially on your fingers) to add the glue directly to the wood, and tap the ribbon onto it. You want the ribbon to form a carrot shape, so glue the ribbon in shorter lengths as you continue down to the end.
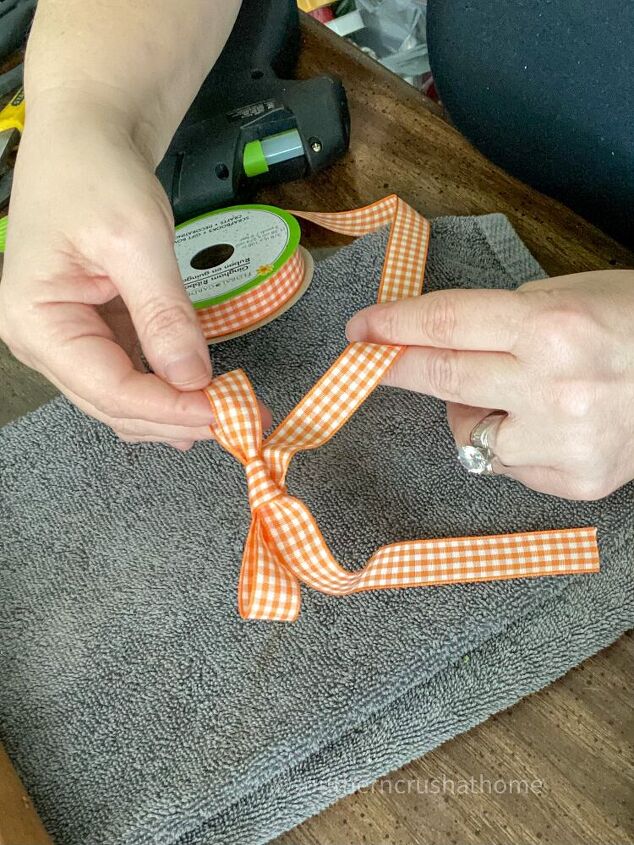
Make a simple shoestring bow for the top of the carrot and secure with hot glue.
NEXT…
Take apart the flowers and remove the greenery. You can use wire cutters if you want. Stick the greenery under the ribbon until you are happy with how full it is. You don’t even need any hot glue!
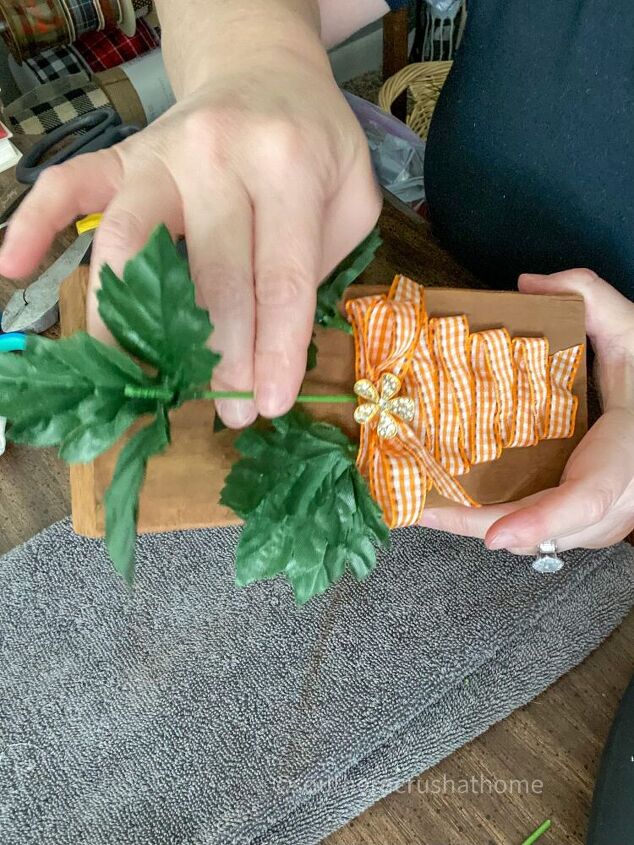
You know I love a little bling, so I added a pretty embellishment to the center of the carrot top.
Easy Ribbon Craft DIY
Wasn’t that so easy? If you want to hang it, just add a picture hanger to the back. But, I love that this piece can also stand.

Resources for this project:
See all materials


Comments
Join the conversation
-
Very sweet, simple and fun. Sometimes it’s the simplest materials and design that packs a great punch. Thanks for sharing
-
Cute!


Frequently asked questions
Have a question about this project?
What are those wooden things in the last picture?