


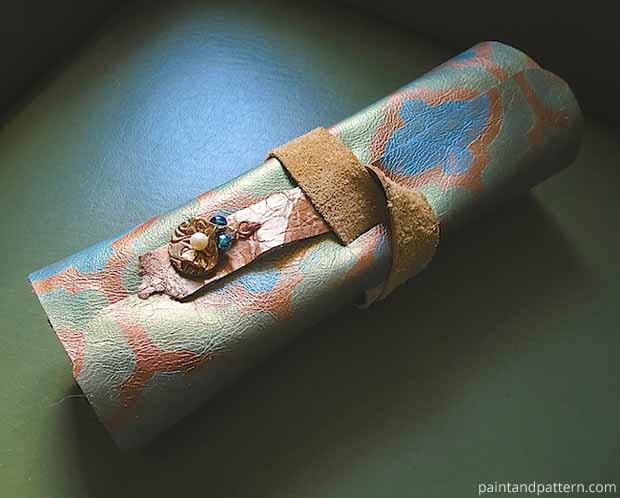
Stencil Brush Holder DIY

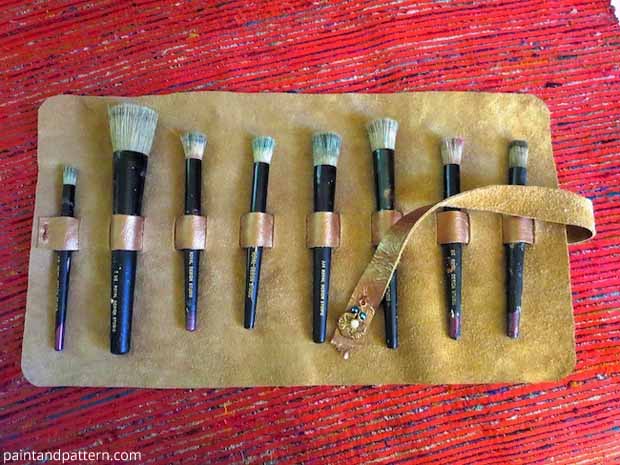
Do you tote your stenciling tools from home to studio? Do you work on projects at a client's home? This classy leather stencil brush holder is a lovely way to store and carry your prized collection.
The flexible design and easy steps made me want to make versions for colored pencils, fun markers and everything in my studio. Once you have fashioned the basic template, assembling multiples is simple and quick. (Consider keeping a paper template for later.)
If you have a college artist heading off to school soon, this DIY brush holder is the perfect send-off project to work on together.
SUPPLIES
Royal Design Studio Casbah Trellis Moroccan Furniture Stencil
Royal Design Studio stencil brushes
Royal stencil crmes in Copper Kettle, Metallic Teal & Patina Green,
Motsenbackers Lift-Off 5 stencil cleaner
Scraps of leather
Thread in a coordinating color, large needle
Cutting surface, sharp knife, metal ruler, fine-point marker, tape, scissors, hammer, large nail, paper towels like Bounty
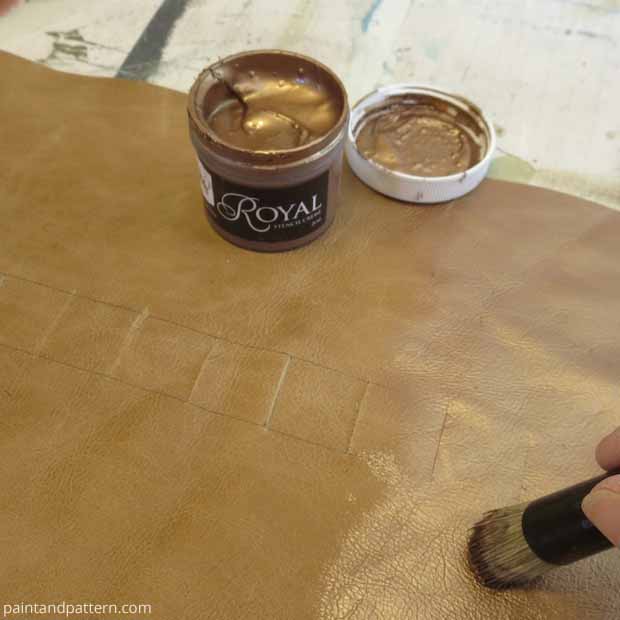
STEP ONE

STEP ONE
STEP TWO
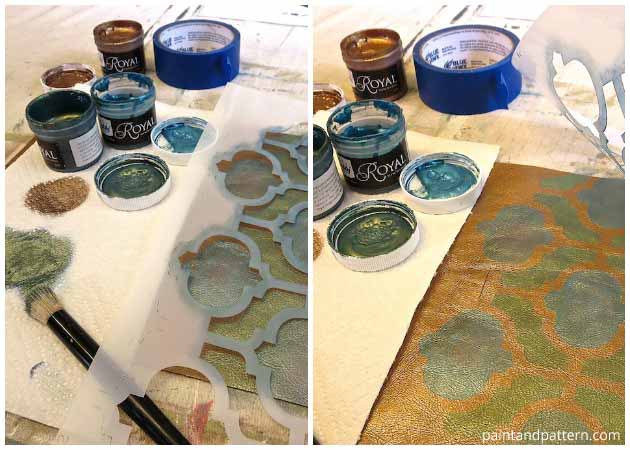
STEP THREE
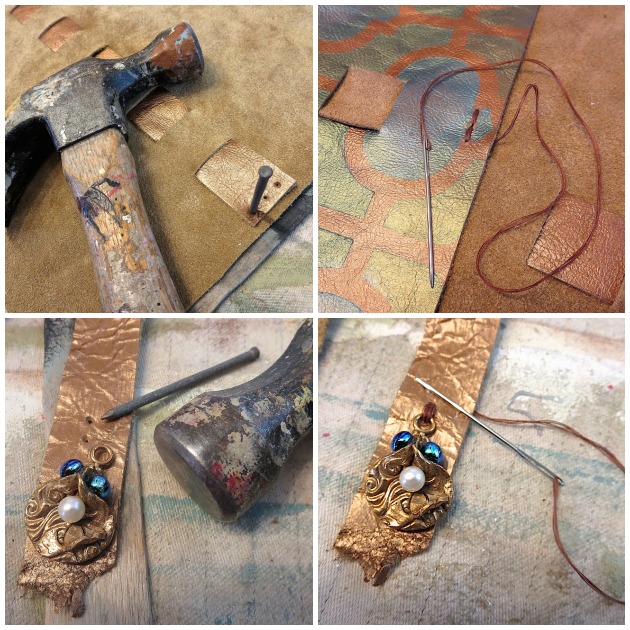
STEP FOUR


Frequently asked questions
Have a question about this project?